
759 Appartements à Comté d'Aberdeen

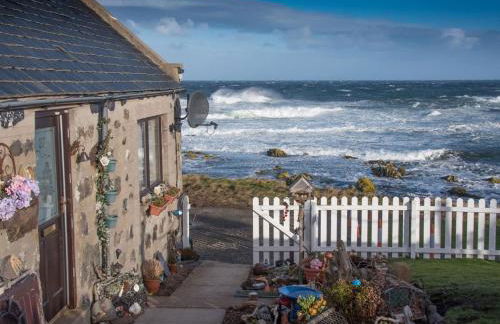


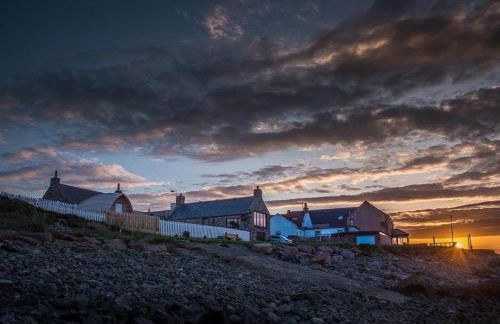

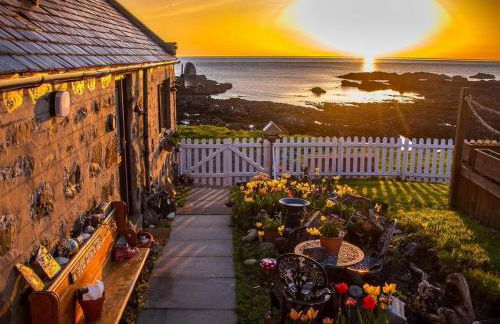

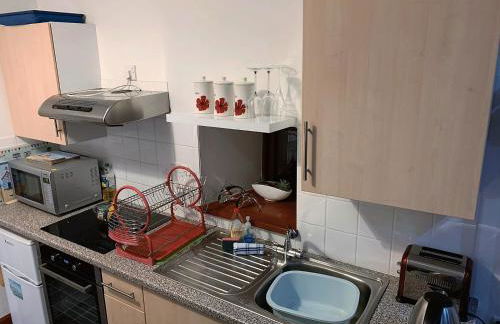

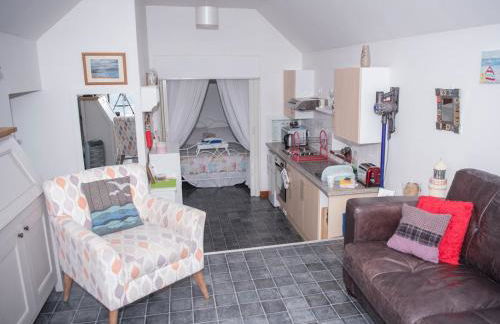

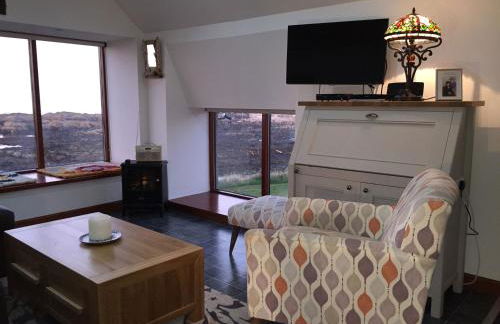

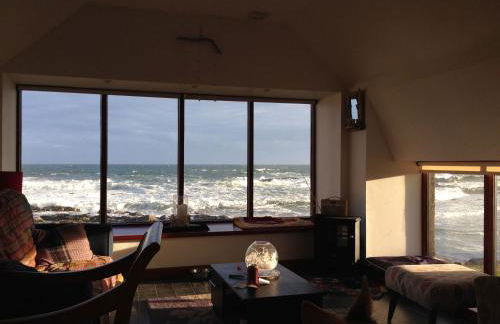


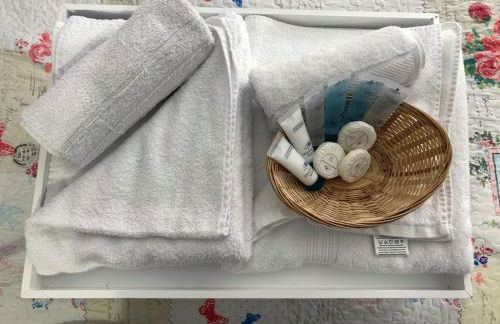

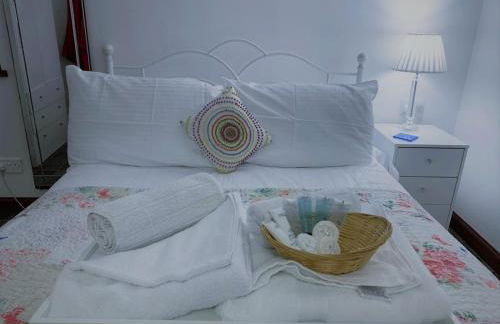

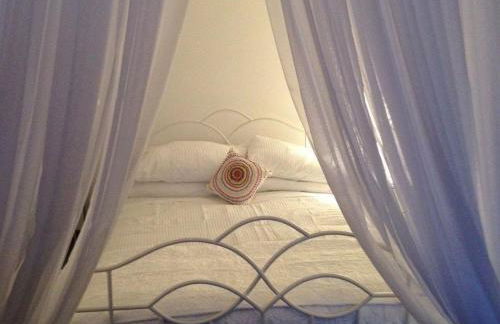

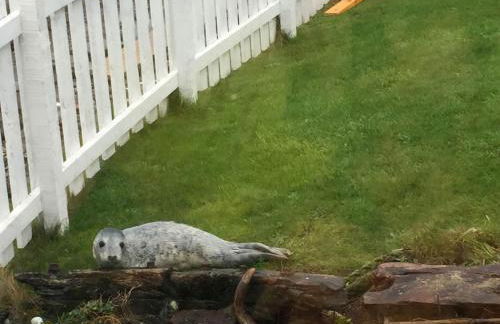

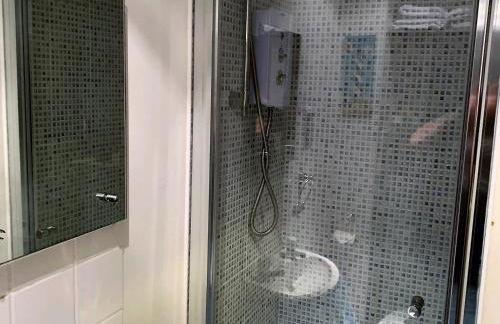

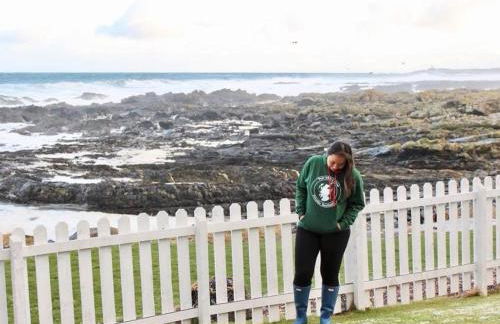

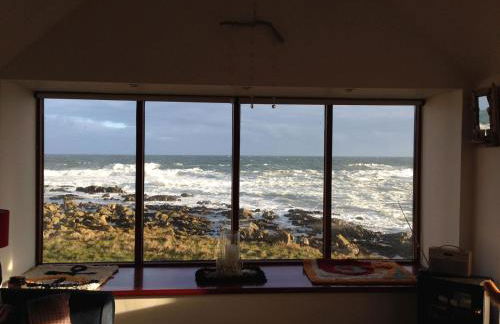

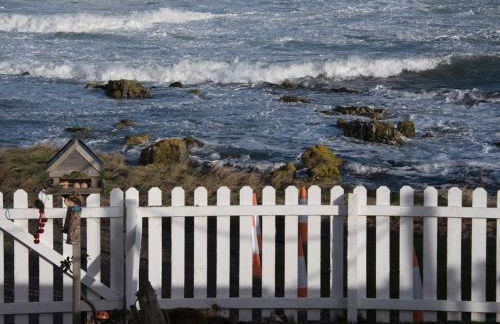

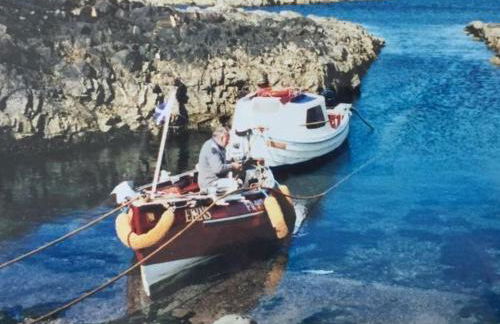

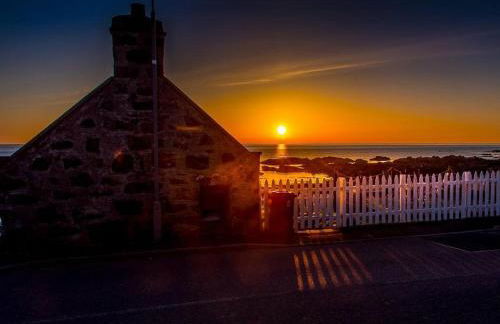

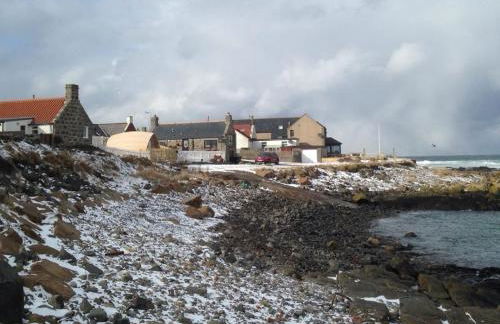

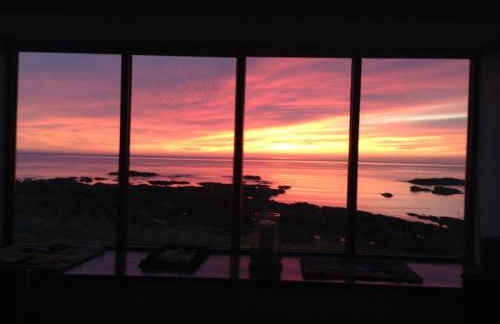

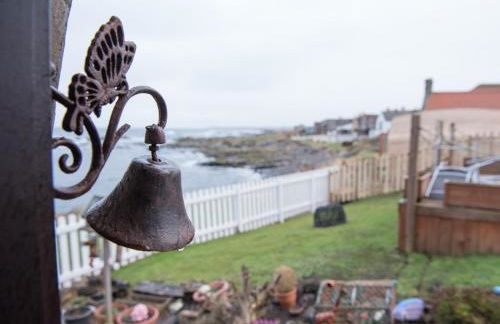

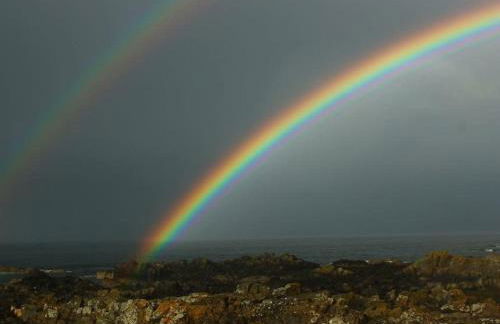

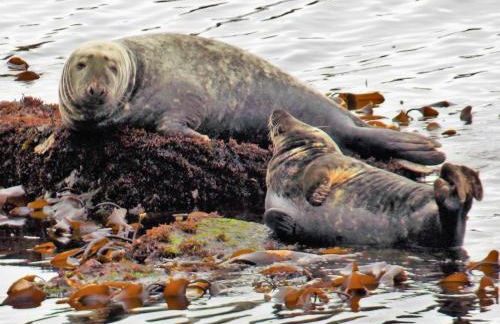

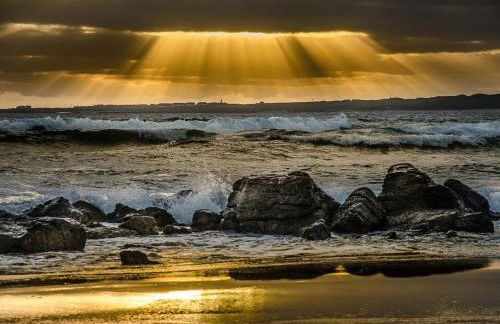

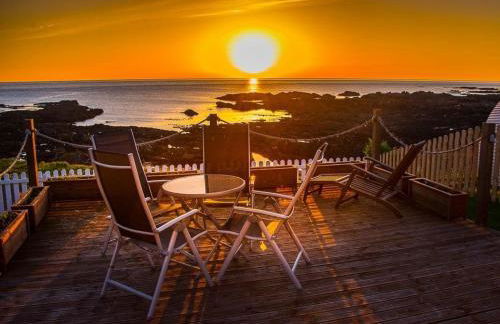

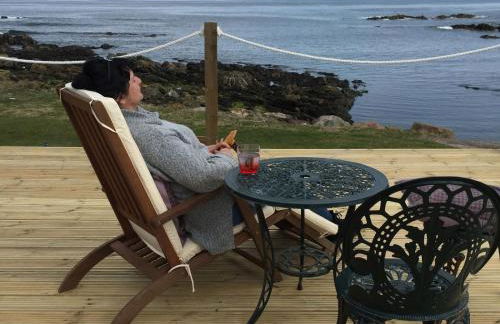


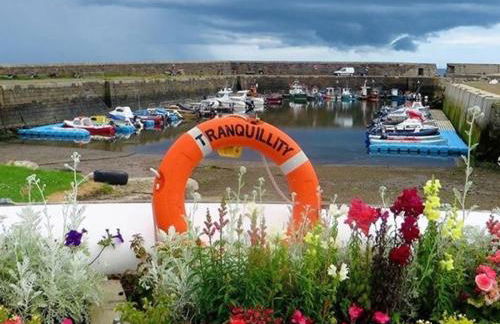

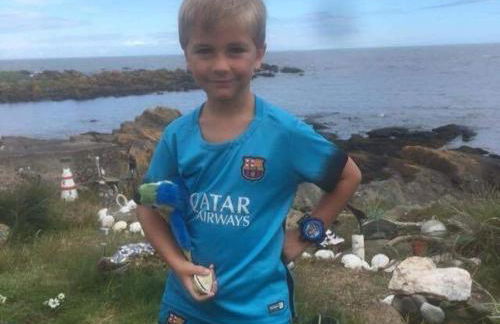


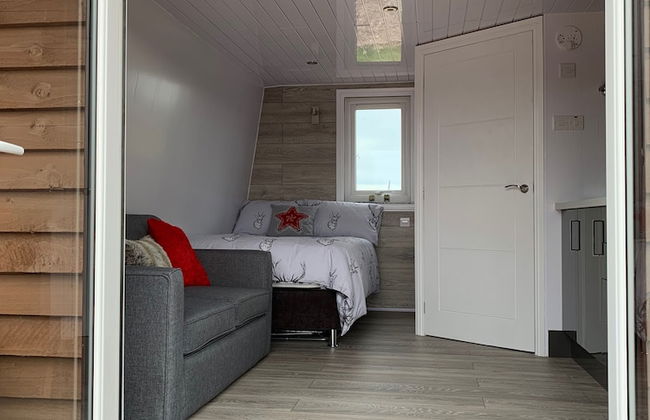
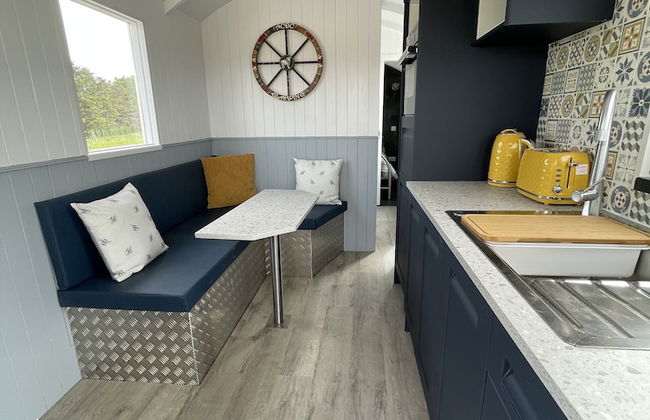
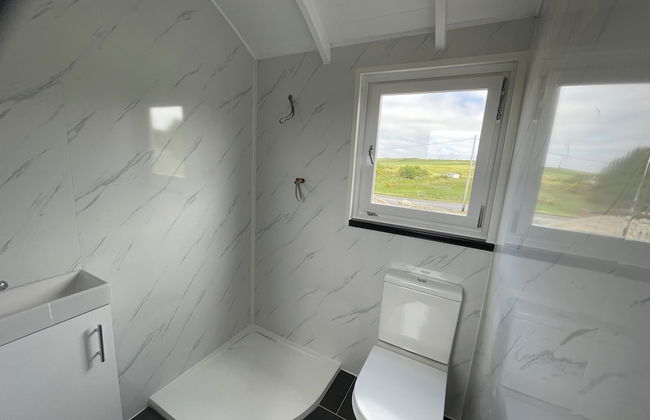
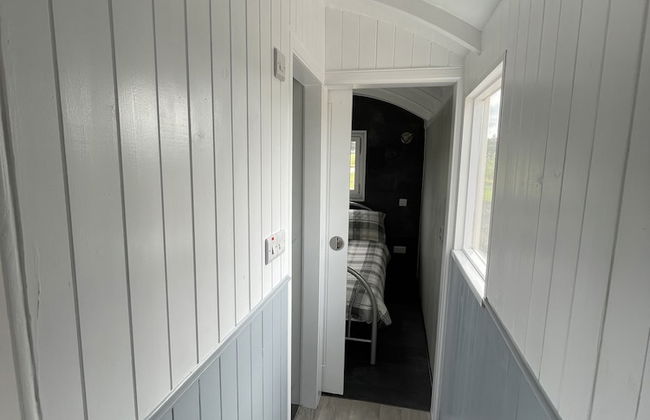
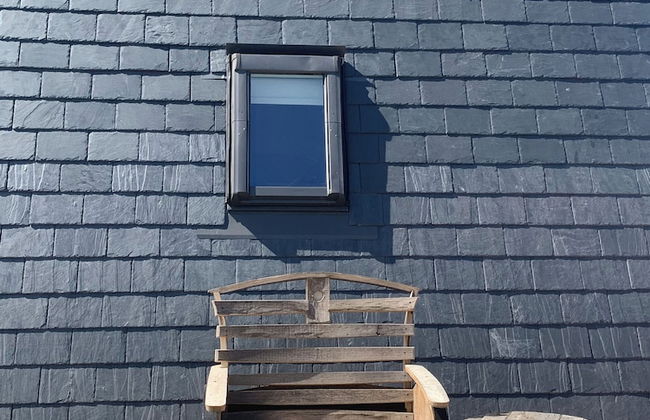
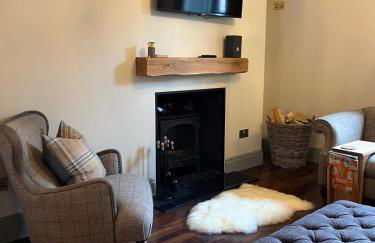
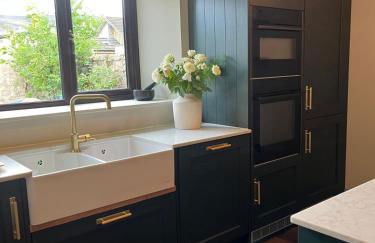
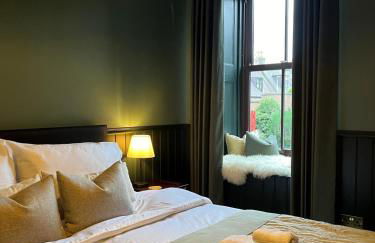
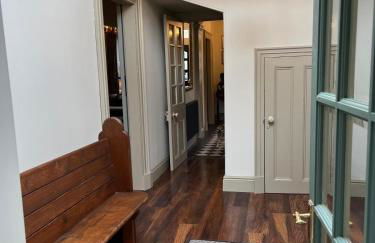
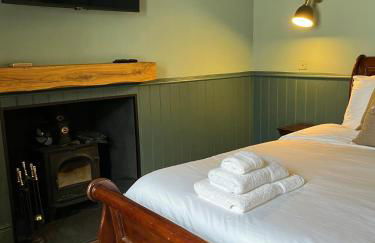
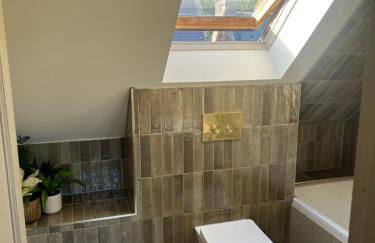
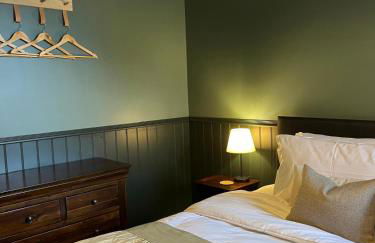
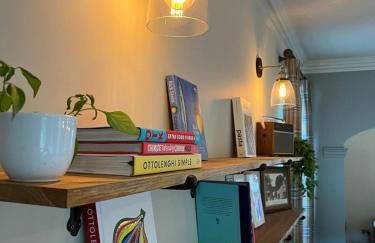
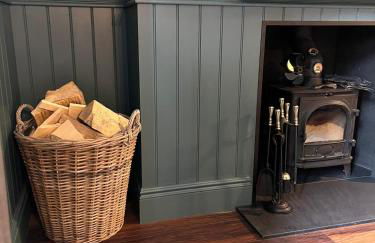
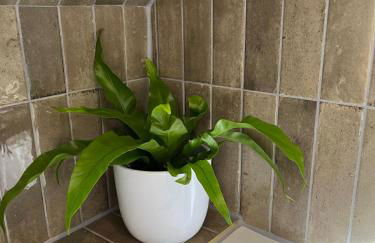
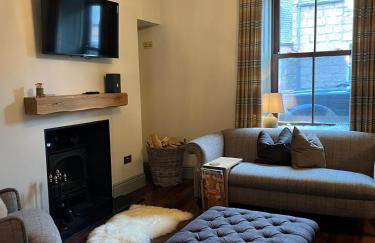
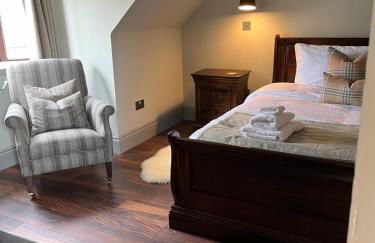
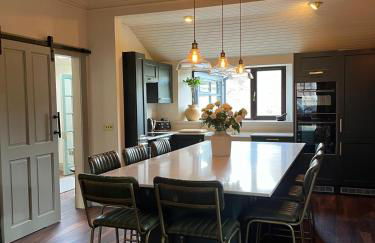
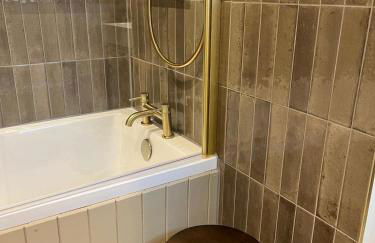
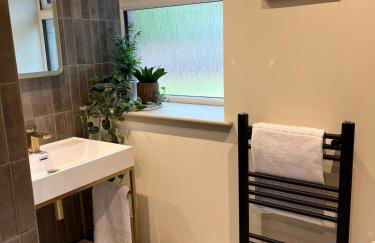
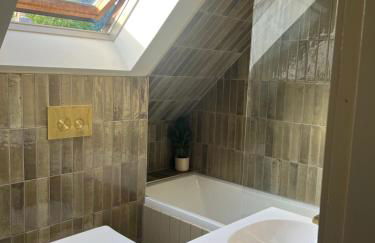
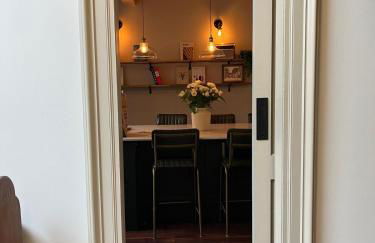
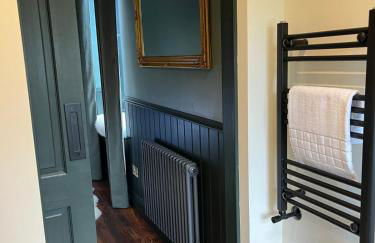
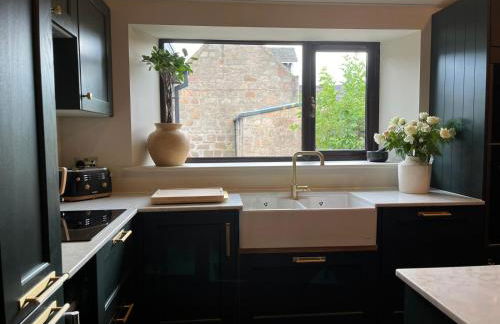
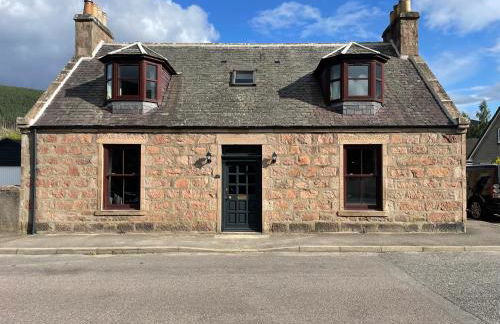
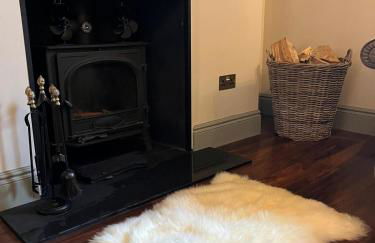
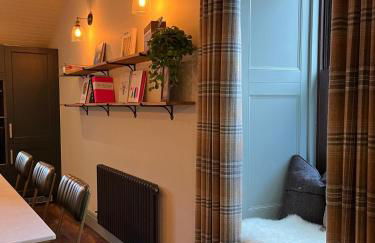
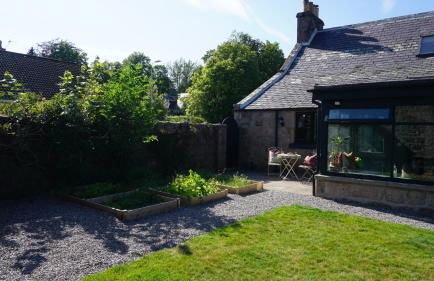
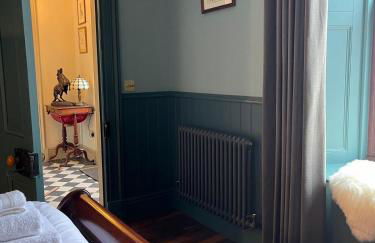
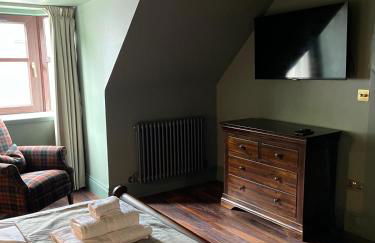
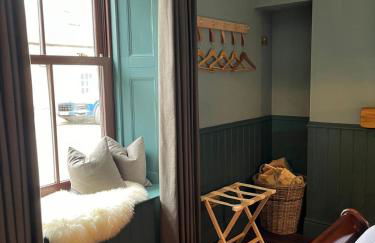
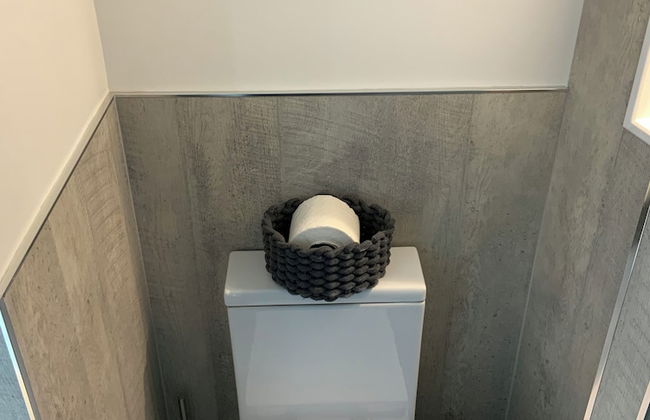
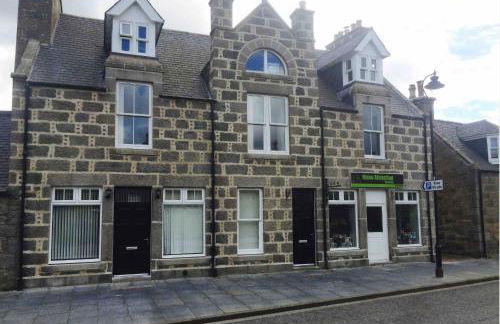
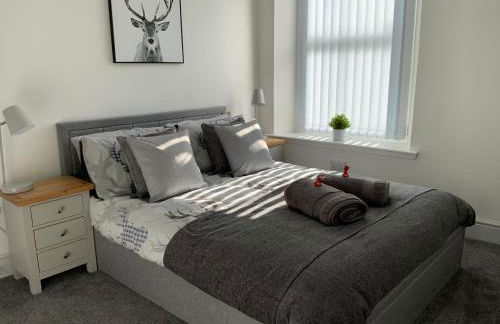
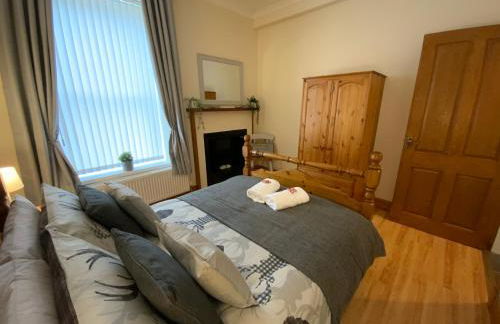
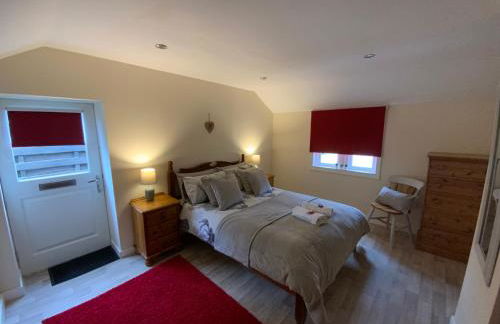
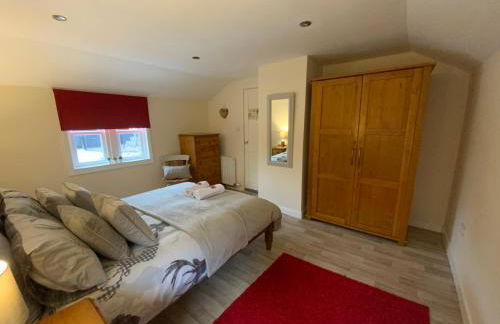
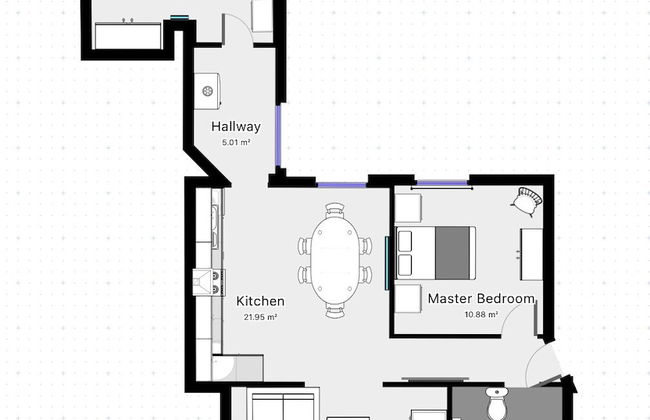
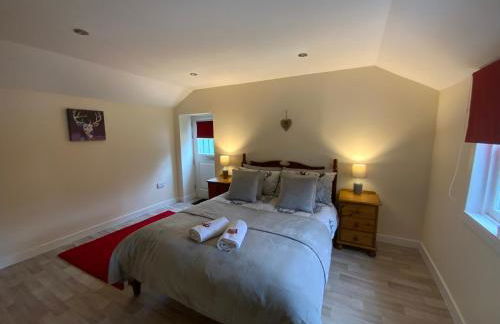
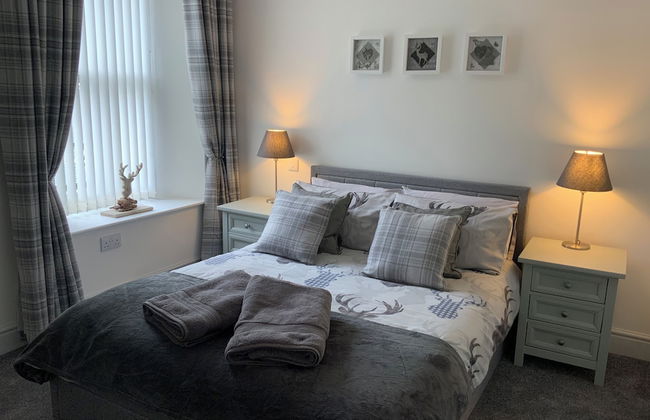
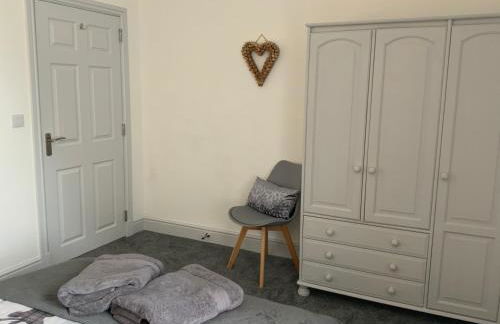
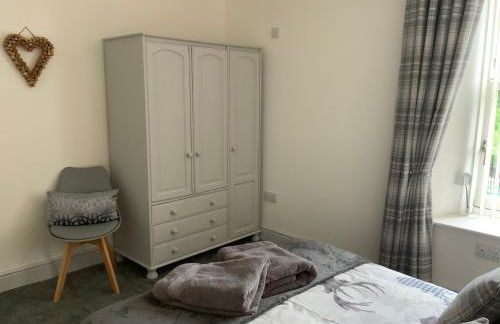
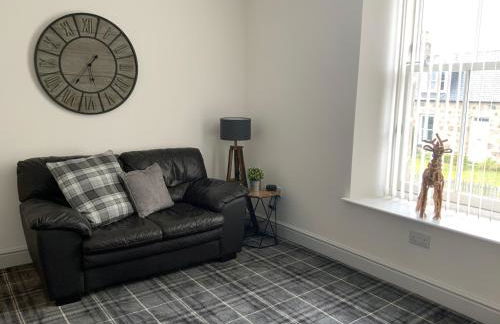
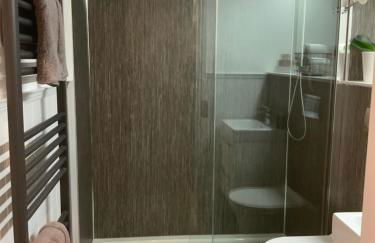
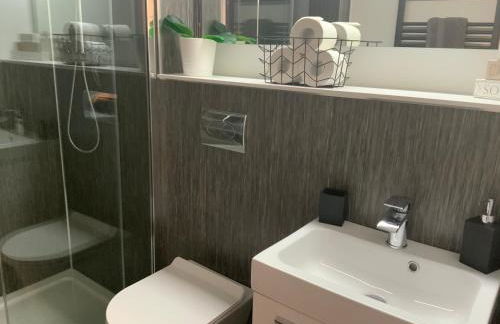
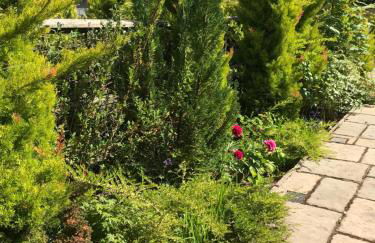
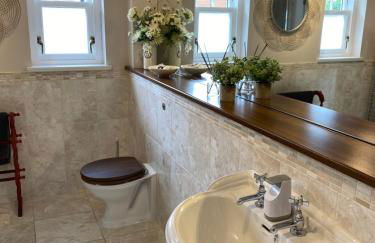
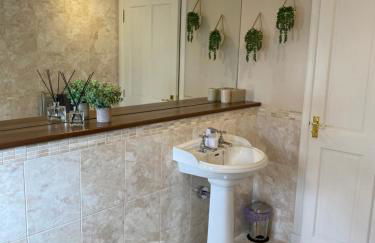
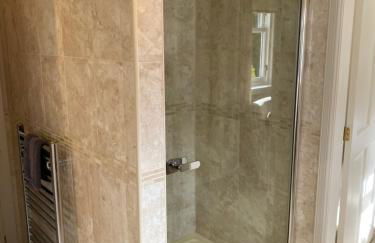
Pew With a View - Seafront Cottages
Fraserburgh - Sandhaven
- 48 M2
- 1 chambre
- 4 personnes
- Le chauffage
- Terrasse
- Parking
- Balcon
- Jardin
- Tv
- Machine à laver
- Barbecue
- Serviettes
- Feuilles
14 avis
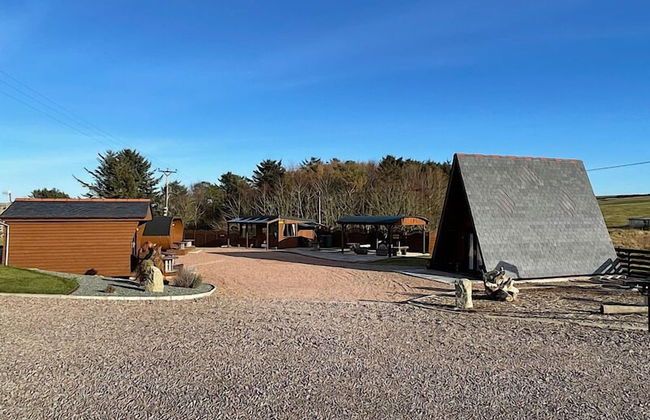

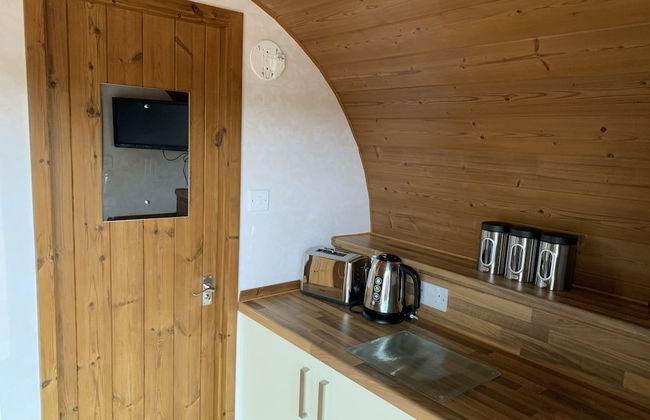


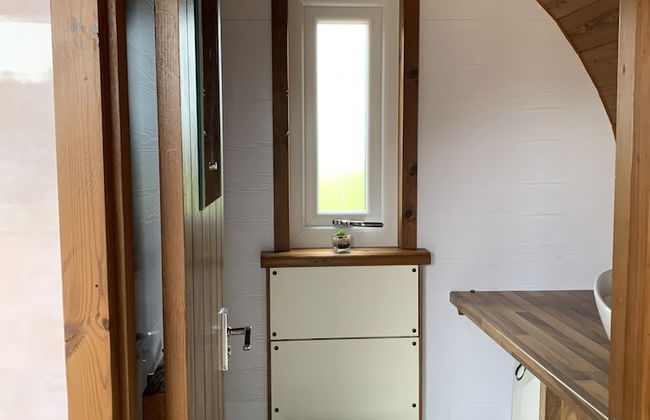
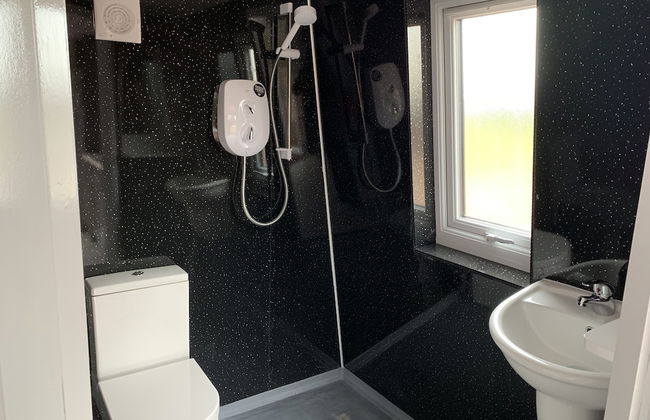

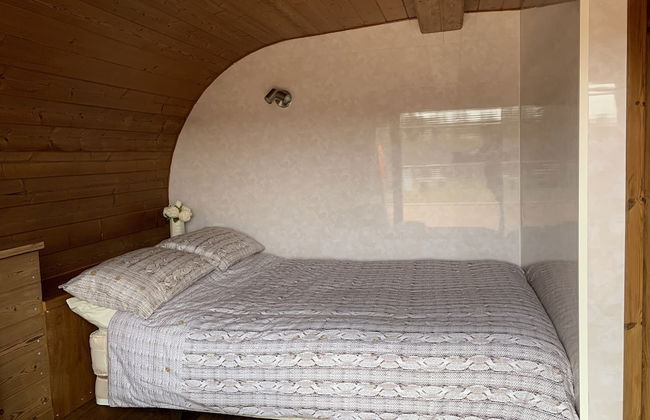
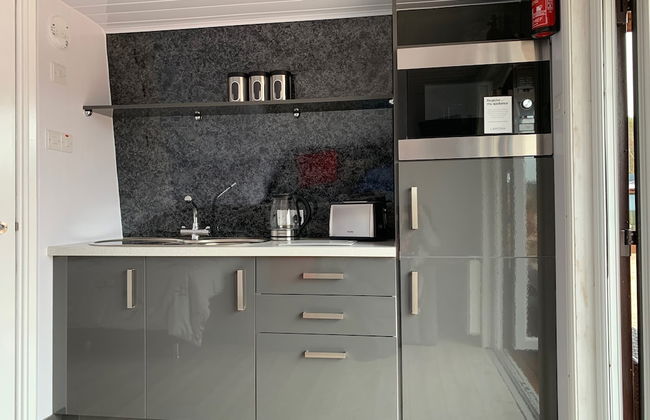


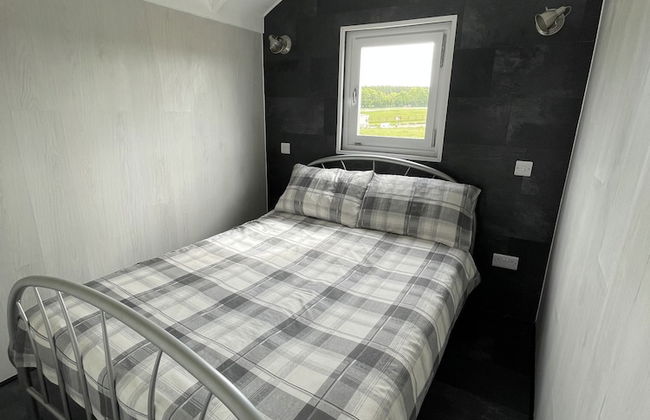
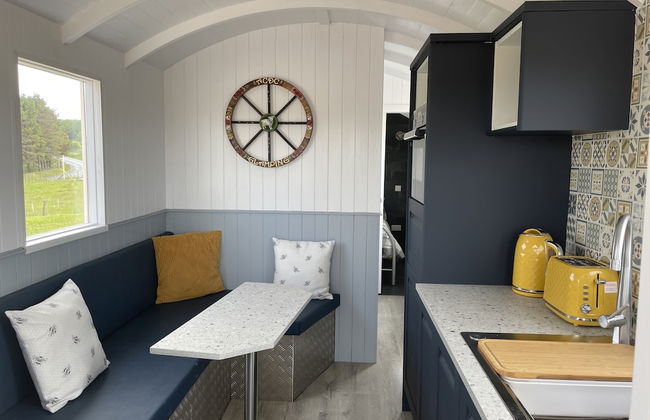
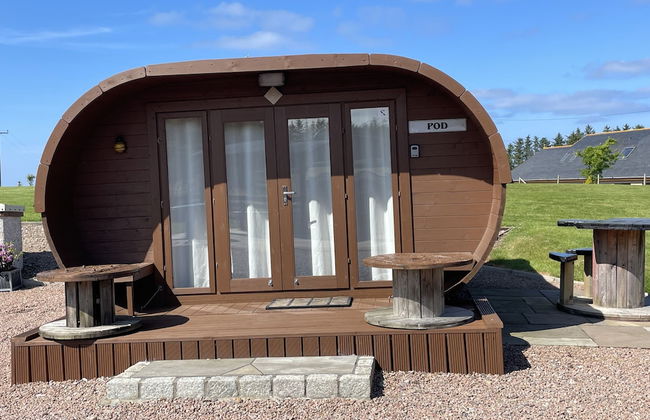


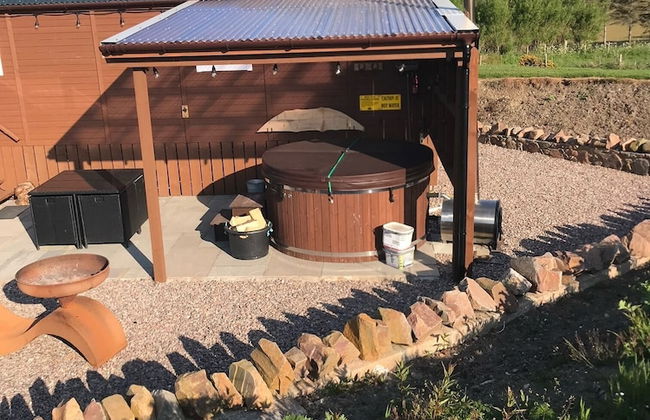
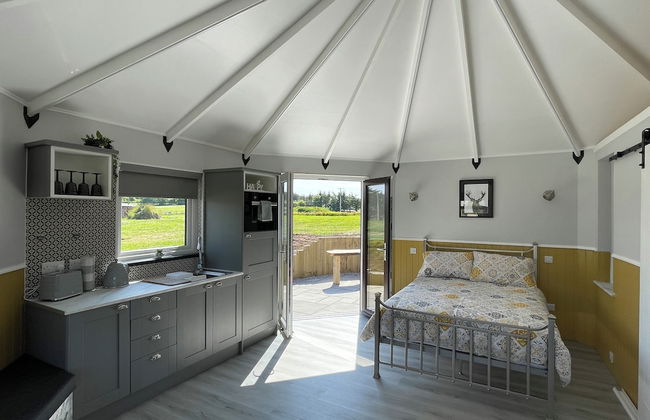


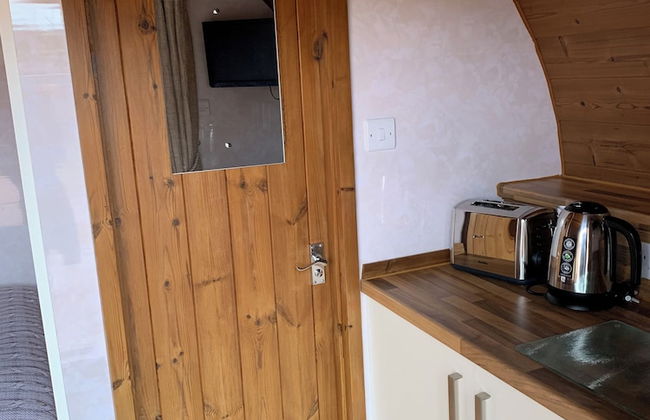

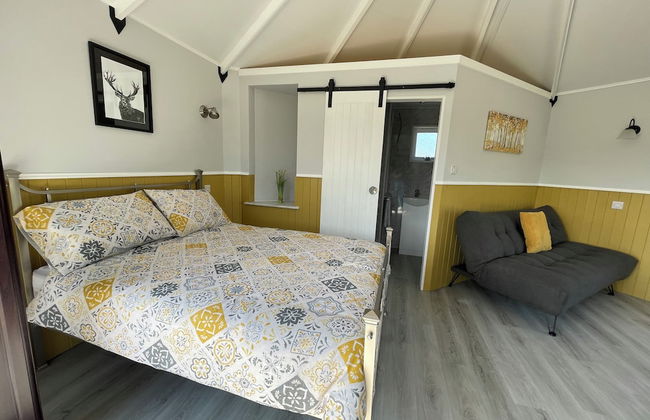


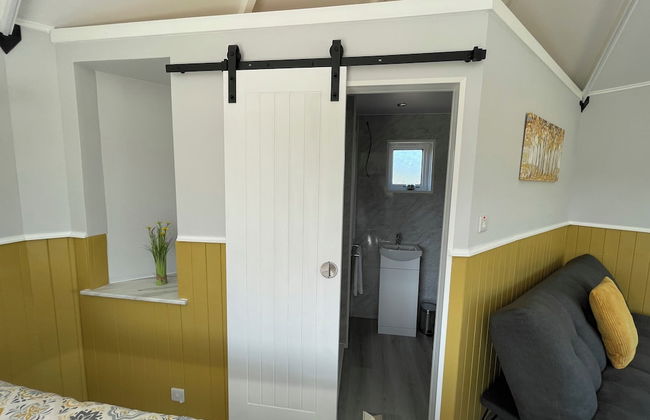


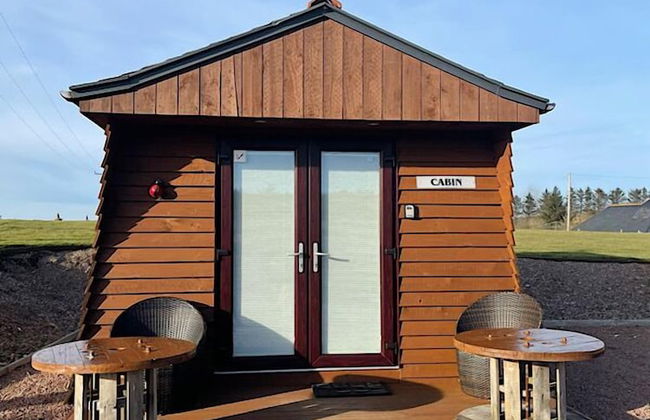
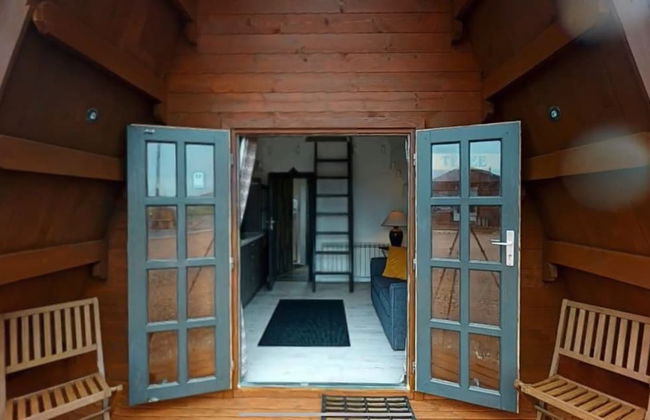
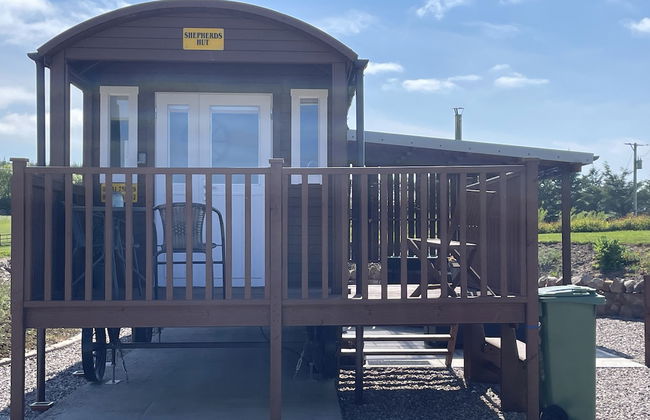
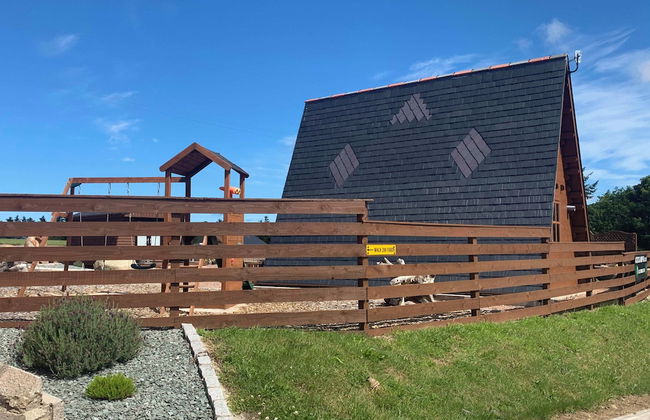


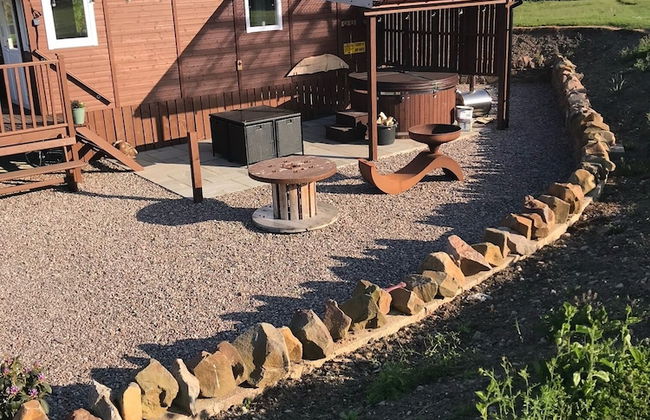


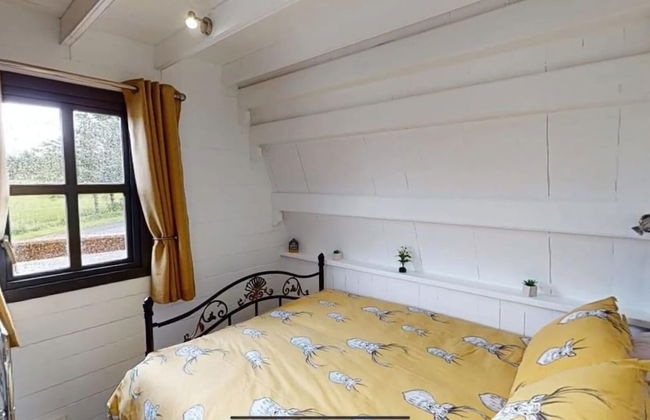


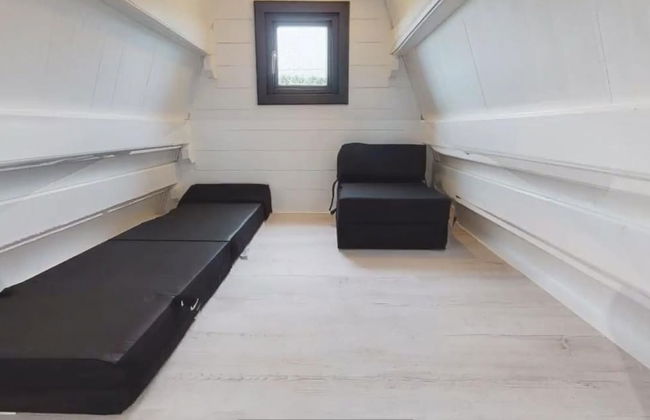


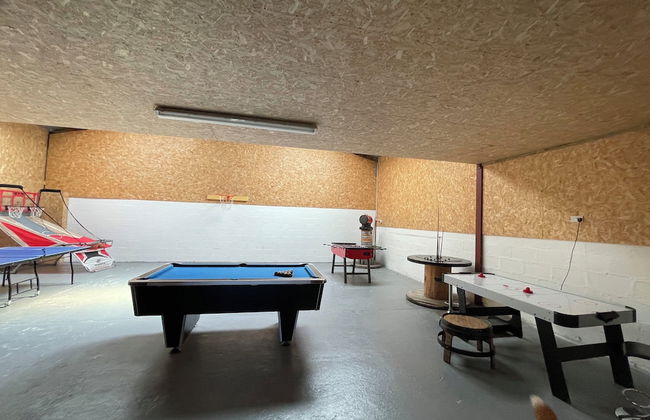
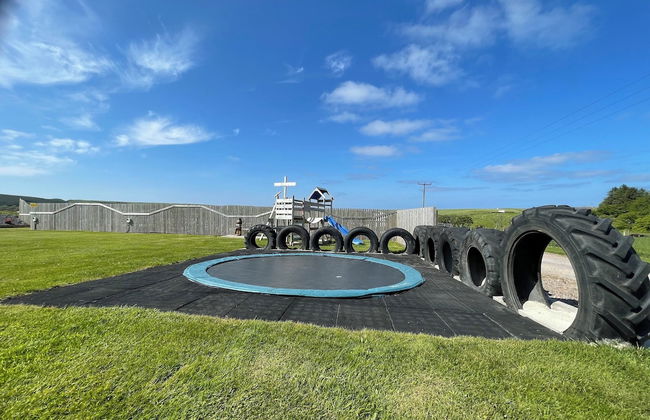
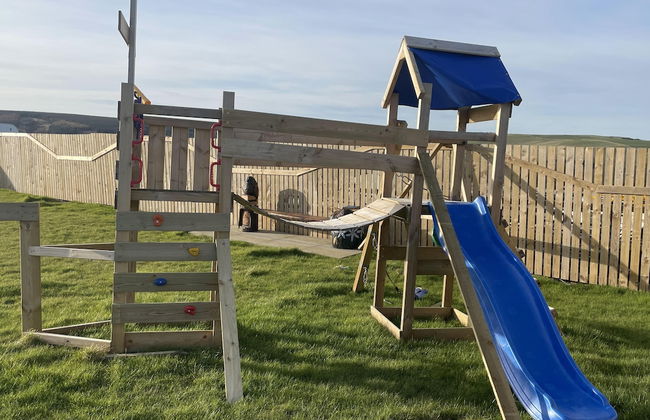

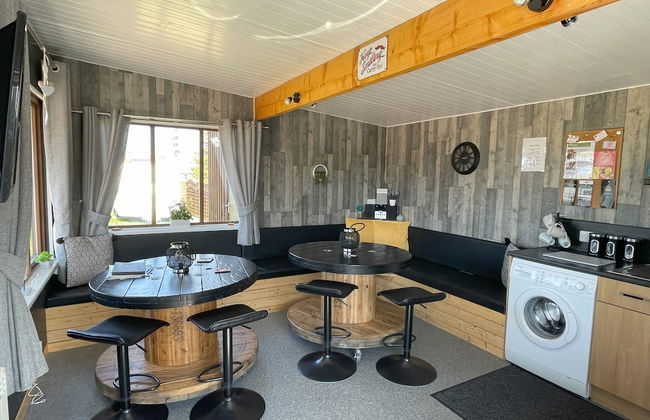

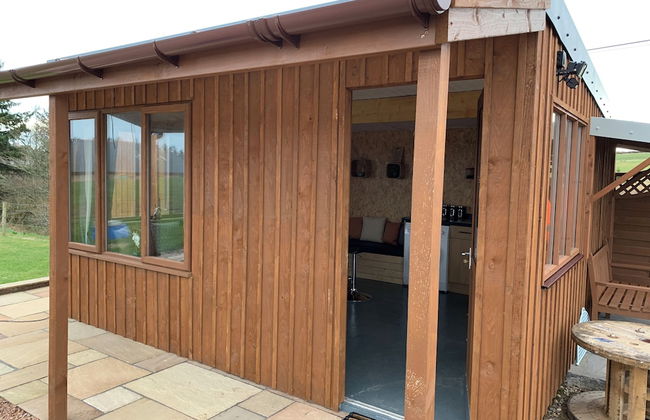
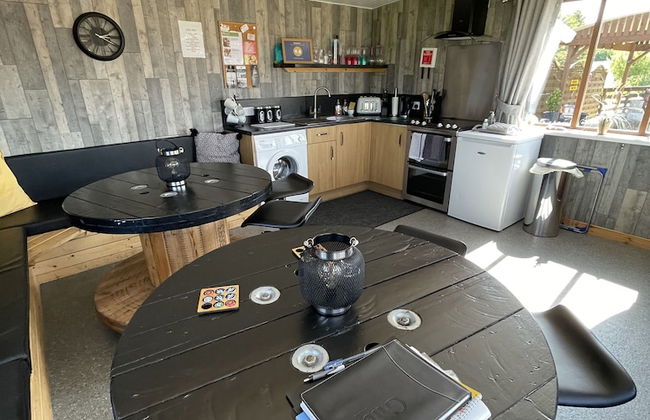


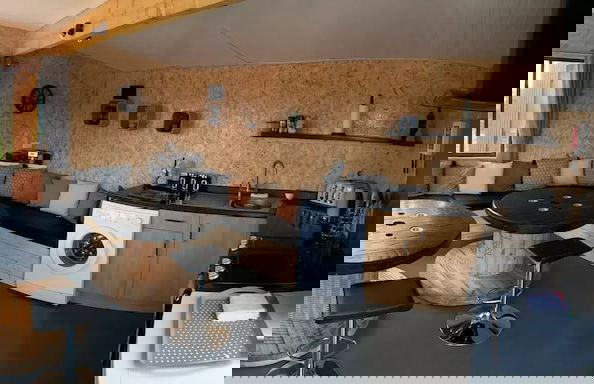


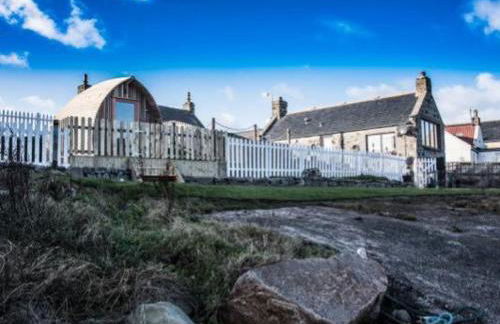
Acdc Glamping, Campervan , Caravan and Tent Resort
Fraserburgh - New Aberdour
- 24 M2
- 5 personnes
- Le chauffage
- Terrasse
- Parking
- Balcon
- Jardin
- Tv
- Machine à laver
- Barbecue
- Serviettes
15 avis


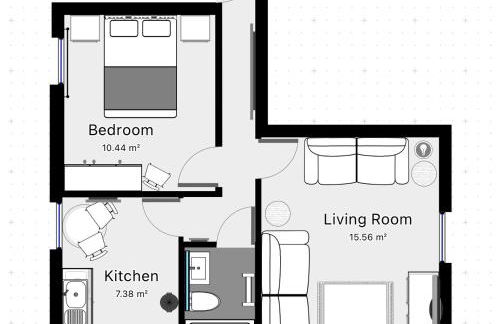
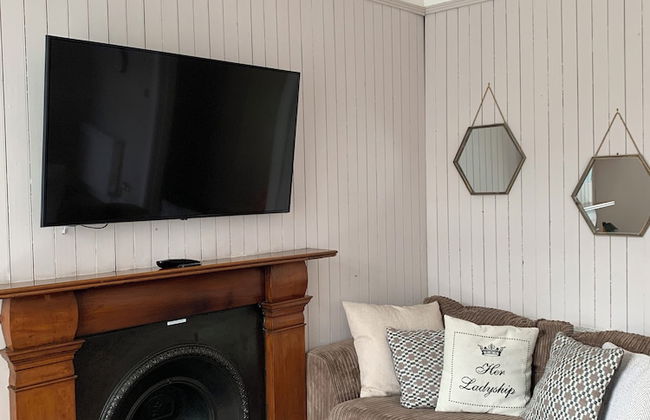
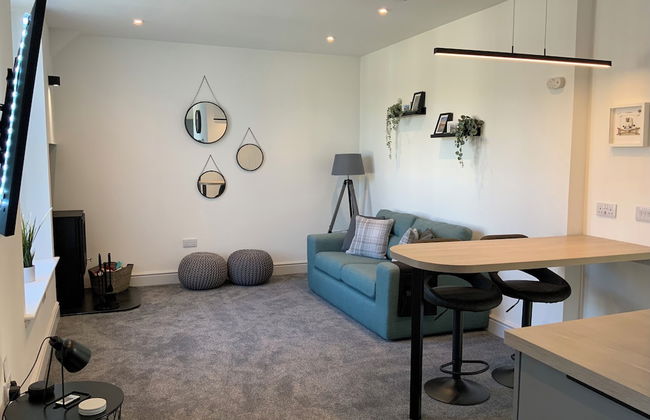
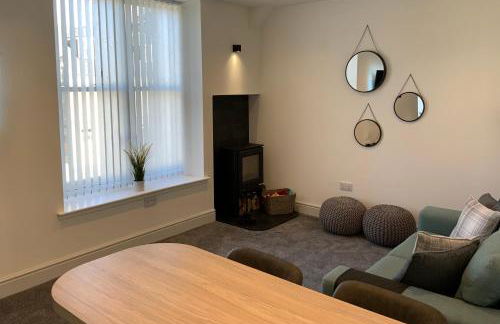
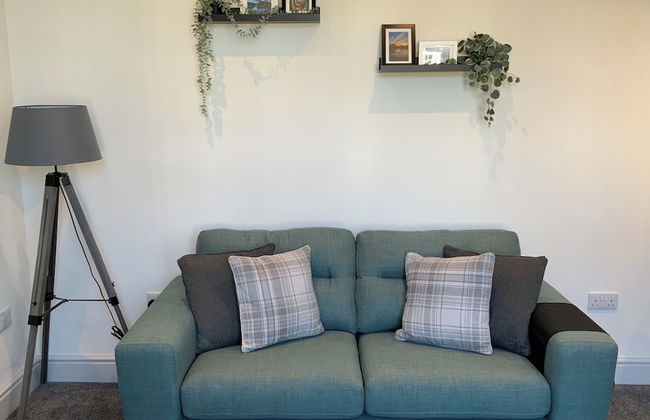
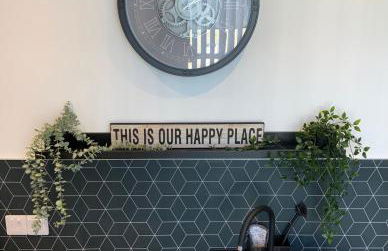
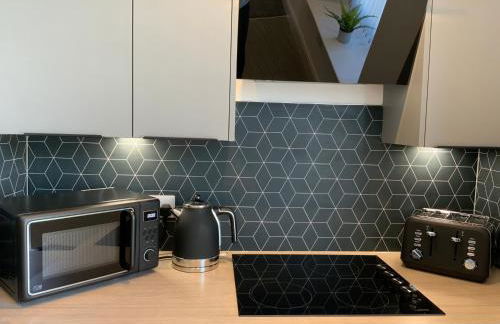
Modern City Center 2 Bedroom Apartment
Aberdeen - Aberdeen
- 60 M2
- 2 chambres
- 4 personnes
- Le chauffage
- Parking
39 avis


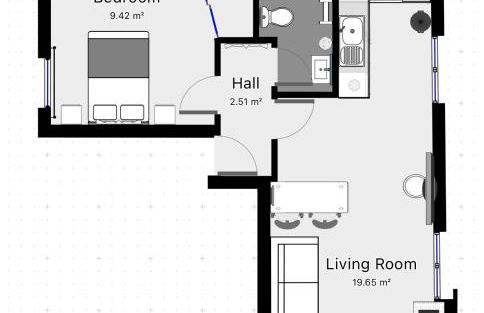
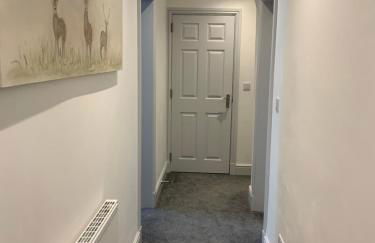
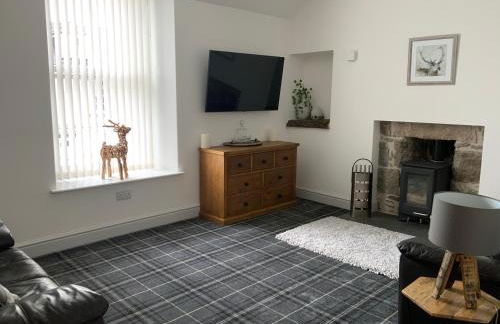
Tumbledown Croft, rural cottage near Cruden Bay
Peterhead - Cruden Bay
- 60 M2
- 2 chambres
- 4 personnes
- Le chauffage
- Terrasse
- Parking
- Jardin
- Barbecue
20 avis


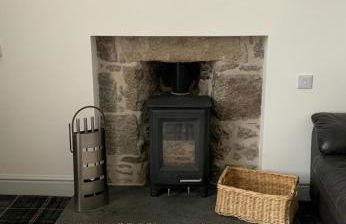
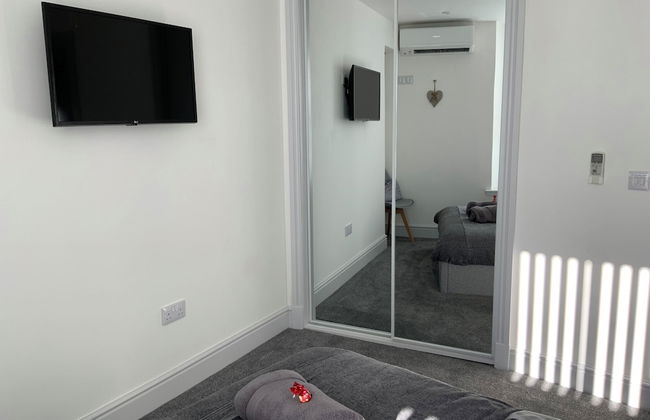
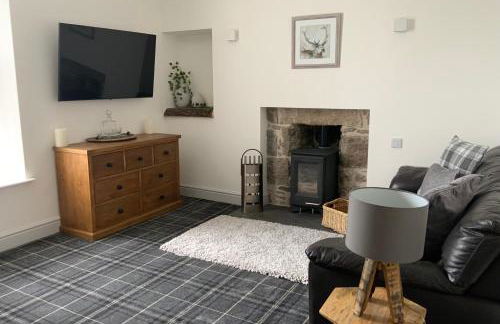
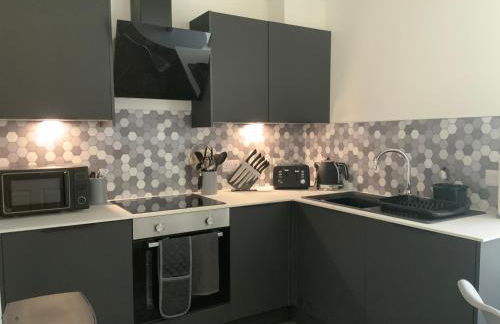
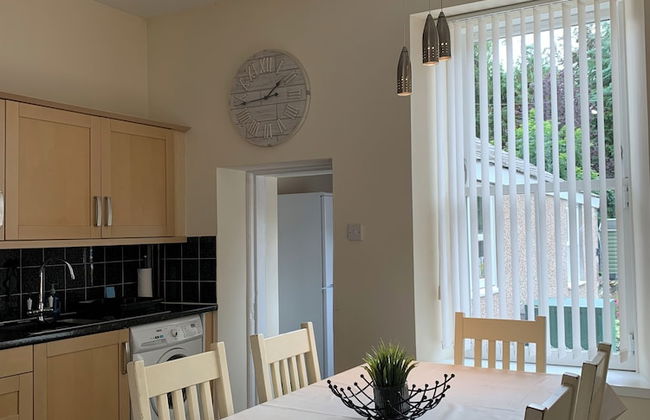
Royal Athenaeum Suites
Aberdeen - Aberdeen
- 45 M2
- 2 chambres
- 4 personnes
- Cuisinette
- Air conditionné
- Le chauffage
- Ascenseur
- Tv
- Machine à laver
- Serviettes
- Feuilles
277 avis


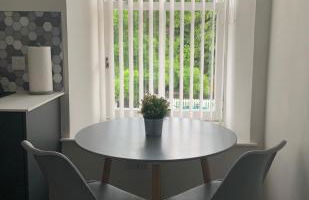
Orange Apartments Polmuir Gardens Only 7 minutes to City Centre
Aberdeen - Aberdeen
- 100 M2
- 3 chambres
- 6 personnes
- Le chauffage
- Parking
- Ascenseur
- Tv
- Machine à laver
- Serviettes
- Feuilles
65 avis


Lighthouse Cottage With Hottub
Aberdeen - Aberdeen
- 67 M2
- 2 personnes
- Le chauffage
- Terrasse
- Parking
- Jardin
80 avis


Central, Modern Apartment - Private Terrace - Dog Friendly
Aberdeen - Aberdeen - À 1.1 km de Aberdeen (geolocation.placetype.port)
- 72 M2
- 2 chambres
- 4 personnes
- Le chauffage
- Terrasse
- Parking
- Jardin
10 avis


Bimini Aberdeen
Aberdeen - Aberdeen
- 230 M2
- 9 chambres
- 10 personnes
- Le chauffage
- Parking
- Jardin
- Tv
- Machine à laver
- Serviettes
33 avis


Lewis Lodge - Stunning & Exclusive Luxury Home in the Heart of Ballater, Royal Deeside
Ballater - Ballater
- 2010 M2
- 4 chambres
- 8 personnes
- Le chauffage
- Terrasse
- Parking
- Jardin
21 avis


Aberdeen Serviced Apartments - Bloomfield
Aberdeen - Aberdeen - À 1.7 km de Aberdeen (geolocation.placetype.port)
- 65 M2
- 2 chambres
- 4 personnes
- Le chauffage
- Parking
- Tv
35 avis


Deeside Snugs Apartments
Aboyne - Kincardine O'Neil
- 68 M2
- 2 chambres
- 4 personnes
- Air conditionné
- Le chauffage
- Terrasse
- Parking
- Jardin
- Tv
- Machine à laver
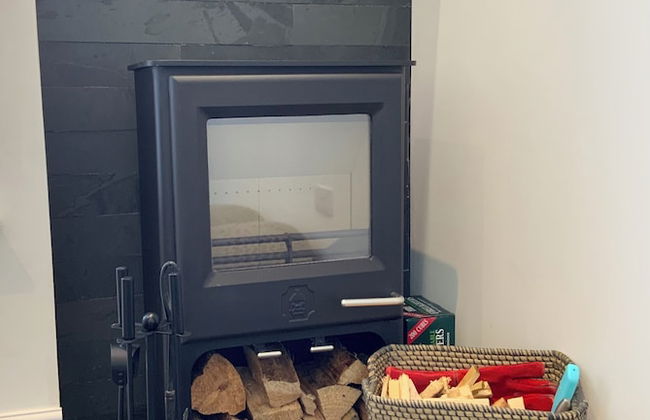
- Cheminée
- Serviettes
- Feuilles
3 avis

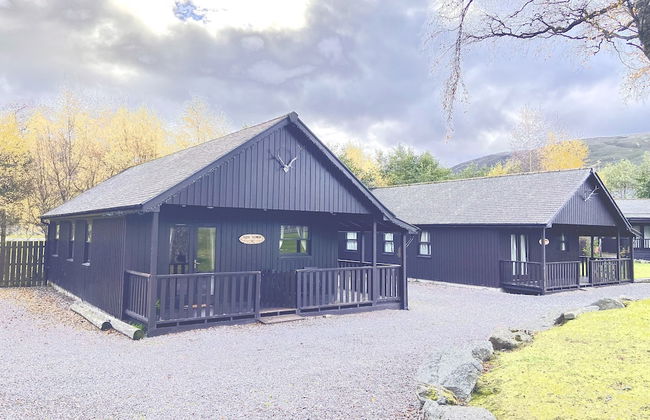
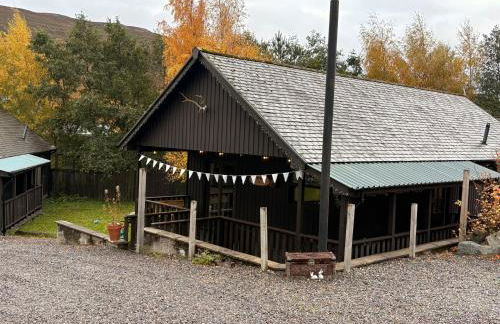
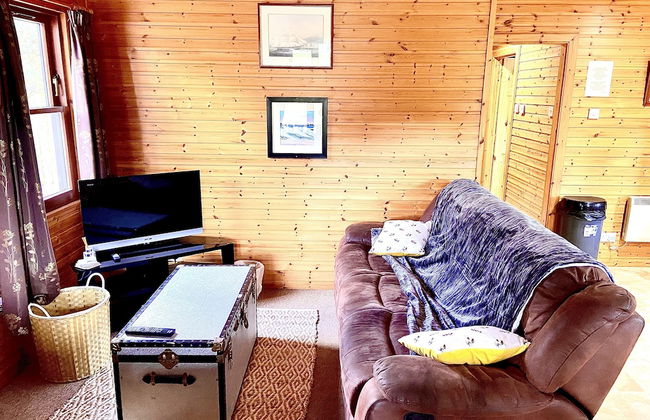
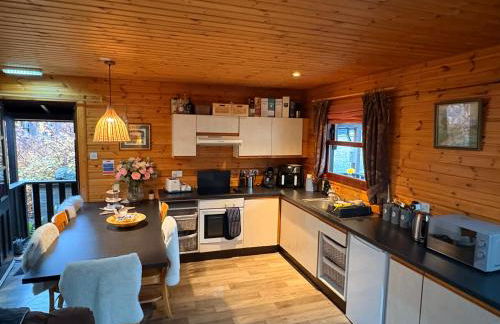

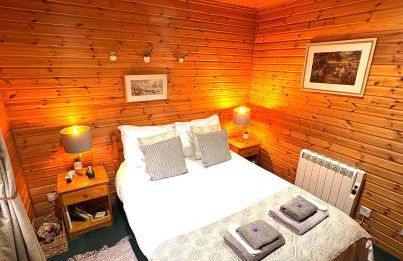
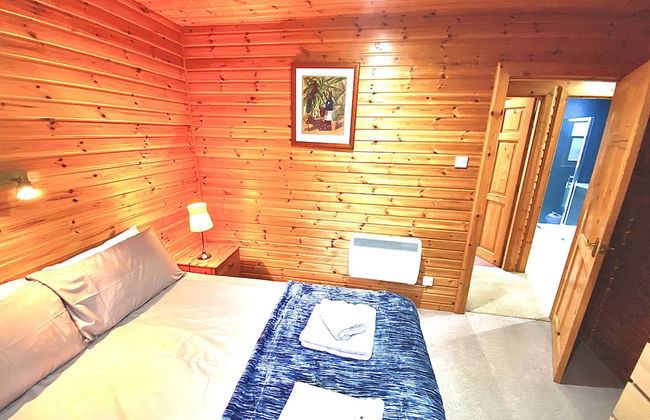
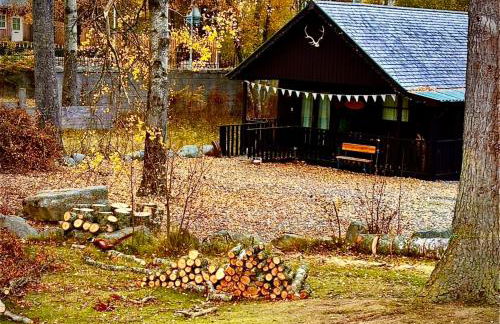
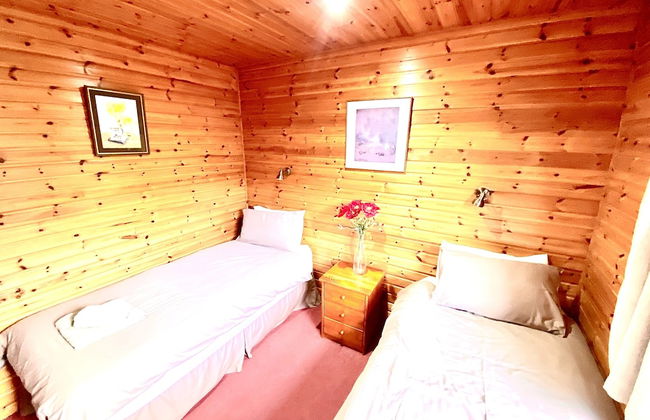
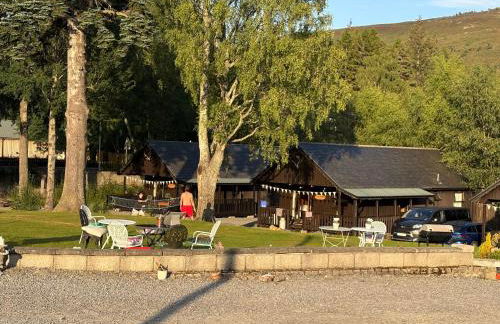

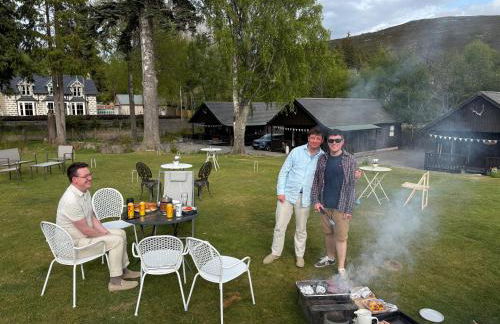
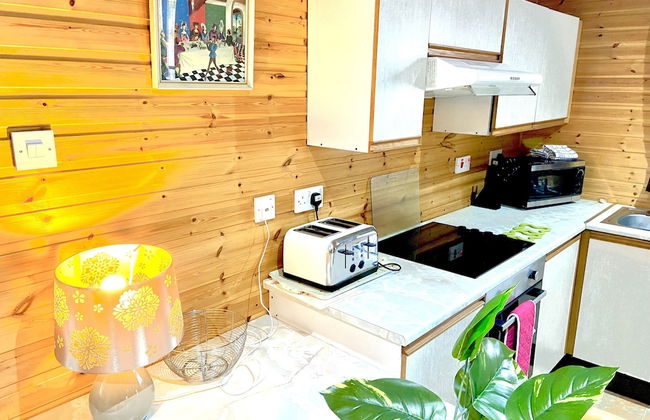
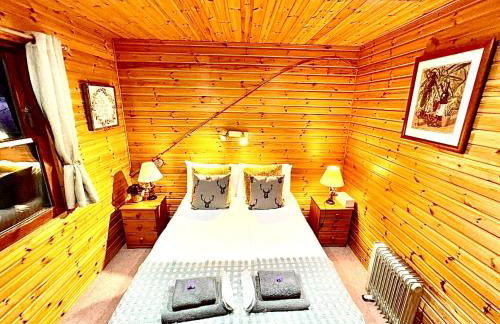


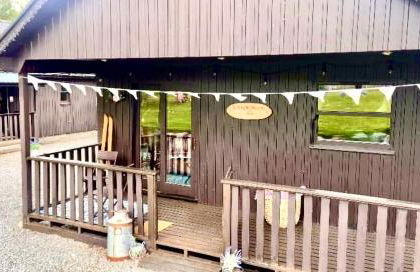
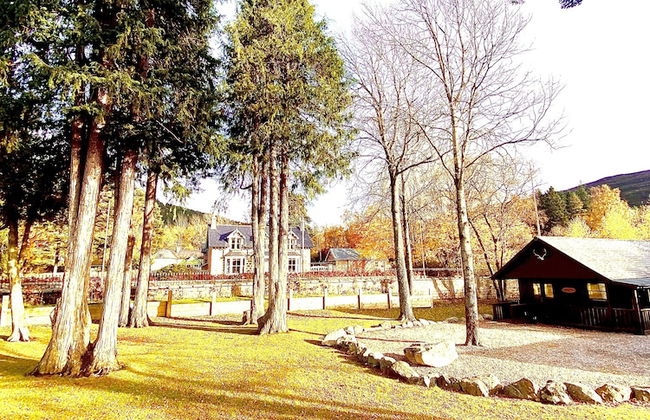

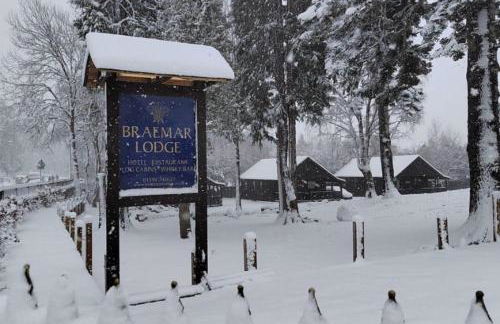


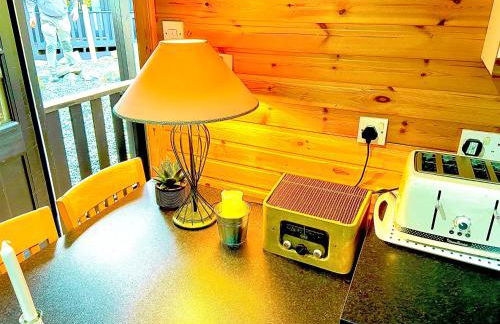

Braemar Lodge Cabins Not for profit
Ballater - Braemar
- 60 M2
- 3 chambres
- 6 personnes
- Le chauffage
- Parking
- Tv
- Serviettes
- Feuilles
19 avis


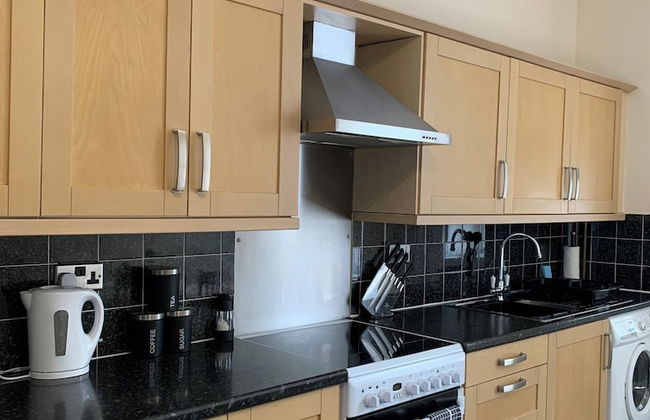
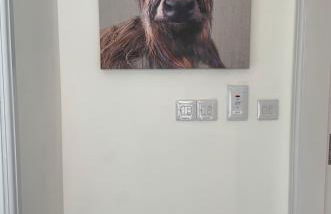
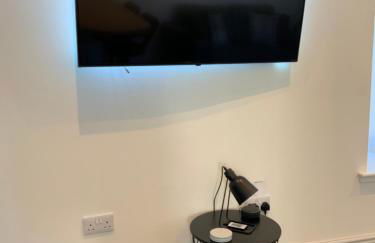
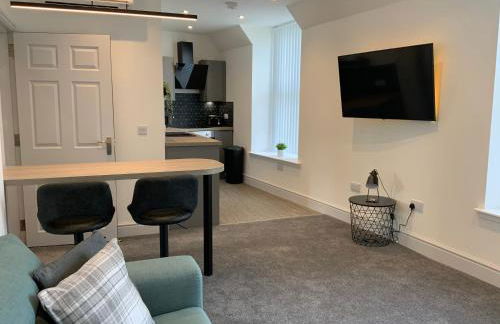
The Craibstone Suites
Aberdeen - Aberdeen
- 1 chambre
- 3 personnes
- Cuisinette
- Le chauffage
- Terrasse
- Parking
- Balcon
- Jardin
- Tv
- Serviettes
- Feuilles
166 avis