


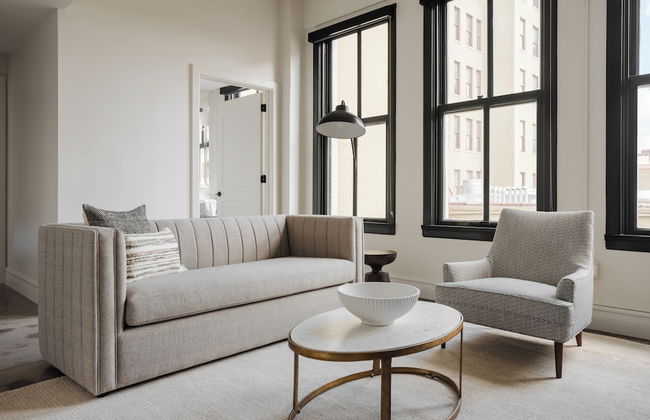
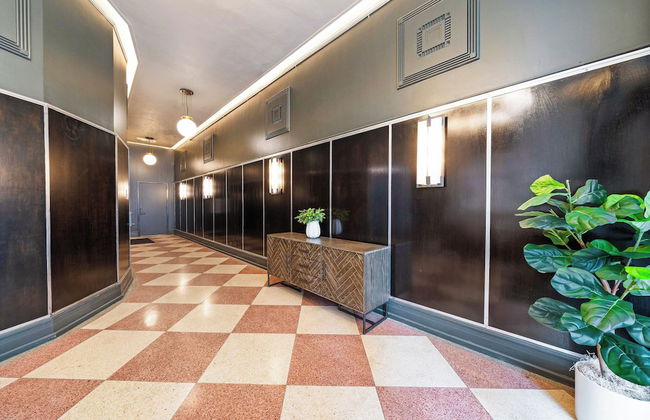
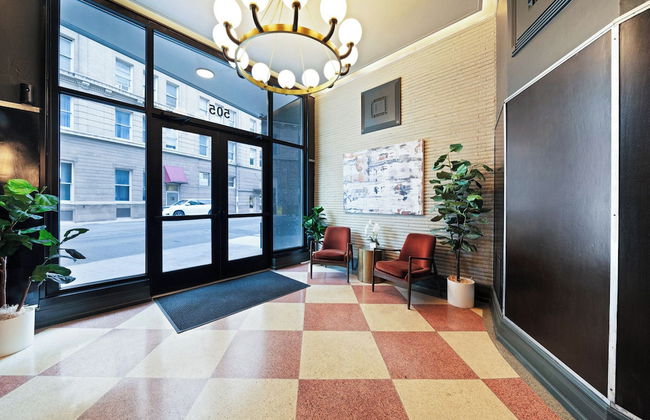
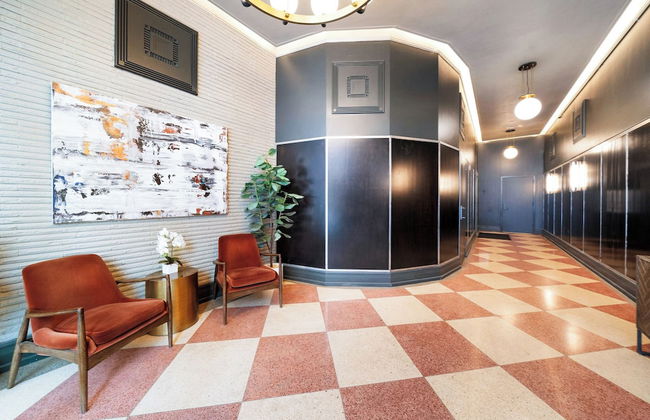
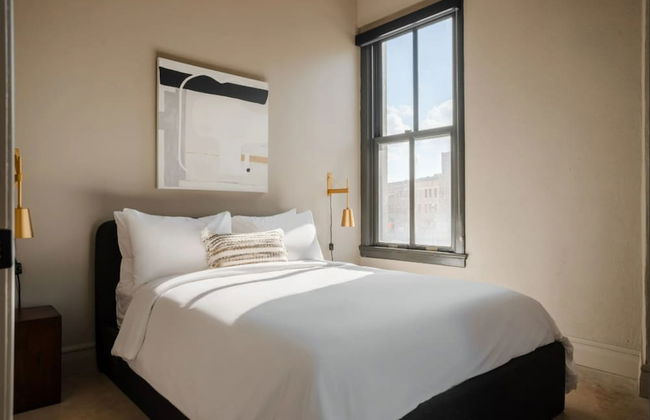
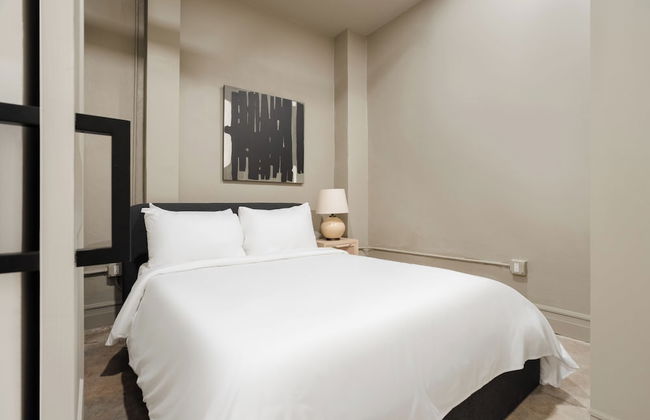
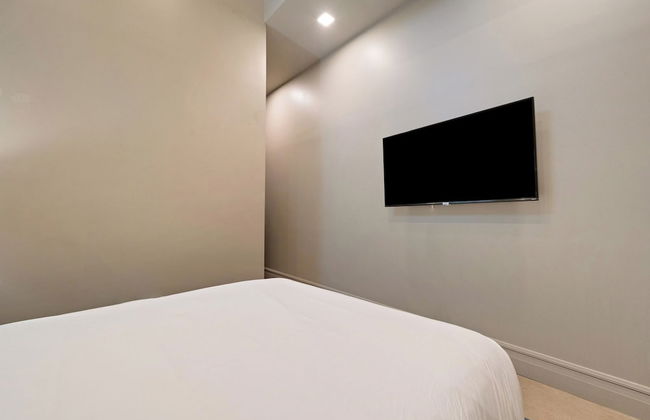
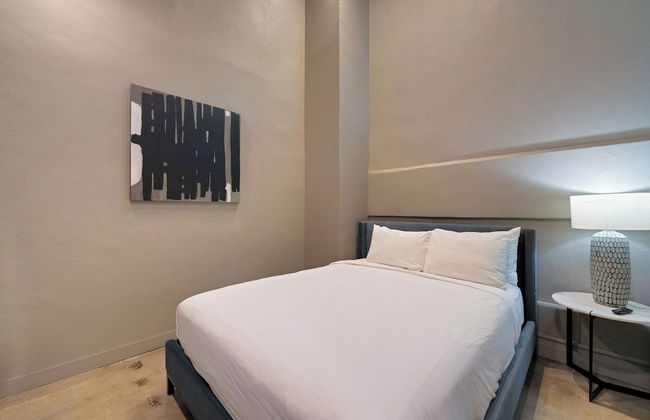
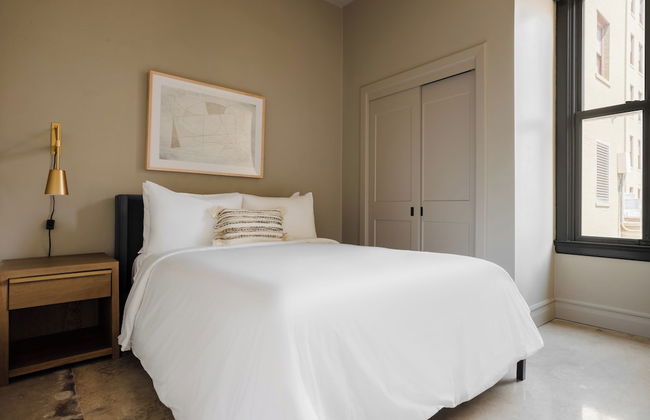
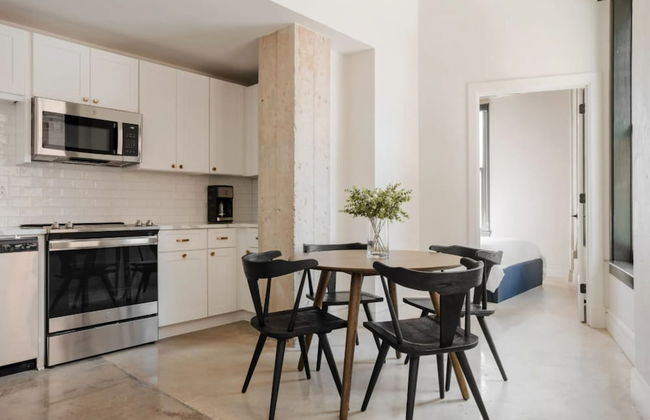
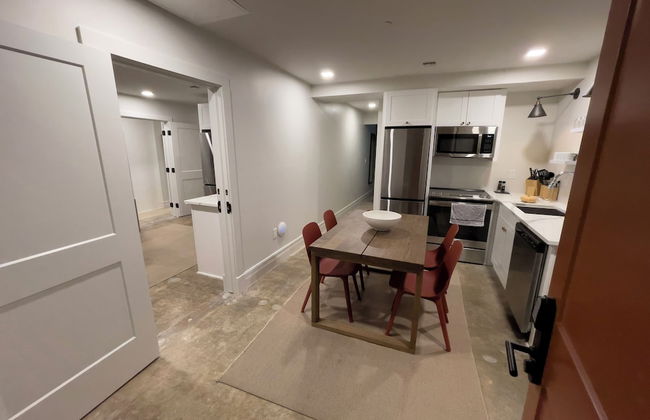
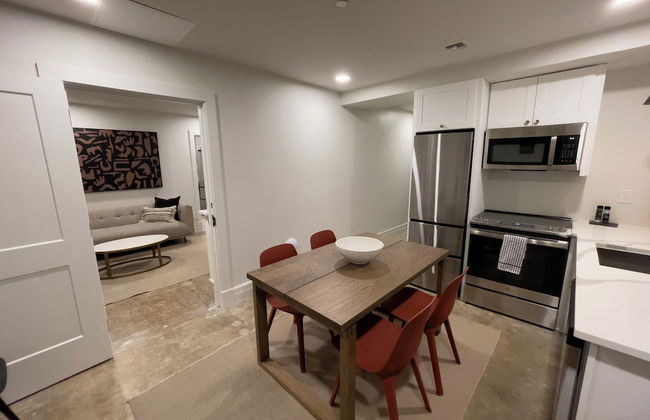
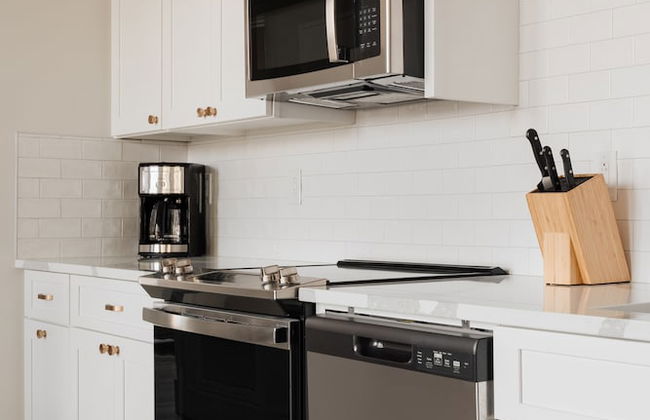
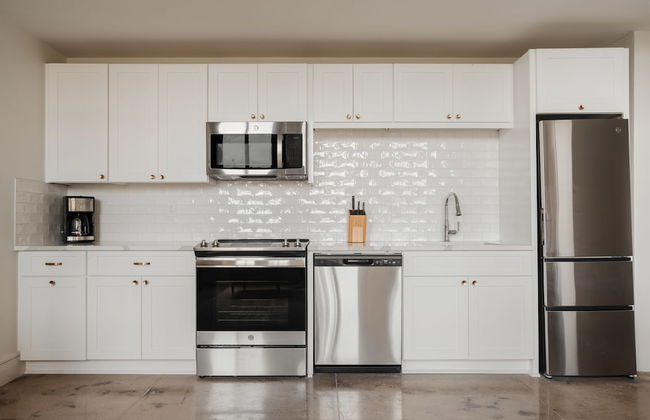
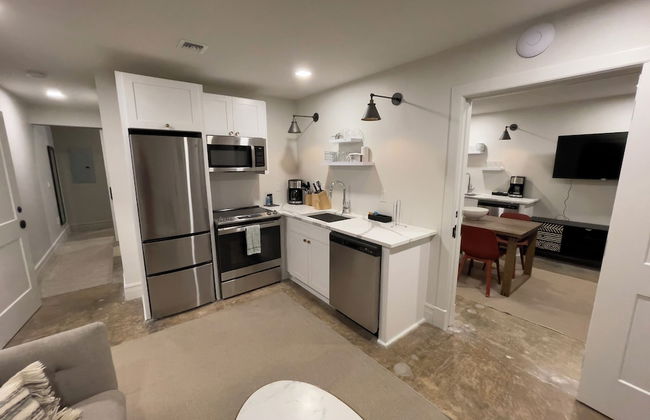
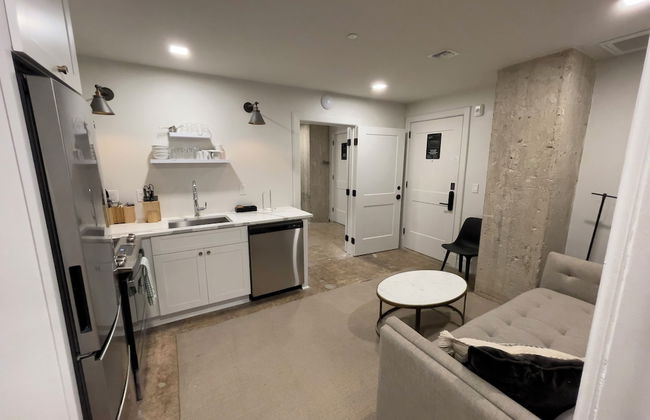
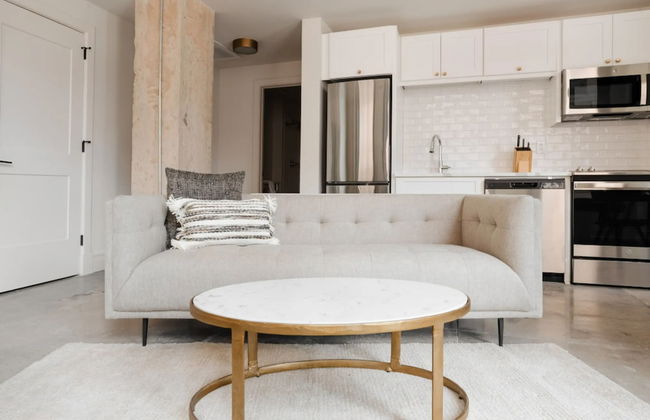
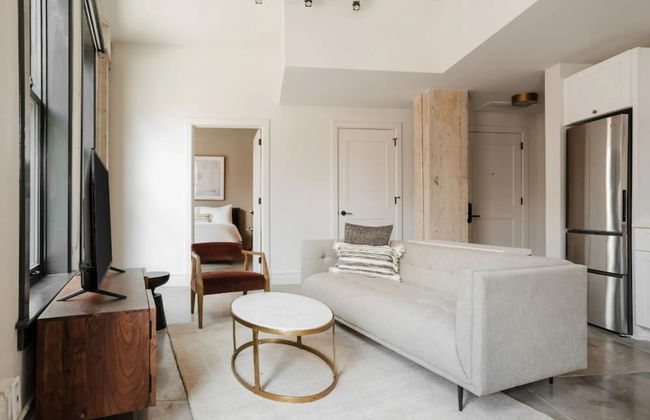
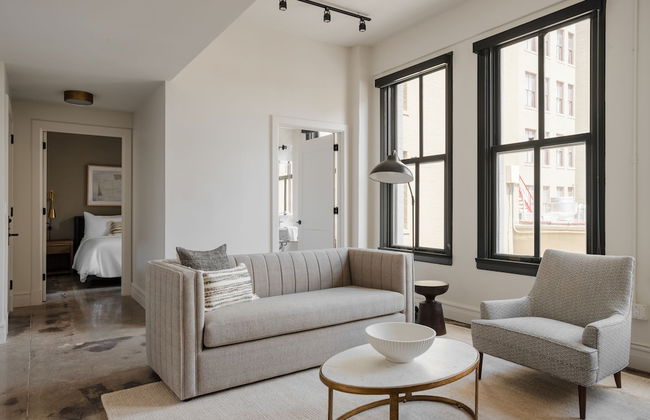
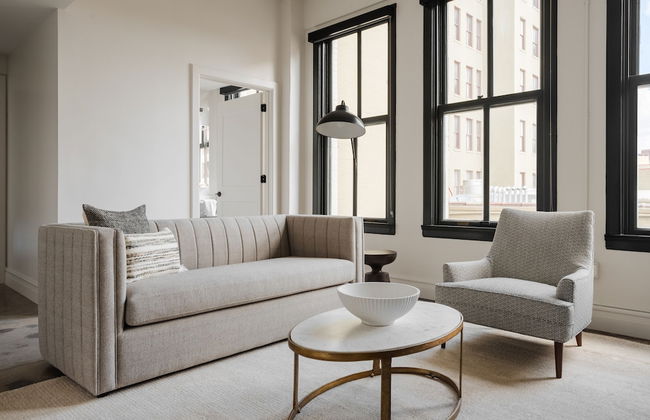
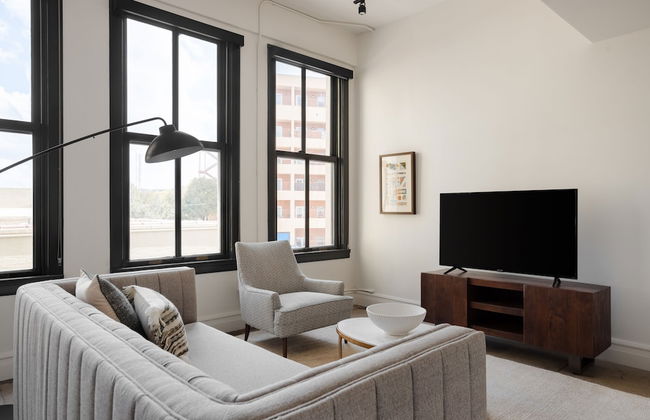
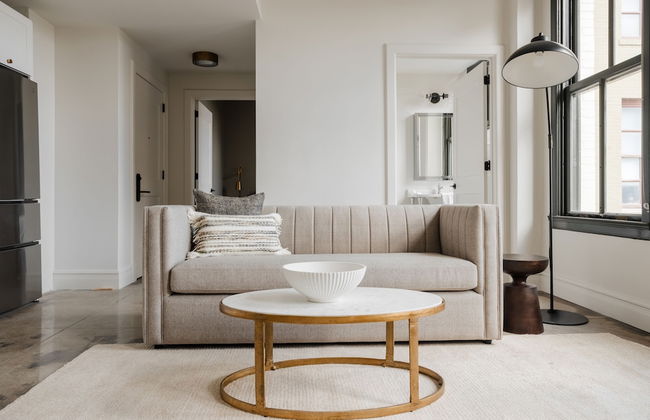
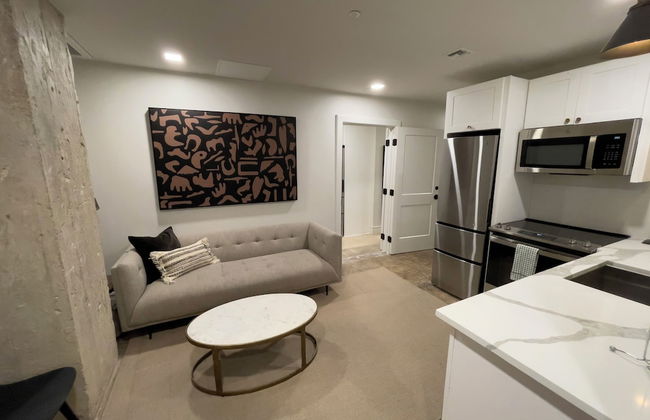
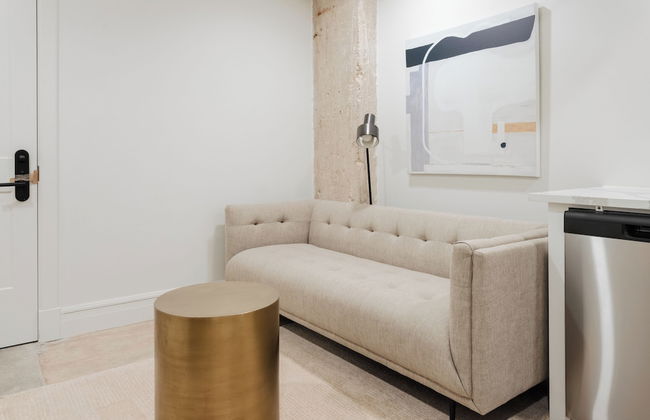
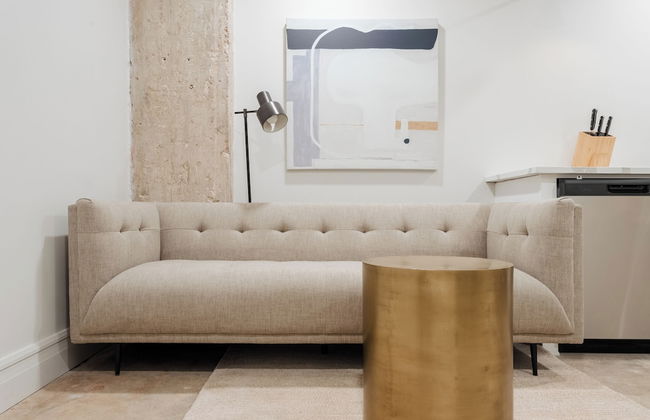
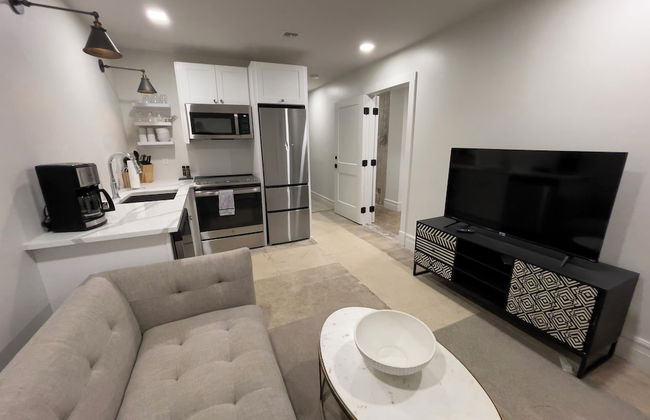
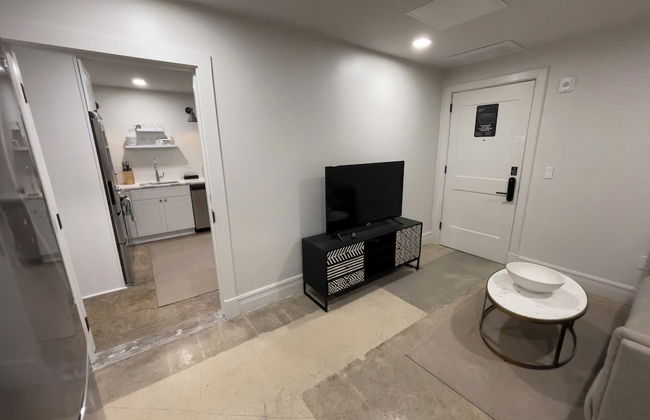
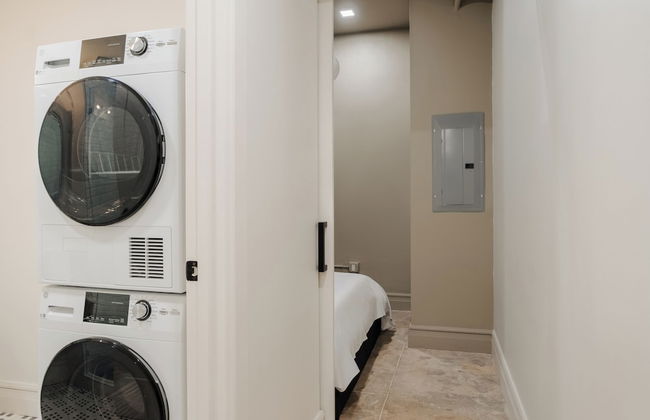
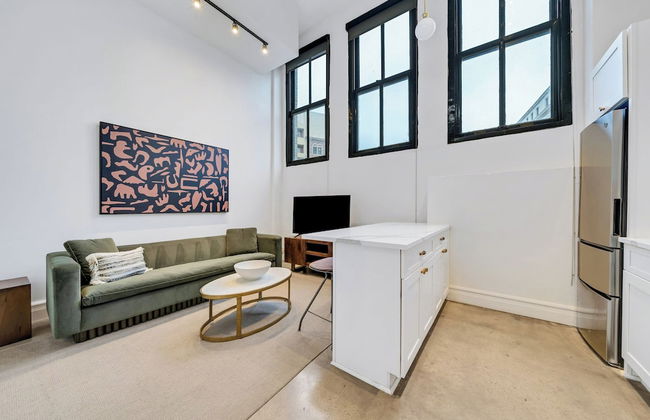
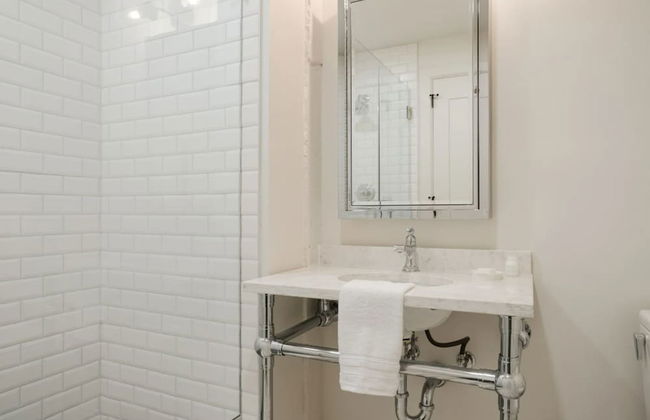
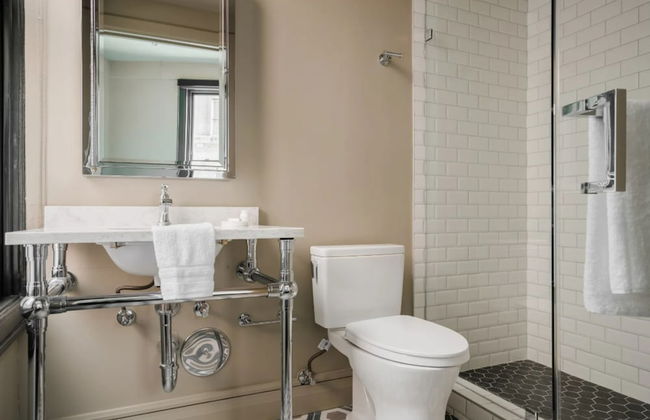
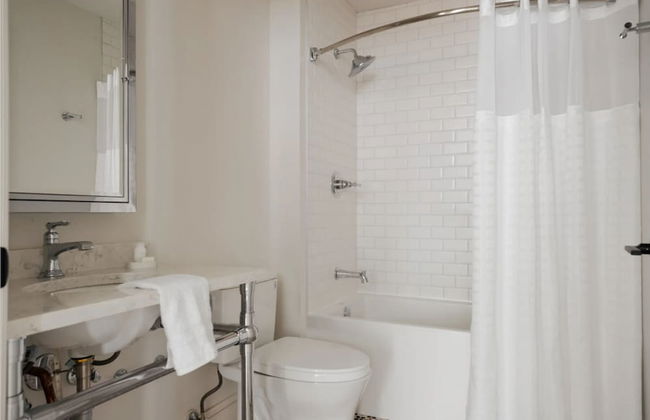
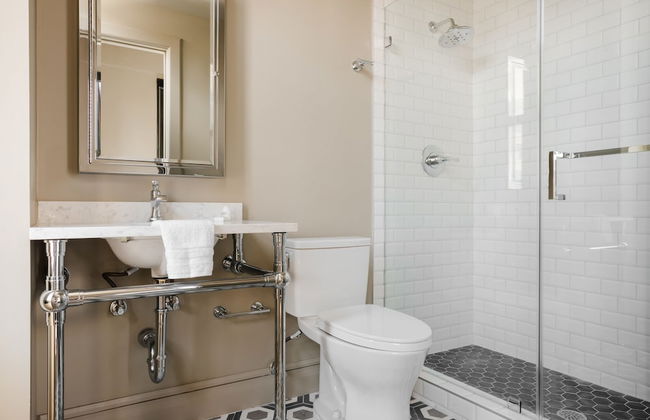
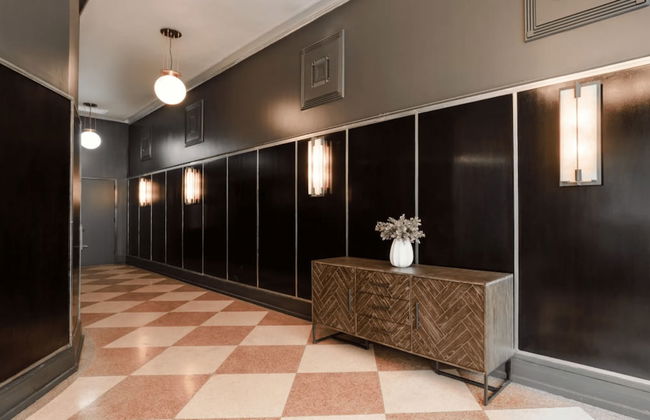
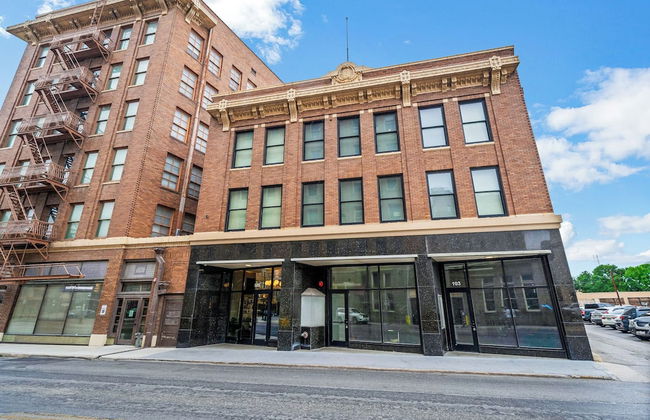
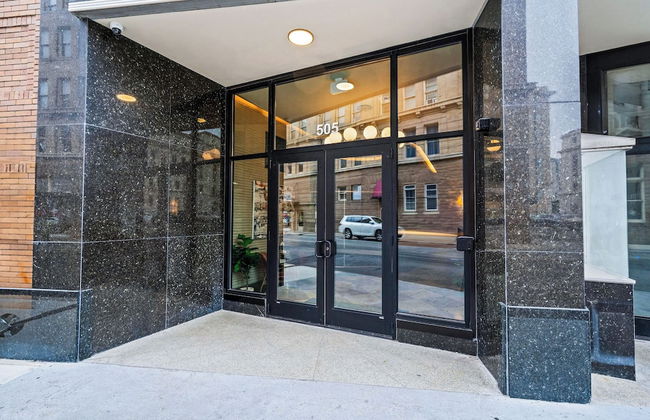
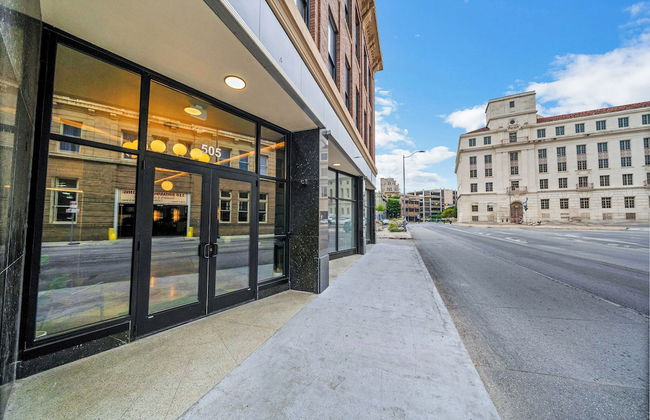
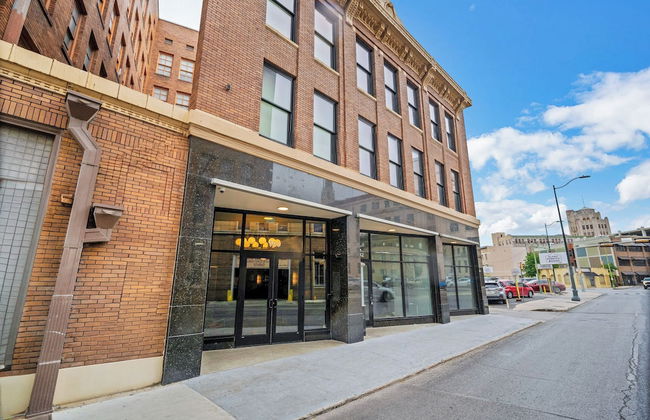
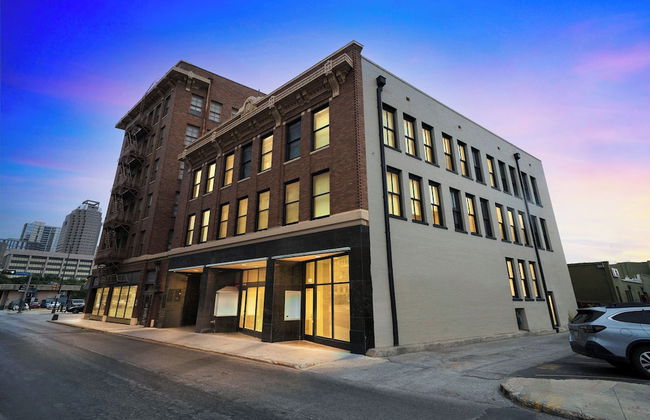
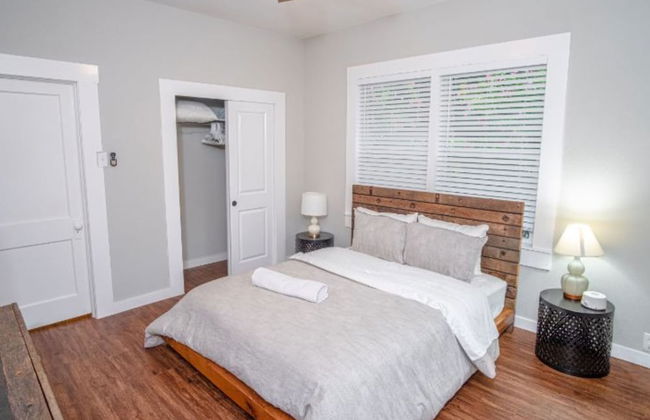
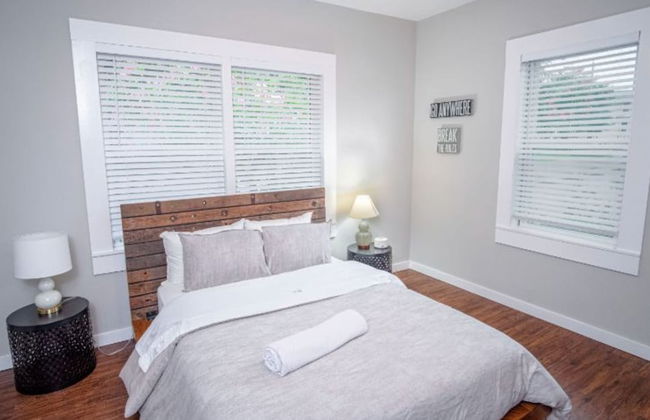
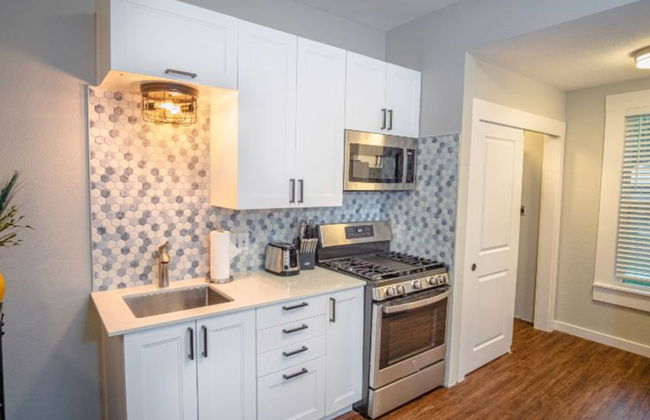
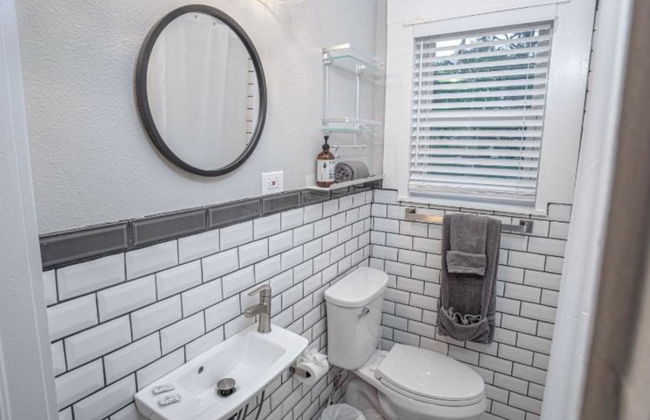
The Continental, powered by Placemakr - Downtown - Market Square
San Antonio - Downtown - Dans le centre
- 72 M2
- 2 chambres
- 6 personnes
- Air conditionné
- Le chauffage
- Parking
- Ascenseur
- Tv
- Machine à laver
- Serviettes
- Feuilles
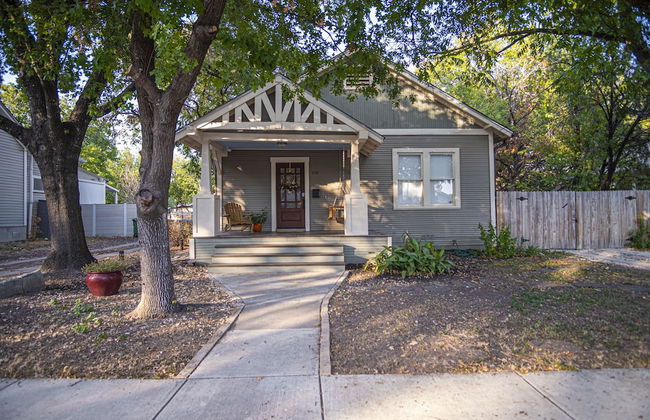


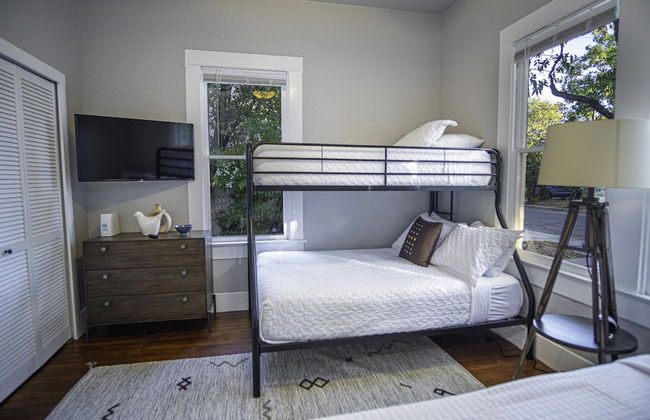

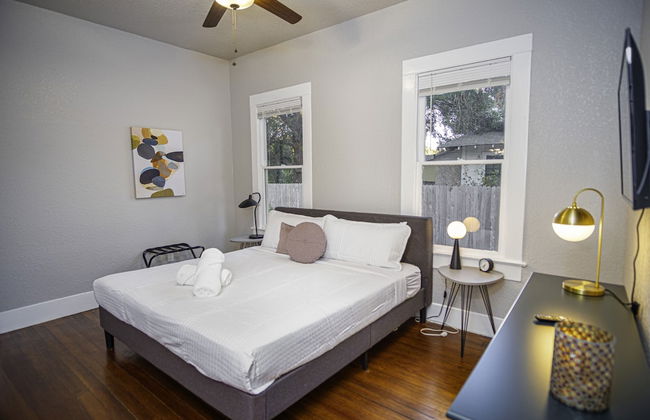


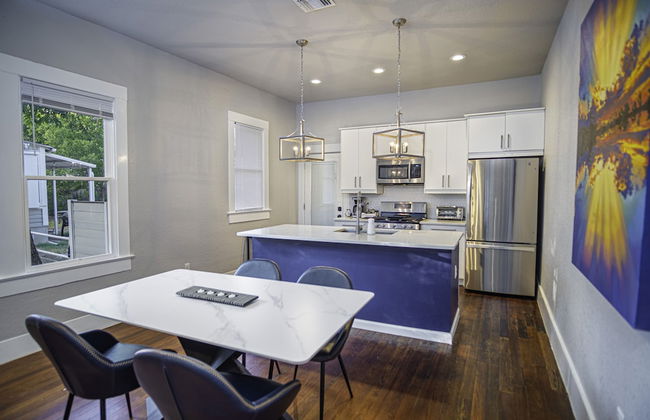


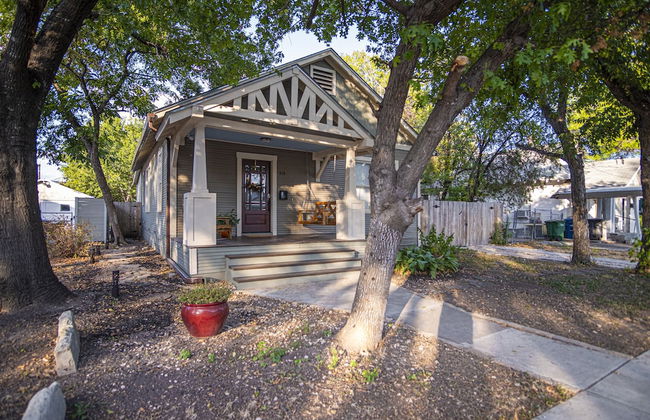


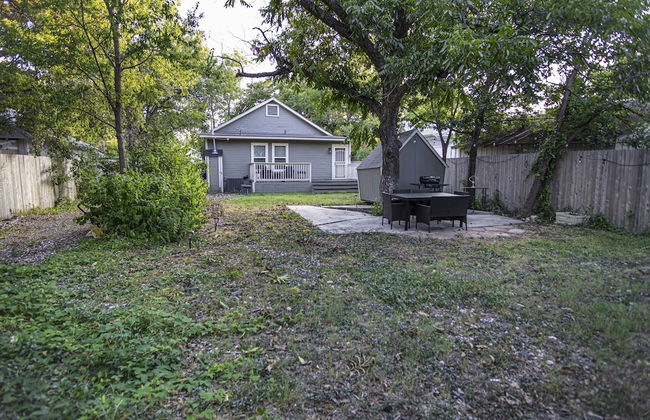


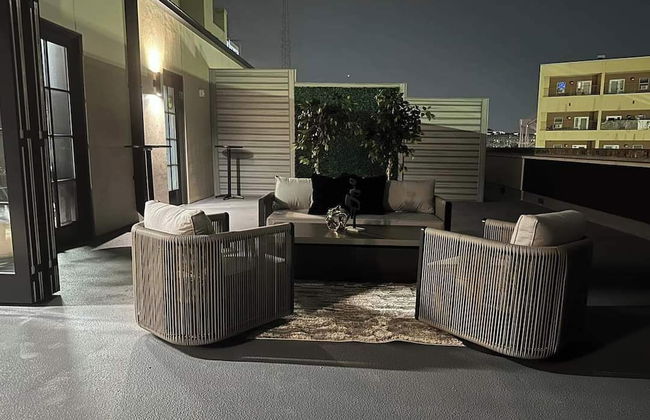
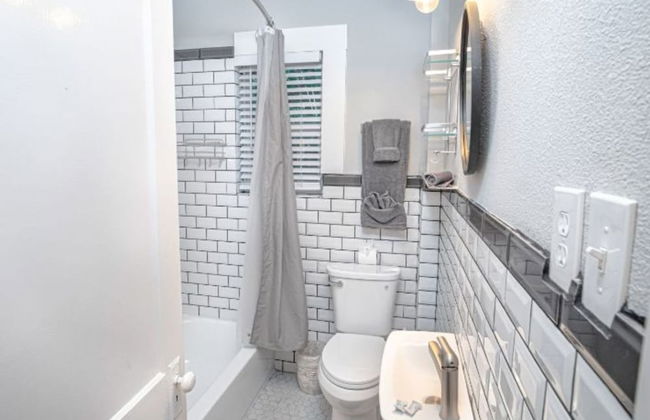
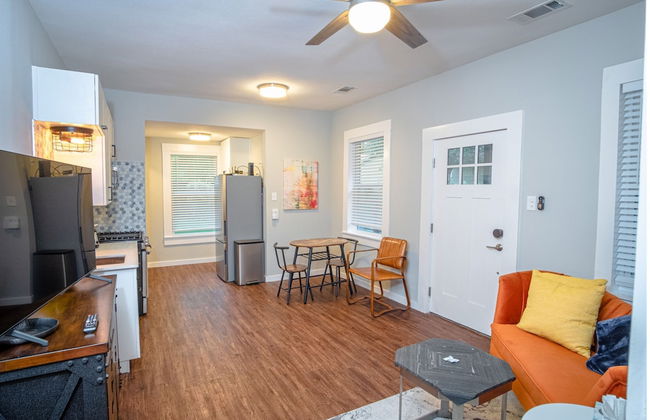
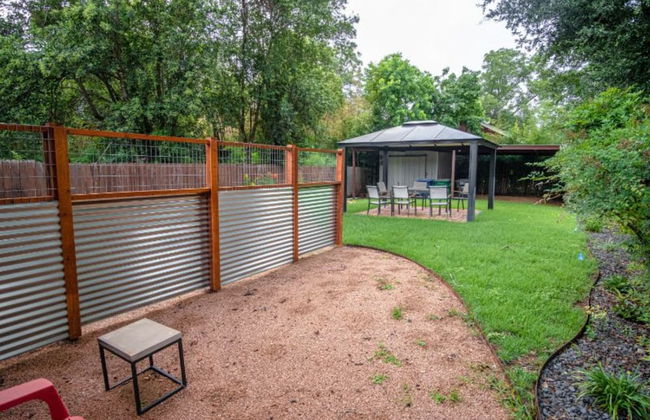
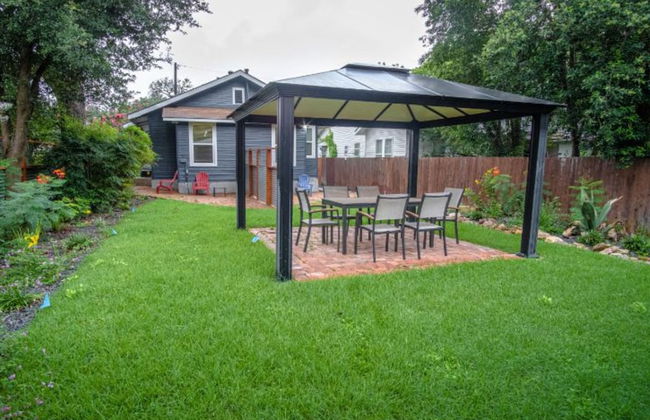
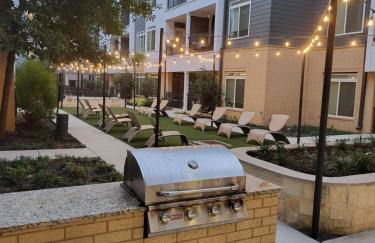
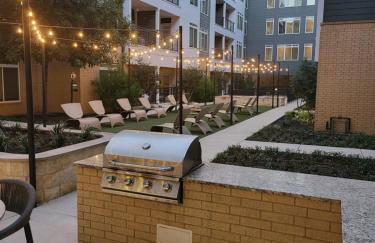
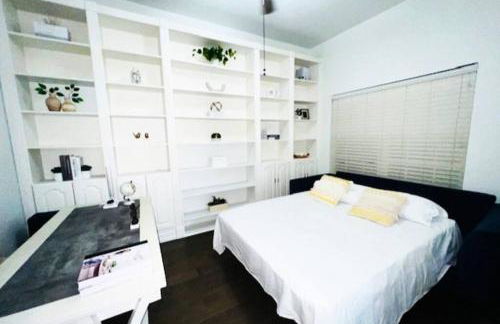
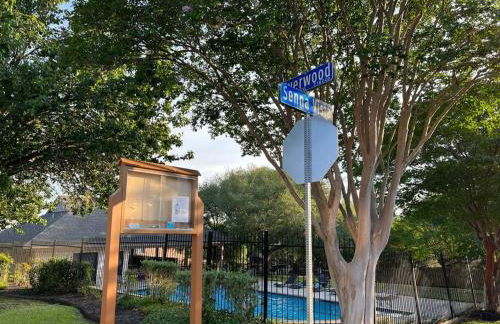
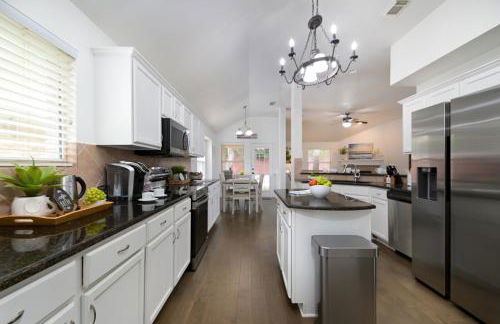
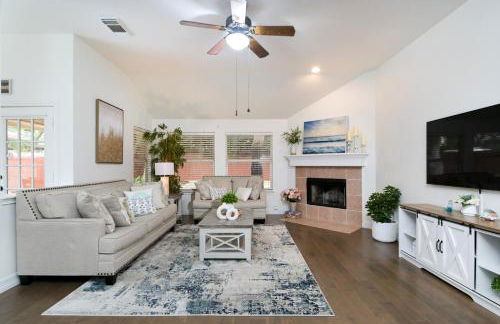
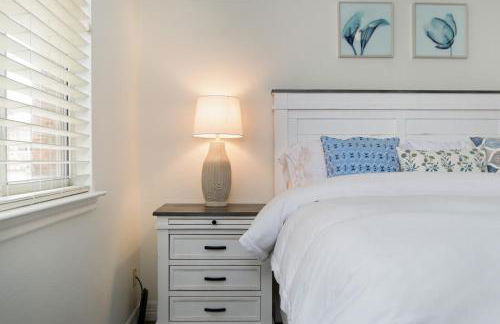
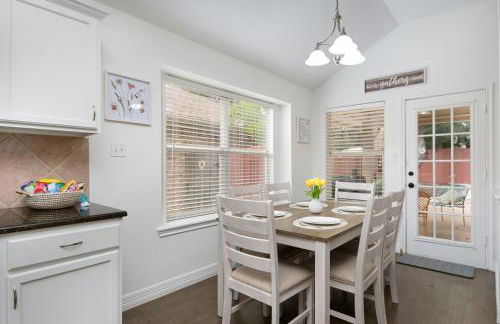
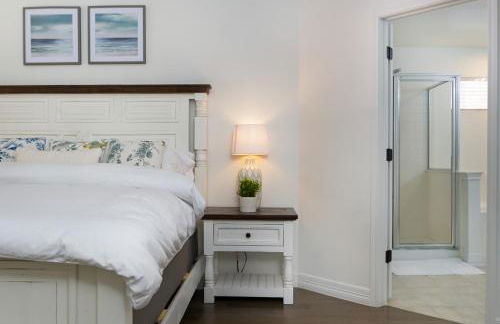
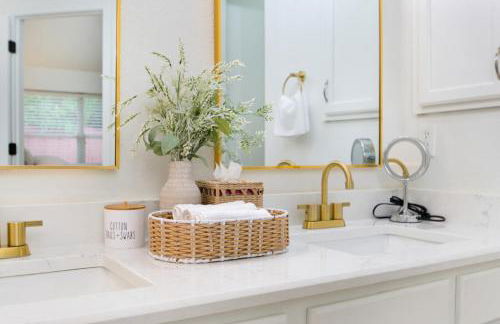
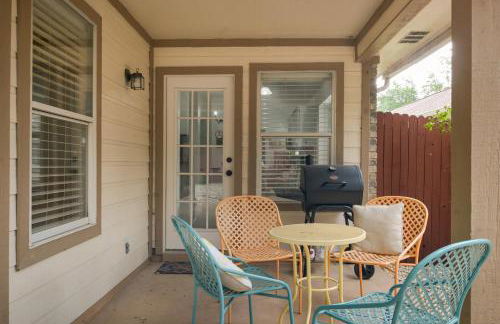
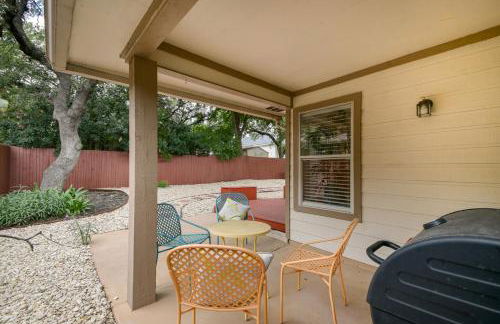
Chic Downtown Farmhouse With Garden and BBQ Grill
San Antonio - Lavaca - À 1.3 km du centre
- 126 M2
- 2 chambres
- 8 personnes
- Air conditionné
- Le chauffage
- Parking
- Jardin
- Tv
- Machine à laver
- Barbecue
- Serviettes
- Feuilles


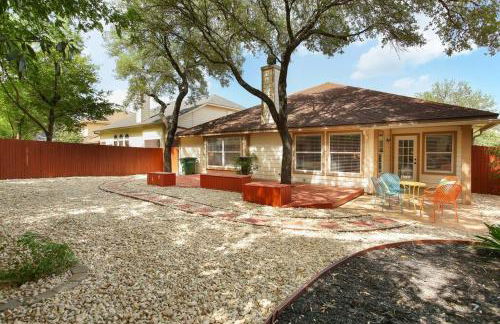
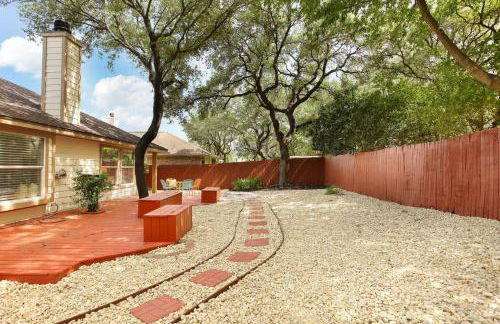
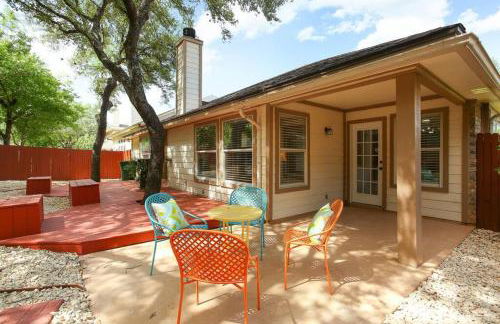
Cozy Manor
San Antonio - Tanglewood - À 17.8 km du centre
- 178 M2
- 8 personnes
- Air conditionné
- Terrasse
- Parking
- Balcon
- Jardin
- Tv
- Cheminée
- Barbecue


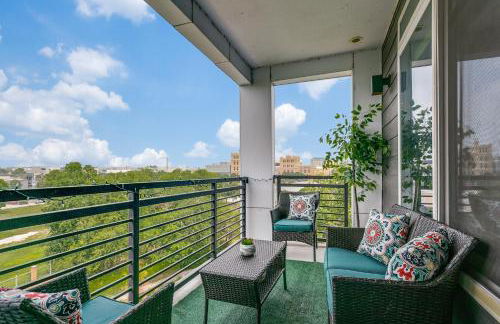
La Luz
San Antonio - Downtown - À 300 m du centre
- 139 M2
- 4 chambres
- 8 personnes
- Air conditionné
- Le chauffage
- Ascenseur
- Tv
- Machine à laver
- Serviettes
- Feuilles


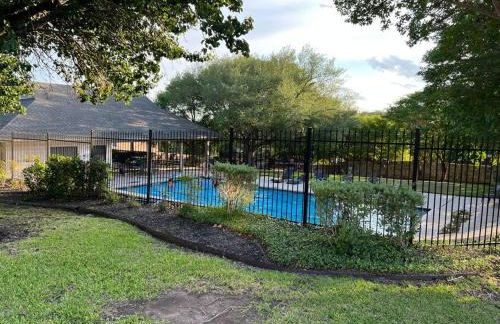
Bluegreen Vacations Eilan Hotel and Spa, an Ascend Collection Resort
San Antonio - À 22.8 km du centre
- 4 personnes
- Air conditionné
- Le chauffage
- Terrasse
- Piscine
- Parking
- Ascenseur
- Jardin
- Tv
- Serviettes
- Feuilles


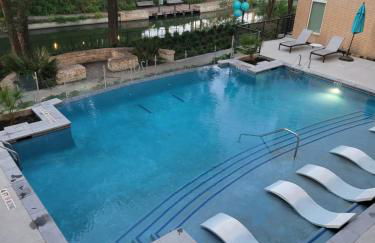
Riverwalk and Pool view Apt with King bed Infinity Pool Gym Free Parking
San Antonio - Downtown - À 1.1 km du centre
- 75 M2
- 1 chambre
- 4 personnes
- Air conditionné
- Le chauffage
- Terrasse
- Piscine
- Parking
- Ascenseur
- Jardin


Centrally Located Stunning 3BR 2BA Near Downtown
San Antonio - À 2.6 km du centre
- 139 M2
- 3 chambres
- 9 personnes
- Air conditionné
- Le chauffage
- Terrasse
- Parking
- Jardin
- Tv
- Serviettes
- Feuilles


SPACIOUS TOWNHOUSE MINUTES FROM DOWNTOWN SA.
San Antonio - Nevada Street - À 2 km du centre
- 111 M2
- 2 chambres
- 6 personnes
- Air conditionné
- Le chauffage
- Parking
- Jardin
- Barbecue


Gateway Casita
San Antonio - À 15.3 km du centre
- 116 M2
- 12 personnes
- Air conditionné
- Le chauffage
- Terrasse
- Parking
- Tv
- Machine à laver
- Barbecue
- Serviettes
- Feuilles


Luxury 5BR House with Pool by SeaWorld & Lackland
San Antonio - À 16 km du centre
- 223 M2
- 5 chambres
- 16 personnes
- Air conditionné
- Le chauffage
- Terrasse
- Piscine
- Parking
- Jardin
- Barbecue


Beautiful RiverWalk Apt with Full Amenities, King Bed & Free Parking
San Antonio - À 1.1 km du centre
- 67 M2
- 1 chambre
- 4 personnes
- Air conditionné
- Le chauffage
- Terrasse
- Piscine
- Parking
- Ascenseur
- Jardin
- Barbecue


Spacious & Homey 4br/3ba W/amenities Near Downtown
San Antonio - Denver Heights - À 3 km du centre
- 92 M2
- 4 chambres
- 13 personnes
- Air conditionné
- Le chauffage
- Parking
- Tv
- Machine à laver
- Serviettes
- Feuilles


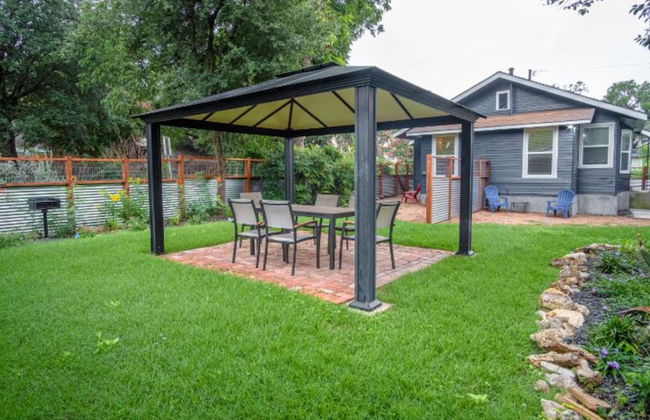
3 BR l Quiet Home with Gazebo l 5 min Medical center l Work room
San Antonio - À 10.9 km du centre
- 132 M2
- 4 chambres
- 8 personnes
- Air conditionné
- Le chauffage
- Terrasse
- Parking
- Jardin
- Barbecue


SanAnto Inn
San Antonio - Tierra Linda - À 6.9 km du centre
- 161 M2
- 2 chambres
- 7 personnes
- Air conditionné
- Le chauffage
- Terrasse
- Parking
- Jardin


Gorgeous, Brand New 3 Bedrooms Home- Built 2024, Near SeaWorld & Lackland AFB
San Antonio - À 15.1 km du centre
- 123 M2
- 3 chambres
- 8 personnes
- Air conditionné
- Terrasse
- Parking
- Jardin


The Rustic Inn- Family Friendly Near Fiesta Texas
San Antonio - À 30 km du centre
- 8 personnes
- Air conditionné
- Le chauffage
- Parking
- Balcon
- Jardin
- Tv
- Machine à laver
- Barbecue
- Serviettes
- Feuilles


Remodeled Modern 1br/1ba Apt2 Near Dtwn 5min Pearl
San Antonio - Mahncke Park - À 3.7 km du centre
- 72 M2
- 4 personnes
- Air conditionné
- Le chauffage
- Parking
- Tv
- Machine à laver
- Feuilles


RiverWalk PentHouse Oasis w/Free Parking Gym Pool
San Antonio - Downtown - À 1.1 km du centre
- 111 M2
- 2 chambres
- 8 personnes
- Air conditionné
- Le chauffage
- Terrasse
- Piscine
- Parking
- Ascenseur
- Jardin
- Barbecue

Beautiful Condo on Riverwalk w King Ste Free Parking Pet friendly centrally Located on the Riverwalk
San Antonio - À 1.1 km du centre
- 60 M2
- 1 chambre
- 4 personnes
- Air conditionné
- Le chauffage
- Terrasse
- Piscine
- Parking
- Jardin
- Barbecue


Texas Luxury Home 2
San Antonio - Vistas of Encino Park - À 24.9 km du centre
- 214 M2
- 4 chambres
- 8 personnes
- Air conditionné
- Piscine
- Parking
- Jardin
- Barbecue