
129 Appartements à Berwick upon Tweed
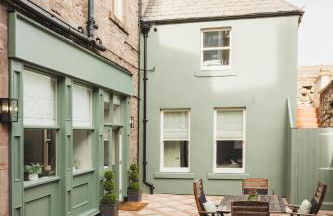
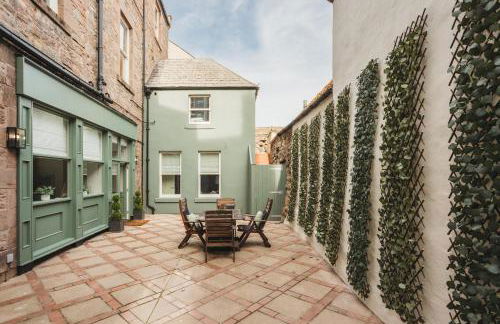

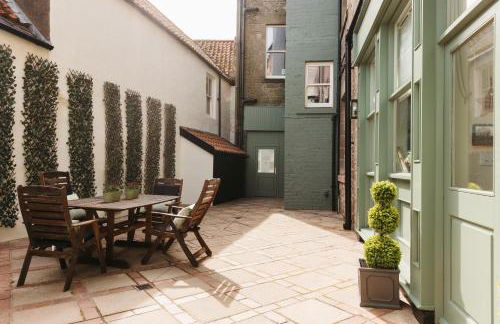
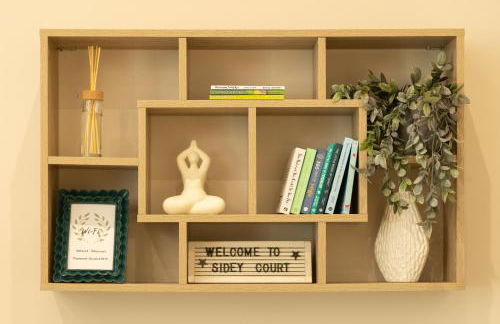
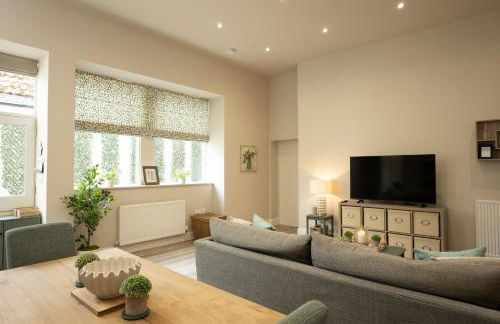
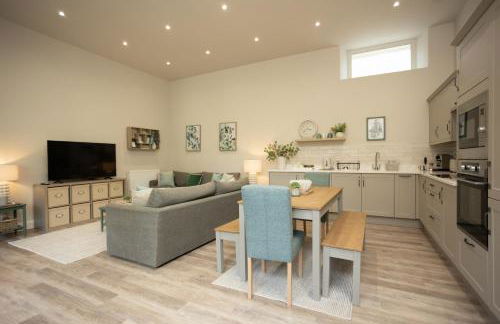


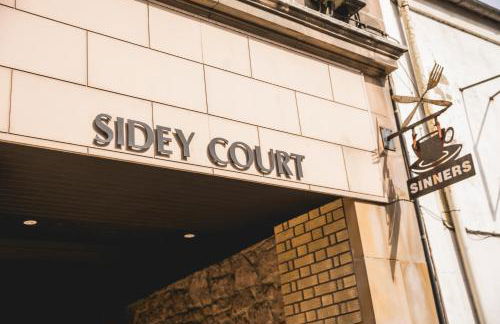
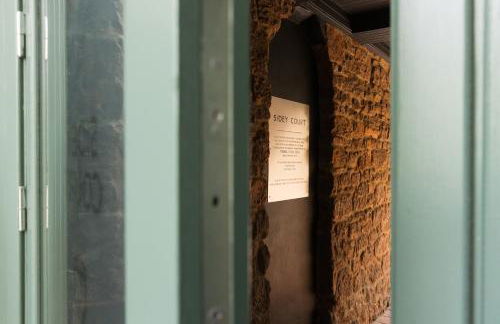
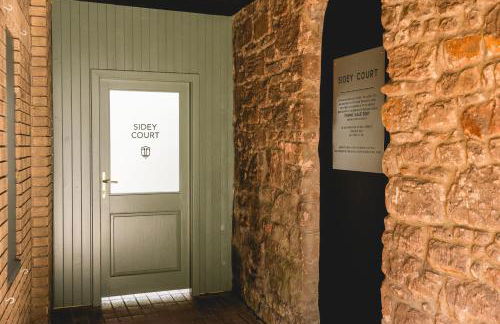
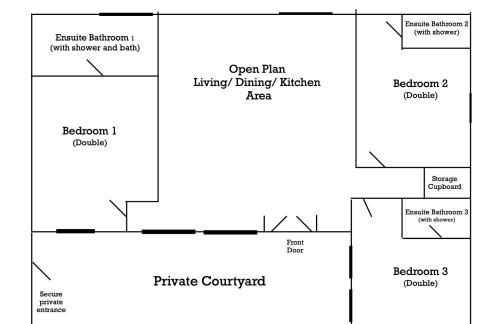

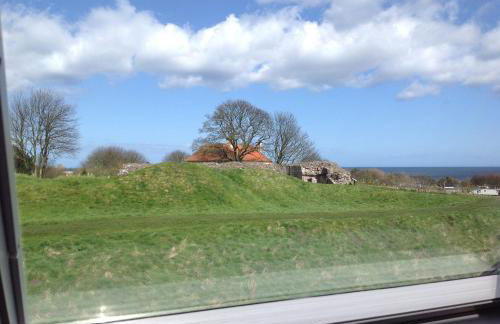
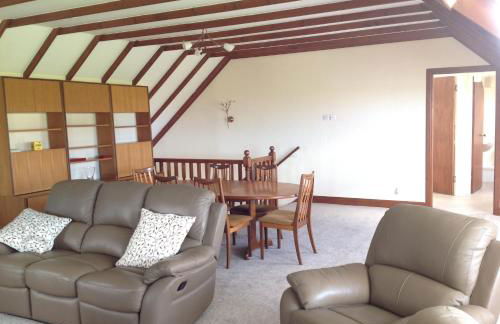
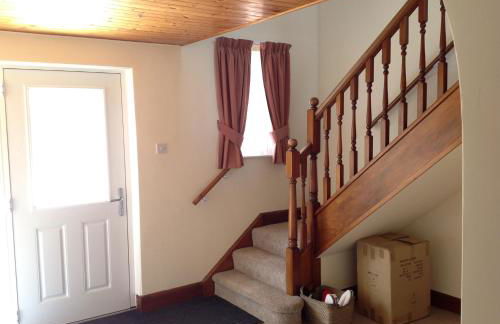
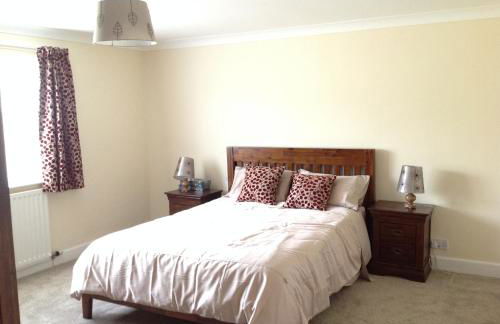
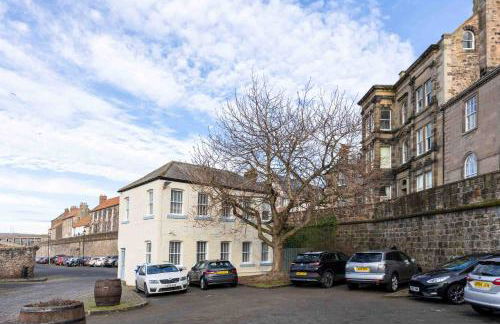
Sidey Court
Berwick - Berwick upon Tweed
- 8 M2
- 3 chambres
- 6 personnes
- Le chauffage
- Terrasse
- Parking
- Jardin
36 avis
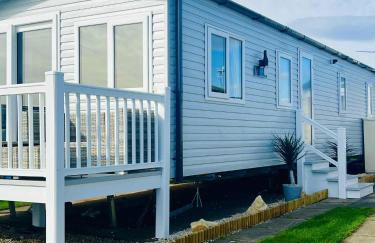
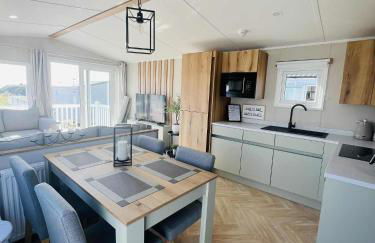
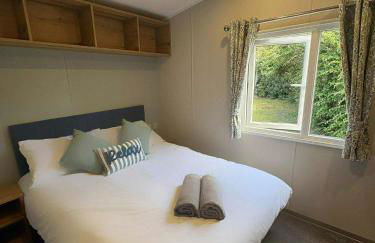
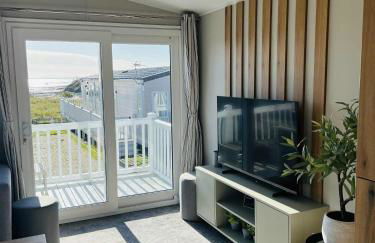
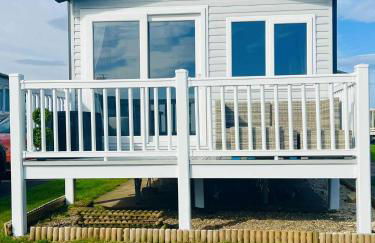
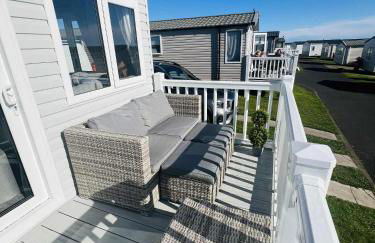
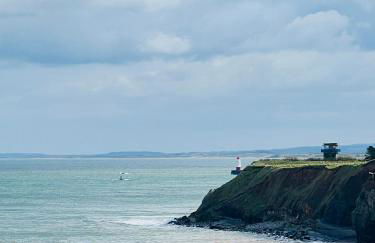

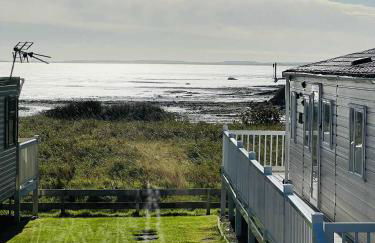
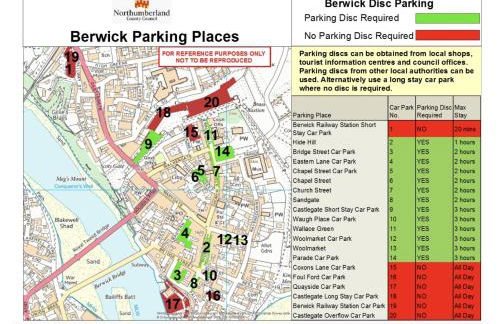
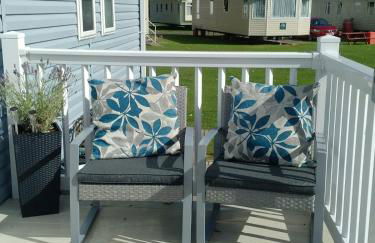
Haven Berwick
Berwick - Berwick upon Tweed
- 117 M2
- 3 chambres
- 6 personnes
- Le chauffage
- Terrasse
- Piscine
- Parking
- Jardin
10 avis


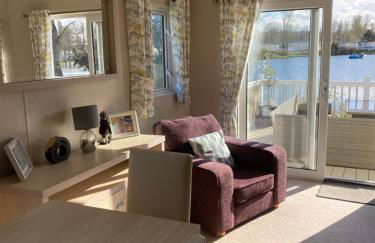


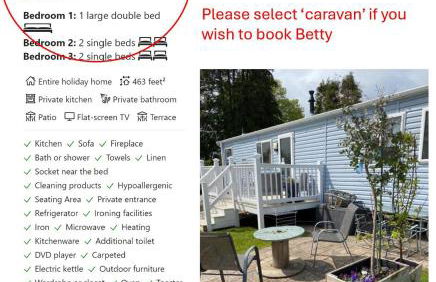


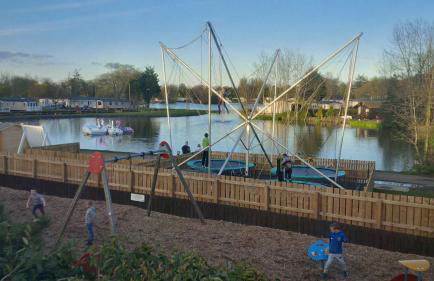


Haggerston Lola the Lodge and Betty the Van
Berwick - Berwick upon Tweed
- 78 M2
- 2 chambres
- 6 personnes
- Le chauffage
- Terrasse
- Piscine
- Parking
- Jardin
78 avis


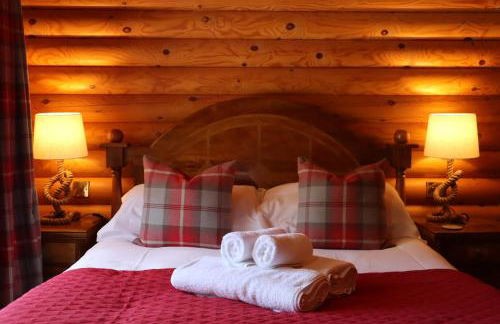


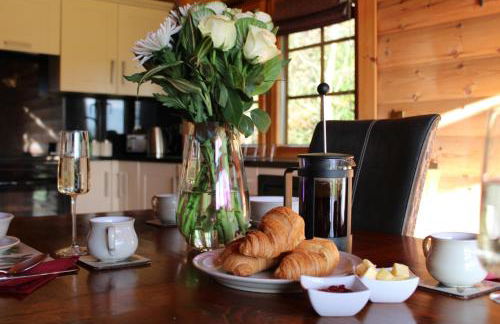


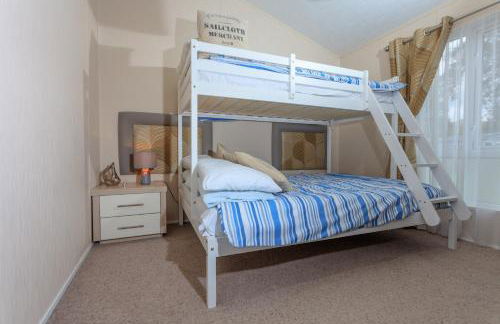
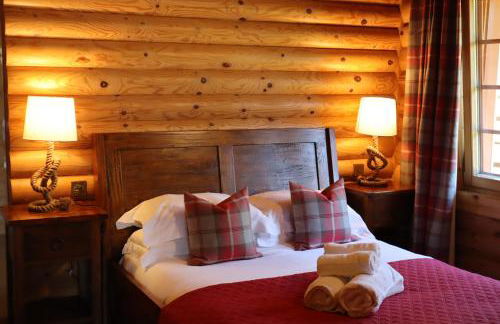
Strathisla - Luxury Two Bedroom Log Cabin with Private Hot Tub & Sauna
Berwick - Berwick upon Tweed
- 30 M2
- 2 chambres
- 4 personnes
- Terrasse
- Parking
- Jardin
28 avis


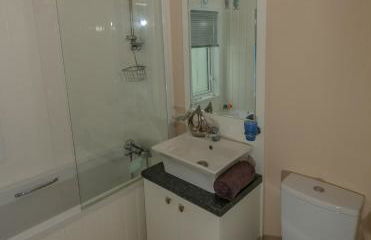
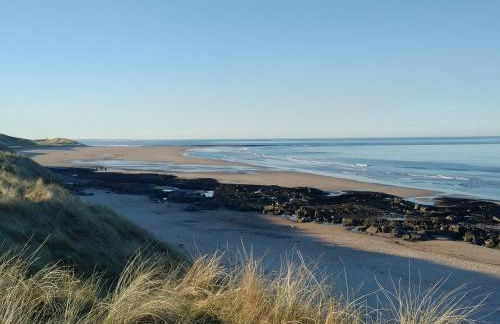
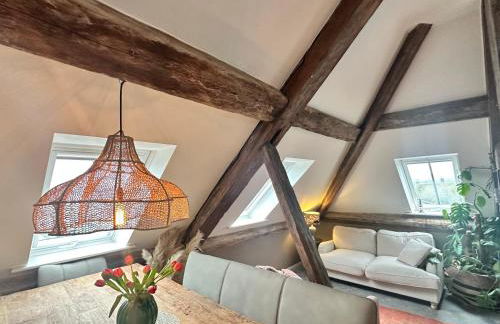
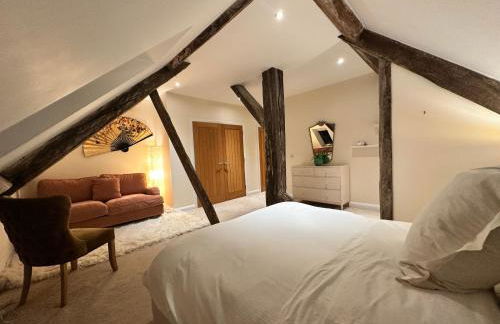
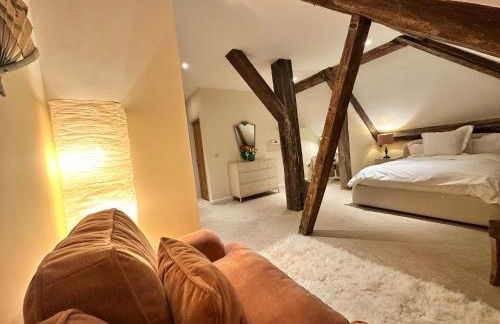
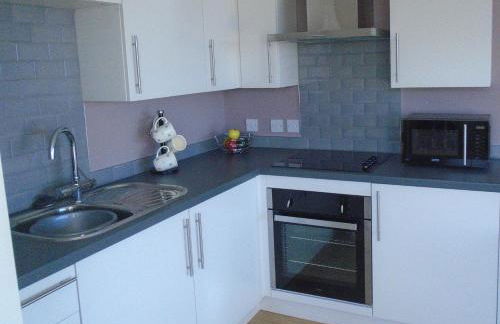
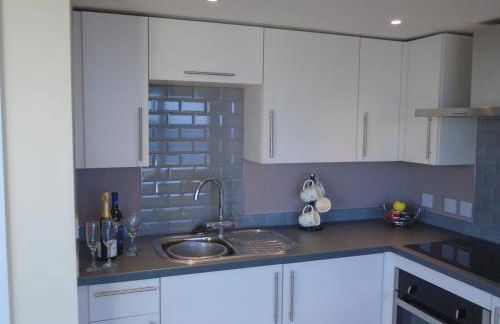
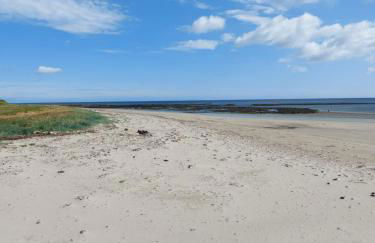
The Nook - A stylish apartment with garden, near the beach
Berwick - Berwick upon Tweed
- 6 M2
- 2 chambres
- 4 personnes
- Le chauffage
- Terrasse
- Parking
- Jardin
- Barbecue
145 avis


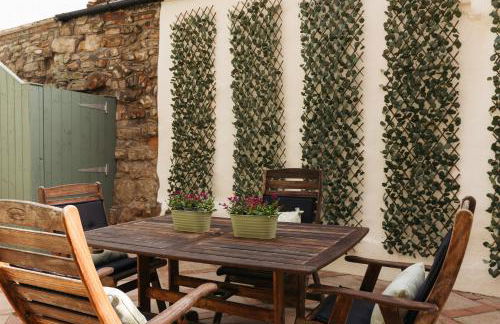
Oil Mill Lane Holiday Cottage
Berwick - Berwick upon Tweed
- 88 M2
- 2 chambres
- 2 personnes
- Le chauffage
- Terrasse
- Parking
- Jardin
- Barbecue
24 avis


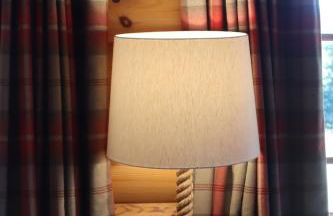
Bunnahahbain - Two Bedroom Luxury Log Cabin with Private Hot Tub
Berwick - Berwick upon Tweed
- 30 M2
- 2 chambres
- 4 personnes
- Le chauffage
- Terrasse
- Parking
- Jardin
47 avis


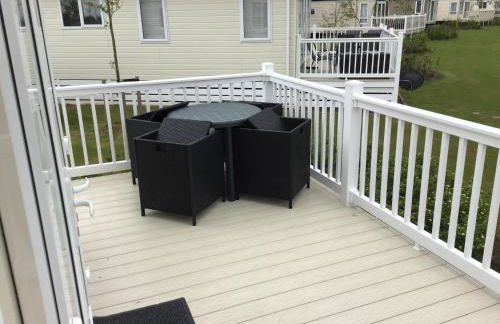


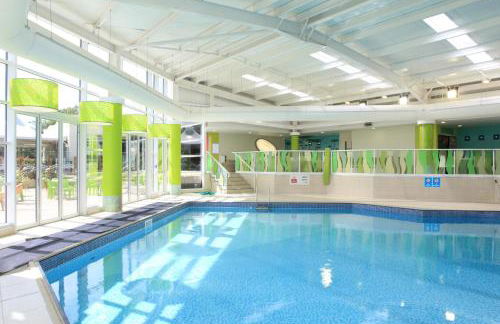
Haggerston Castle , Cheviot View
Berwick - Berwick upon Tweed
- 40 M2
- 3 chambres
- 6 personnes
- Terrasse
- Piscine
- Parking
29 avis


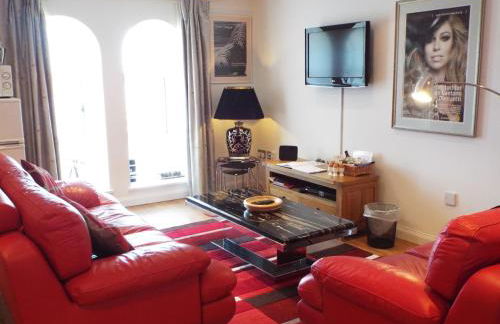
18 Mill Wharf Apartment
Berwick - Berwick upon Tweed
- 92 M2
- 1 chambre
- 2 personnes
- Le chauffage
- Parking
55 avis
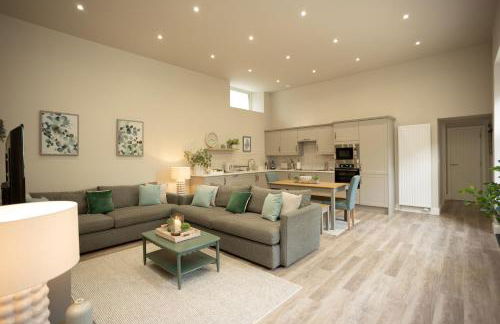
Heron Apartment - Cottage
Berwick - Berwick upon Tweed
- 2 chambres
- 4 personnes
- Le chauffage
- Parking
10 avis


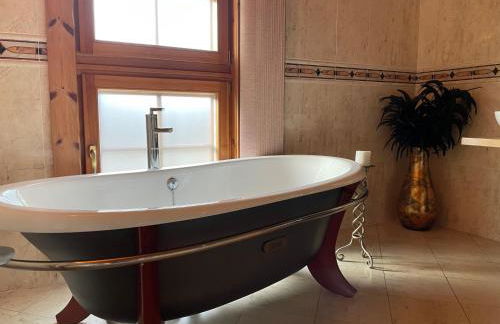
Tomatin - Luxury Two Bedroom Log Cabin with Hot Tub
Berwick - Berwick upon Tweed
- 30 M2
- 2 chambres
- 4 personnes
- Terrasse
- Parking
- Jardin
31 avis
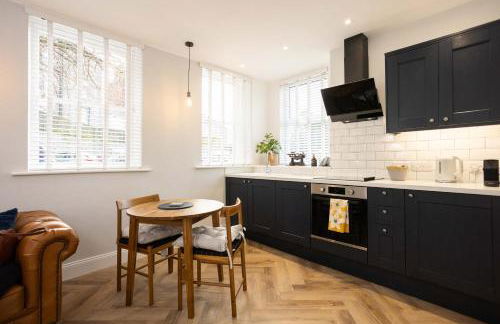


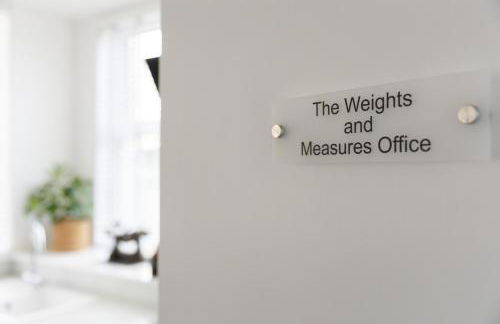
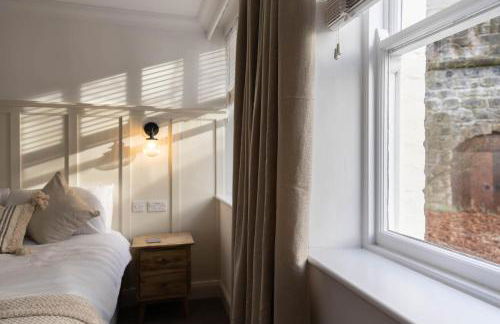


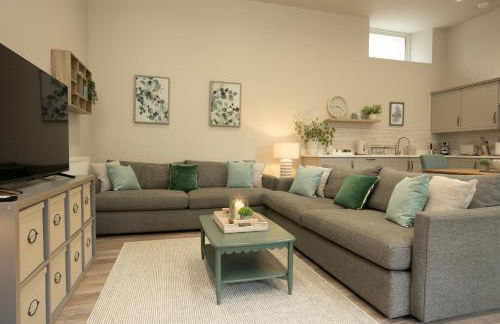
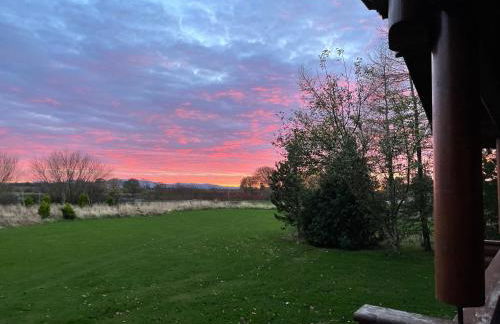
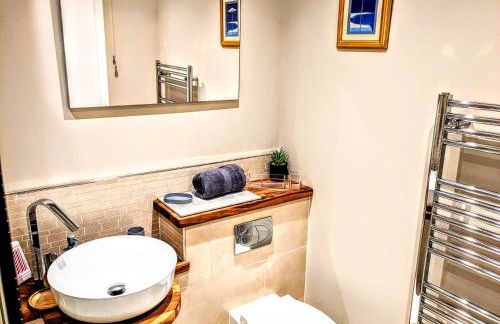
The Weights and Measures Office
Berwick - Berwick upon Tweed
- 44 M2
- 1 chambre
- 2 personnes
- Terrasse
- Parking
- Jardin
112 avis


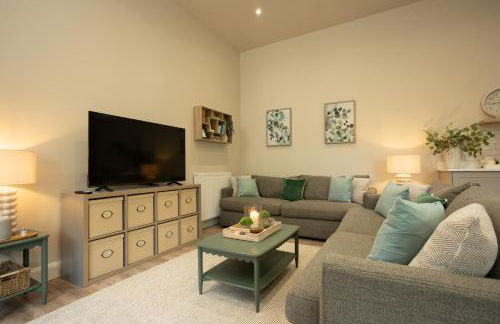
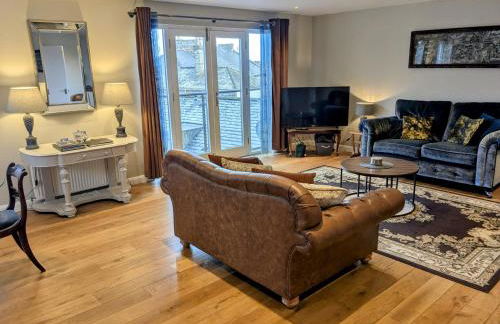
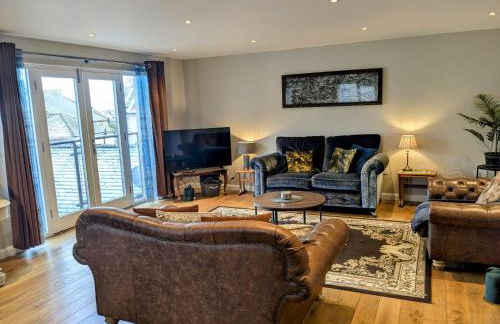
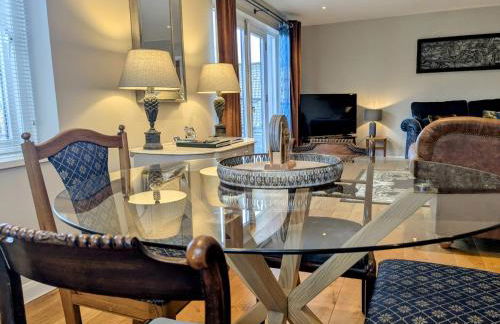
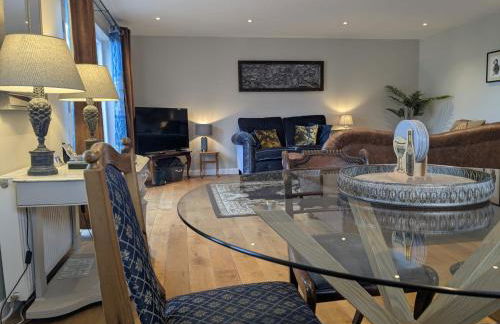
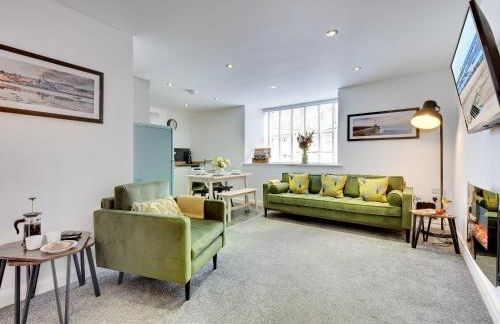
The Balcony Luxury Apartment
Berwick - Berwick upon Tweed
- 100 M2
- 3 chambres
- 7 personnes
- Le chauffage
- Terrasse
- Jardin
65 avis