16 photos
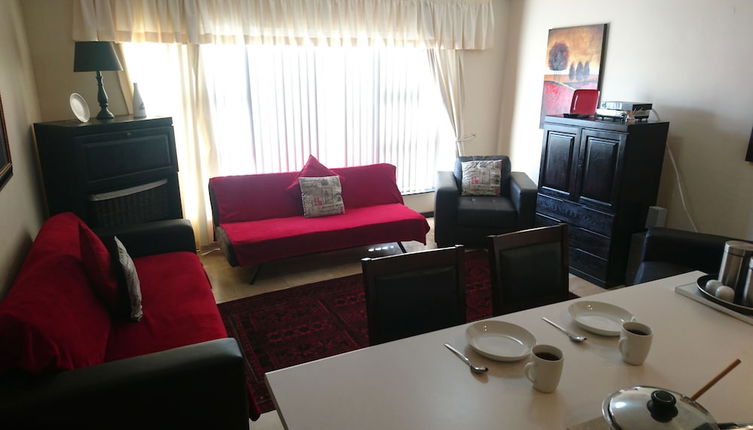
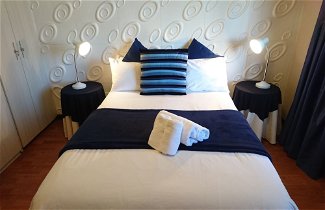
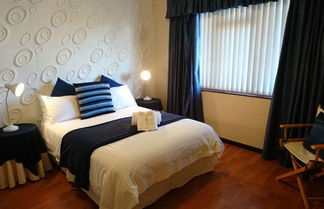
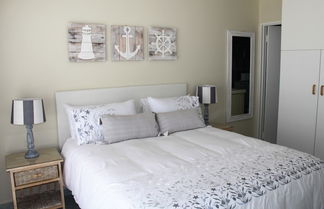
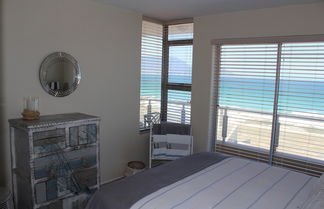
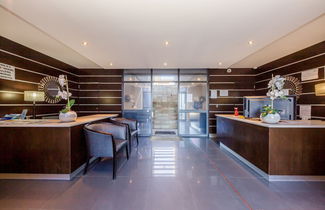
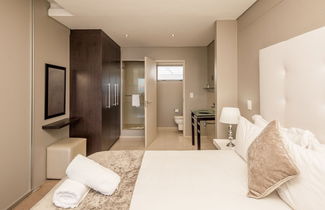
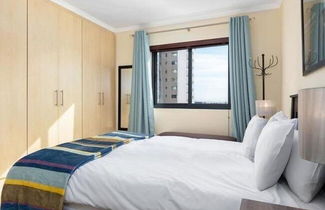
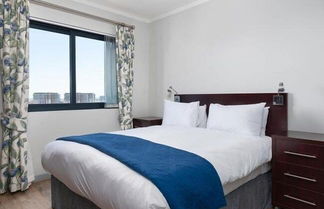
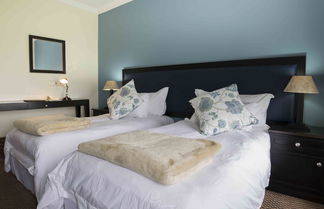
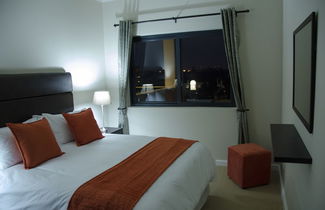
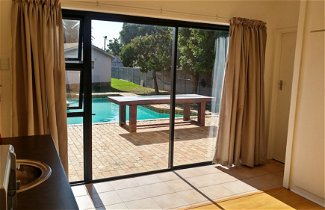
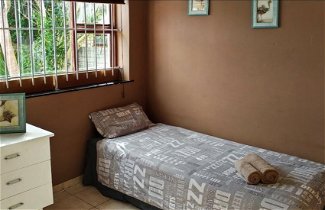
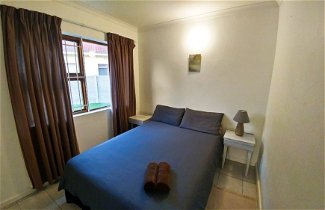
Make yourself comfortable in your apartment.
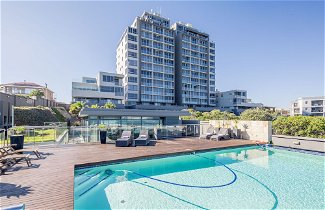
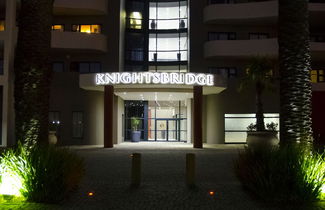
Self parking (subject to charges) is available onsite.
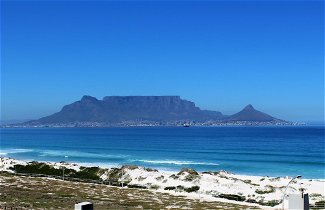
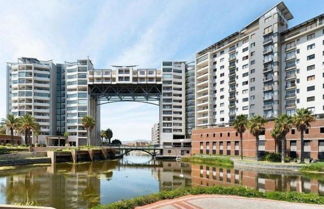
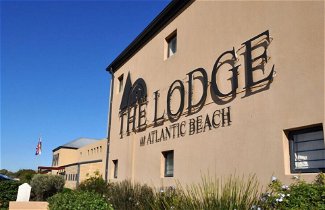
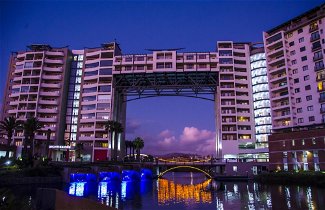
With a stay at this apartment in Cape Town (Bloubergstrand), you'll be within a 15-minute drive of Bloubergstrand Beach and Canal Walk Shopping Centre. This apartment is 11.6 mi (18.6 km) from Cape Town Cruise Terminal and 15.5 mi (25 km) from Camps Bay Beach.
Distances are displayed to the nearest 0.1 mile and kilometer.
Bloubergstrand Beach - 0.6 km / 0.3 mi
Kite Surf School - 0.8 km / 0.5 mi
Dolphin Beach - 1.5 km / 0.9 mi
Rietvlei Wetland Reserve - 1.7 km / 1.1 mi
Big Bay Beach - 3.8 km / 2.4 mi
Sunset Beach - 4.6 km / 2.9 mi
Table Bay Mall - 4.9 km / 3 mi
Killarney Race Circuit - 6.5 km / 4 mi
Milnerton Golf Club - 8.6 km / 5.4 mi
Atlantic Beach Golf Club - 9.9 km / 6.2 mi
Milnerton Beach - 9.9 km / 6.2 mi
Canal Walk Shopping Centre - 11.2 km / 7 mi
Durbanville Hills Winery - 11.6 km / 7.2 mi
Panorama Medi-Clinic - 12.7 km / 7.9 mi
Grand West - 15.2 km / 9.4 mi
The nearest major airport is Cape Town Intl. Airport (CPT) - 32.2 km / 20 mi
Pets forbidden