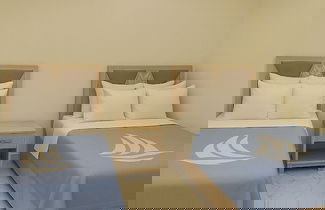
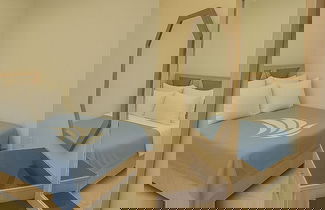
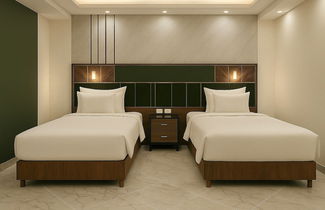
Porto Saids Hidden Gem Your Relaxation Starts Here!

47 photos
Photo 1 - Porto Saids Hidden Gem Your Relaxation Starts Here!
Photo 2 - Porto Saids Hidden Gem Your Relaxation Starts Here!
Photo 3 - Porto Saids Hidden Gem Your Relaxation Starts Here!

Description

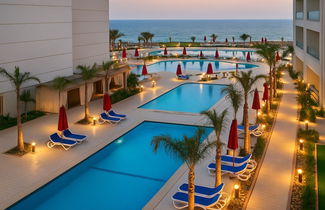
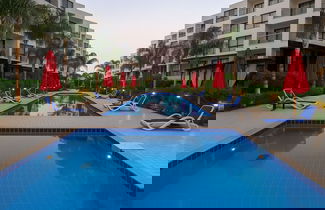
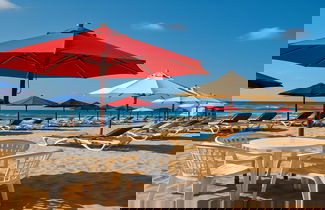
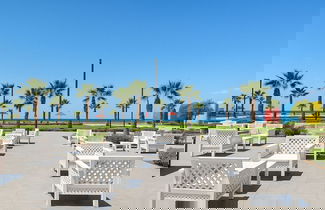
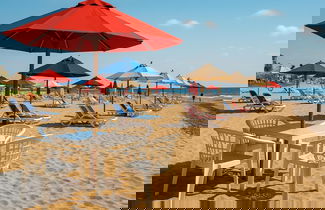
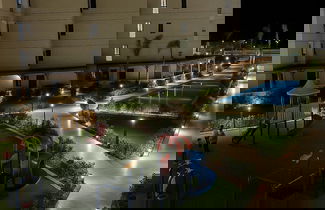
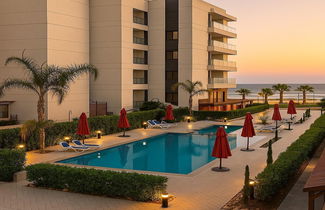
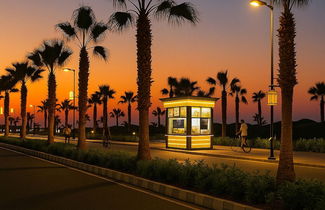
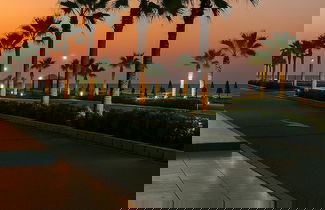
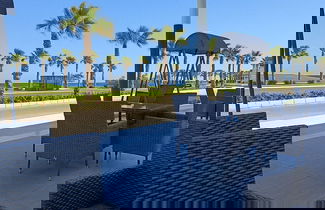
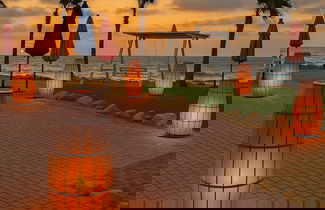
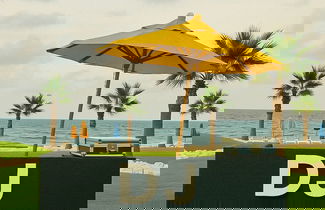
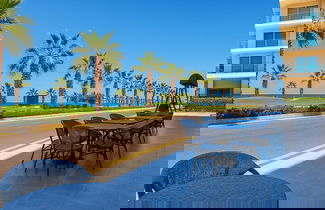
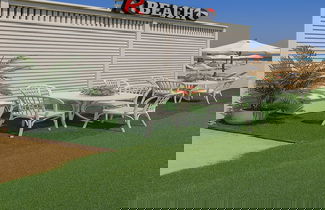
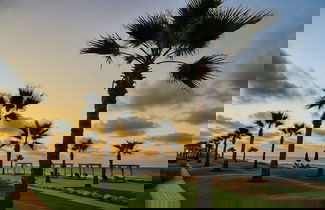
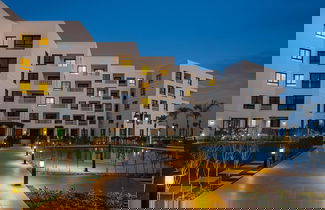
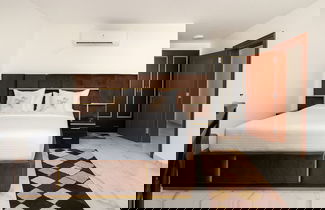
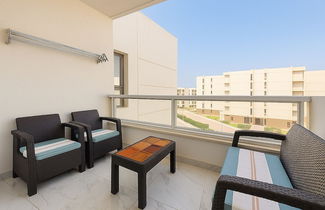
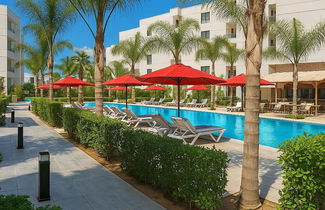
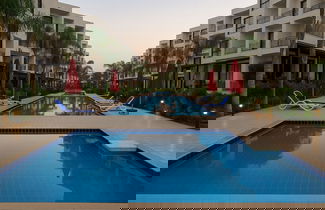
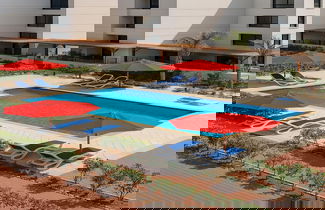
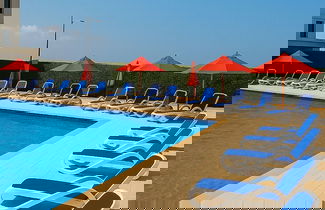
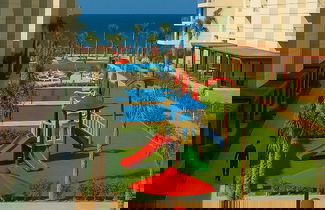
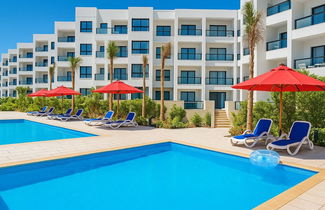
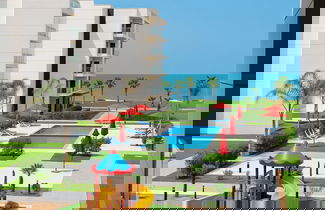
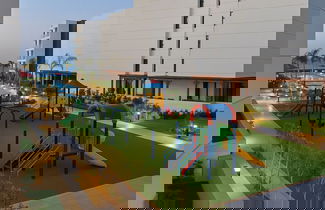
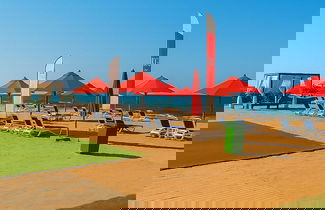
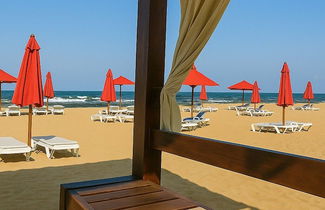
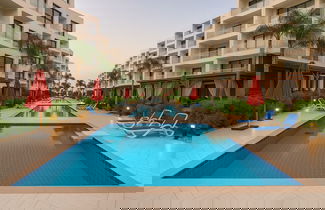
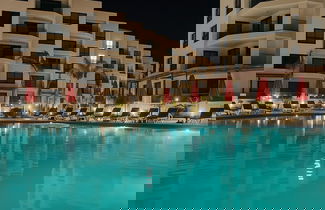
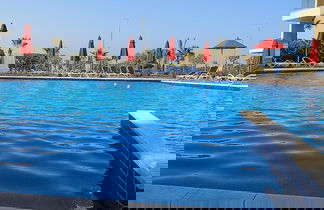
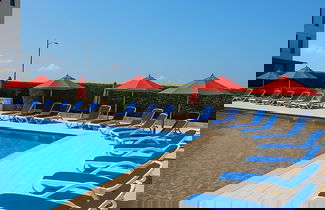
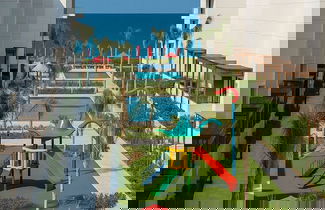
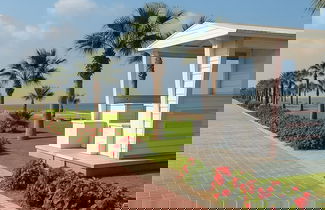
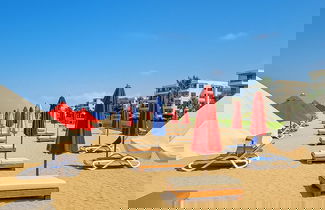
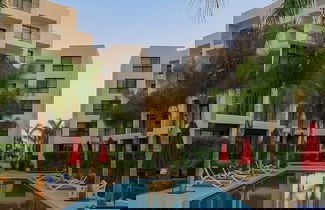
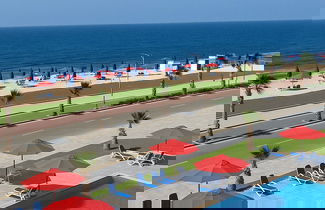
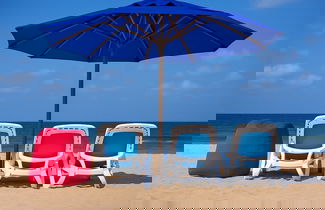
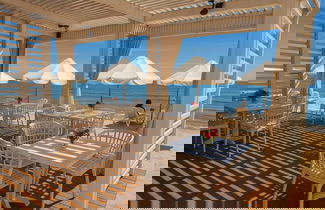
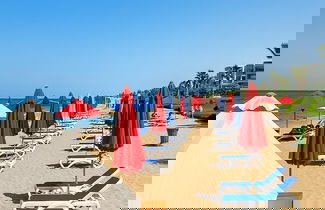
Enjoy recreation amenities such as an outdoor pool or take in the view from a garden.


Services information

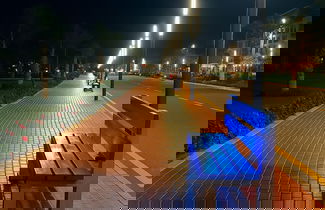
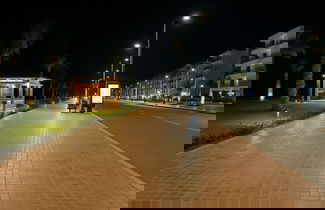
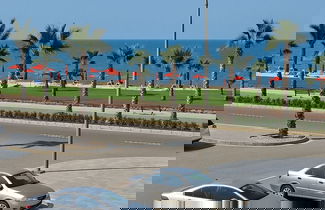
Free self parking is available onsite.

Location information

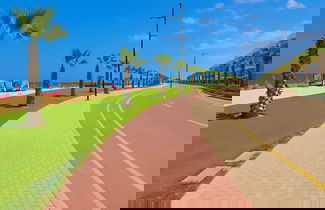
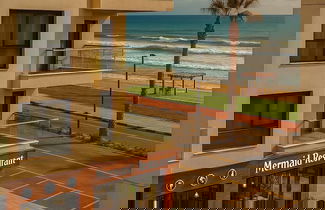
With a stay at this chalet in Al-Manasrah, you'll be 15.4 mi (24.8 km) from El Nasr Museum For Modern Art and 15.7 mi (25.2 km) from Military Museum. This chalet is 16.8 mi (27 km) from Waterfront Quarter and 18.2 mi (29.2 km) from Science Museum.
Distances are displayed to the nearest 0.1 mile and kilometer.

El Nasr Museum For Modern Art - 24.8 km / 15.4 mi
Military Museum - 25.2 km / 15.7 mi
Waterfront Quarter - 27 km / 16.8 mi
Science Museum - 29.2 km / 18.2 mi
Nile - 29.5 km / 18.3 mi
Ras Elbar Water Park - 43.3 km / 26.9 mi

Location
Port Said - Port Fouad, Egypt

Equipment and services

Access and location
  • Elevator
  • Wheelchair accessible
  • Parking
  • Smoking allowed

Heating and cooling
  • Heating

Food and cooking
  • Crockery
  • Freezer
  • Kettle
  • Fridge
  • Microwave
  • Stove
  • Oven

Sleeping and cleaning
  • Bed linen
  • Bathtub
  • Washing machine
  • Toiletries
  • Wardrobe

Entertainment
  • Tv

Outdoors
  • Balcony
  • Garden
  • Swimming pool

Nearby
  • Tennis court

Health
  • Staff hygene training
  • Contactless check in/out

Conditions

Schedules
  • Check in from 14:00h to 18:00h

Restrictions

Pets forbidden
Smoking allowed


Do you want to see other options?
We have found these other suggestions you may like...
Apartment in El Manasra - Port Said
22.3 km from the center
Apartment in El Manasra - Port Said
22.4 km from the center
Chalet in El Manasra - Port Said
22 km from the center
Chalet in El Manasra - Port Said
22.3 km from the center
Chalet in El Manasra - Port Said
22 km from the center

Photos of the accommodation

Photo 1 - Porto Saids Hidden Gem Your Relaxation Starts Here!
Photo 2 - Porto Saids Hidden Gem Your Relaxation Starts Here!
Photo 3 - Porto Saids Hidden Gem Your Relaxation Starts Here!
Photo 4 - Porto Saids Hidden Gem Your Relaxation Starts Here!
Photo 5 - Porto Saids Hidden Gem Your Relaxation Starts Here!
Photo 6 - Porto Saids Hidden Gem Your Relaxation Starts Here!
Photo 7 - Porto Saids Hidden Gem Your Relaxation Starts Here!
Photo 8 - Porto Saids Hidden Gem Your Relaxation Starts Here!
Photo 9 - Porto Saids Hidden Gem Your Relaxation Starts Here!
Photo 10 - Porto Saids Hidden Gem Your Relaxation Starts Here!
Photo 11 - Porto Saids Hidden Gem Your Relaxation Starts Here!
Photo 12 - Porto Saids Hidden Gem Your Relaxation Starts Here!
Photo 13 - Porto Saids Hidden Gem Your Relaxation Starts Here!
Photo 14 - Porto Saids Hidden Gem Your Relaxation Starts Here!
Photo 15 - Porto Saids Hidden Gem Your Relaxation Starts Here!
Photo 16 - Porto Saids Hidden Gem Your Relaxation Starts Here!
Photo 17 - Porto Saids Hidden Gem Your Relaxation Starts Here!
Photo 18 - Porto Saids Hidden Gem Your Relaxation Starts Here!
Photo 19 - Porto Saids Hidden Gem Your Relaxation Starts Here!
Photo 20 - Porto Saids Hidden Gem Your Relaxation Starts Here!
Photo 21 - Porto Saids Hidden Gem Your Relaxation Starts Here!
Photo 22 - Porto Saids Hidden Gem Your Relaxation Starts Here!
Photo 23 - Porto Saids Hidden Gem Your Relaxation Starts Here!
Photo 24 - Porto Saids Hidden Gem Your Relaxation Starts Here!
Photo 25 - Porto Saids Hidden Gem Your Relaxation Starts Here!
Photo 26 - Porto Saids Hidden Gem Your Relaxation Starts Here!
Photo 27 - Porto Saids Hidden Gem Your Relaxation Starts Here!
Photo 28 - Porto Saids Hidden Gem Your Relaxation Starts Here!
Photo 29 - Porto Saids Hidden Gem Your Relaxation Starts Here!
Photo 30 - Porto Saids Hidden Gem Your Relaxation Starts Here!
Photo 31 - Porto Saids Hidden Gem Your Relaxation Starts Here!
Photo 32 - Porto Saids Hidden Gem Your Relaxation Starts Here!
Photo 33 - Porto Saids Hidden Gem Your Relaxation Starts Here!
Photo 34 - Porto Saids Hidden Gem Your Relaxation Starts Here!
Photo 35 - Porto Saids Hidden Gem Your Relaxation Starts Here!
Photo 36 - Porto Saids Hidden Gem Your Relaxation Starts Here!
Photo 37 - Porto Saids Hidden Gem Your Relaxation Starts Here!
Photo 38 - Porto Saids Hidden Gem Your Relaxation Starts Here!
Photo 39 - Porto Saids Hidden Gem Your Relaxation Starts Here!
Photo 40 - Porto Saids Hidden Gem Your Relaxation Starts Here!
Photo 41 - Porto Saids Hidden Gem Your Relaxation Starts Here!
Photo 42 - Porto Saids Hidden Gem Your Relaxation Starts Here!
Photo 43 - Porto Saids Hidden Gem Your Relaxation Starts Here!
Photo 44 - Porto Saids Hidden Gem Your Relaxation Starts Here!
Photo 45 - Porto Saids Hidden Gem Your Relaxation Starts Here!
Photo 46 - Porto Saids Hidden Gem Your Relaxation Starts Here!
Photo 47 - Porto Saids Hidden Gem Your Relaxation Starts Here!