
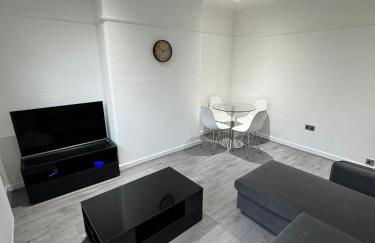
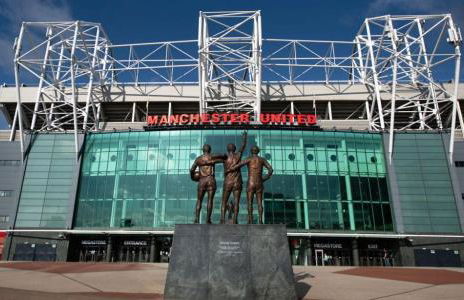
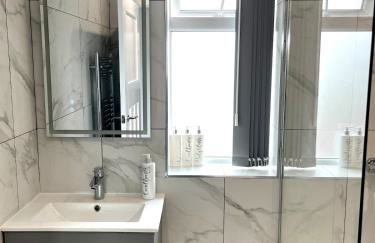
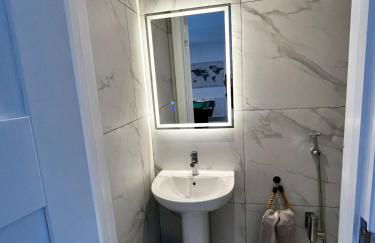
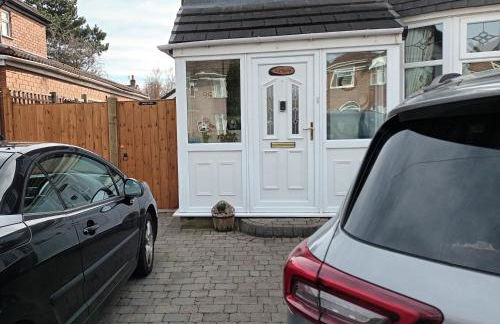
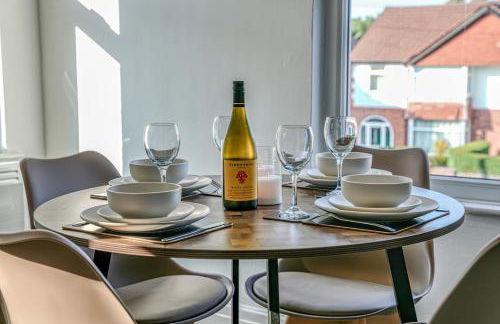
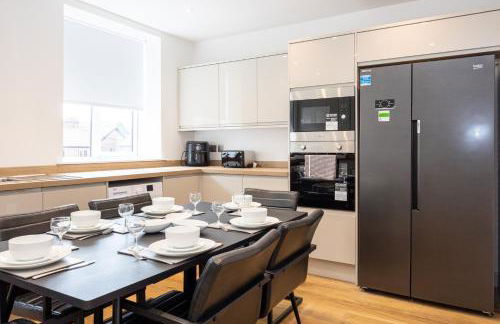
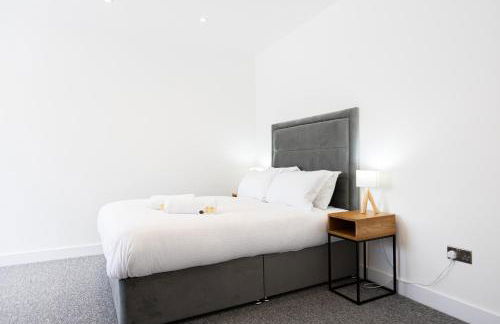
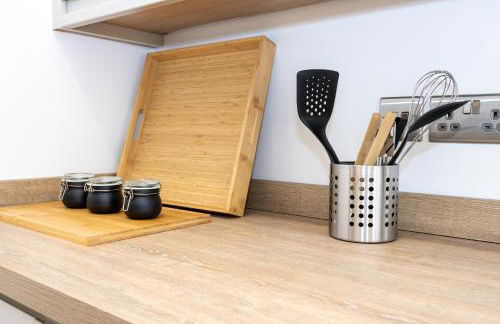
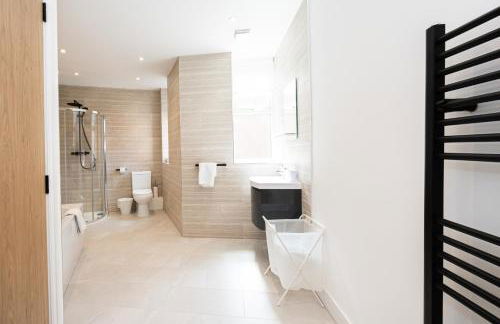
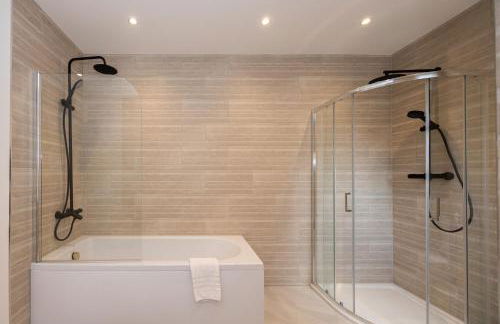
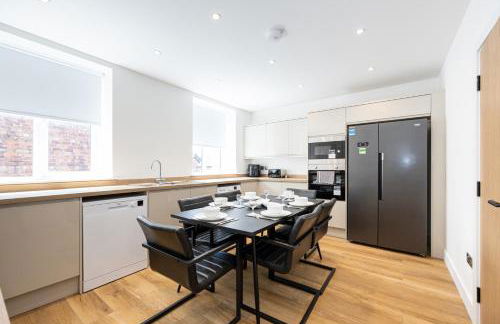
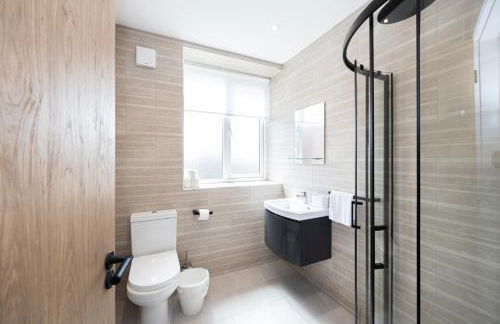
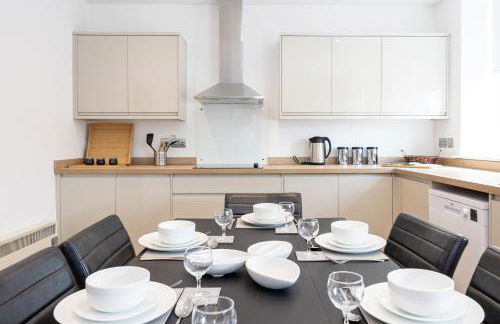
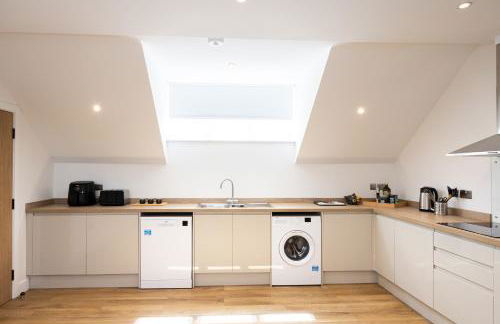
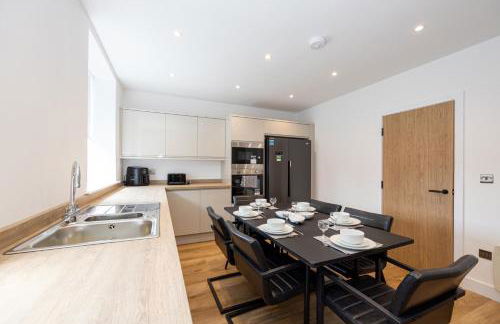
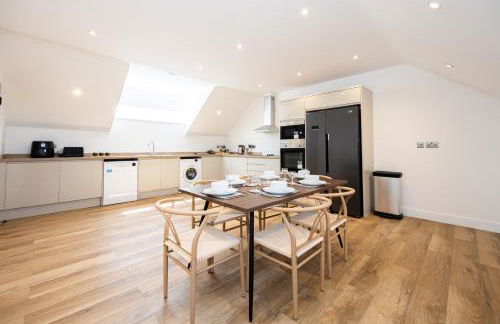
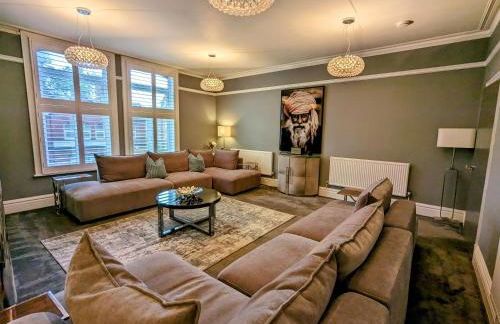
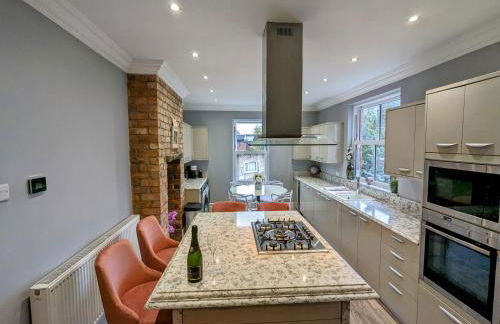
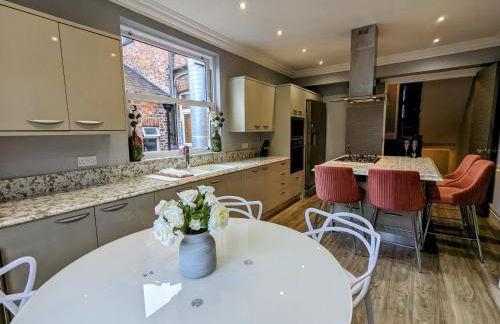
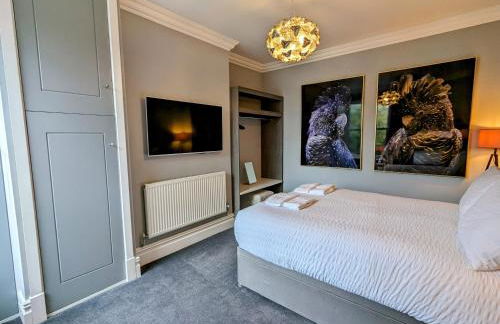
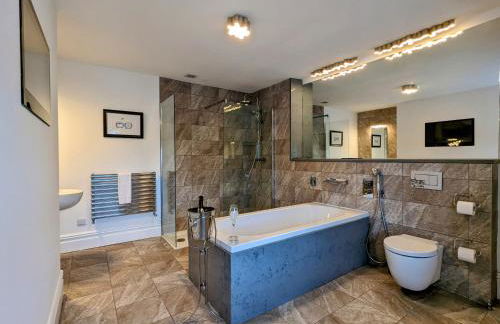
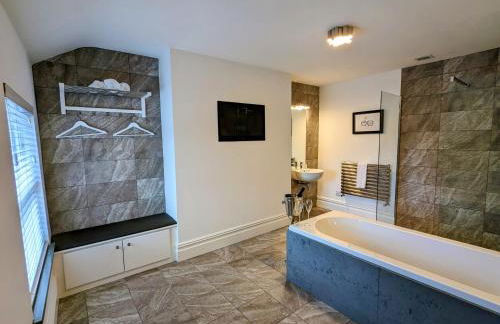
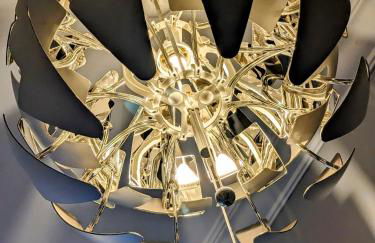
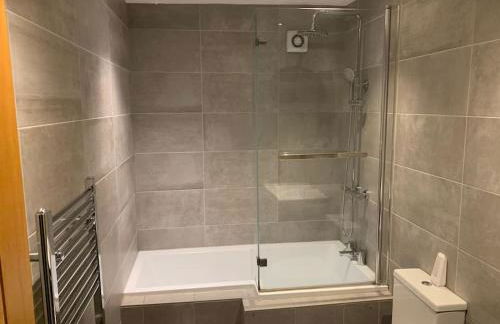
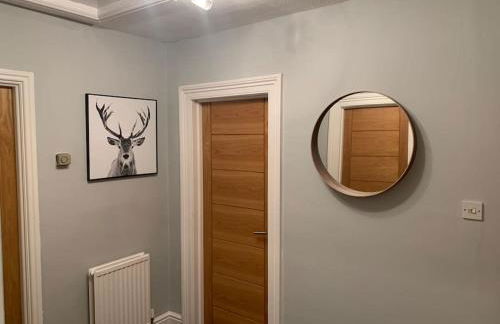
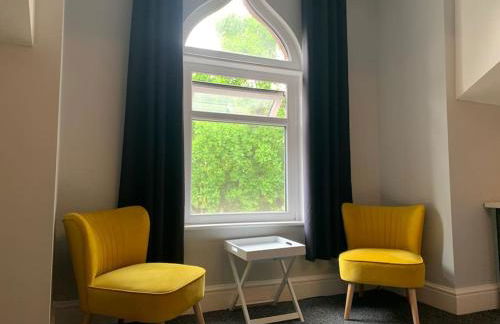
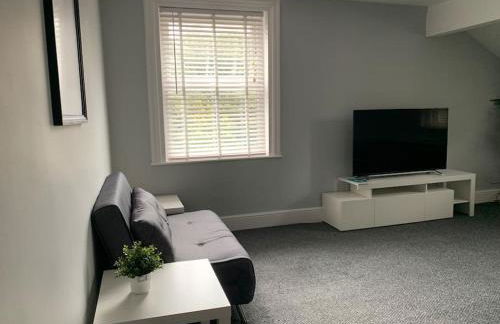
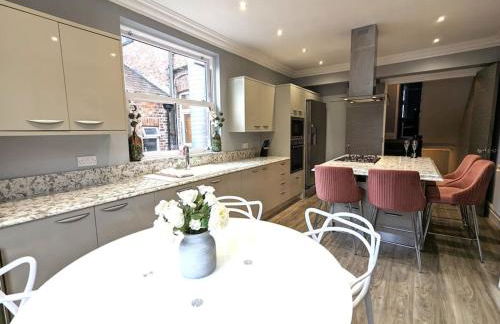
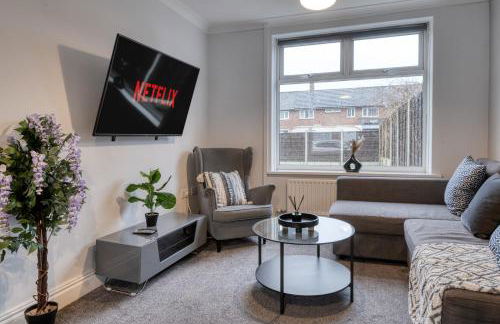
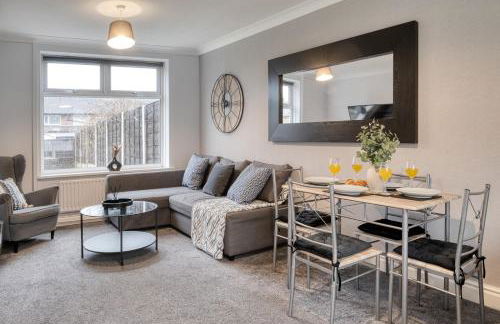
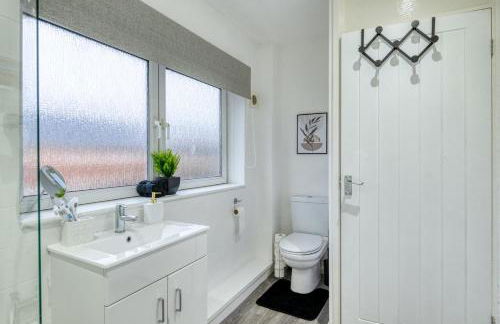
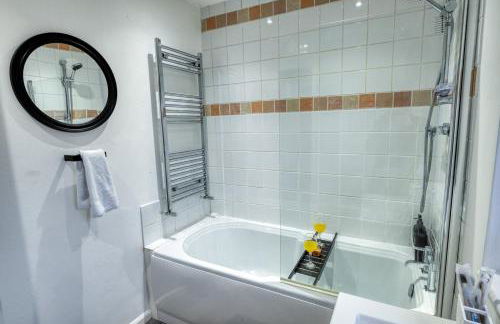
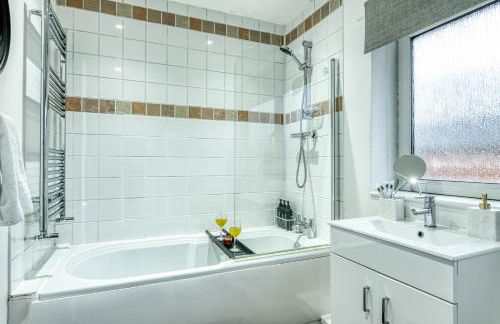
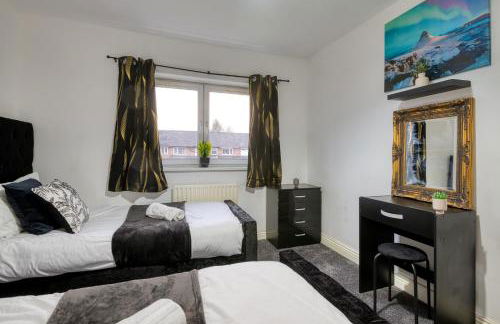
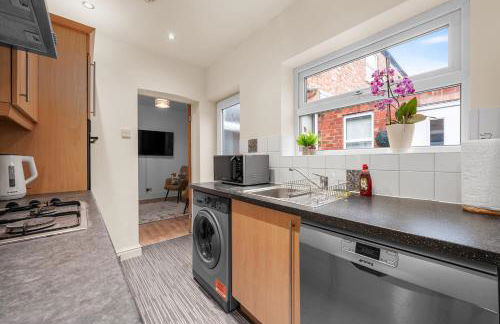
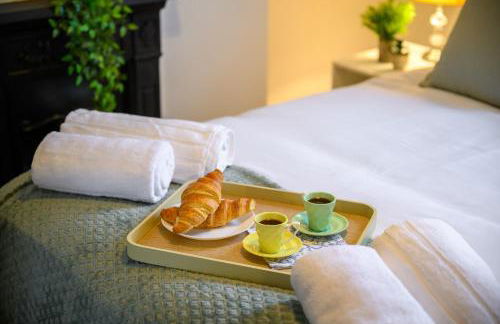
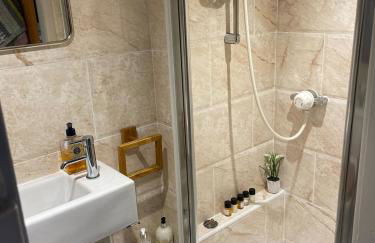
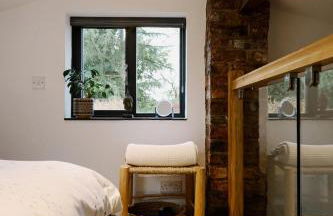
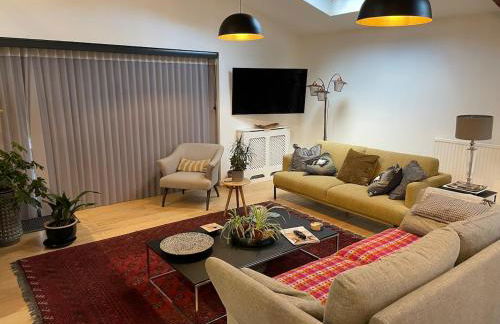
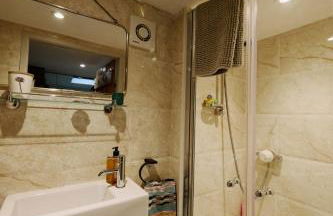
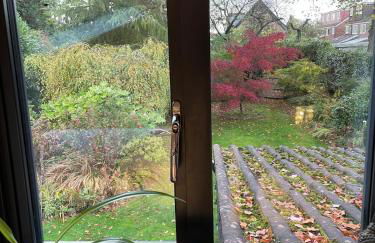
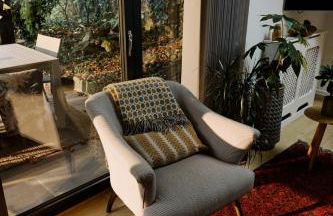
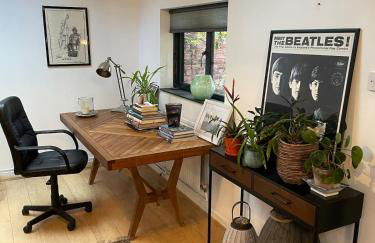
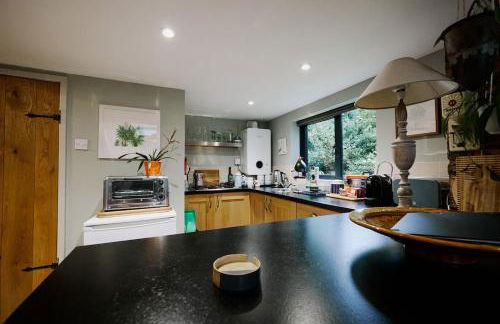
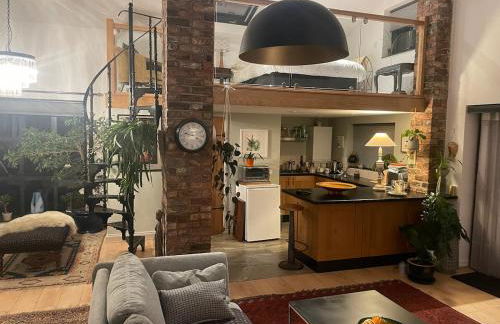
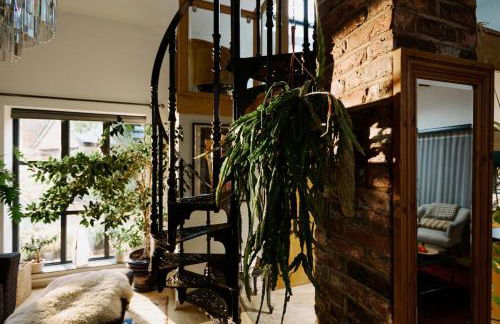
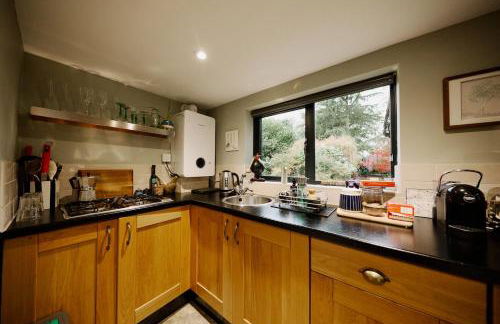
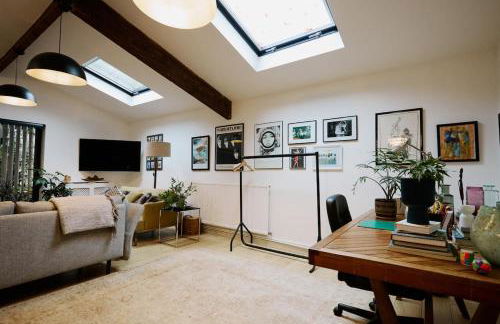
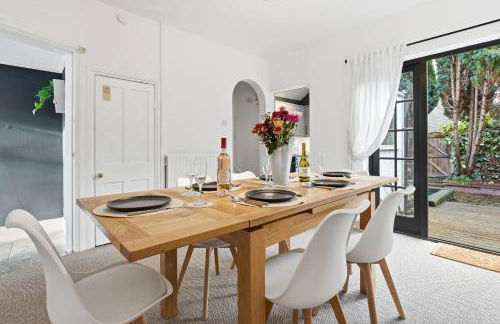
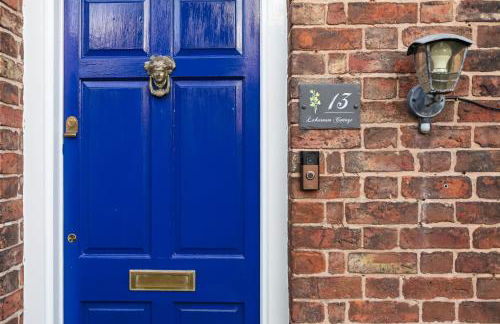
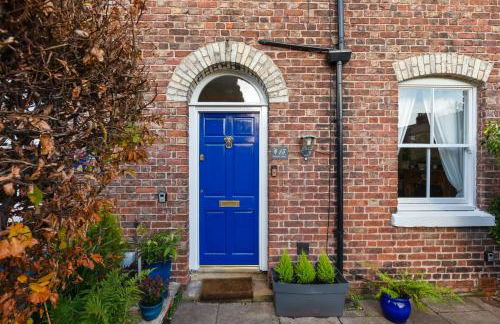
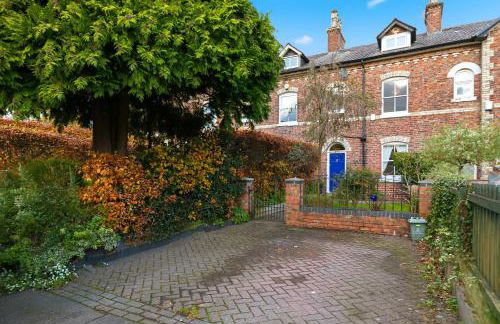
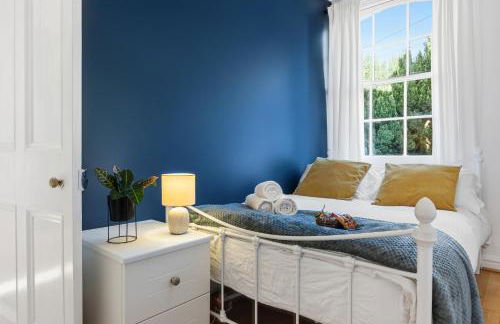
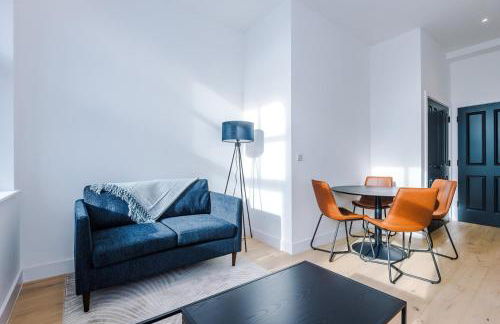
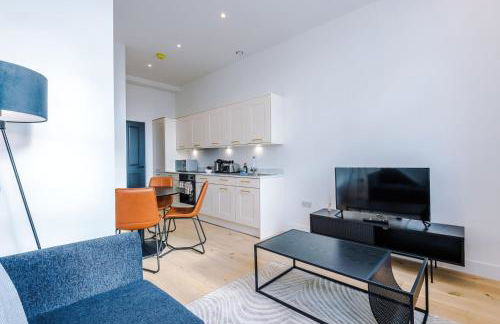
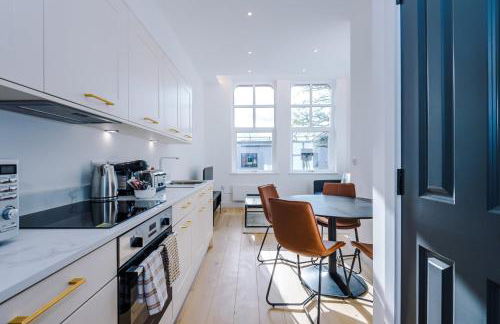
25 Appartements à Sale
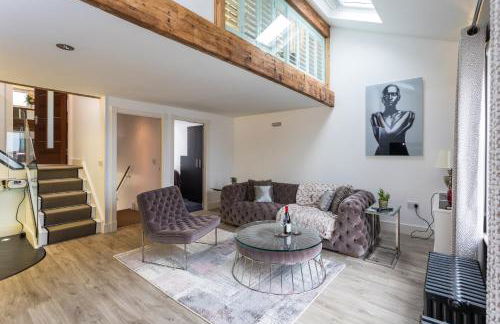
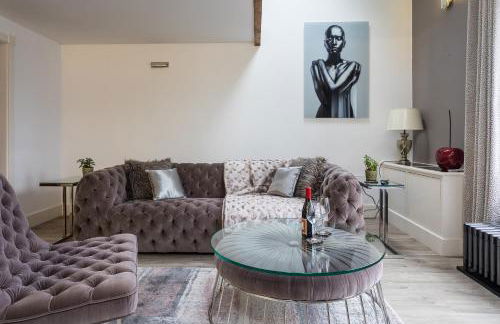
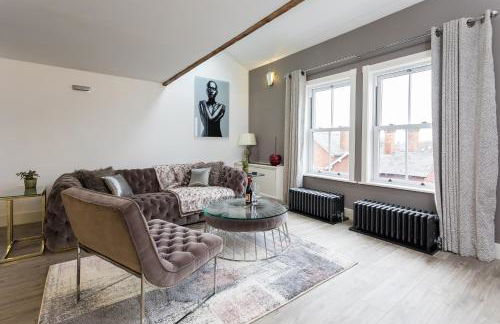

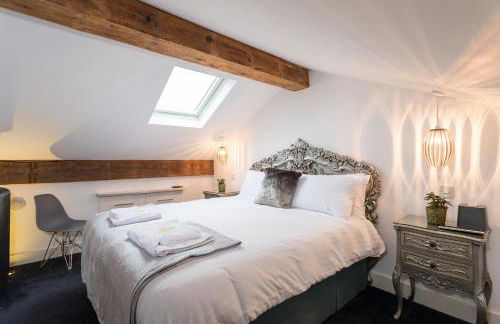
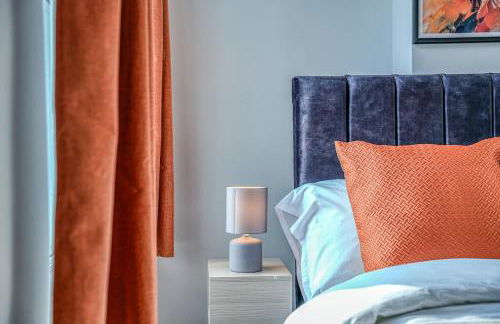
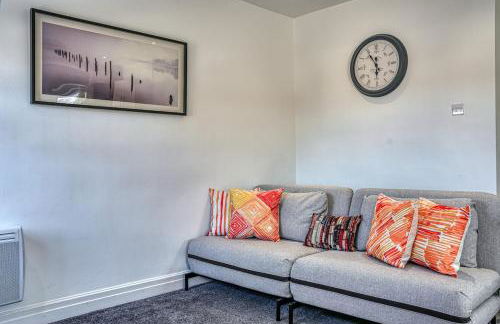
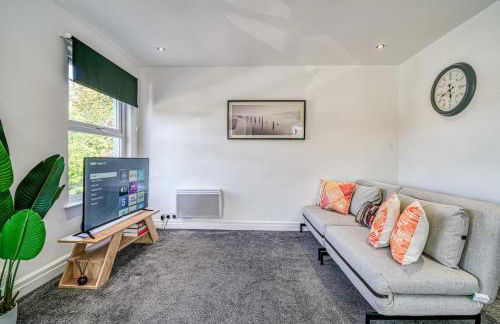
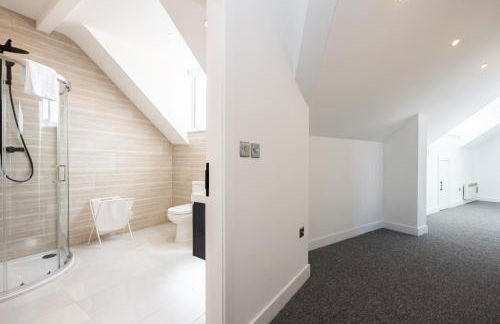
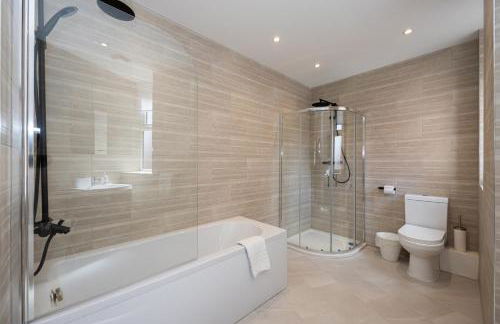
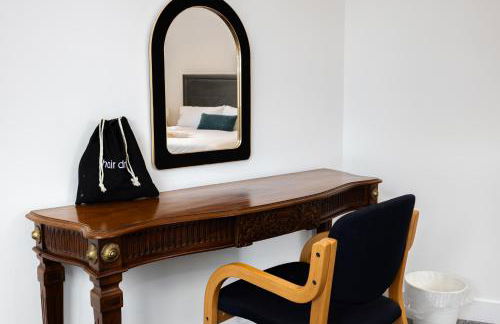
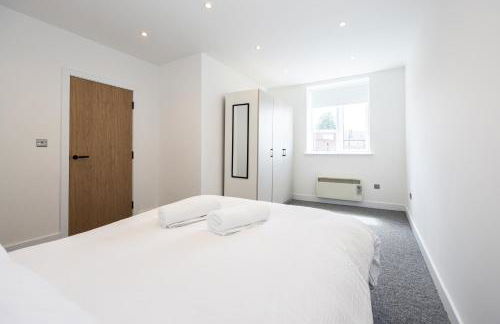
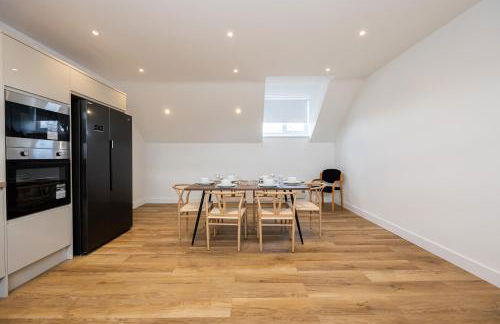
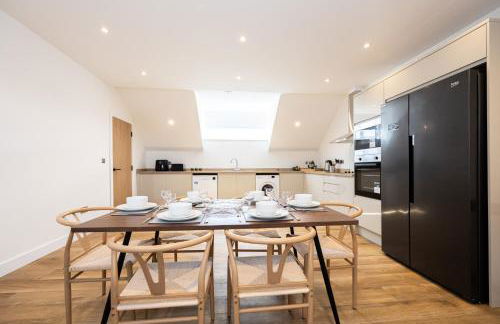
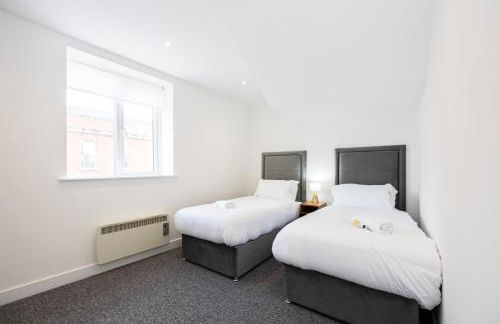
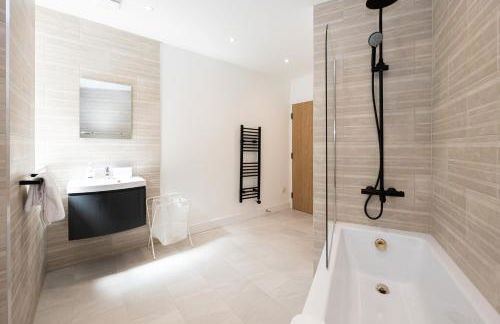
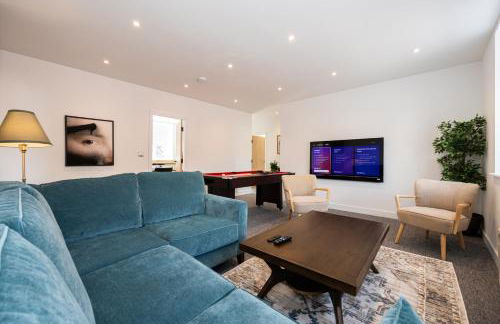
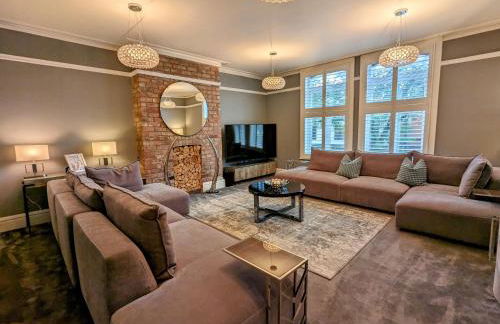
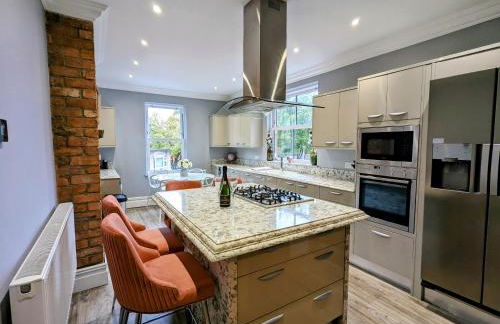
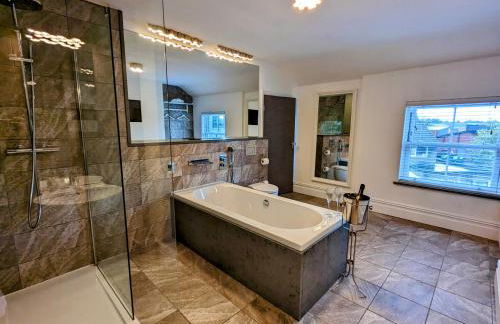
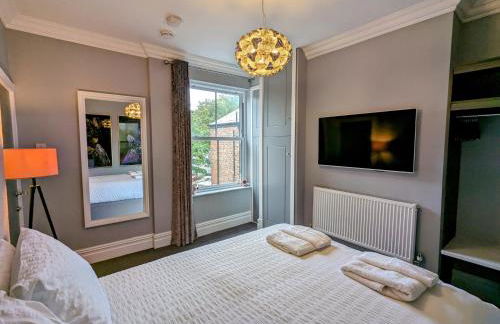
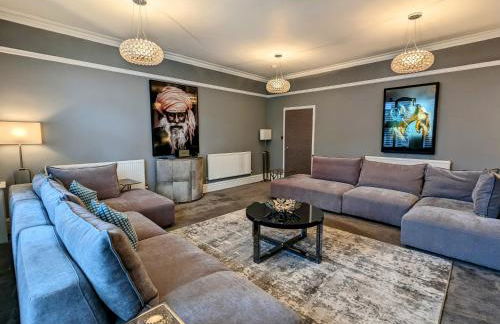
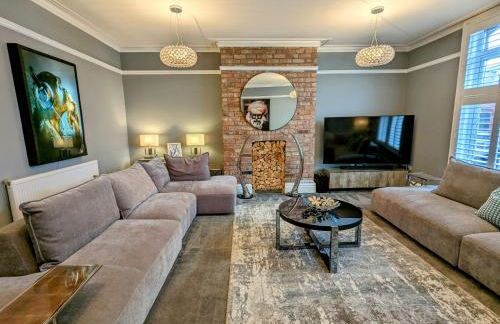
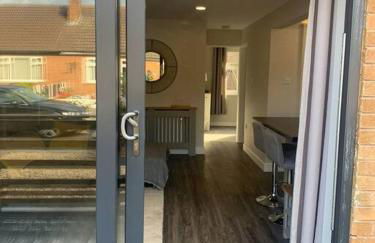
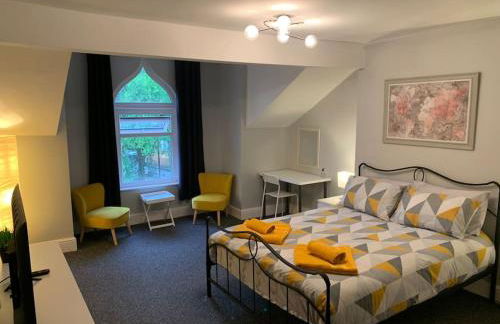
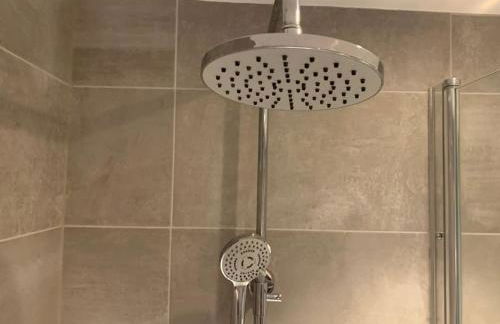
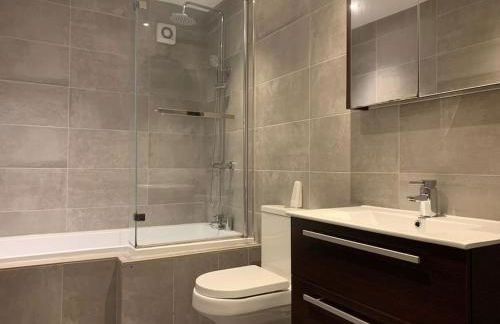
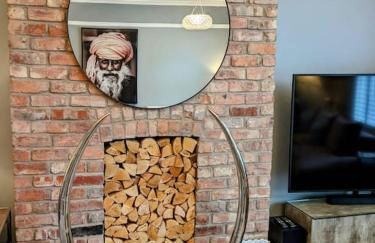
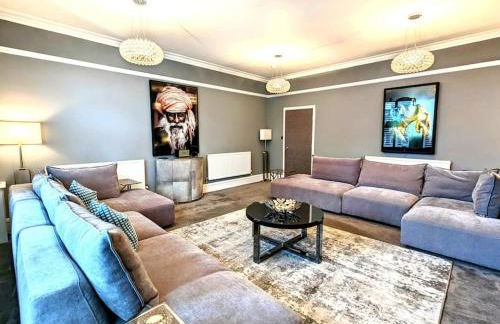
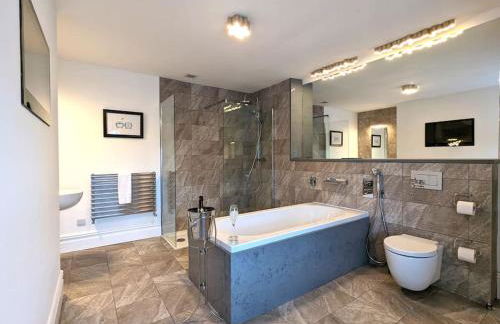
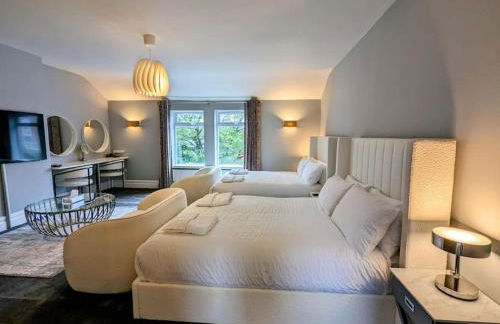
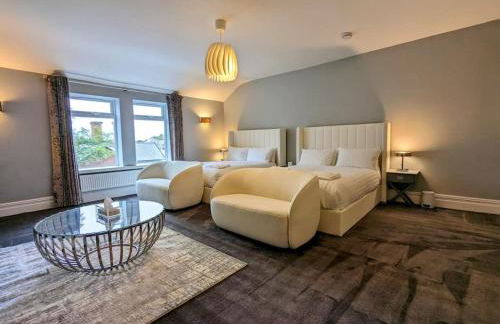
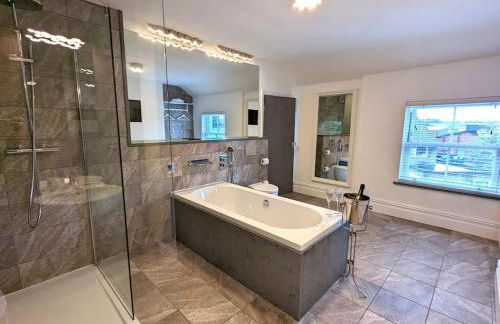
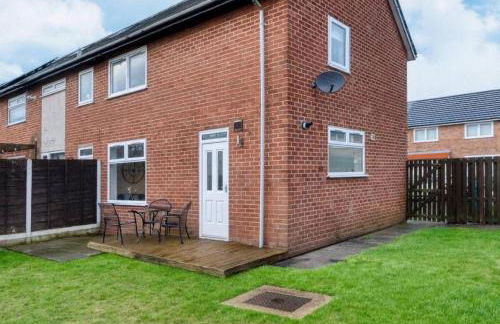
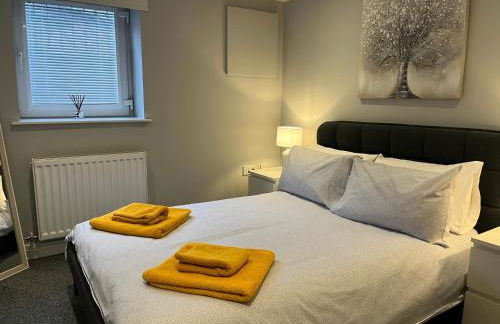
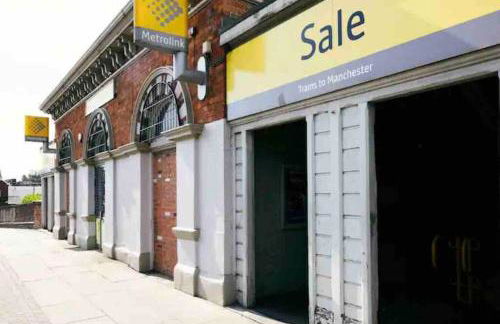
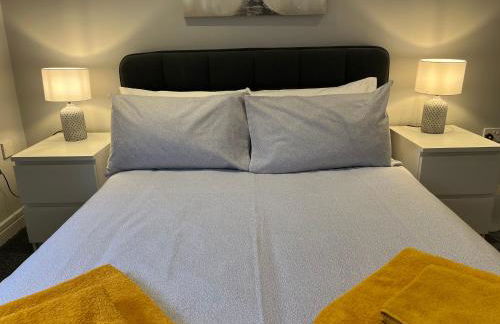
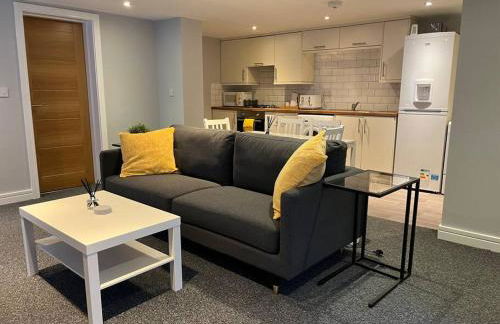
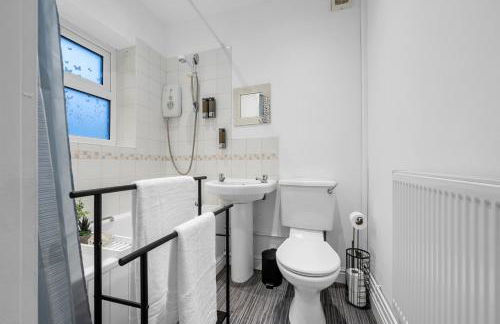
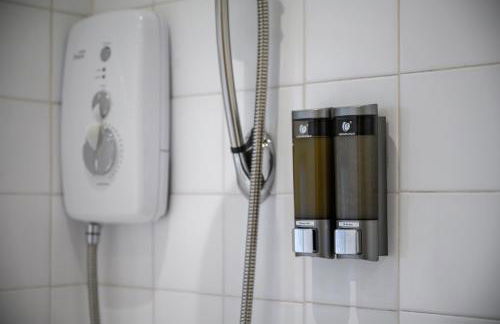
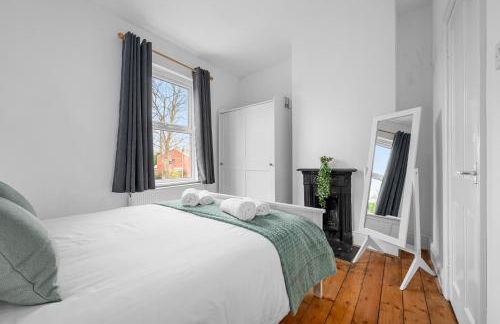
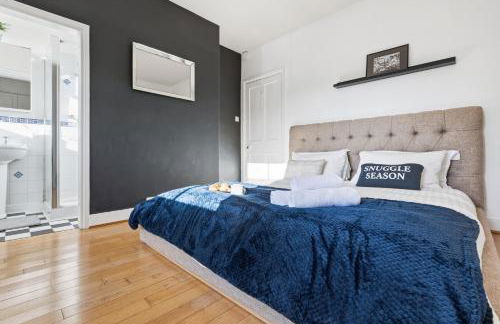
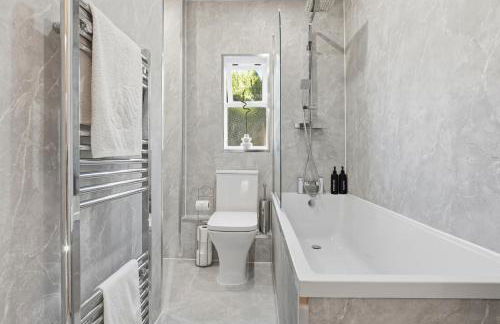
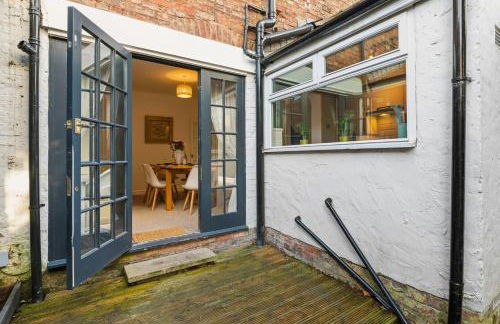
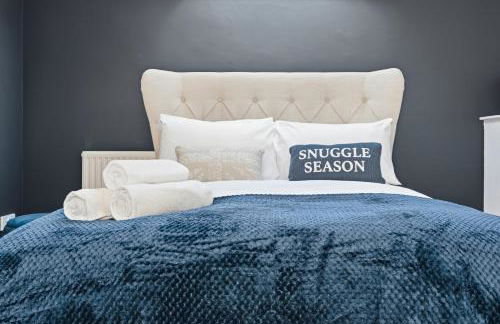
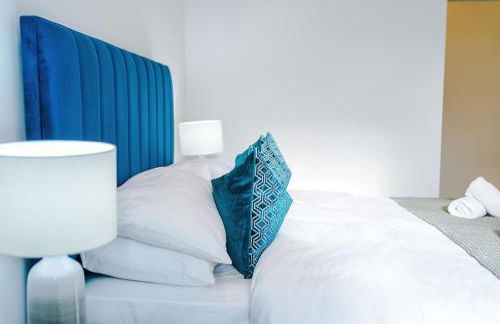
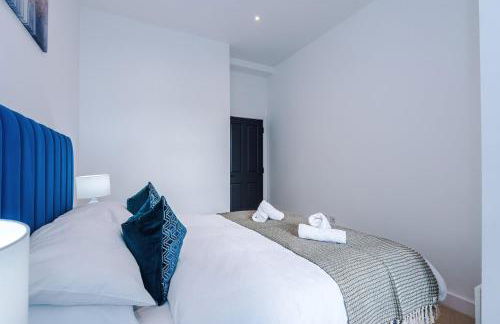
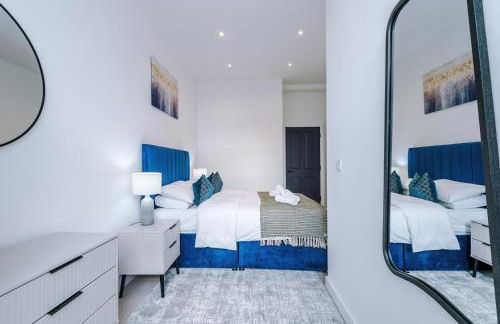
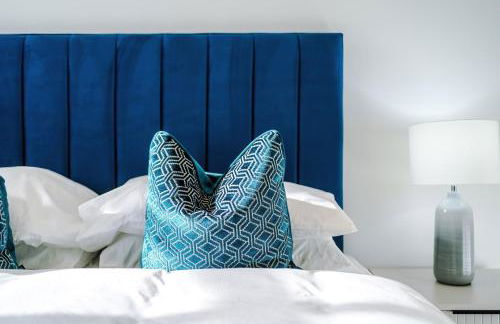
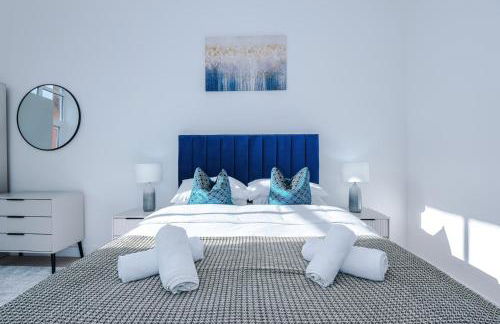
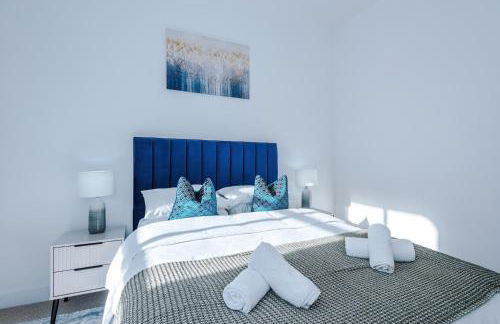
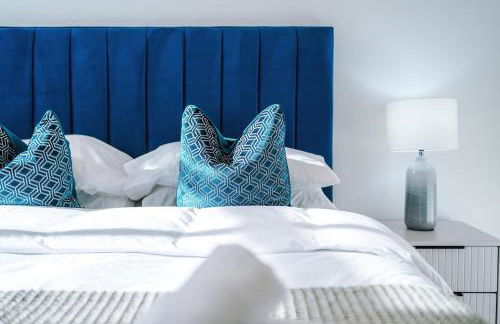
The Penthouse, Opposite Sale Metrolink, Includes Free Parking
Sale - Sale
- 102 M2
- 2 chambres
- 4 personnes
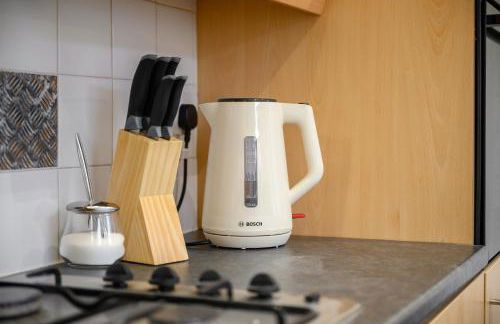
- Le chauffage
- Terrasse
- Parking
- Jardin
25 avis
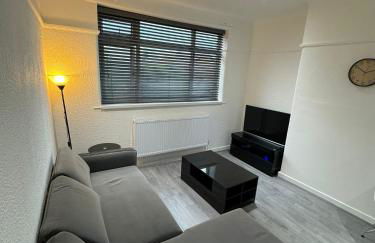


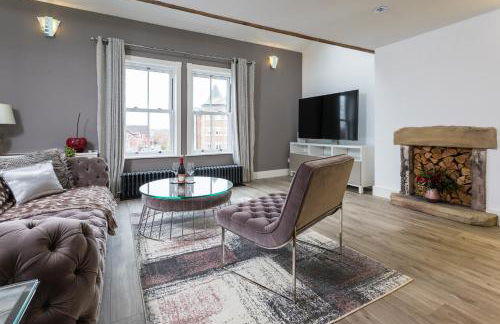
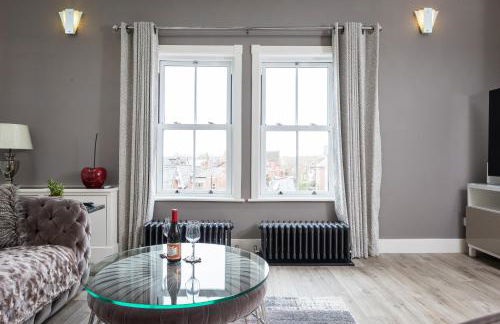
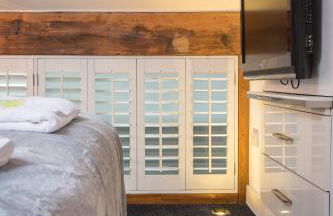
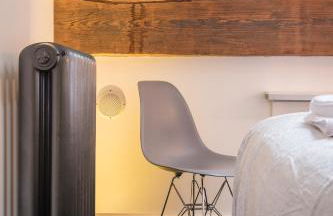
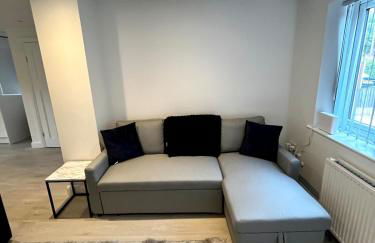
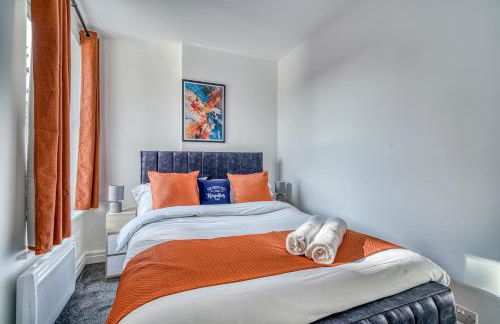
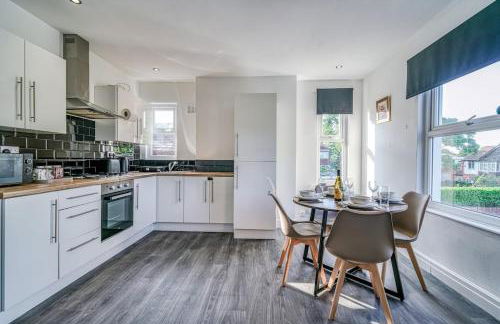
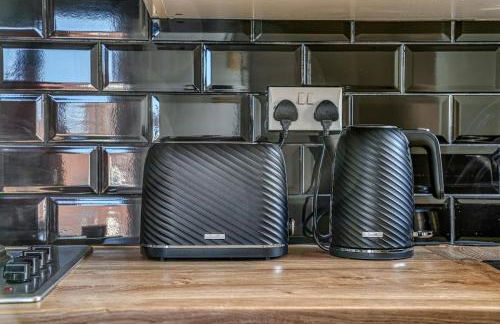
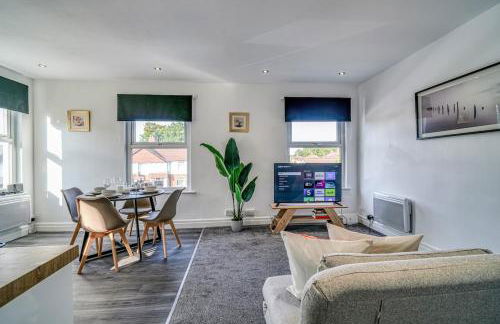
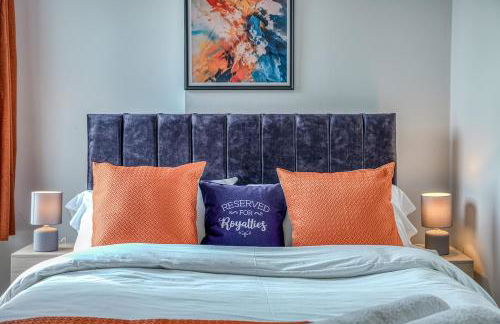
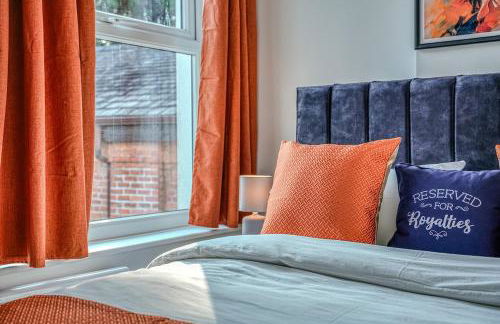
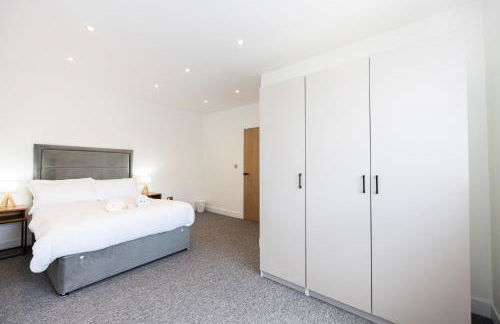
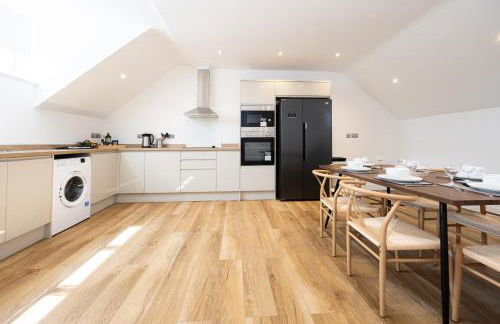
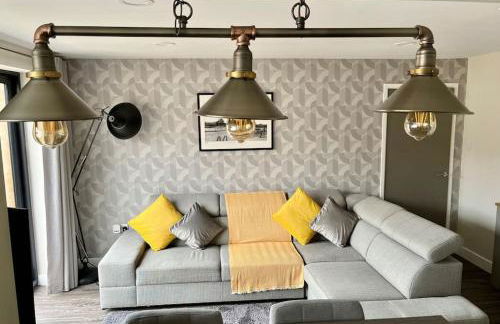
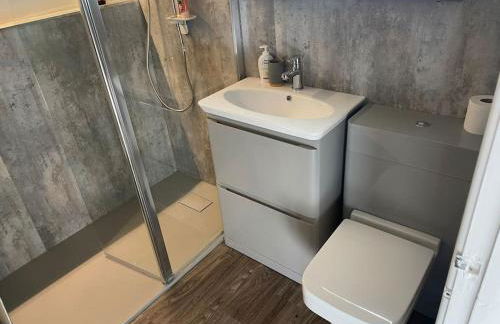
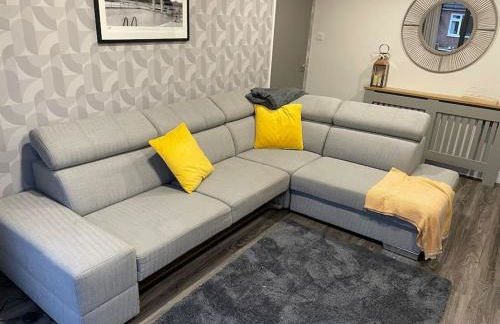
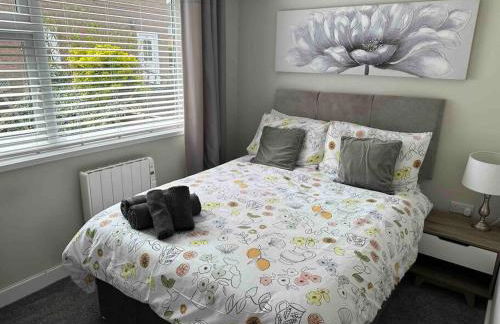
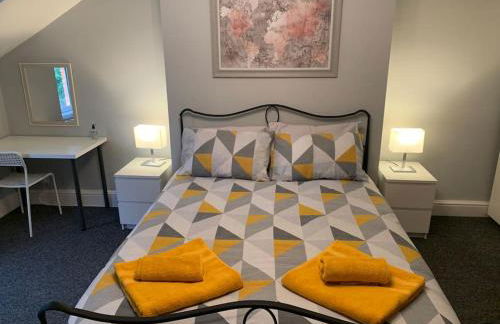
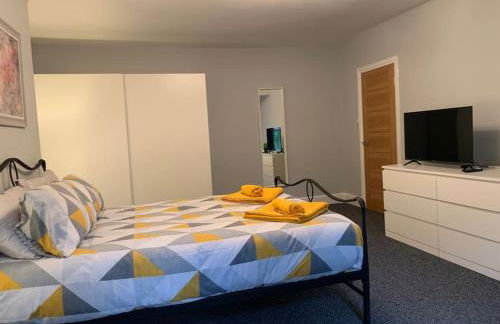
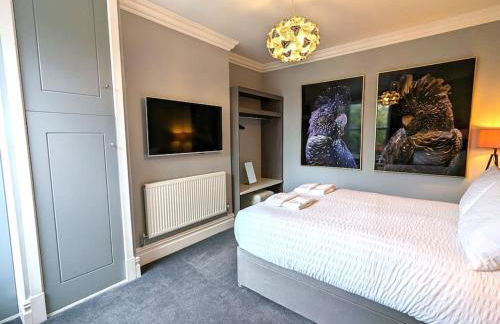
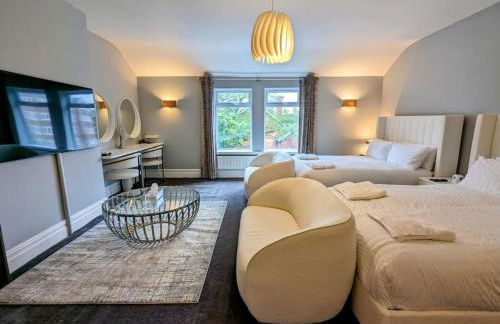
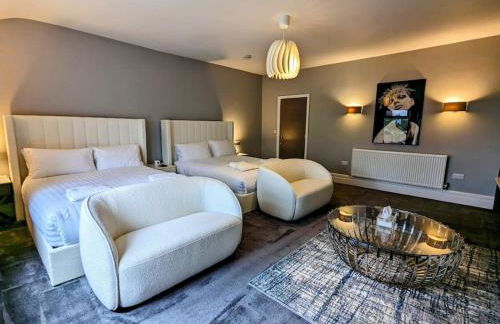
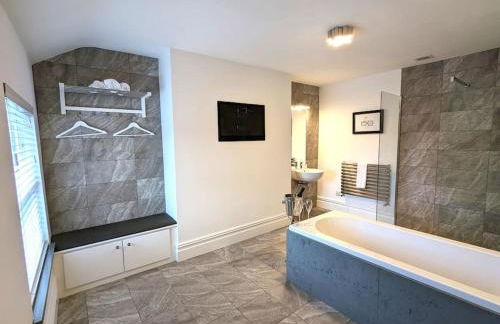
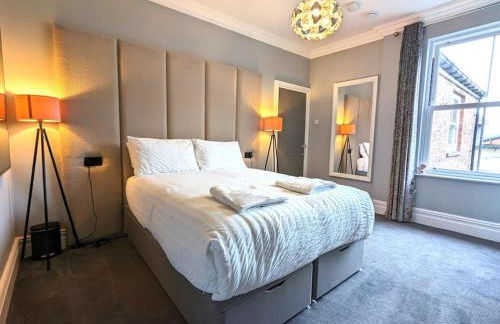
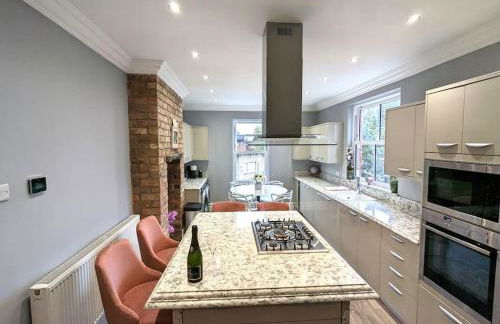
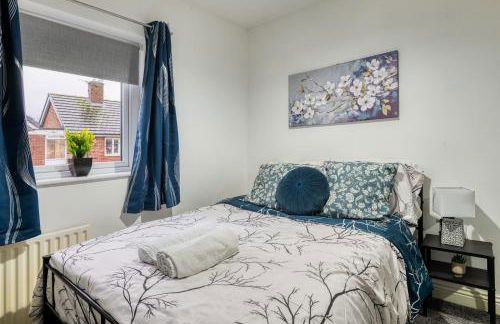
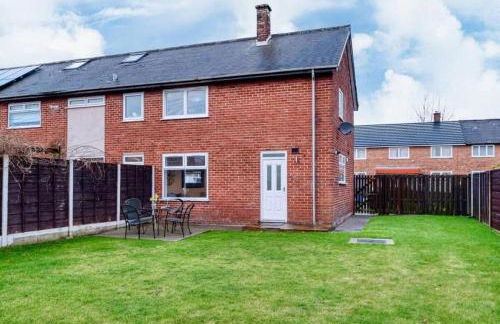
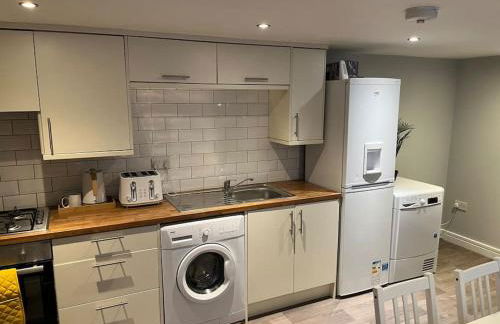
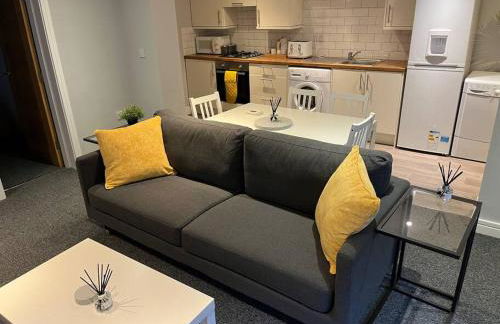
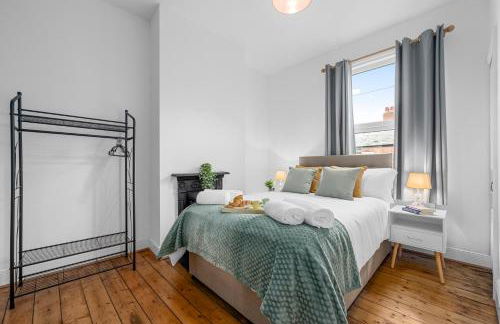
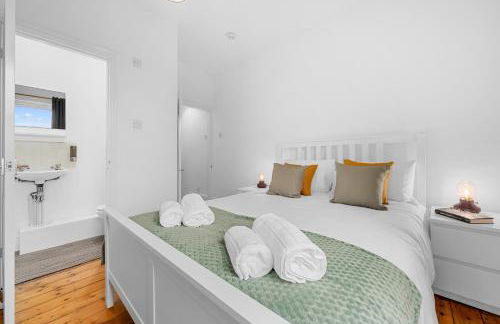
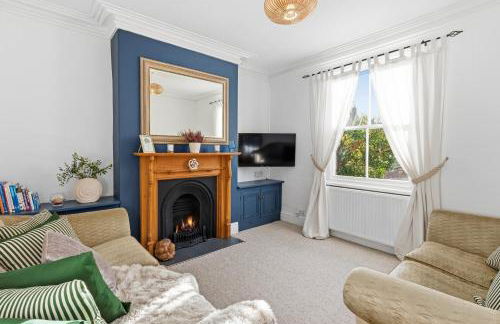
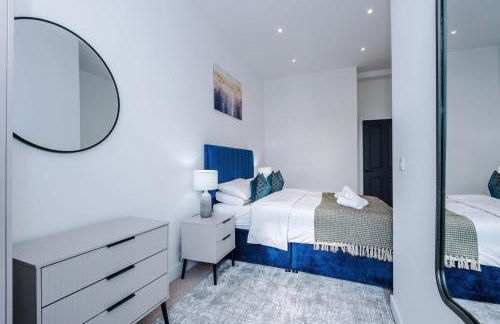
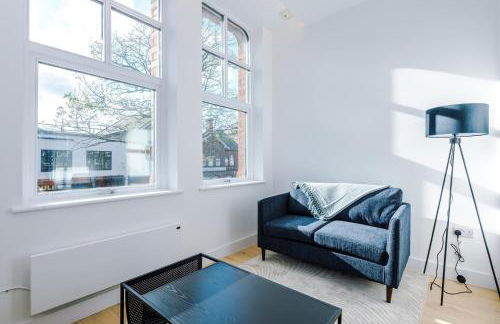
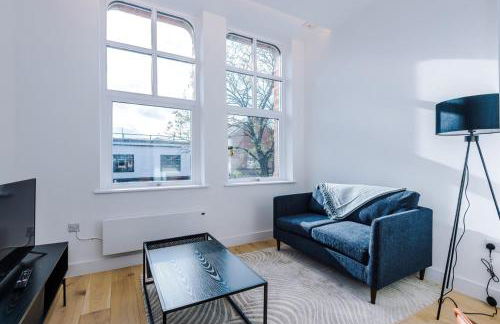
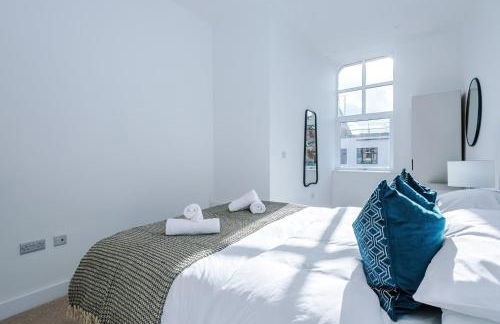
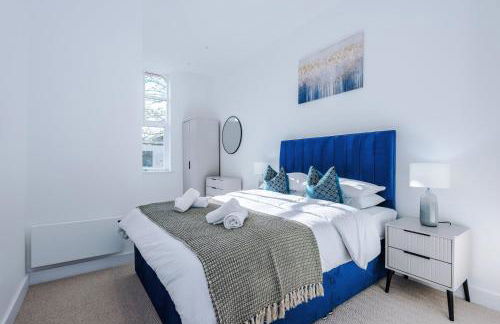
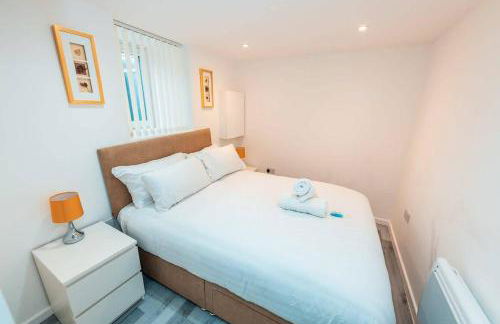
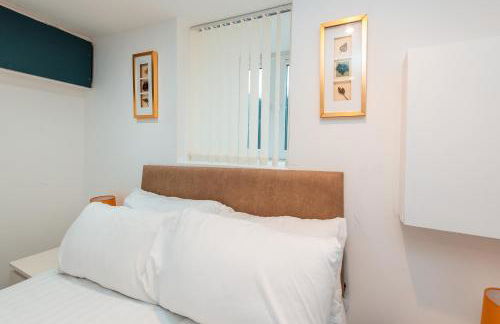
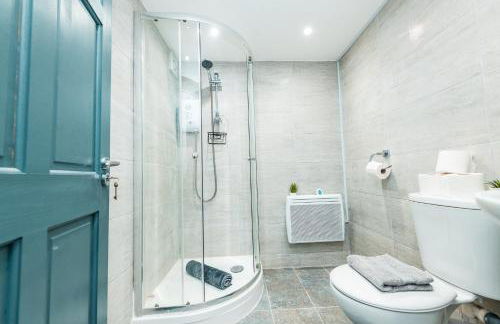
Luxury 2 Bed Apartment, Sleeps 6 with Sofa bed, Close to Sale Town & Tram Station
Sale - Sale
- 61 M2
- 2 chambres
- 4 personnes
- Le chauffage
- Parking
24 avis
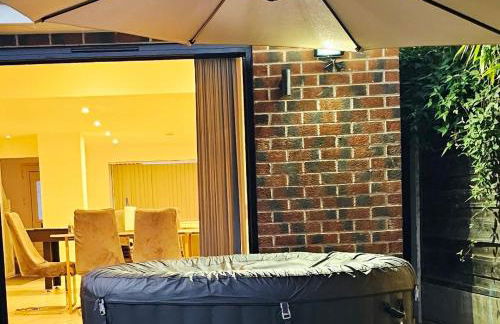
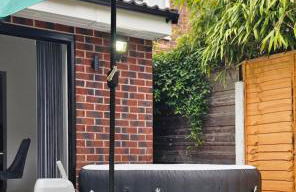
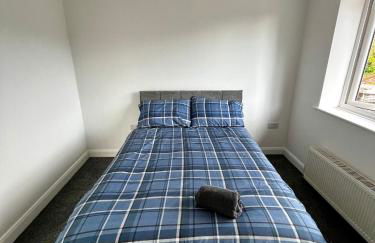
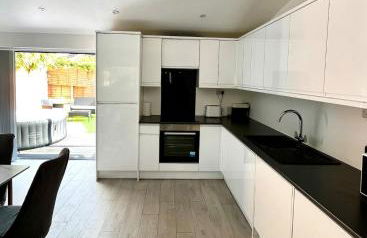
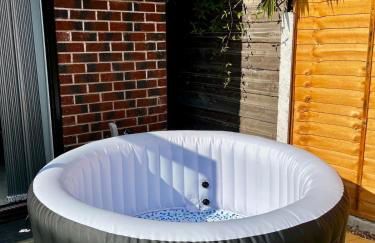
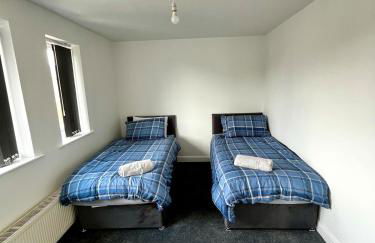
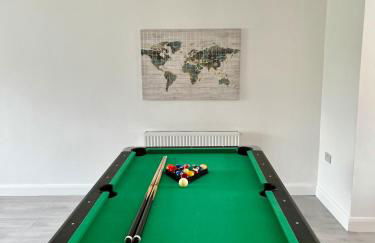
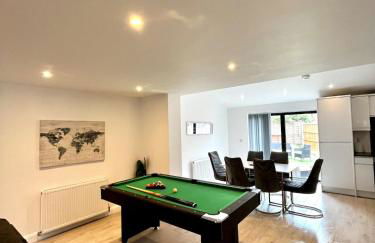

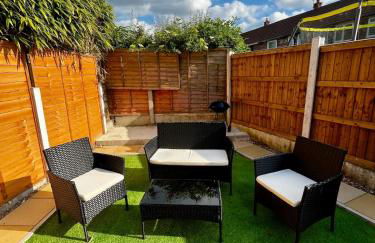

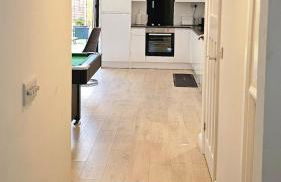

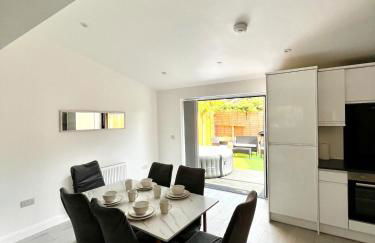
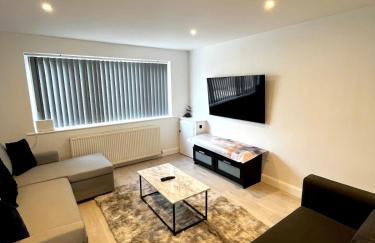
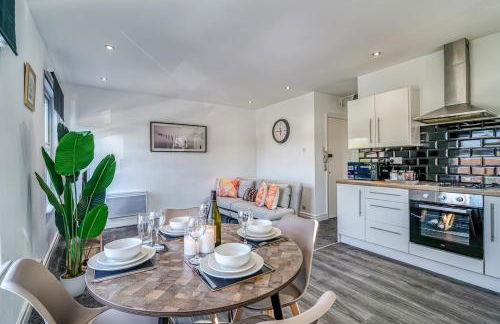
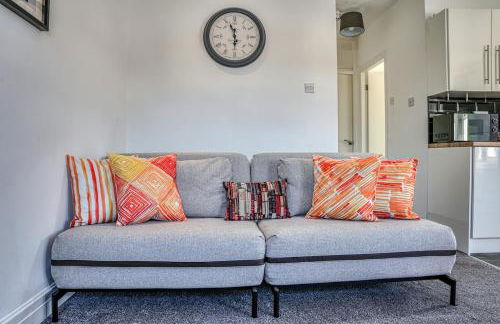
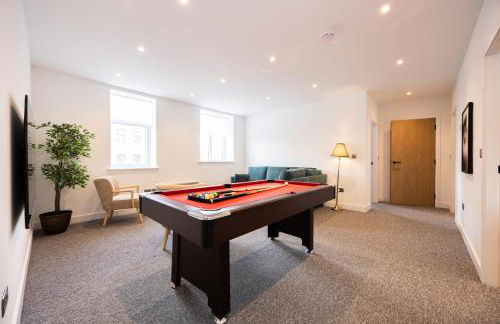
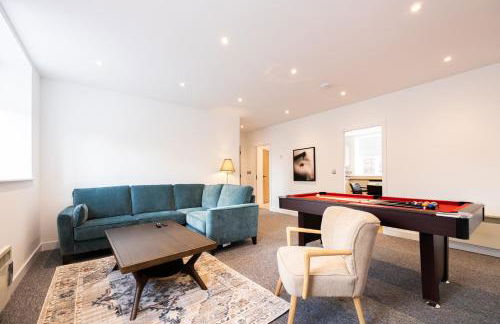
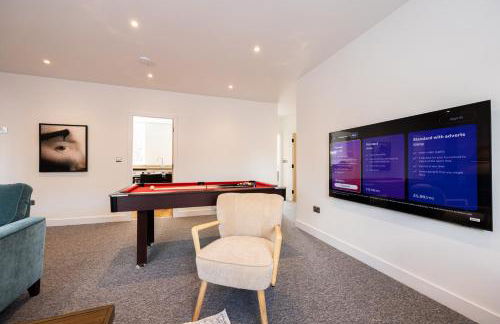
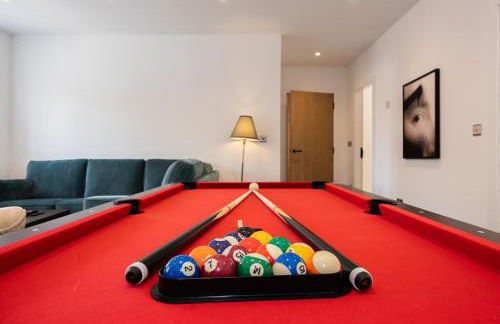
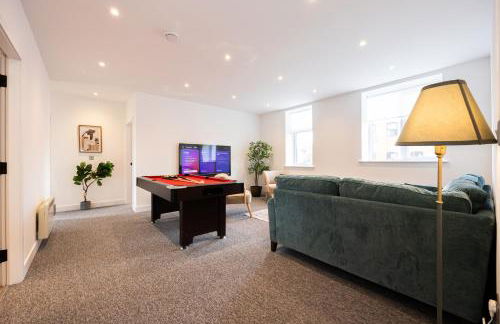
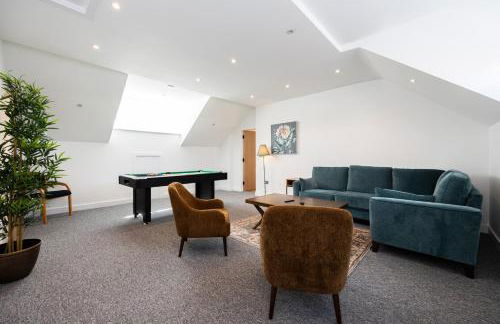
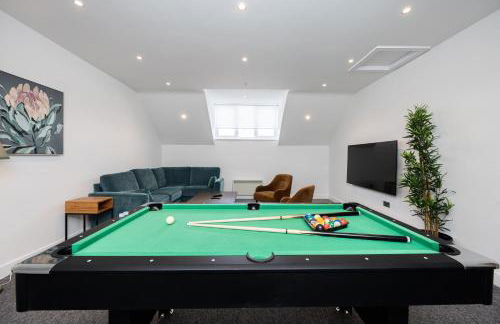
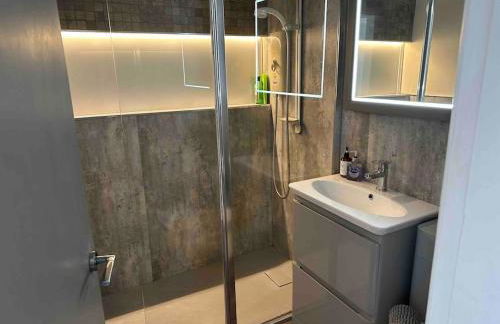
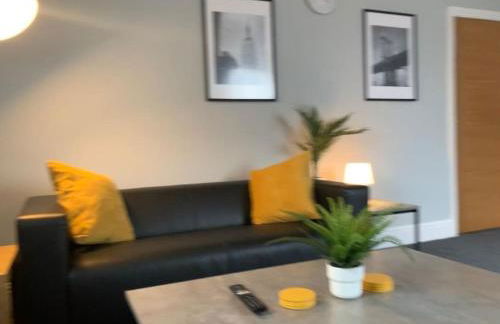
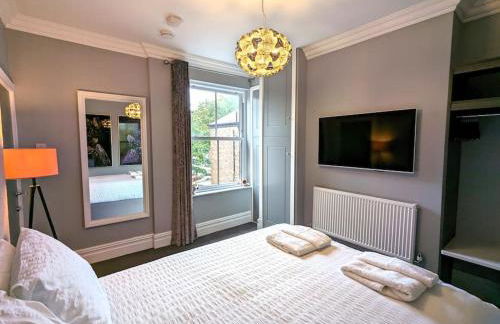
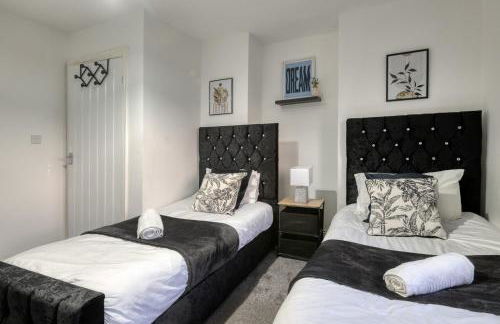
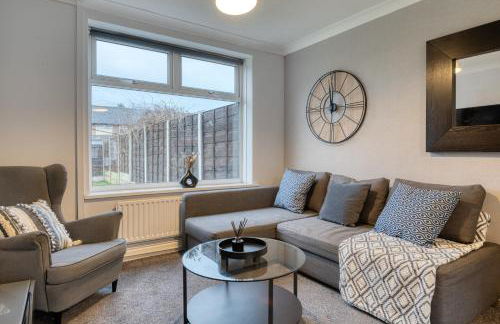
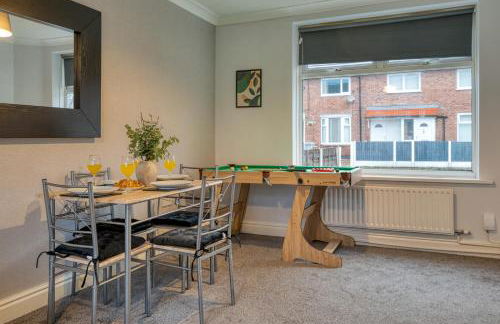
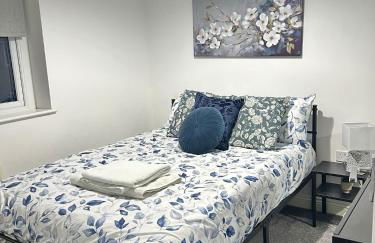
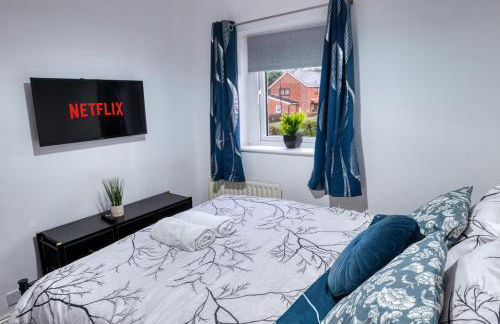
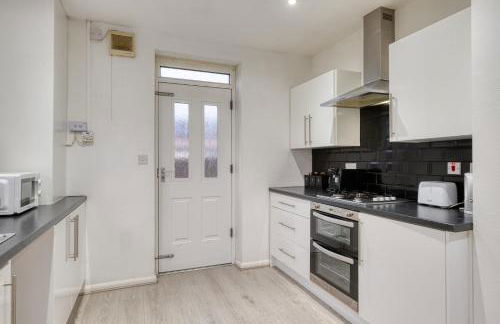
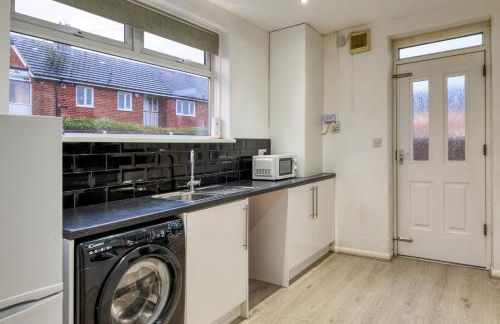
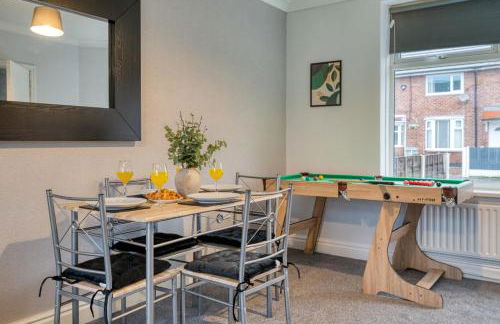
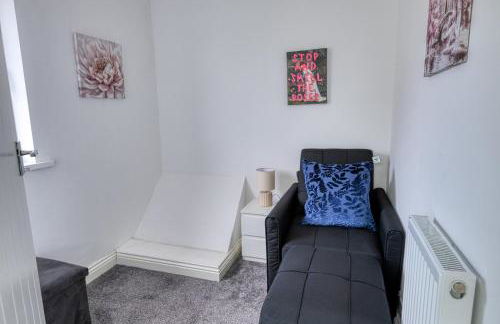
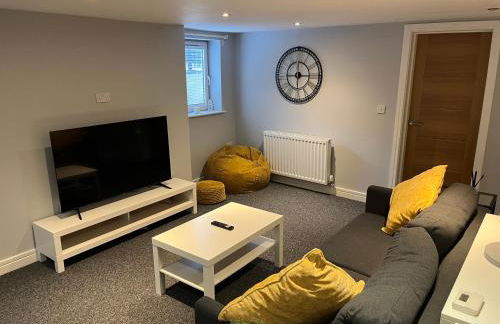
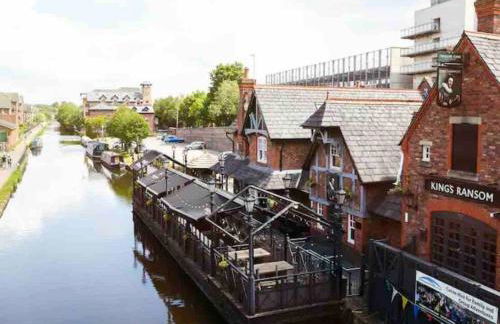
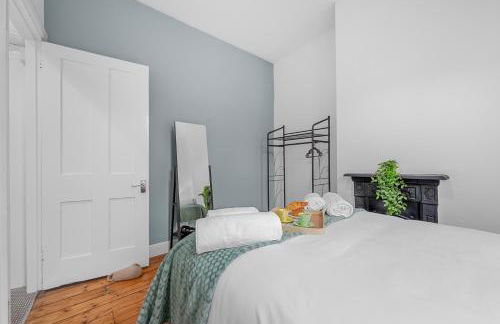
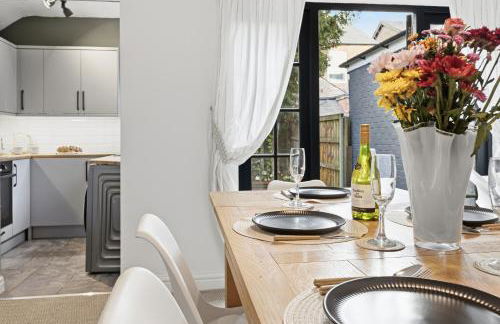
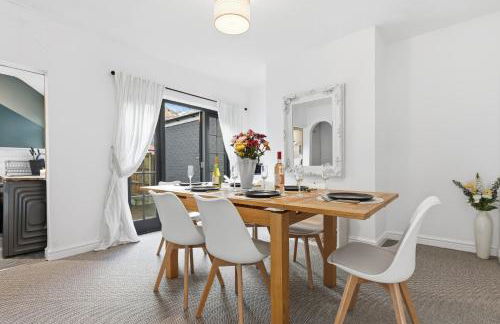
Manchester 2BR Luxe Lounge, Hot Tub, Pool Table
Sale - Sale
- 14 M2
- 2 chambres
- 7 personnes
- Parking
- Jardin
- Barbecue
15 avis


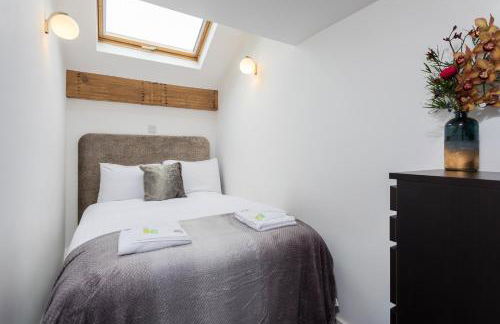
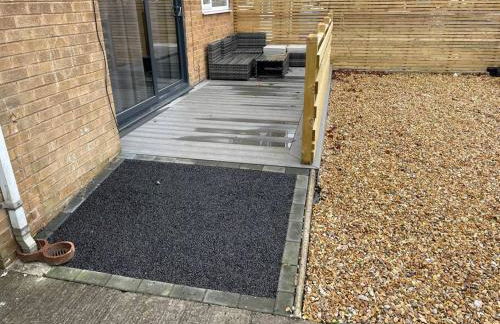
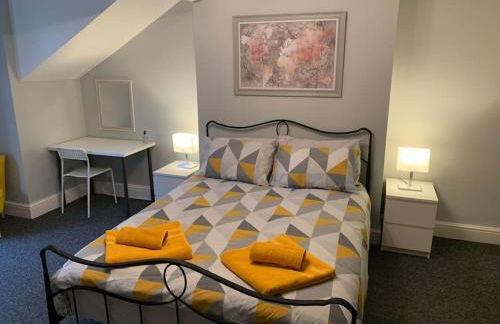
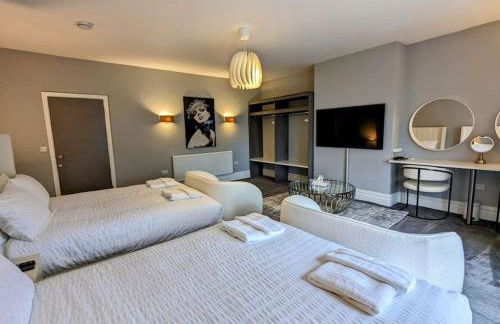
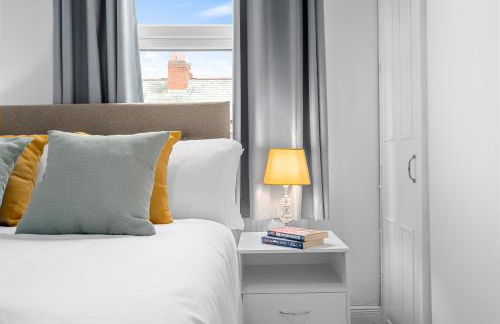
Rose View - Modern detached bungalow
Sale - Sale
- 40 M2
- 3 personnes
- Le chauffage
- Parking
- Tv
- Serviettes
- Feuilles
7 avis


The Upper Gathering - Sleeps Up To 9 Sale
Sale - Sale
- 9 personnes
- Le chauffage
- Tv
- Serviettes
- Feuilles
2 avis


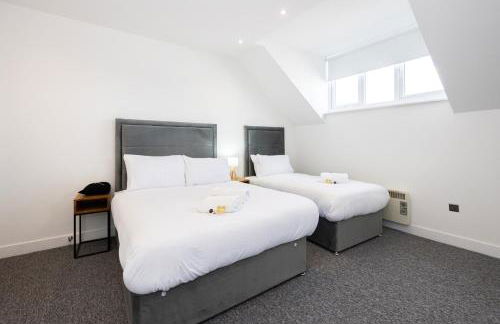
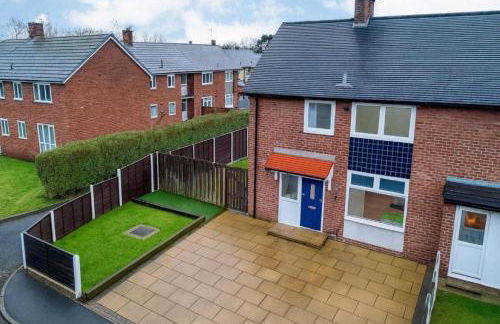
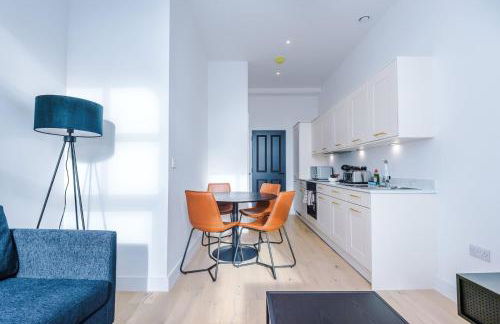
Stanway Apartments- Free Parking & Close To Tram Stop
Sale - Sale
- 2000 M2
- 3 chambres
- 10 personnes
- Le chauffage
- Parking
8 avis


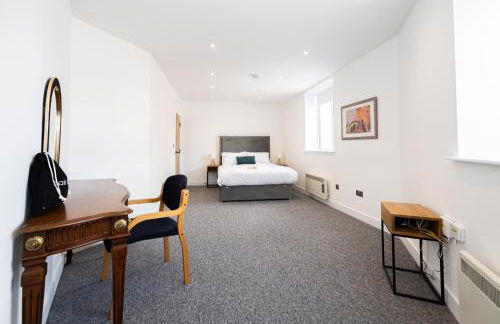
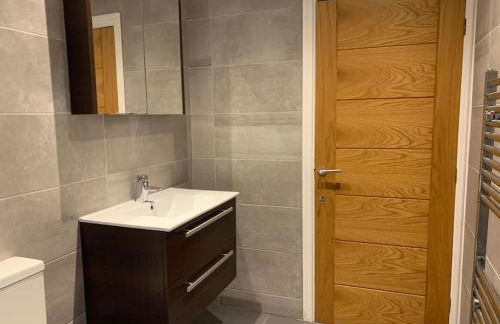
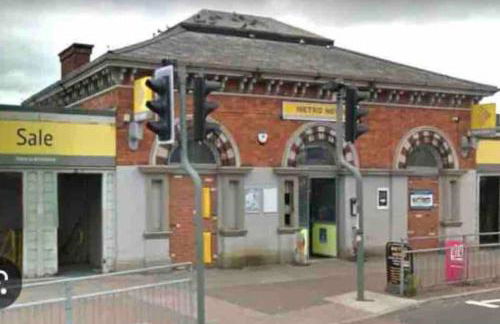
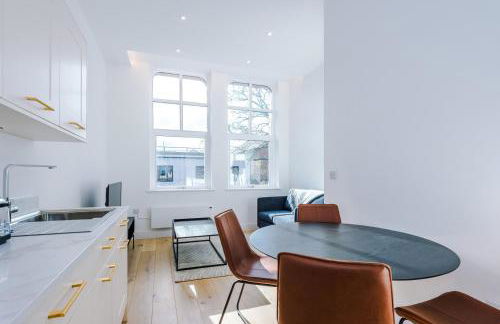
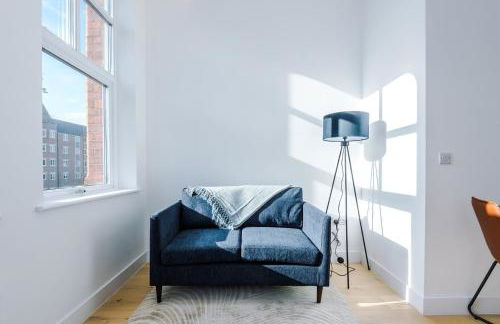
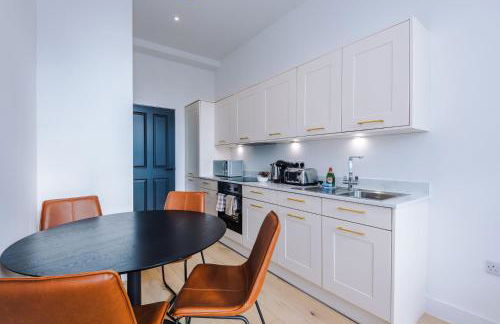
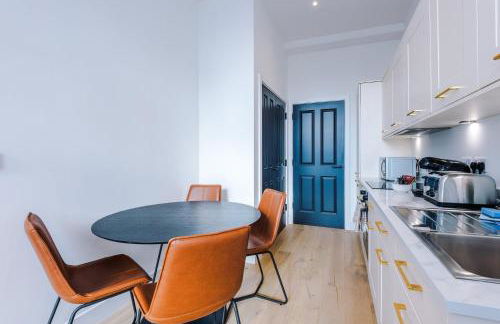
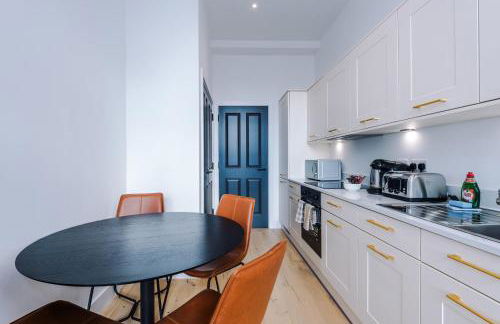
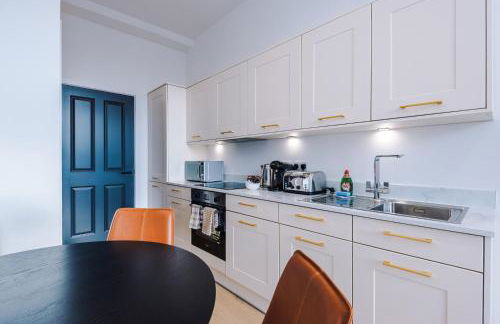
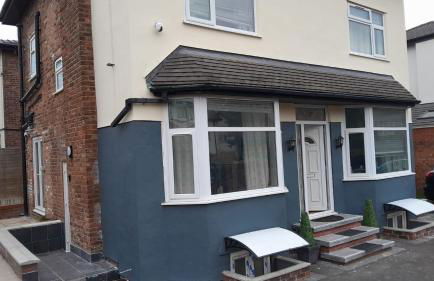
Robert Bolt House, Free Parking, 1 Minute to Metrolink
Sale - Sale
- 167 M2
- 1 chambre
- 2 personnes
- Le chauffage
- Parking
4 avis


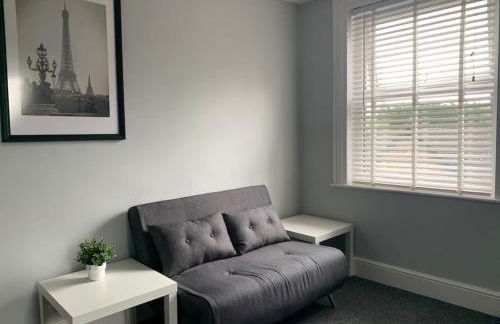
Modern 2BR Flat in Sale - Peaceful Stay in M33 - Great Transport Links
Sale - Sale
- 2 chambres
- 5 personnes
- Terrasse
- Parking
- Jardin
- Barbecue
11 avis


Fantastic Large 2 X Bedroom Flat, Free Parking
Sale - Sale
- 300 M2
- 2 chambres
- 6 personnes
- Le chauffage
- Parking
41 avis


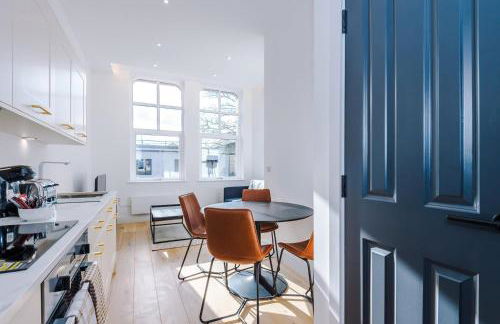
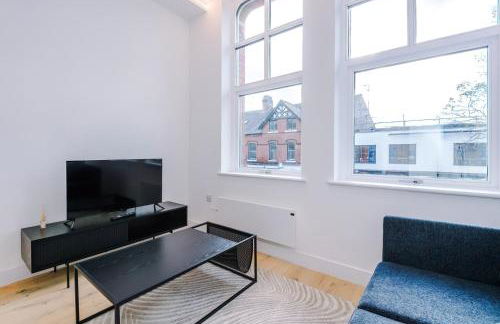
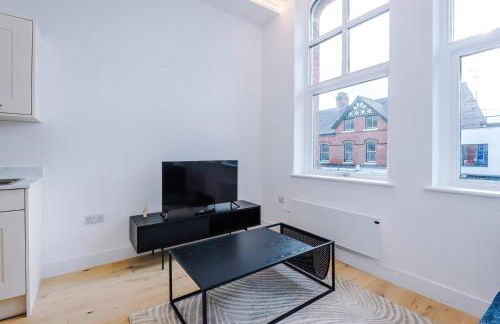
Lux 2 Bed Apartment, 2 Parking spaces, 1 minute to Metrolink
Sale - Sale
- 167 M2
- 2 chambres
- 6 personnes
- Le chauffage
- Parking
2 avis


Vibrant 3BR Getaway Sleeps 6 Exclusive Offer
Sale - Sale
- 1000 M2
- 3 chambres
- 7 personnes
- Parking
- Jardin
5 avis


Stylish 1 Bedroom, 2 bed Basement Flat With Free Parking
Sale - Sale
- 84 M2
- 1 chambre
- 4 personnes
- Parking
20 avis


The Castlefield The Gathering Sale
Sale - Sale
- 4 personnes
- Le chauffage
- Tv
- Machine à laver
- Serviettes
- Feuilles
1 avis


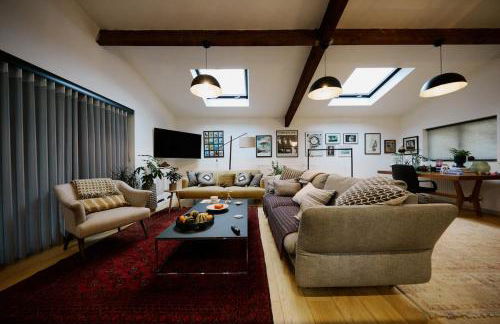
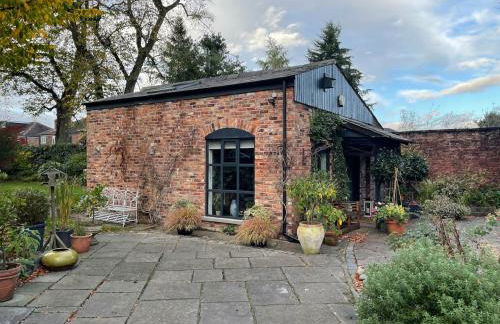
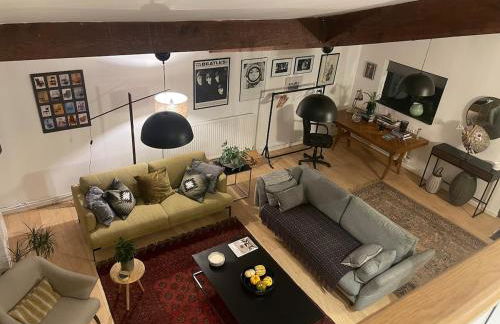
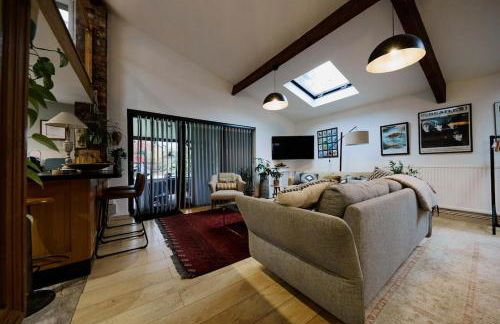
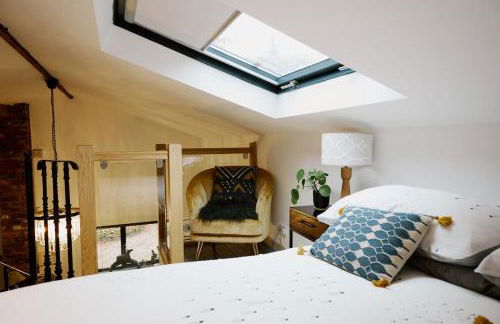
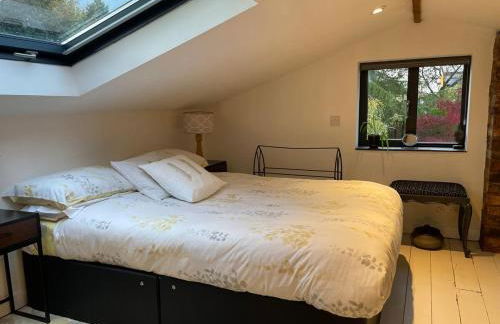
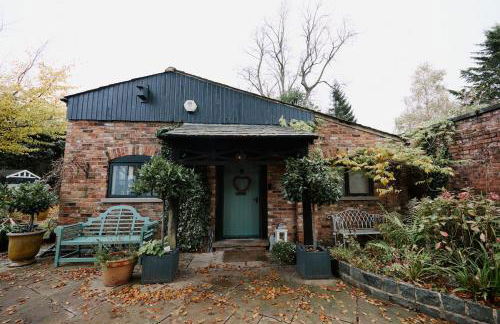
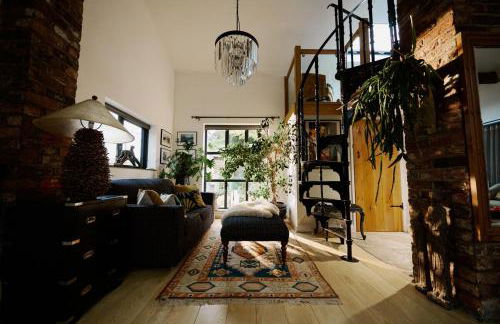
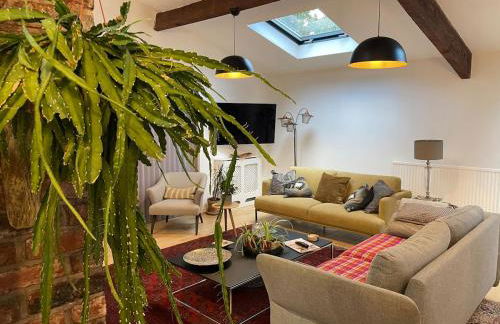
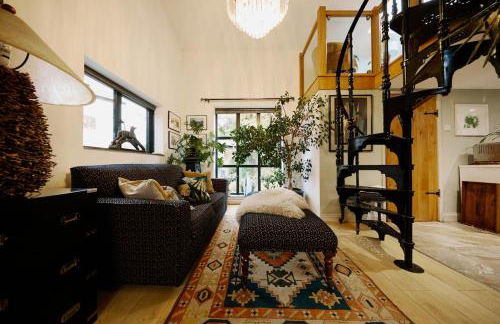
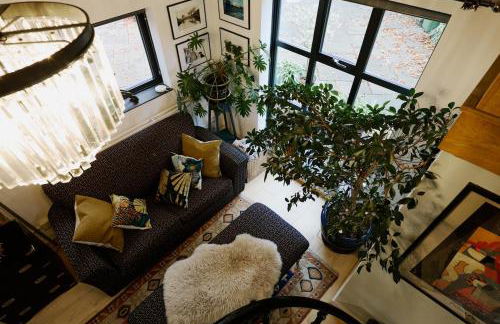
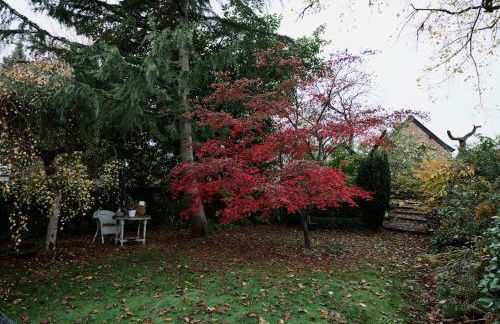


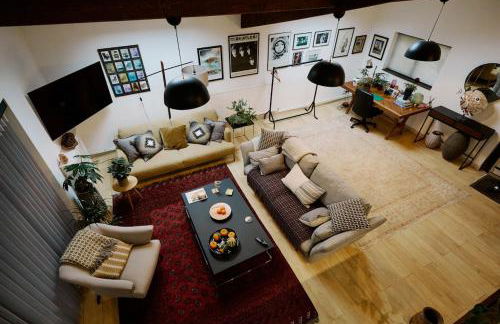
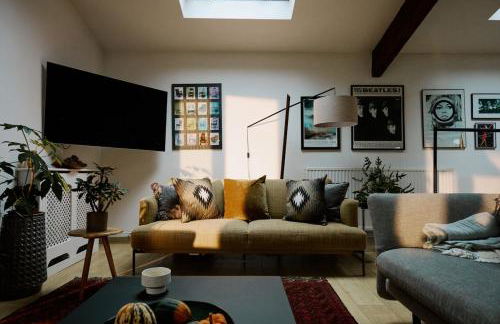


Private Luxury Open-Plan Barn Conversion
Sale - Sale
- 69 M2
- 2 personnes
- Le chauffage
- Terrasse
- Parking
- Jardin
1 avis


Luxurious 3 bed 1 Bath Stay Ideal for Families and Contractors
Sale - Sale
- 118 M2
- 3 chambres
- 6 personnes
- Le chauffage
- Parking
- Jardin
1 avis


The Islington Studio The Gathering Sale
Sale - Sale
- 2 personnes
- Le chauffage
- Tv
- Machine à laver
- Serviettes
- Feuilles
1 avis