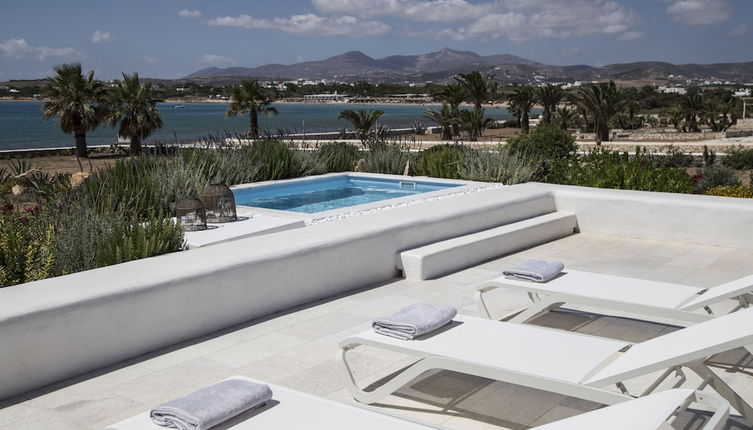
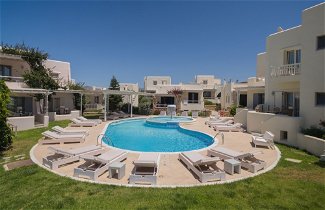
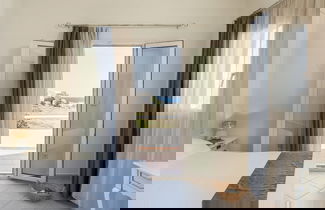
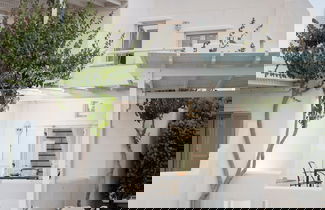
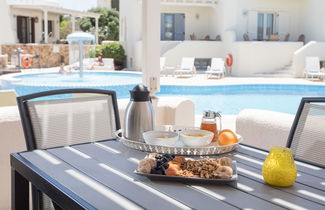
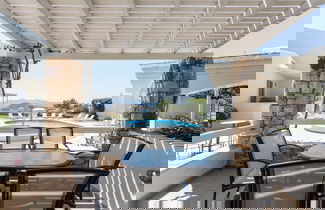
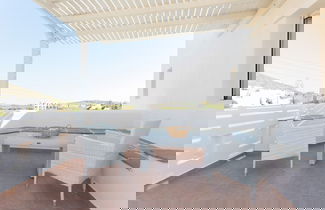
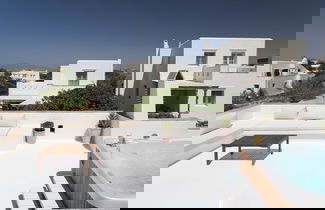
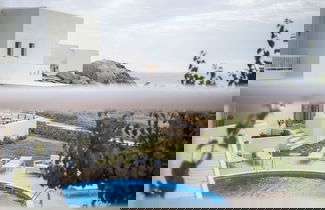
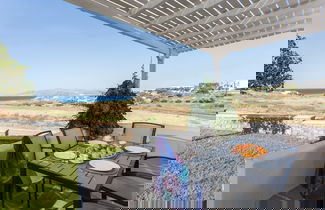
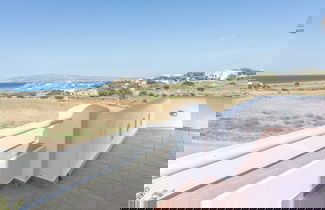
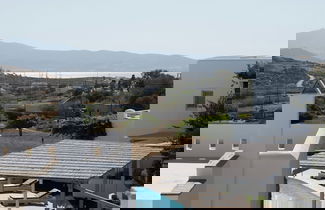
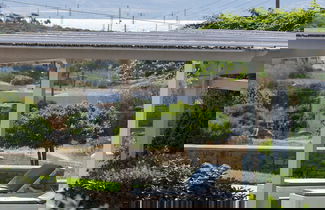
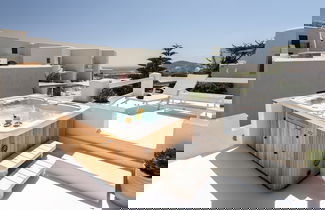
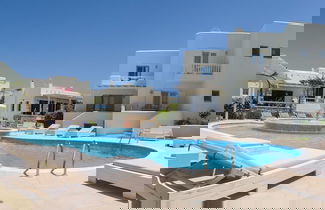
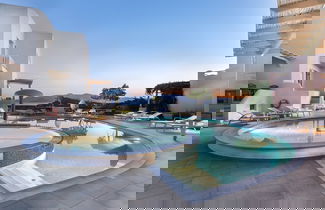
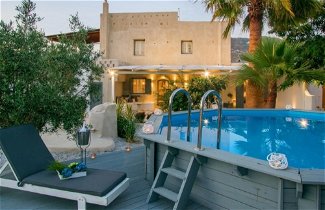
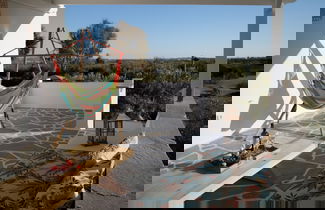
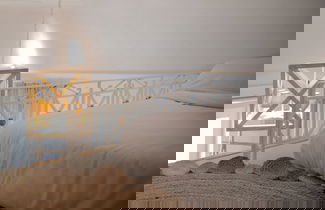
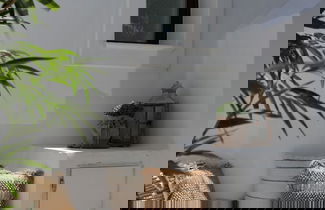
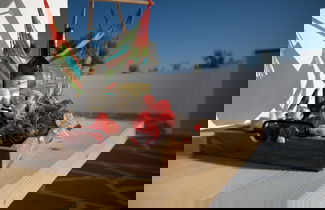
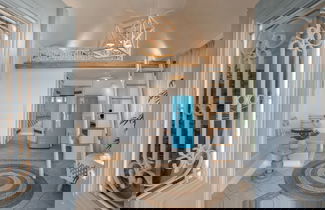
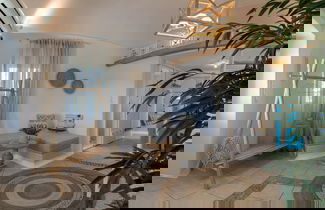
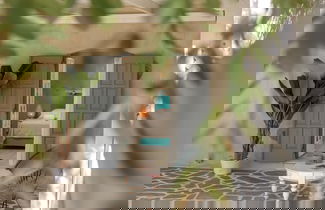
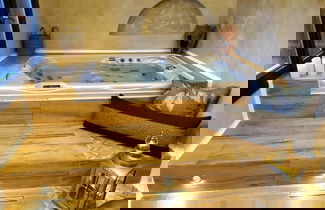
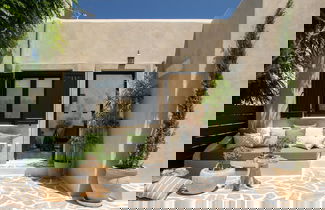
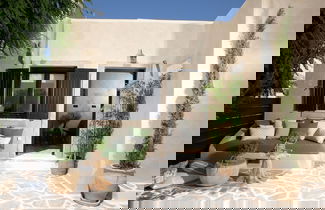
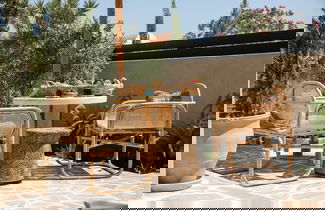
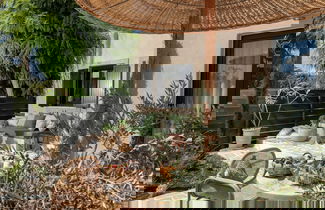
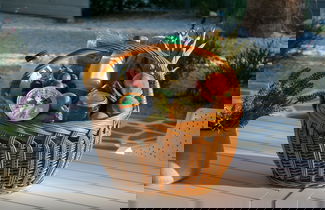
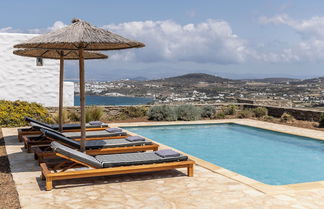
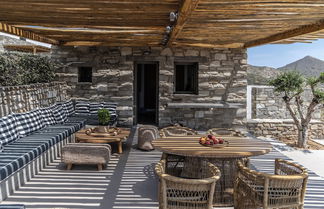
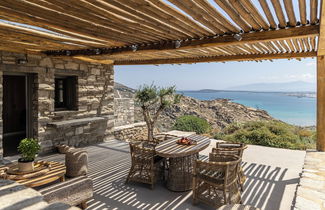
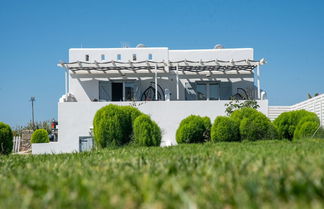
The Sand Collection

80 photos
Photo 1 - The Sand Collection
Photo 2 - The Sand Collection
Photo 3 - The Sand Collection

Description

Profitez de la vue qui vous est offerte depuis une terrasse et un jardin, sans oublier les nombreux équipements et services qui caractérisent l'hébergement, notamment l'accès Wi-Fi à Internet gratuit.
Pour faciliter votre choix, nous avons attribué un classement basé sur notre propre système d'évaluation.


Informations sur l'hébergement

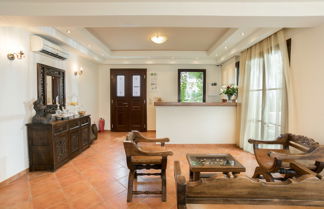
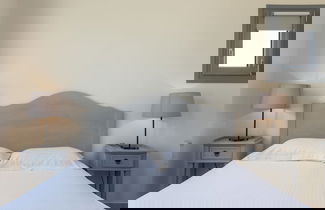
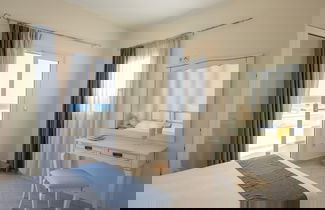
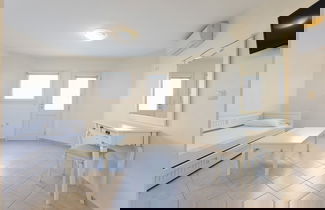
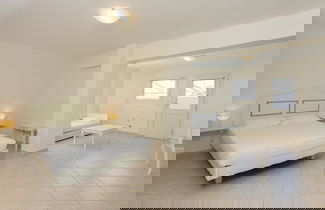
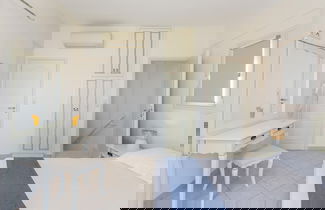
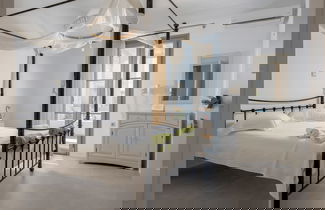
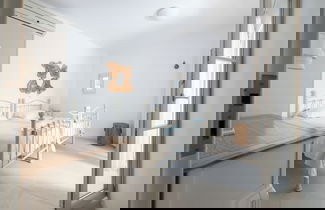
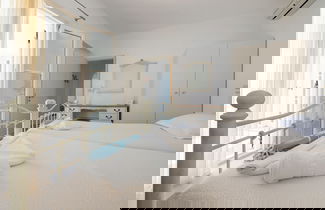
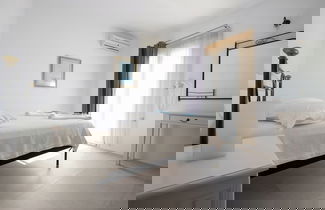
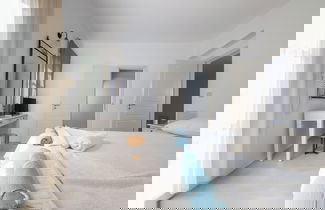
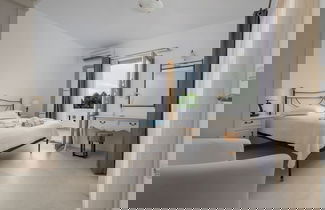
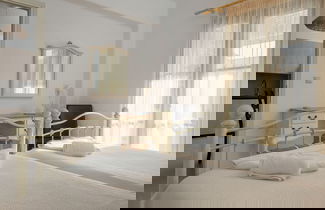
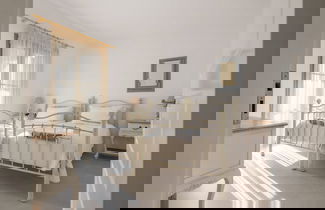
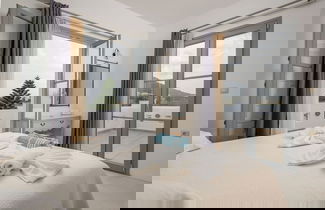
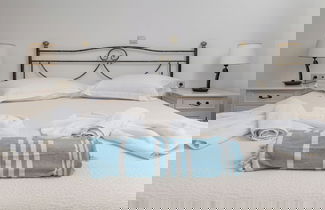
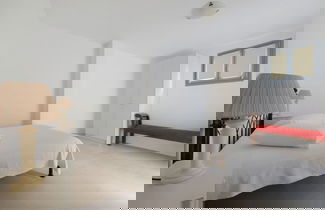
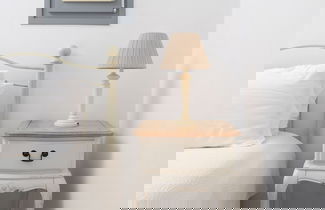
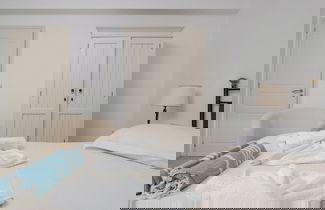
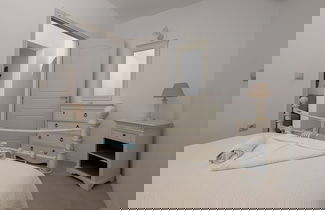
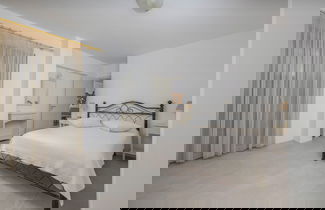
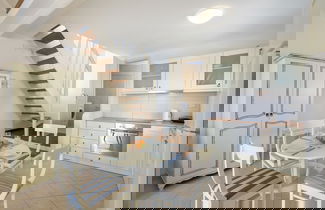
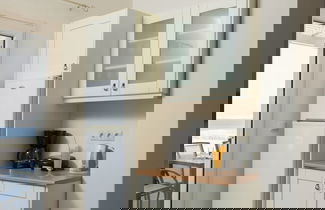
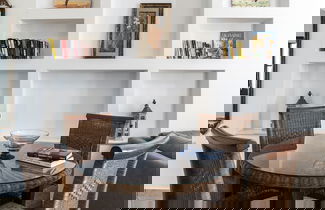
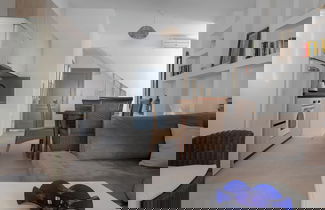
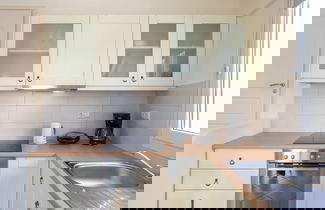
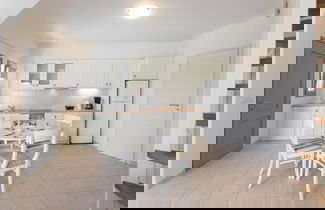
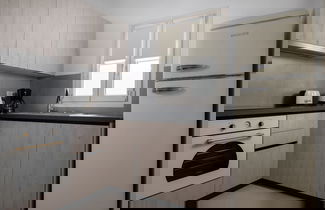
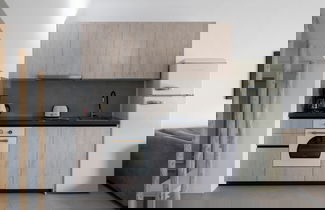
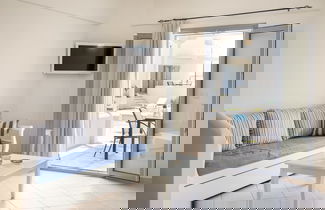
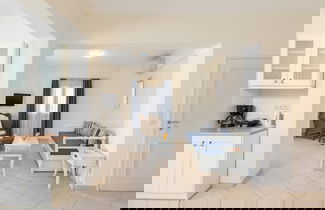
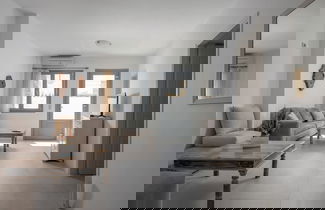
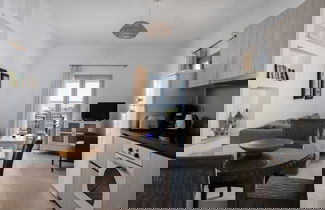
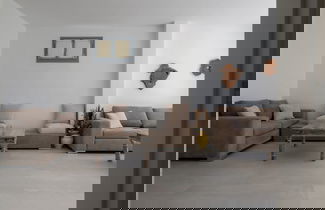
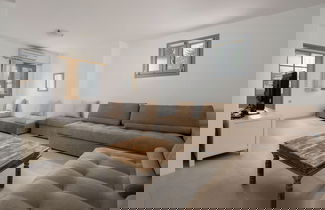
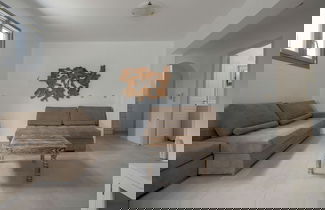
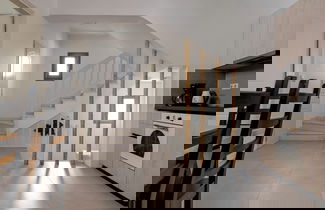
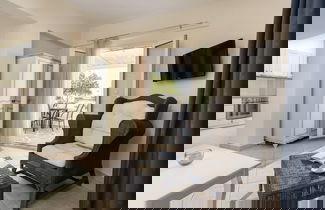
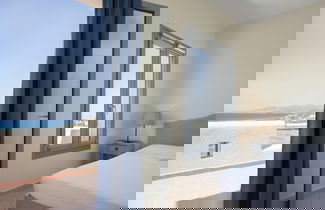
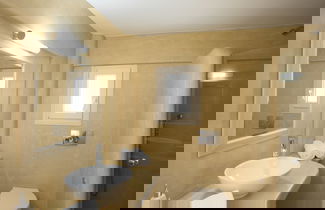
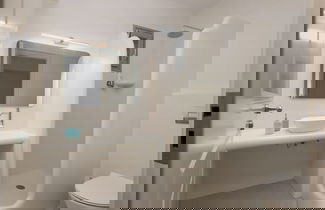
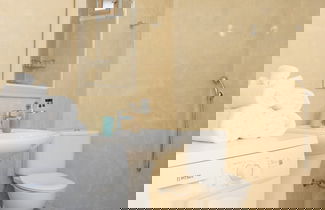
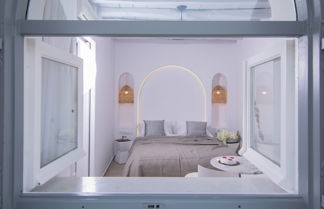
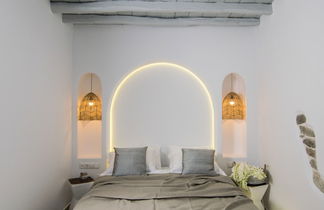
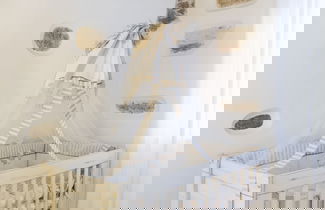
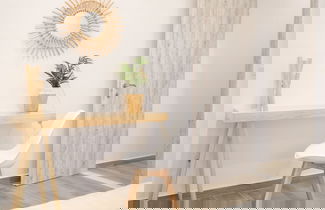
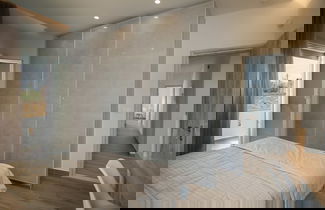
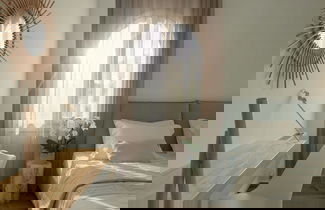
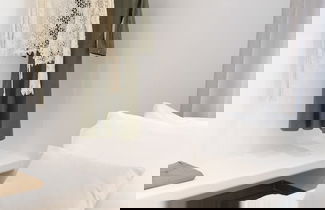
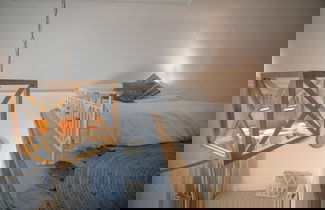
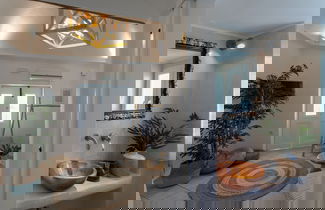
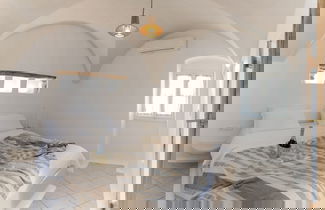
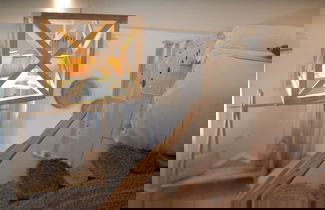
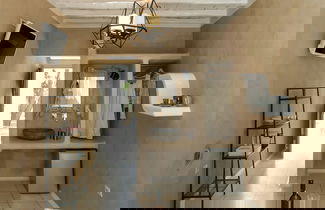
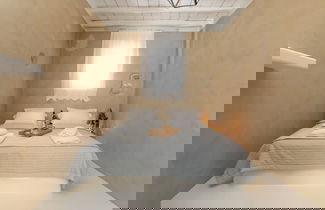
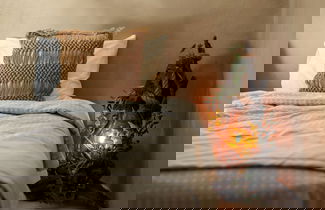
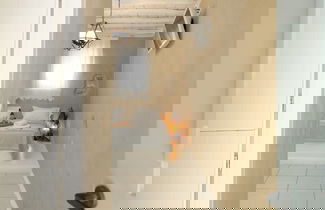
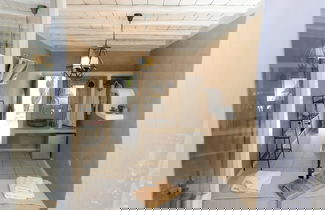
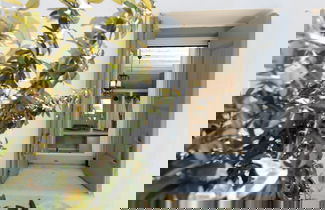
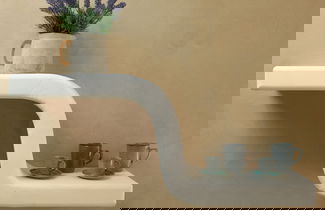
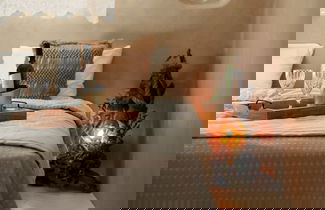
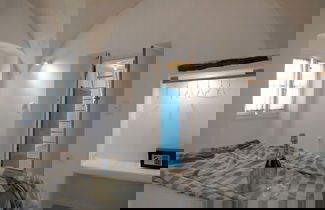
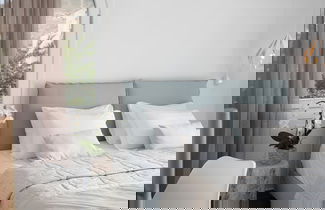
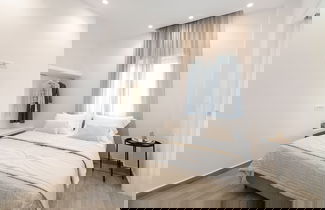
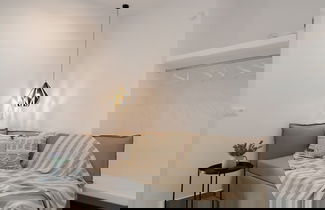
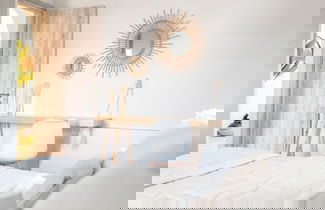
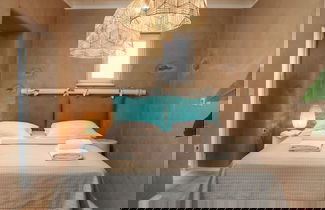
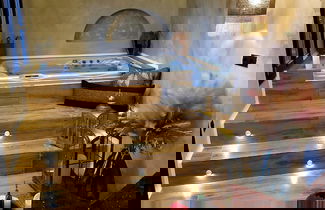
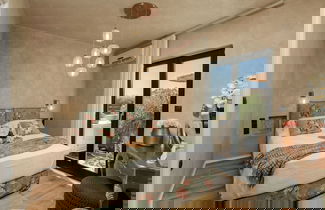
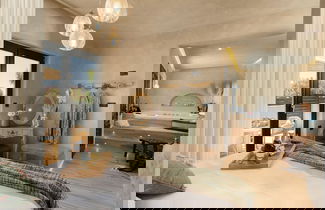
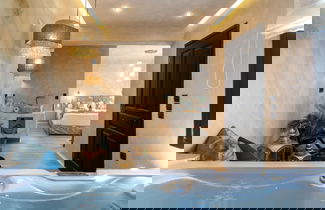
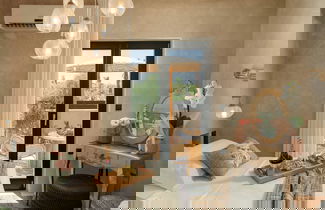
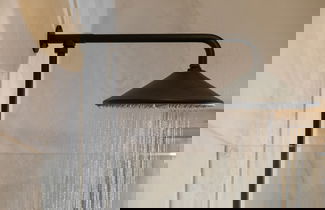
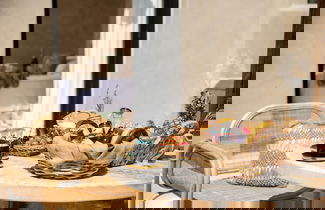
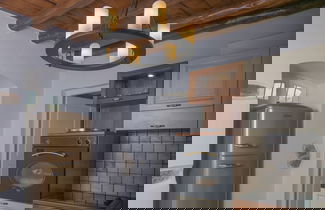
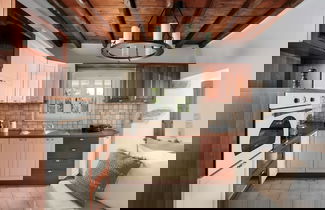
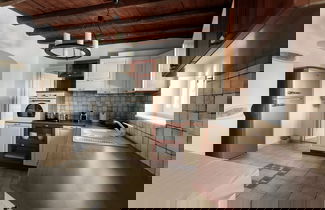
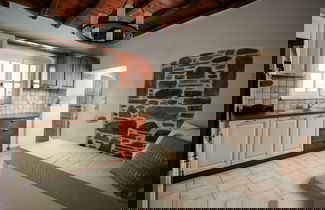
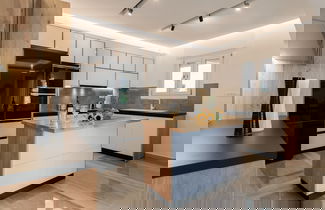
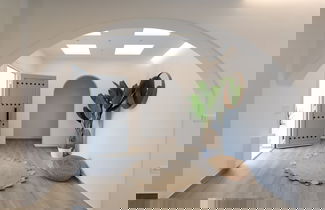
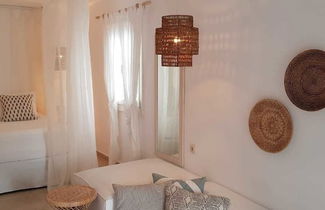
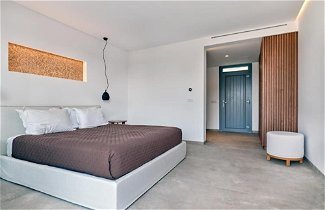
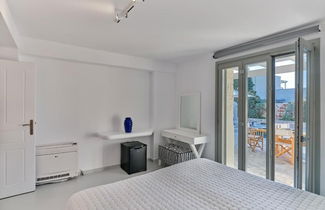
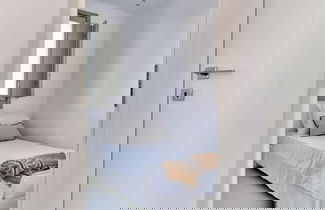
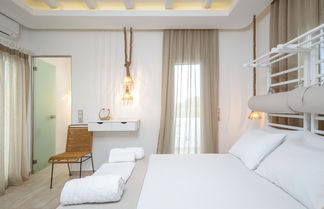
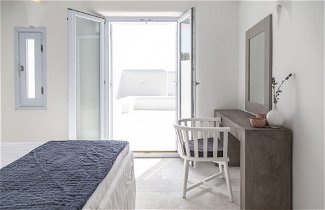
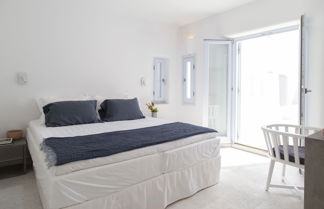
Vous vous sentirez comme chez vous dans cette maison de vacances bénéficiant de la climatisation et offrant une cuisine dotée d'un grand réfrigérateur/congélateur et d'une plaque de cuisson. Vous trouverez un balcon ou patio aménagé privé.L'accès Wi-Fi à Internet gratuit est idéal pour rester connecté, et pour vous divertir, vous profiterez d'une télévision à écran plat. Pour votre confort, vous trouverez sur place un coffre-fort et un bureau et profiterez d'un service de nettoyage une fois par semaine.

Informations sur les services

Un parking gratuit est disponible dans l'enceinte de l'hébergement.

Information de Lieu

Paros ne manque pas de choses à découvrir et un pied-à-terre dans le centre est idéal : cette maison de vacances vous fait profiter d'un séjour près de la plage et se trouve à moins de 10 minutes à pied de Plage de Santa Maria et Little Santa Maria Beach. Cette maison de vacances 4 se trouve à 15 km de Port de Parikia et à 47,4 km de Port de Naxos.
Les distances sont affichées au dixième de kilomètre près

Plage de Santa Maria - 0,5 km
Little Santa Maria Beach - 0,7 km
Santa Maria Beach - 1 km
Lageri Beach - 2 km
Lankeri - 2 km
Plage de Ágioi Anárgyri - 3,9 km
Agioi Anargyroi Beach - 3,9 km
Cave de Moraitis - 4,3 km
Agios Dimitrios beach - 4,6 km
Folklore Museum - 4,8 km
Port de Náoussa - 4,8 km
Aspros Gremos Beach - 5 km
Plage de Piperi - 6,3 km
Ampelas Beach - 7,2 km
Site archéologique de l’acropole mycénienne de Koukounaries - 8,9 km

Les aéroports les plus proches de l'hébergement sont :
Aéroport national de Naxos (JNX) - 51,1 km
Aéroport national de Paros (PAS) - 24,4 km
Aéroport de Mykonos Island National (JMK) - 69,5 km
Aéroport national de Syros (JSY) - 63,9 km

Aéroport principal le plus pratique pour se rendre à cette maison de vacances : Aéroport national de Paros (PAS).

Numéro de registre

N.º de registo do alojamento 1175K91001368301

Emplacement
Santa Maria Paros, Grèce

Équipements et services

Accès et localisation
  • Parking
  • Coffre-fort
  • Permission de fumer

Chauffage et climatisation
  • Le chauffage
  • Ventilateur
  • Air conditionné

Nourriture et cuisine
  • Lave-vaisselle
  • Vaisselle
  • Cafetière
  • Salle à manger
  • Théière
  • Salon
  • Réfrigérateur
  • Cuisinière
  • Le four

Chambres et nettoyage
  • Feuilles
  • Peignoir de bain
  • Serviettes
  • Le fer
  • Articles de toilette
  • Douche
  • Sèche-cheveux
  • Garde-robe

Divertissement
  • Internet (wifi)
  • Tv
  • Bureau

Dehors
  • Balcon
  • Jardin
  • Piscine
  • Terrasse

Les services
  • Compartiment de bagage

Santé
  • Programme de nettoyage amélioré
  • Mesures d'hygiène supplémentaires
  • Formation du personnel à l'hygiène

Conditions

Horaires
  • Arrivée à partir de 15:00h jusqu'à 23:00h
  • Départ jusqu'à 11:00h

Restrictions

Animaux interdits
Permission de fumer


Voulez-vous voir d'autres options?
Nous avons trouvé ces autres suggestions qui pourraient vous plaire...
10.0 Superbe 22 avis
Pavillon à Stelida - Naxos
Meilleurs choix
À 3.3 km du centre
9.8 Exceptionnel 15 avis
Pavillon à Paros
Meilleurs choix
À 3 km du centre
9.6 Exceptionnel 27 avis
Pavillon à Paros
Meilleurs choix
À 2.2 km du centre
10.0 Superbe 11 avis
Pavillon à Stelida - Naxos
Meilleurs choix
À 3.3 km du centre
9.8 Exceptionnel 22 avis
Appartement à Naxos - Naxos
Meilleurs choix
À 350 m du centre
9.6 Exceptionnel 31 avis
Appartement à Naxos - Naxos
Meilleurs choix
À 310 m du centre

Photos du logement

Photo 1 - The Sand Collection
Photo 2 - The Sand Collection
Photo 3 - The Sand Collection
Photo 4 - The Sand Collection
Photo 5 - The Sand Collection
Photo 6 - The Sand Collection
Photo 7 - The Sand Collection
Photo 8 - The Sand Collection
Photo 9 - The Sand Collection
Photo 10 - The Sand Collection
Photo 11 - The Sand Collection
Photo 12 - The Sand Collection
Photo 13 - The Sand Collection
Photo 14 - The Sand Collection
Photo 15 - The Sand Collection
Photo 16 - The Sand Collection
Photo 17 - The Sand Collection
Photo 18 - The Sand Collection
Photo 19 - The Sand Collection
Photo 20 - The Sand Collection
Photo 21 - The Sand Collection
Photo 22 - The Sand Collection
Photo 23 - The Sand Collection
Photo 24 - The Sand Collection
Photo 25 - The Sand Collection
Photo 26 - The Sand Collection
Photo 27 - The Sand Collection
Photo 28 - The Sand Collection
Photo 29 - The Sand Collection
Photo 30 - The Sand Collection
Photo 31 - The Sand Collection
Photo 32 - The Sand Collection
Photo 33 - The Sand Collection
Photo 34 - The Sand Collection
Photo 35 - The Sand Collection
Photo 36 - The Sand Collection
Photo 37 - The Sand Collection
Photo 38 - The Sand Collection
Photo 39 - The Sand Collection
Photo 40 - The Sand Collection
Photo 41 - The Sand Collection
Photo 42 - The Sand Collection
Photo 43 - The Sand Collection
Photo 44 - The Sand Collection
Photo 45 - The Sand Collection
Photo 46 - The Sand Collection
Photo 47 - The Sand Collection
Photo 48 - The Sand Collection
Photo 49 - The Sand Collection
Photo 50 - The Sand Collection
Photo 51 - The Sand Collection
Photo 52 - The Sand Collection
Photo 53 - The Sand Collection
Photo 54 - The Sand Collection
Photo 55 - The Sand Collection
Photo 56 - The Sand Collection
Photo 57 - The Sand Collection
Photo 58 - The Sand Collection
Photo 59 - The Sand Collection
Photo 60 - The Sand Collection
Photo 61 - The Sand Collection
Photo 62 - The Sand Collection
Photo 63 - The Sand Collection
Photo 64 - The Sand Collection
Photo 65 - The Sand Collection
Photo 66 - The Sand Collection
Photo 67 - The Sand Collection
Photo 68 - The Sand Collection
Photo 69 - The Sand Collection
Photo 70 - The Sand Collection
Photo 71 - The Sand Collection
Photo 72 - The Sand Collection
Photo 73 - The Sand Collection
Photo 74 - The Sand Collection
Photo 75 - The Sand Collection
Photo 76 - The Sand Collection
Photo 77 - The Sand Collection
Photo 78 - The Sand Collection
Photo 79 - The Sand Collection
Photo 80 - The Sand Collection