45 photos
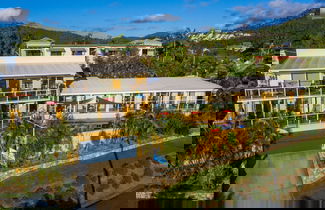
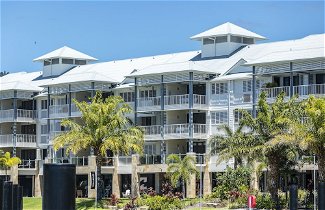
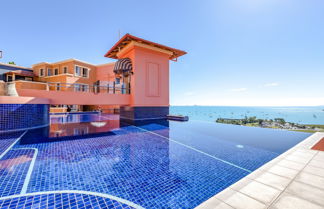
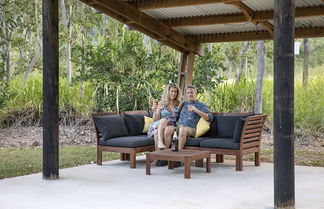
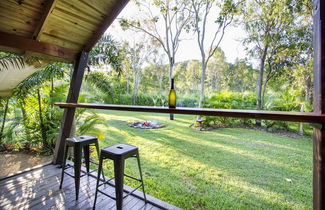
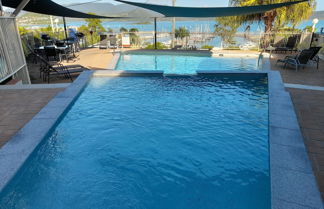
La détente avant tout ! Profitez des nombreuses options de loisirs disponibles dans l'hébergement, notamment une piscine extérieure, ou admirez la vue qui vous est offerte depuis une terrasse.
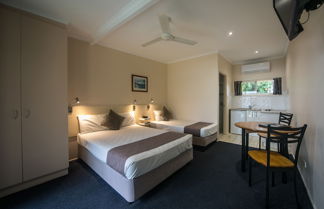
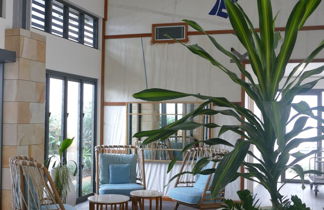
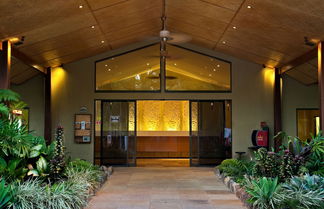
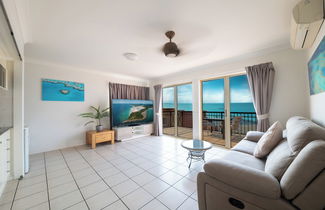
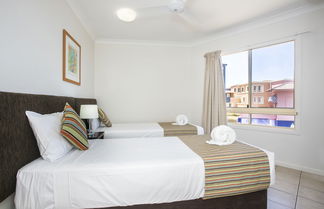
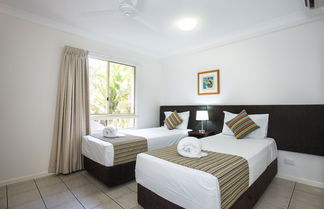
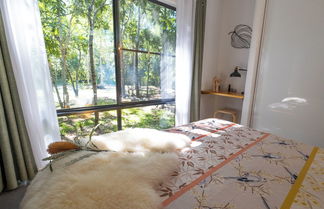
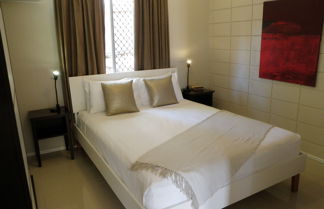
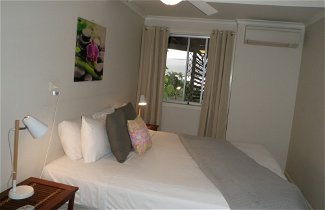
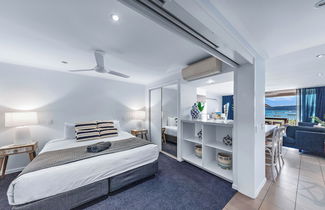
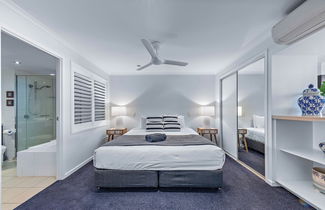
Vous vous sentirez comme chez vous dans cet appartement à la déco personnalisée offrant une cuisine dotée d'un réfrigérateur et d'un four. Vous trouverez un balcon ou patio aménagé privé.Une télévision à écran plat vous est proposée pour des soirées divertissantes. Parmi les petits plus, vous trouverez sur place un micro-ondes et une bouilloire électrique.
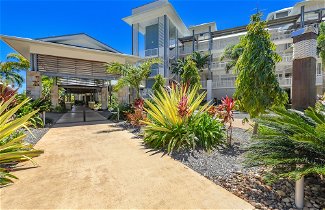
Un parking gratuit est disponible dans l'enceinte de l'hébergement.
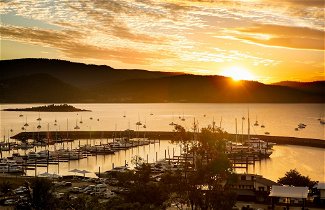
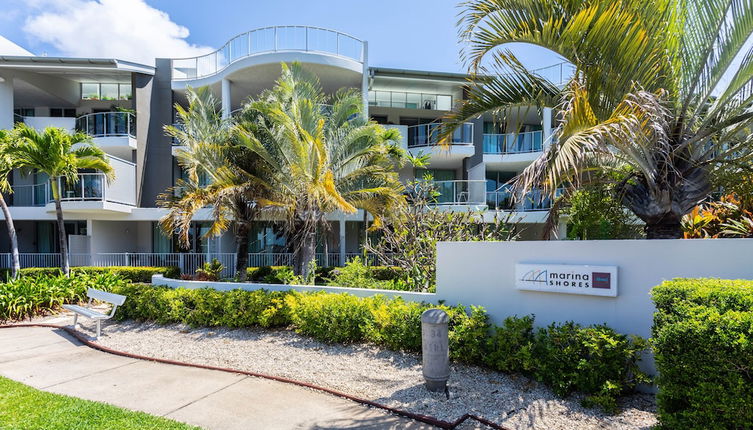
En choisissant cet appartement à Cannonvale, vous profiterez d'un agréable séjour à moins de 10 minutes en voiture de Port d'Airlie et Turtle Boardwalk. Cet appartement se trouve à 0,1 km de Shingley Beach et à 0,8 km de Port de plaisance Coral Sea.
Les distances sont affichées au dixième de kilomètre près
Shingley Beach - 0,1 km
Turtle Boardwalk - 0,2 km
Port de plaisance Coral Sea - 0,8 km
Bicentennial Walkway - 1,3 km
Centre commercial Whitsunday Shopping Centre - 1,3 km
Plage de Cannonvale - 1,5 km
Proserpine River wetlands - 1,5 km
Bicentennial Park - 1,7 km
Lagon d'Airlie Beach - 2 km
Marché de Airlie Beach - 2,4 km
Plage de Boathaven Beach - 2,7 km
Port d'Airlie - 3 km
Whitsunday Art Gallery - 3,4 km
Parc national de Conway - 3,4 km
Centre commercial Whitsunday Plaza - 4,7 km
Les aéroports les plus proches de l'hébergement sont :
Aéroport de Hamilton Island Great Barrier Reef (HTI) - 32,8 km
Aéroport de Proserpine Whitsunday Coast (PPP) - 37,8 km
Numero di registrazione della struttura 18879125512
Interdit de fumer
Animaux interdits