Hidden Jewel

32 photos
Photo 1 - Hidden Jewel
Photo 2 - Hidden Jewel
Photo 3 - Hidden Jewel

Description

Informations sur l'hébergement

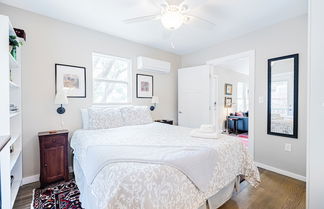
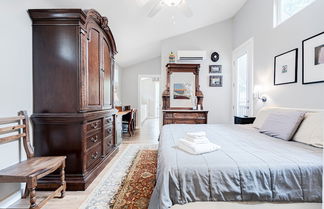
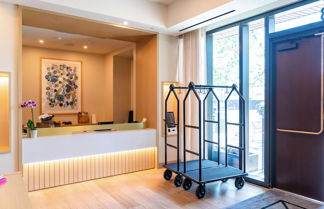
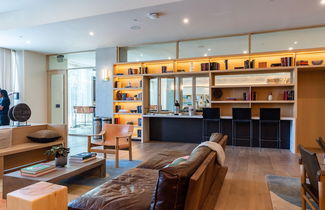
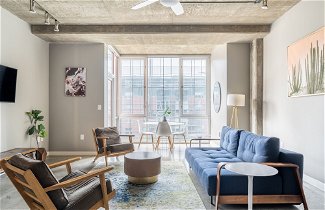
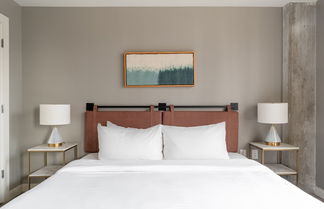
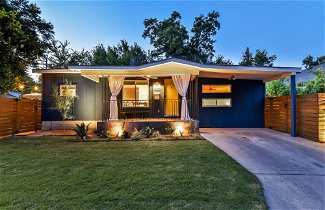
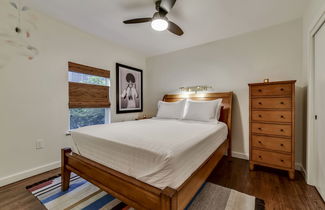
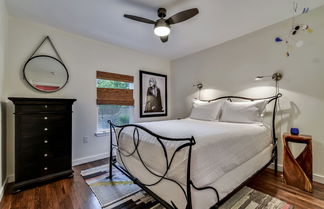
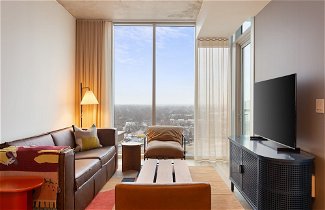
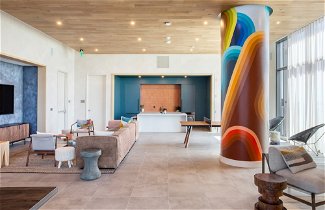
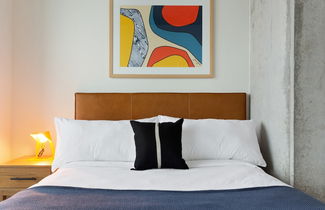
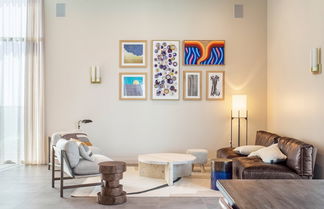
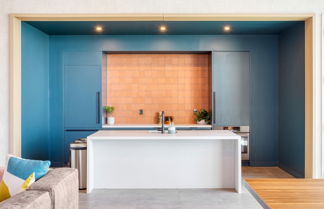
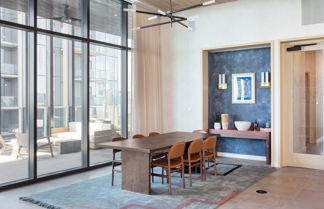
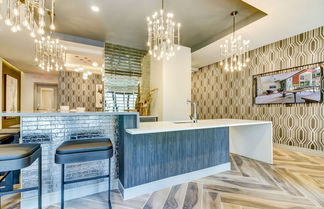
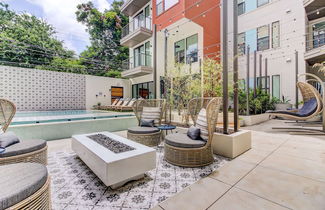
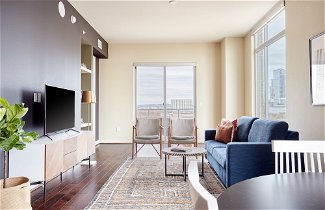
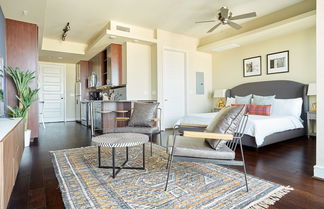
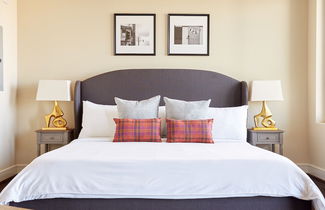
Vous vous sentirez comme chez vous dans cette maison de vacances à la déco personnalisée offrant une cuisine dotée d'un réfrigérateur et d'un four. Vous trouverez un patio privé.L'accès Wi-Fi à Internet gratuit ravira les accros aux réseaux sociaux tandis que les chaînes numériques promettent des soirées divertissantes. Parmi les petits plus, vous trouverez sur place un coin salon séparé et un micro-ondes.

Informations sur les services

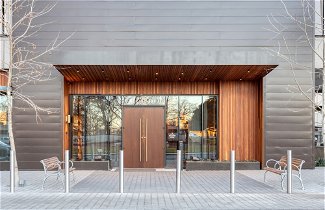
Un parking gratuit est disponible dans l'enceinte de l'hébergement.

Emplacement
1205 Enfield Rd Austin, États-Unis

Équipements et services

Accès et localisation
  • Parking

Chauffage et climatisation
  • Le chauffage
  • Ventilateur
  • Air conditionné

Nourriture et cuisine
  • Lave-vaisselle
  • Vaisselle
  • Cafetière
  • Salle à manger
  • Salon
  • Réfrigérateur
  • Micro-onde
  • Cuisinière
  • Le four

Chambres et nettoyage
  • Feuilles
  • Serviettes
  • Machine à laver
  • Sèche-cheveux
  • Garde-robe

Divertissement
  • Internet (wifi)
  • Tv

Dehors
  • Terrasse

Santé
  • Certificat d'hygiène
  • Programme de nettoyage amélioré
  • Mesures d'hygiène supplémentaires
  • Formation du personnel à l'hygiène
  • Check-in/out sans contact

Conditions

Horaires
  • Arrivée à partir de 16:00h
  • Départ jusqu'à 10:00h

Restrictions

Interdit de fumer
Animaux interdits


Voulez-vous voir d'autres options?
Nous avons trouvé ces autres suggestions qui pourraient vous plaire...
9.2 Exceptionnel 172 avis
Copropriété à South River City - Austin
À 810 m du centre
9.0 Exceptionnel 455 avis
Aparthotel à Downtown - Austin
Dans le centre
9.6 Exceptionnel 10 avis
Location de vacances à East Cesar Chavez - Austin
À 990 m du centre
10.0 Superbe 2 avis
Maison rurale à South River City - Austin
À 810 m du centre
8.8 Très bien 117 avis
Aparthotel à East Cesar Chavez - Austin
À 1.2 km du centre
8.8 Très bien 34 avis
Aparthotel à Bouldin - Austin
À 500 m du centre

Photos du logement

Photo 1 - Hidden Jewel
Photo 2 - Hidden Jewel
Photo 3 - Hidden Jewel
Photo 4 - Hidden Jewel
Photo 5 - Hidden Jewel
Photo 6 - Hidden Jewel
Photo 7 - Hidden Jewel
Photo 8 - Hidden Jewel
Photo 9 - Hidden Jewel
Photo 10 - Hidden Jewel
Photo 11 - Hidden Jewel
Photo 12 - Hidden Jewel
Photo 13 - Hidden Jewel
Photo 14 - Hidden Jewel
Photo 15 - Hidden Jewel
Photo 16 - Hidden Jewel
Photo 17 - Hidden Jewel
Photo 18 - Hidden Jewel
Photo 19 - Hidden Jewel
Photo 20 - Hidden Jewel
Photo 21 - Hidden Jewel
Photo 22 - Hidden Jewel
Photo 23 - Hidden Jewel
Photo 24 - Hidden Jewel
Photo 25 - Hidden Jewel
Photo 26 - Hidden Jewel
Photo 27 - Hidden Jewel
Photo 28 - Hidden Jewel
Photo 29 - Hidden Jewel
Photo 30 - Hidden Jewel
Photo 31 - Hidden Jewel
Photo 32 - Hidden Jewel