


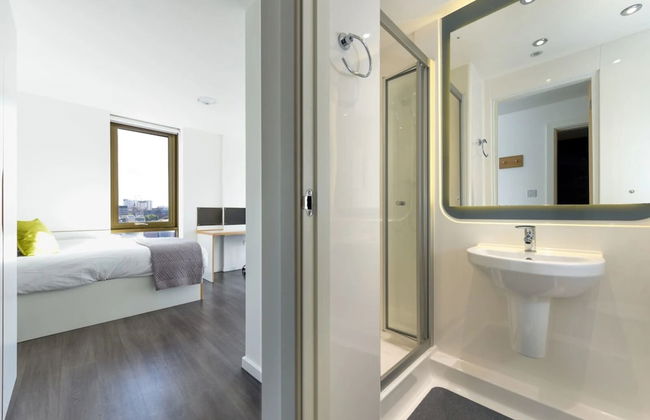


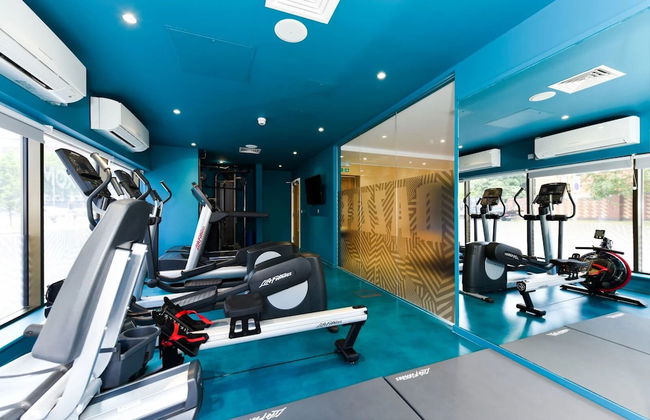
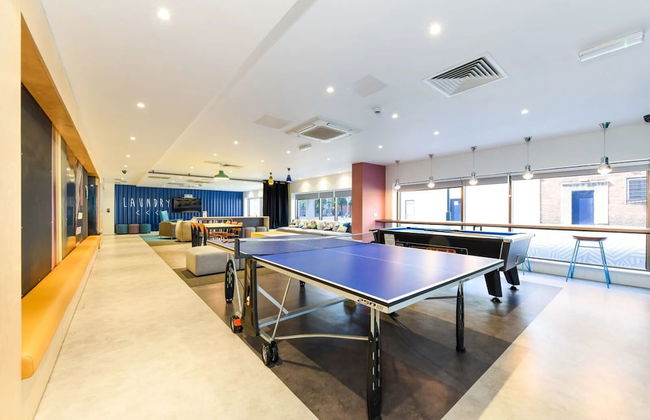

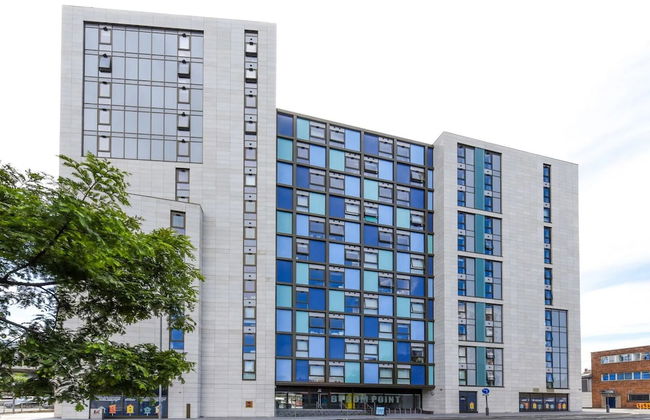
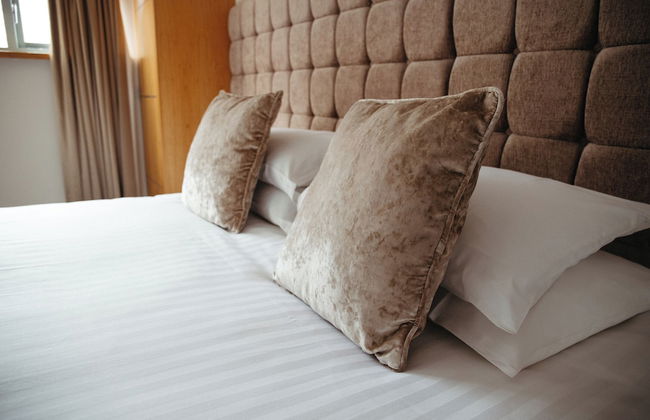
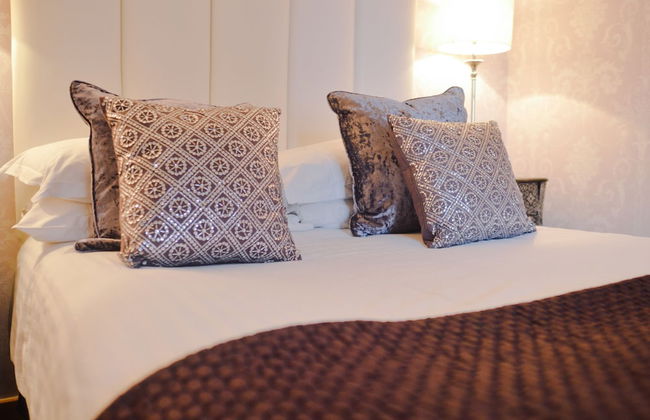
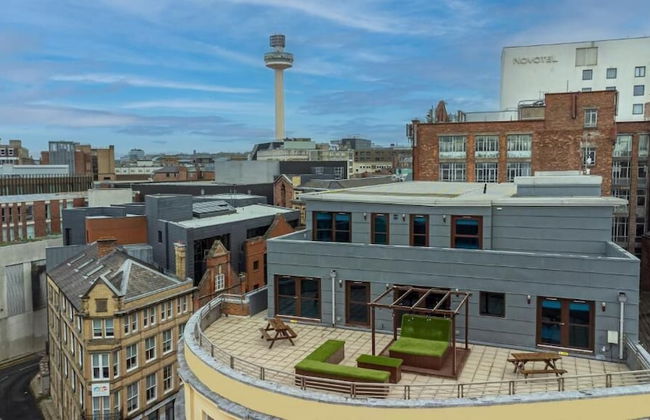
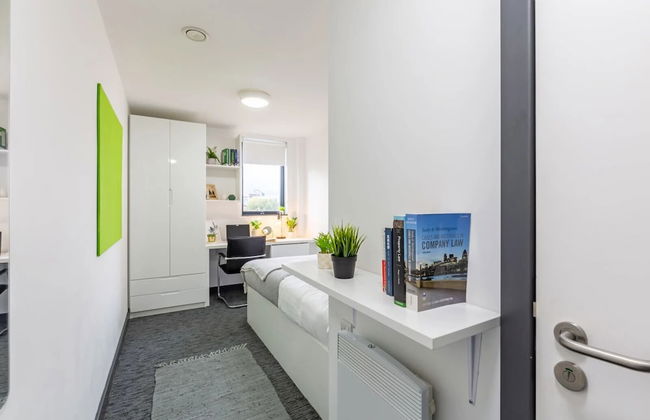
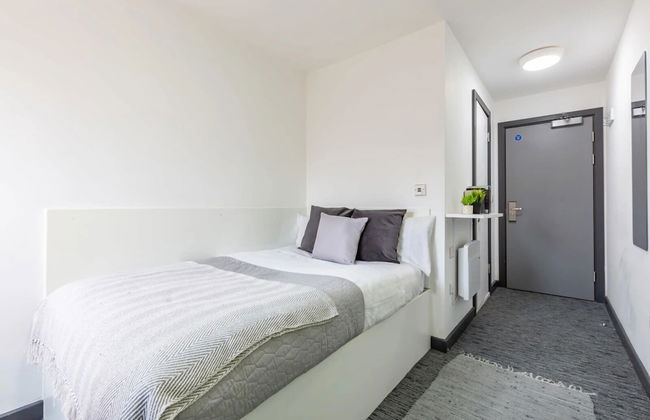
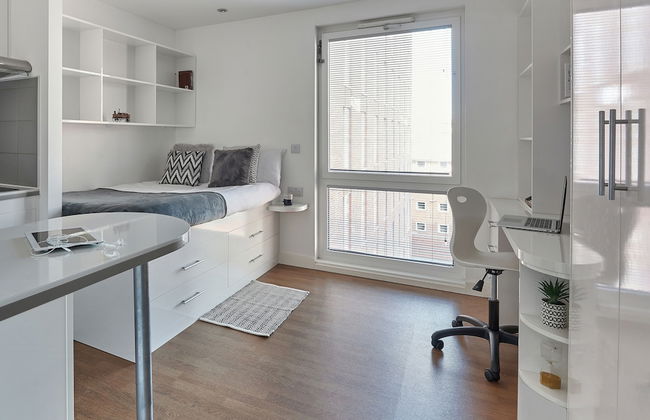
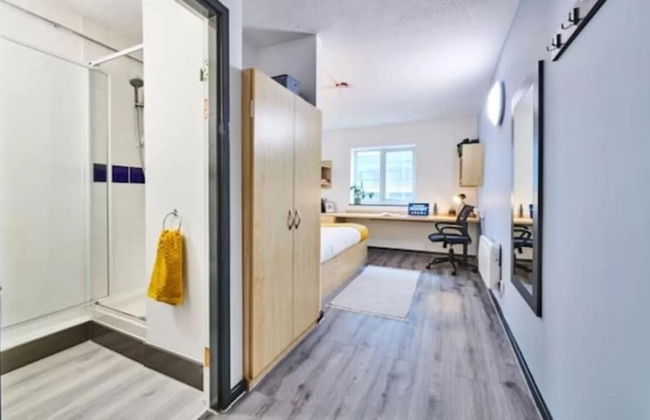
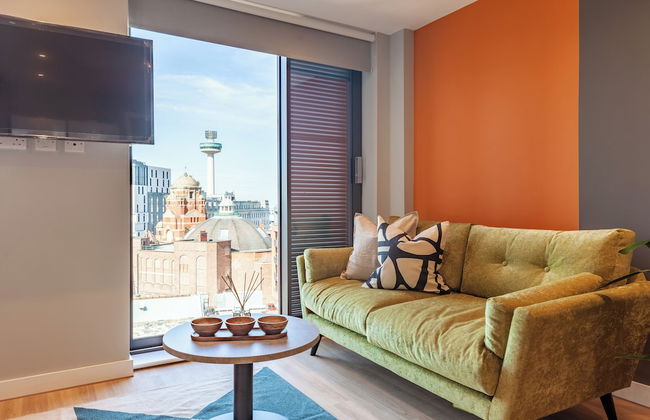
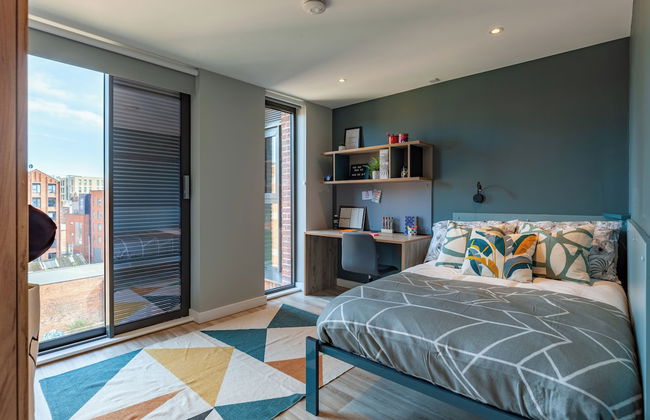
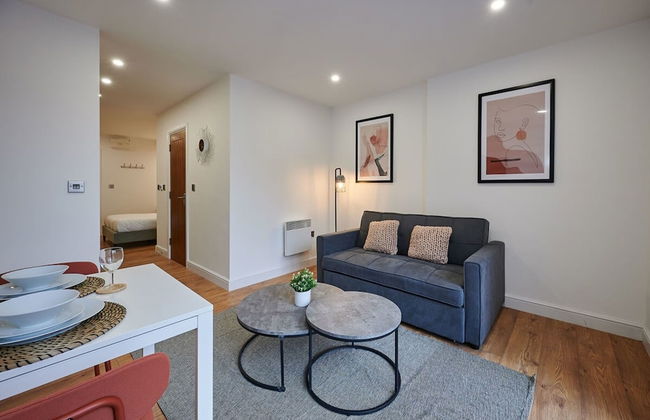
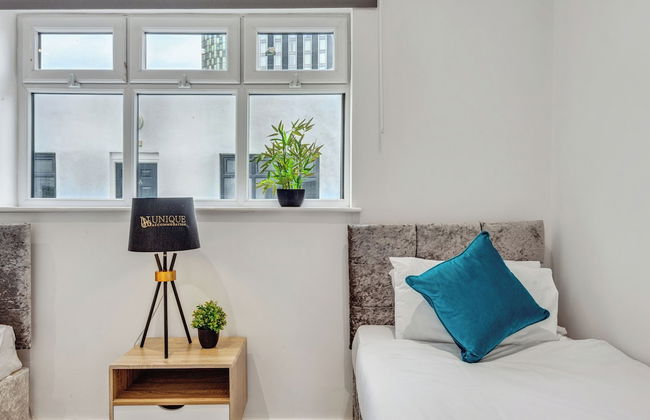
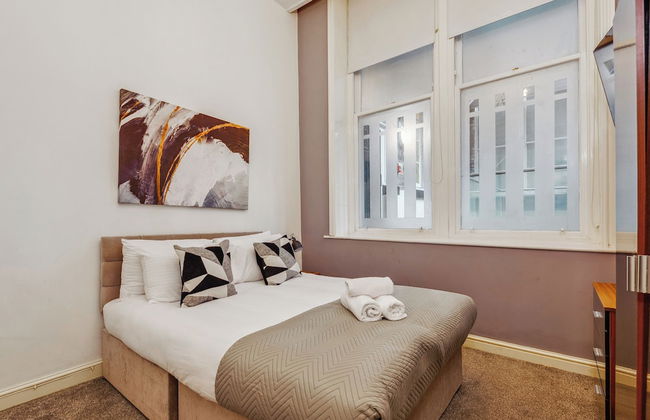
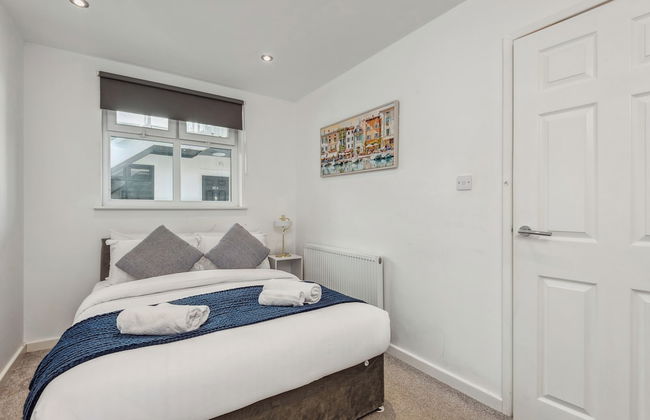
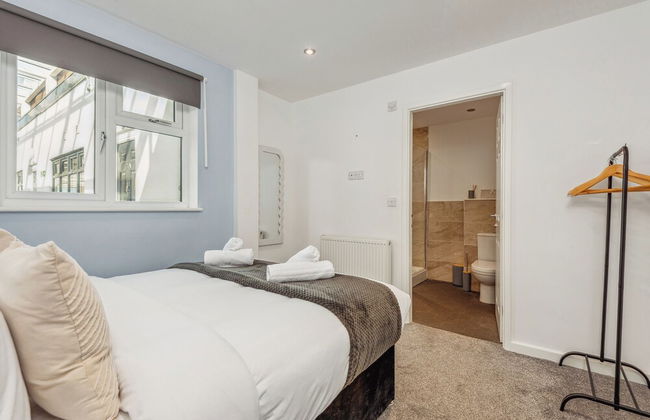
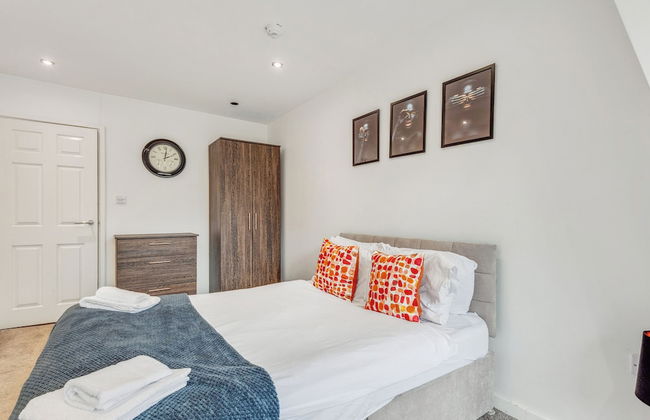
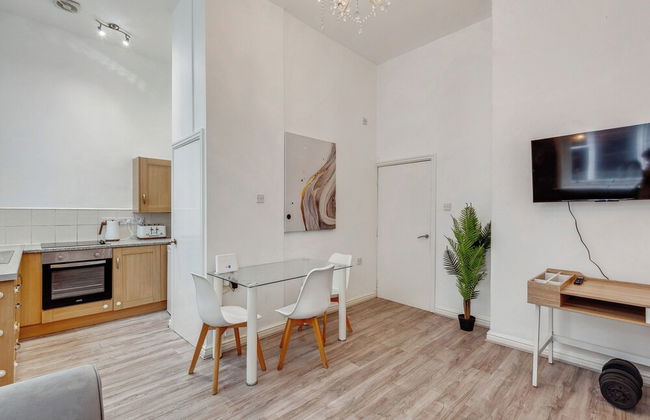
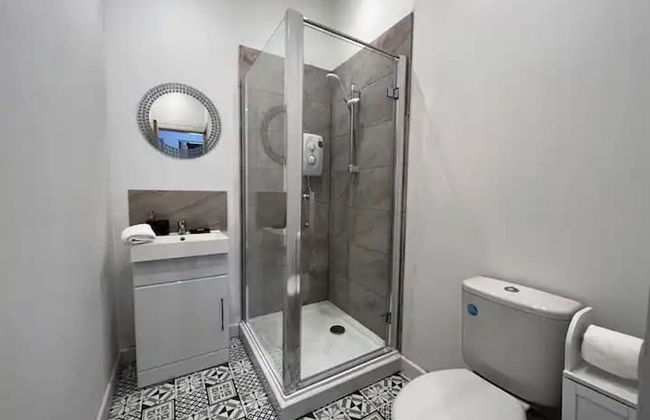
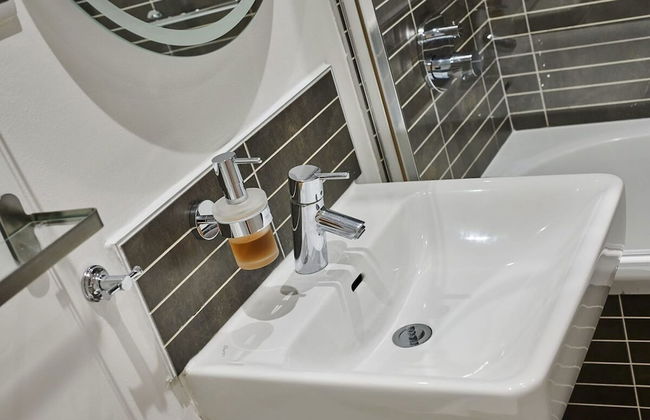
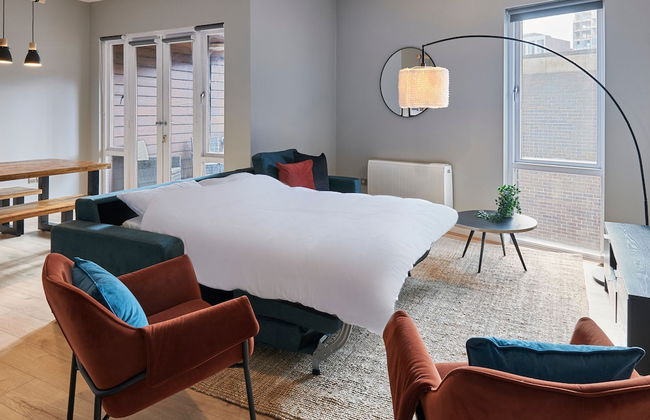
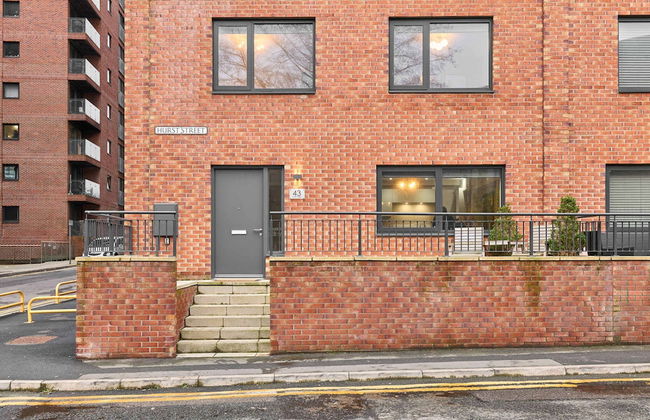
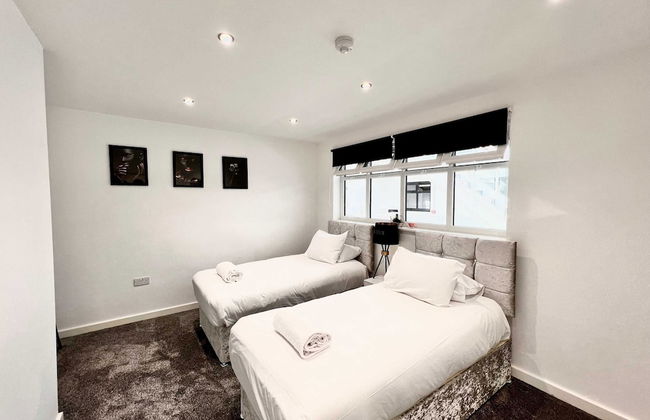
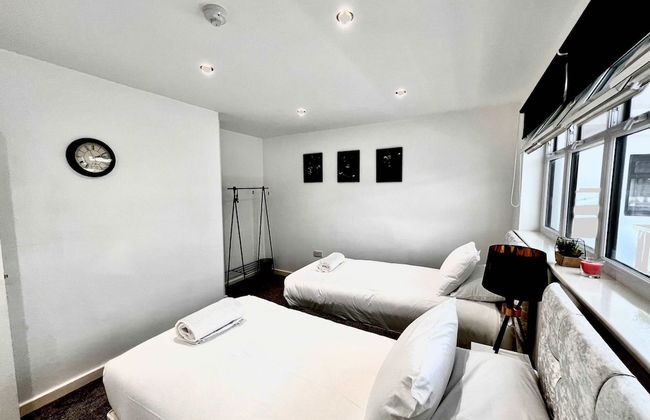
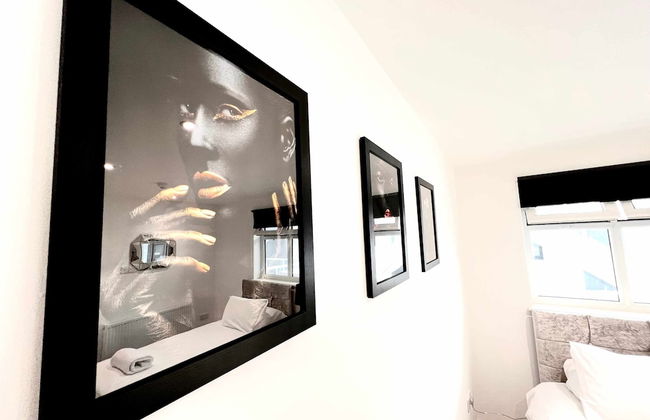
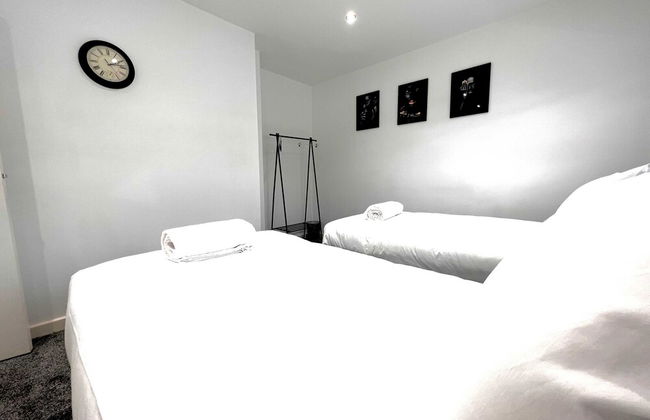
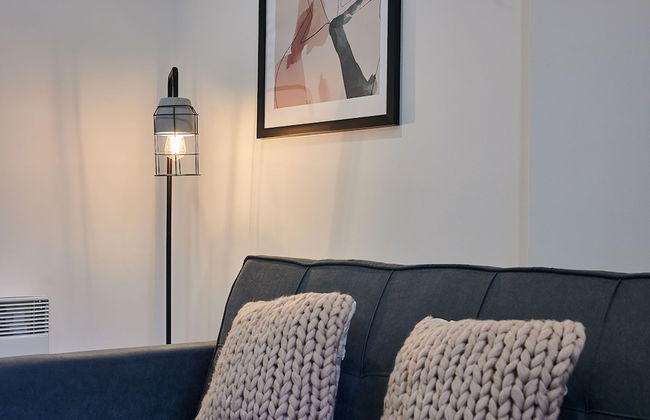
Student Only Byrom Point
Liverpool - Marybone - Dans le centre
- 25 M2
- 2 personnes
- Le chauffage
- Ascenseur
- Tv
- Serviettes


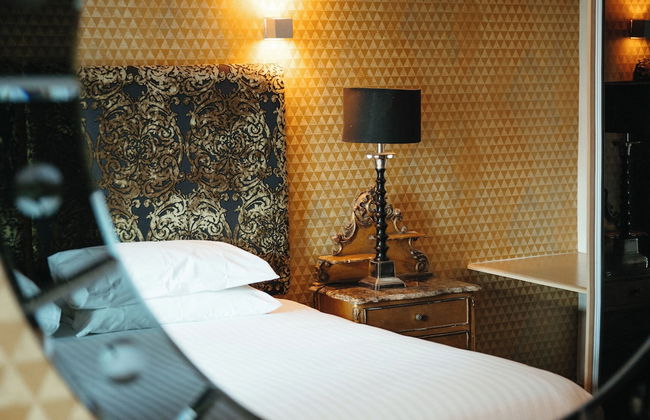


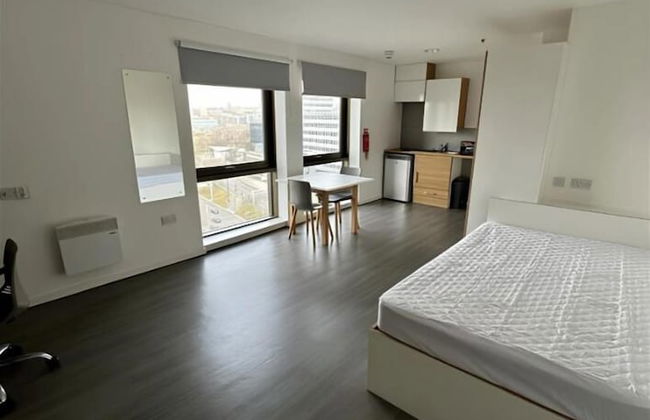
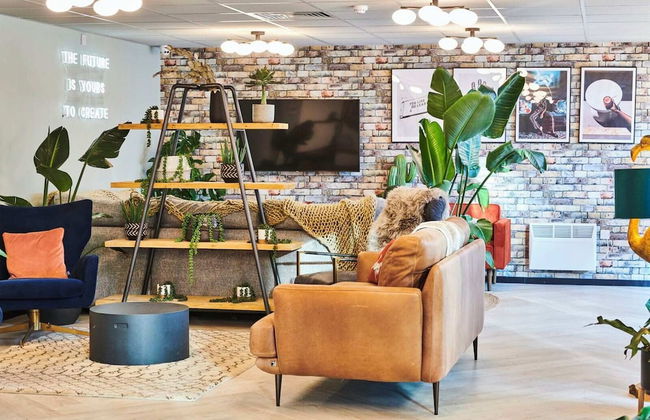
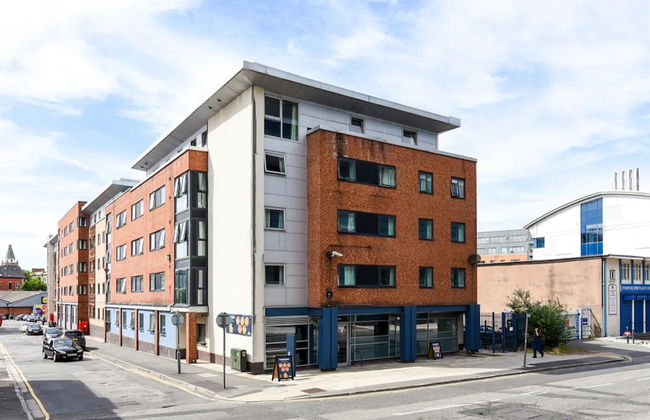
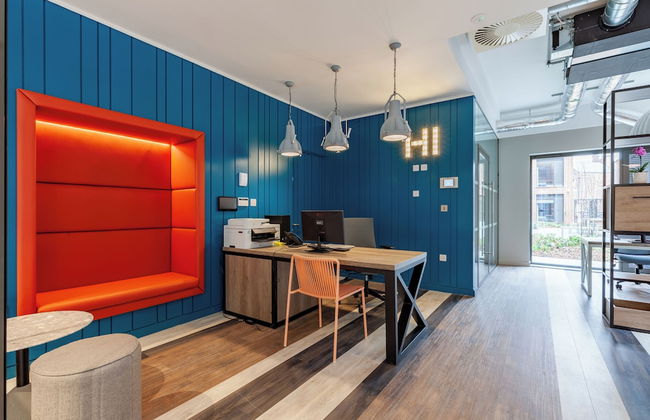
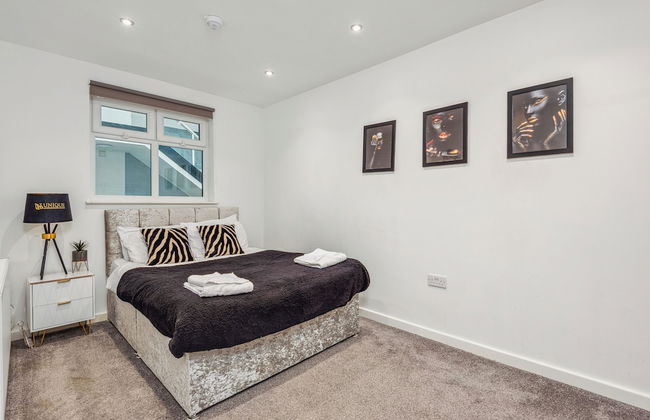
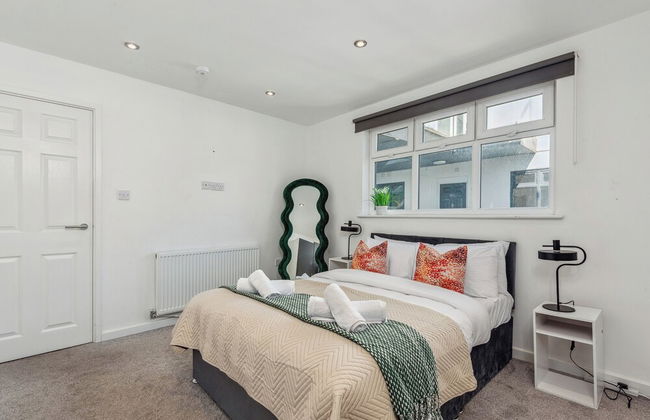
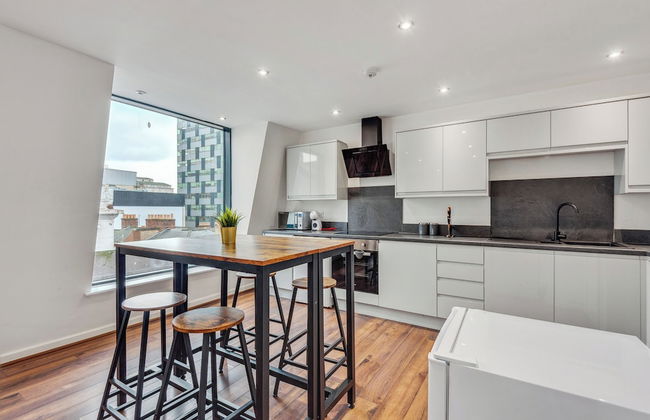
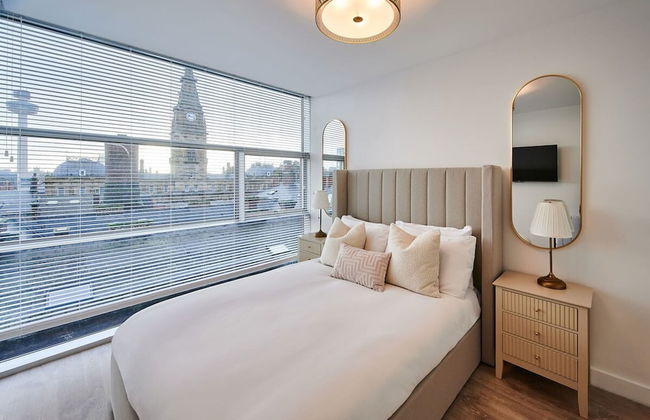
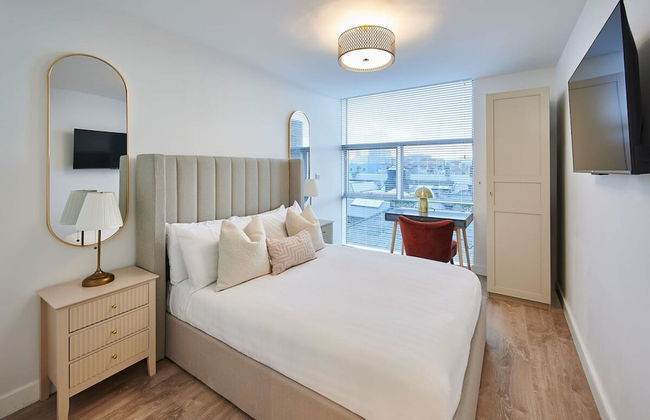
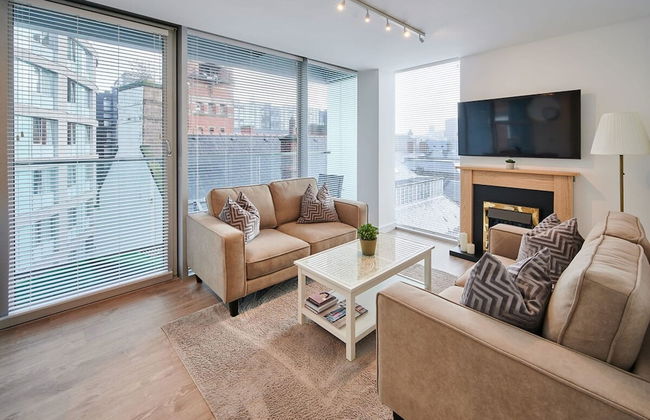
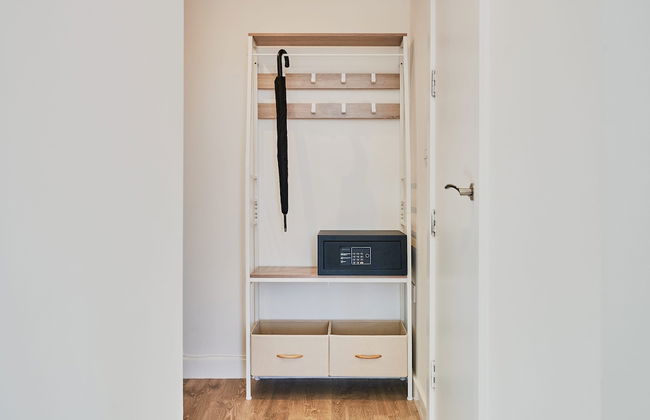
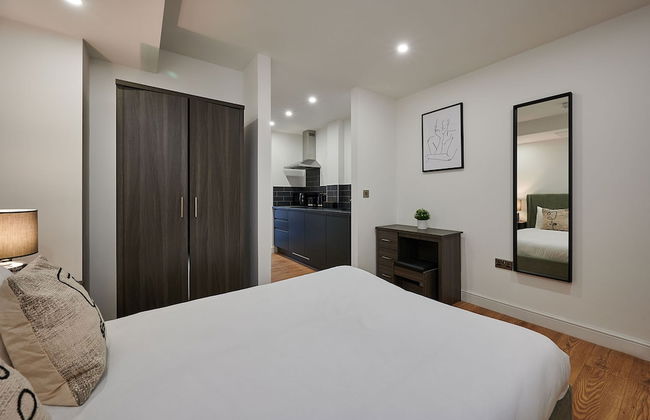
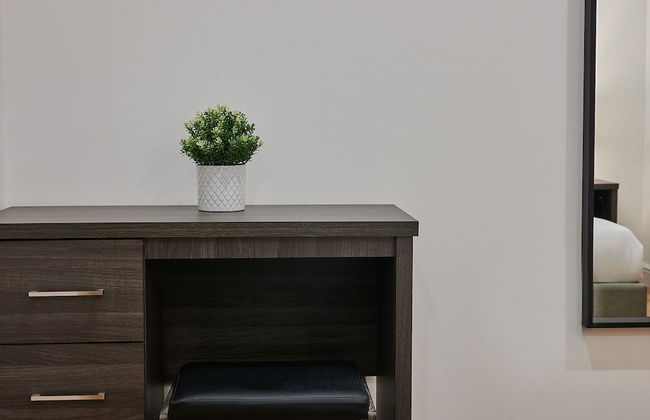
Posh Pads
Liverpool - Ropewalks - À 440 m du centre
- 93 M2
- 4 personnes
- Le chauffage
- Parking
- Ascenseur
- Balcon
- Machine à laver
- Serviettes
- Feuilles


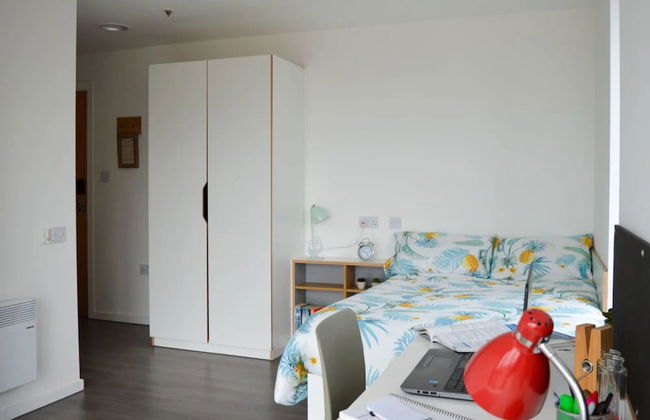
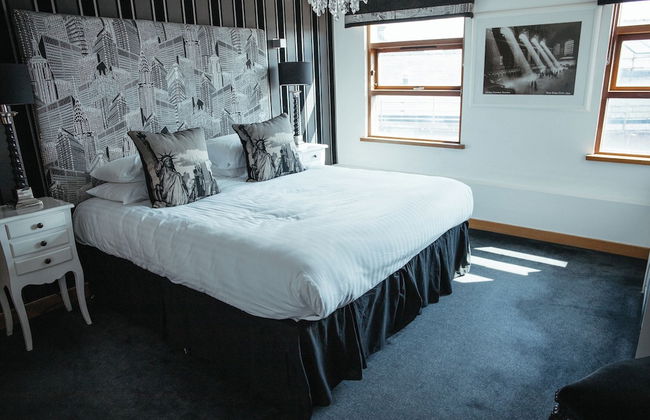
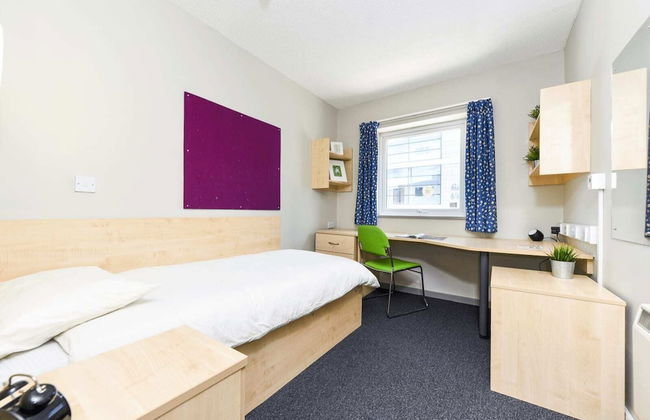
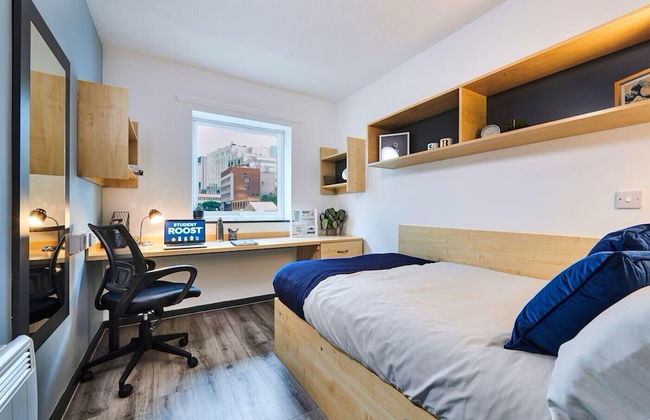
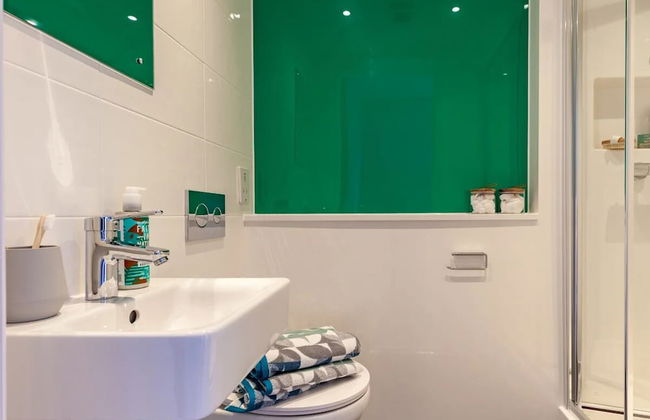
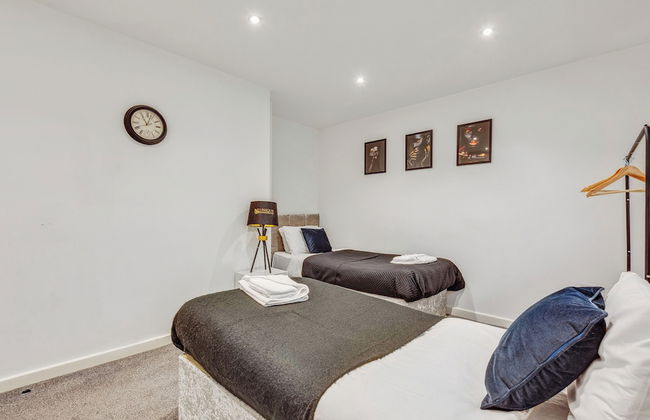
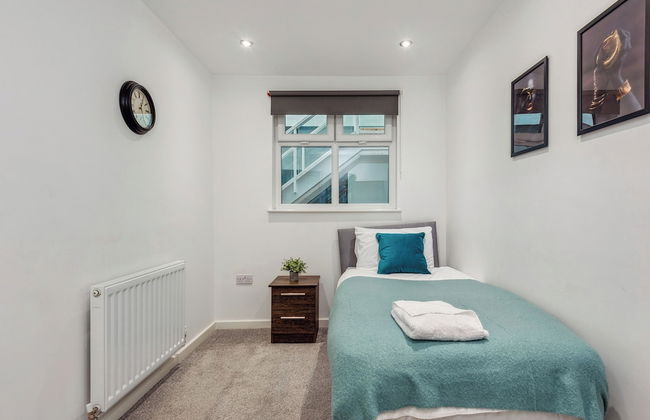
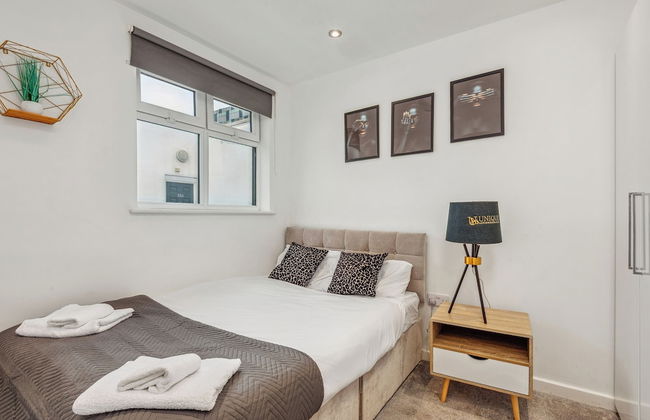
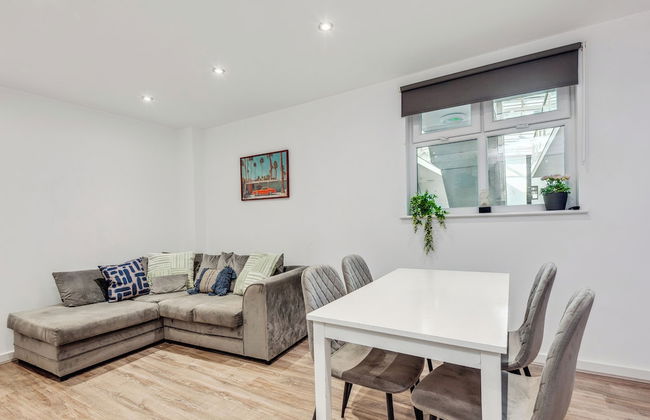
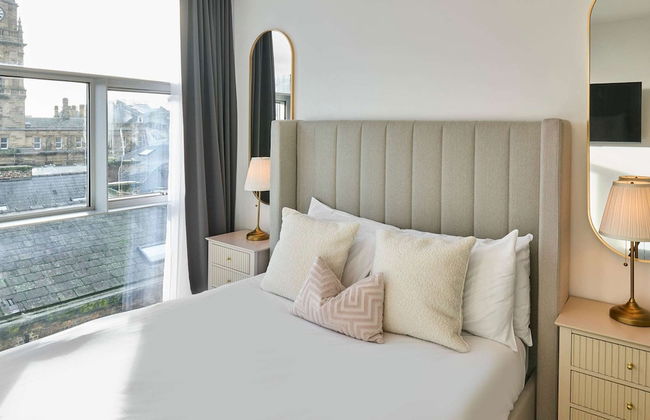
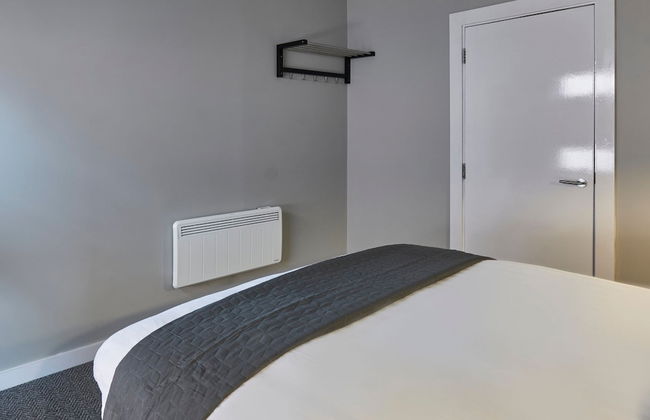
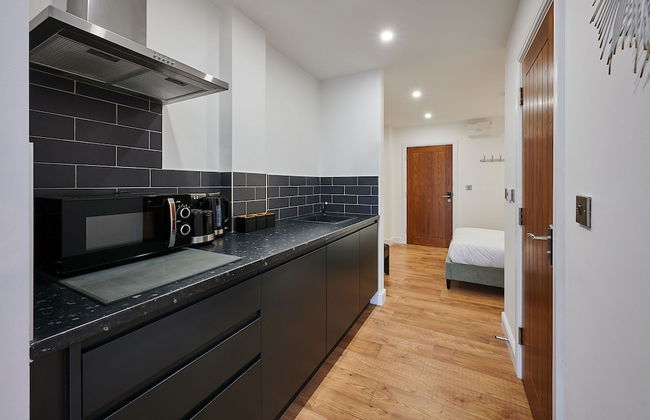
Abodus Glassworks Liverpool
Liverpool - Marybone - Dans le centre
- 13 M2
- 1 personne
- Le chauffage
- Ascenseur
- Tv
- Serviettes


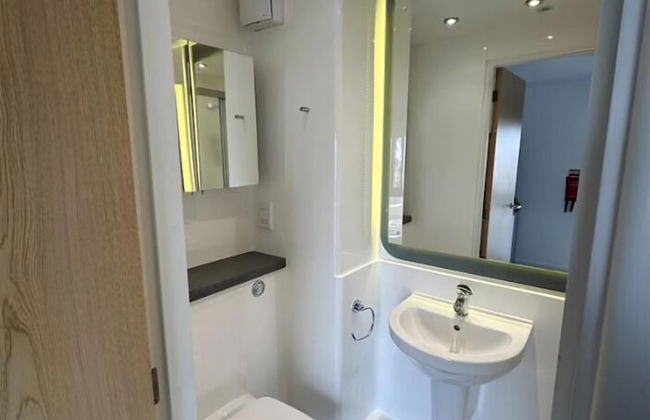
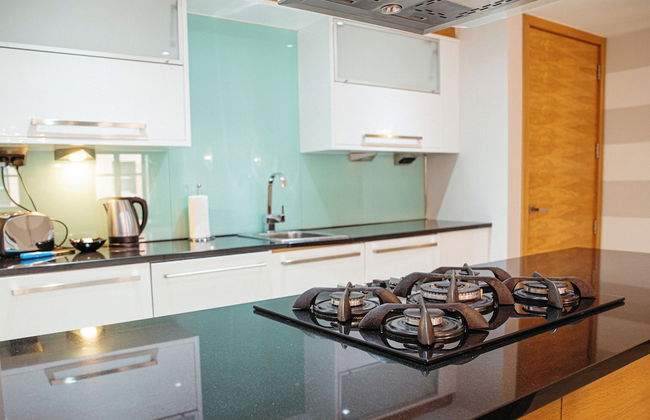
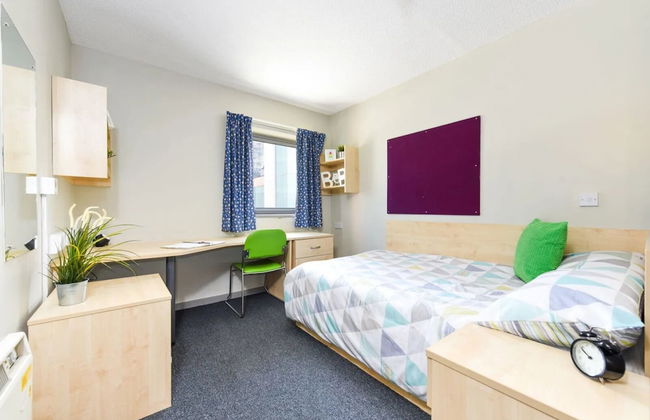
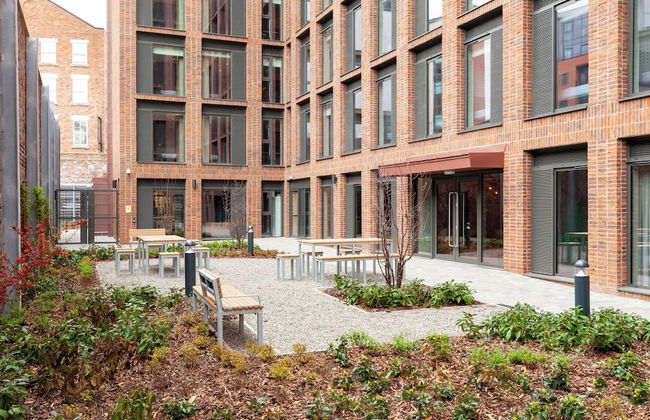
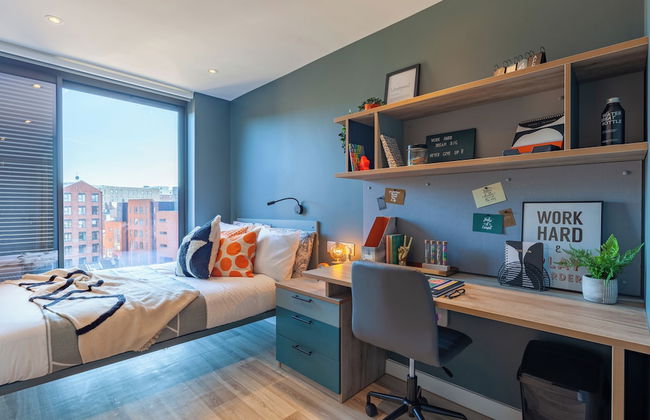
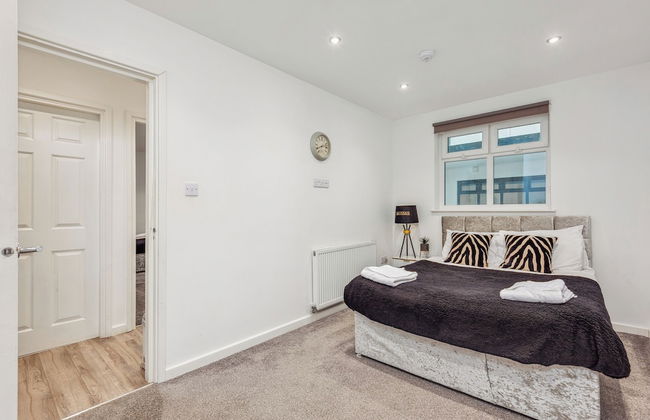
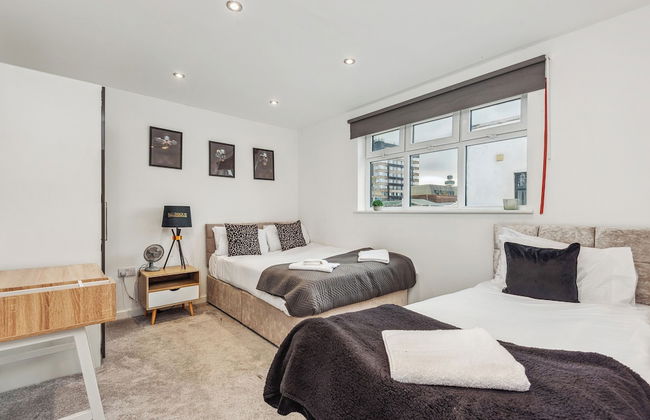
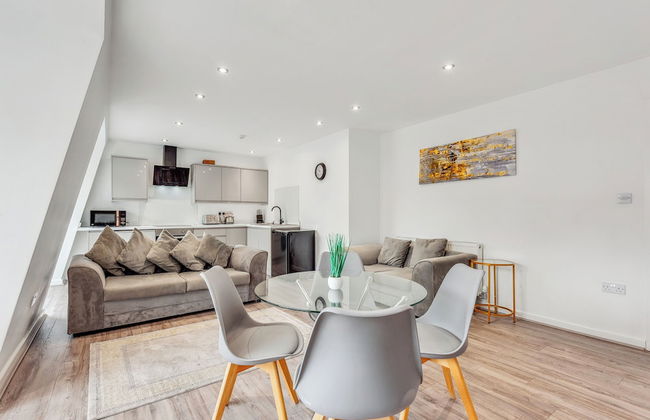
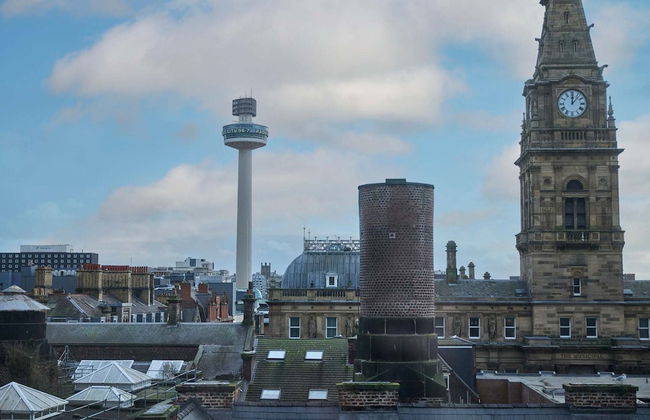
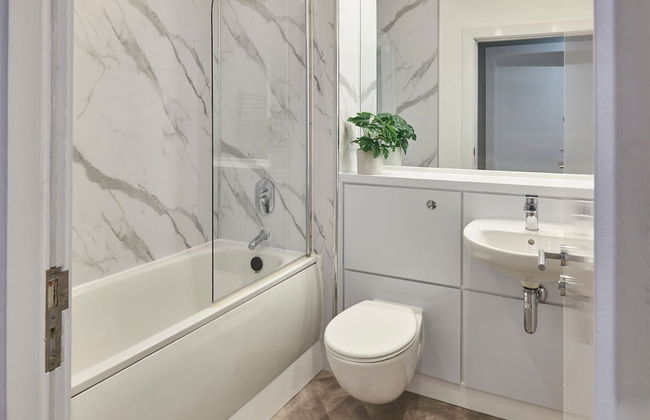
Abodus Living - Hope Street Apartments
Liverpool - University District - À 600 m du centre
- 13 M2
- 2 personnes
- Cuisinette
- Le chauffage
- Ascenseur


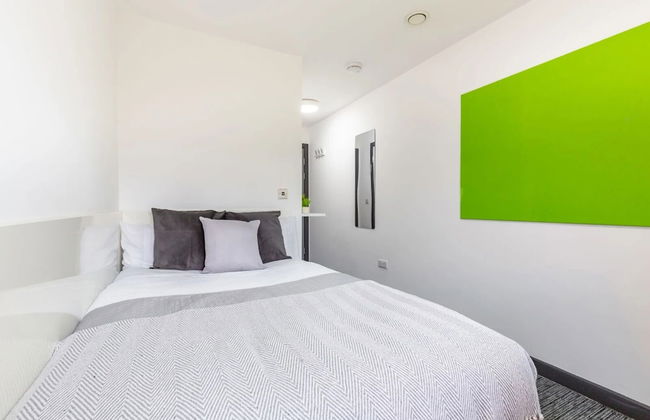
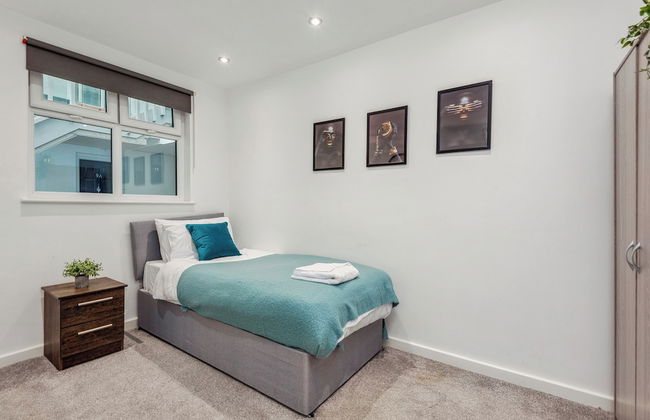
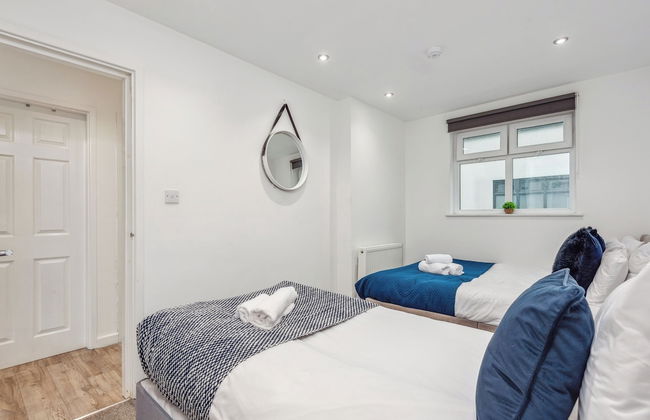
Student Only Benson Yard
Liverpool - City Central - Dans le centre
- 13 M2
- 1 personne
- Le chauffage
- Ascenseur
- Tv


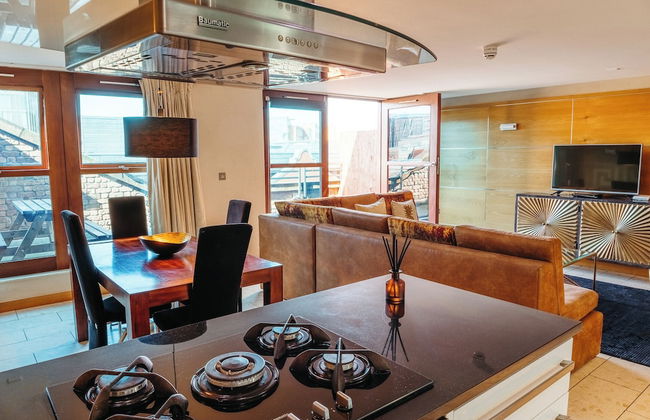
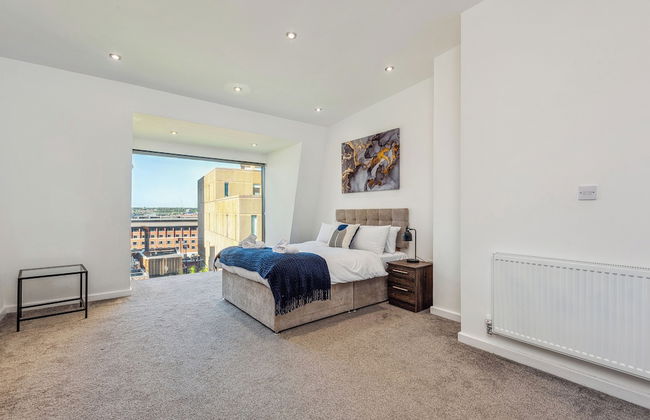
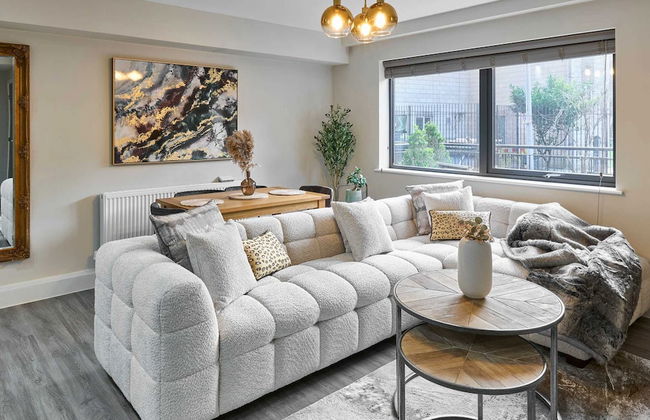
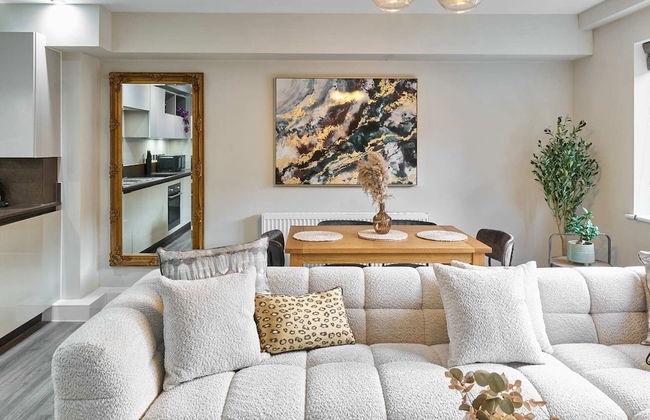
Luxe I Penthouse I Balcony I City Views I Parking I Liverpool City Center I
Liverpool - Liverpool - À 240 m du centre
- Parking
- Ascenseur


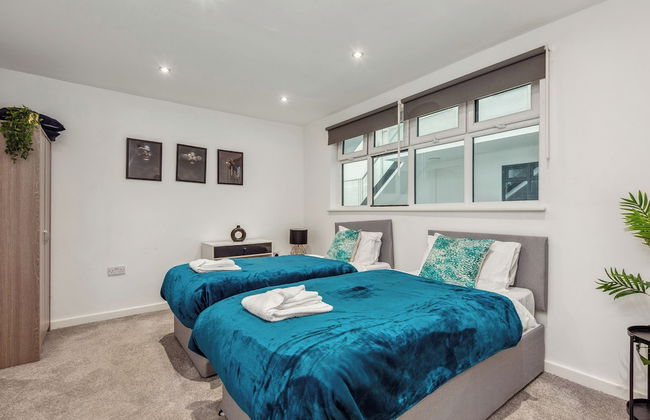
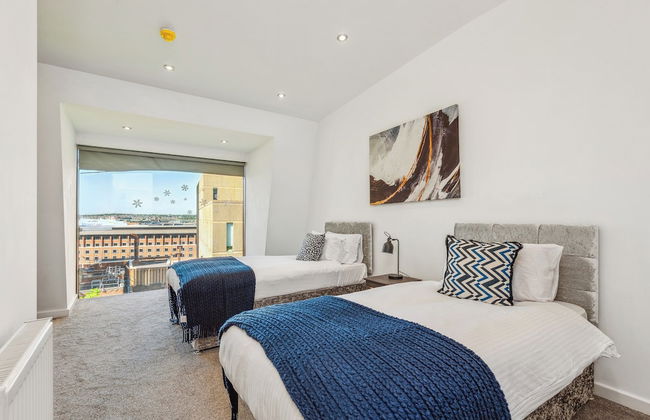
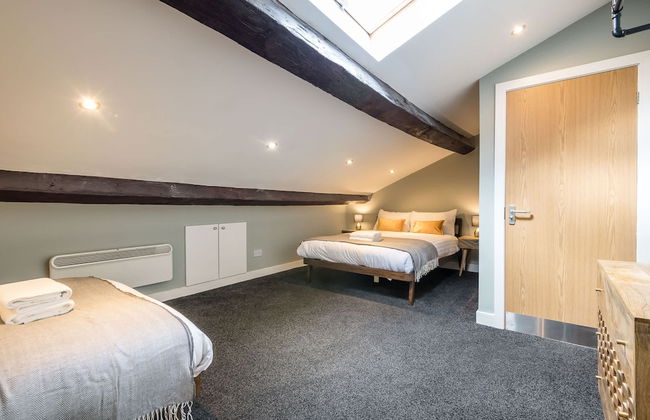
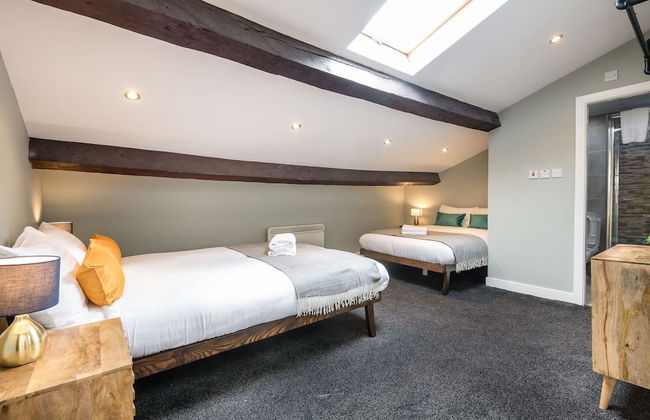
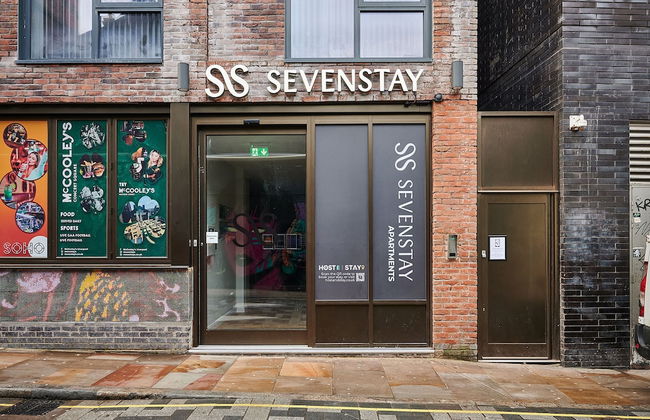
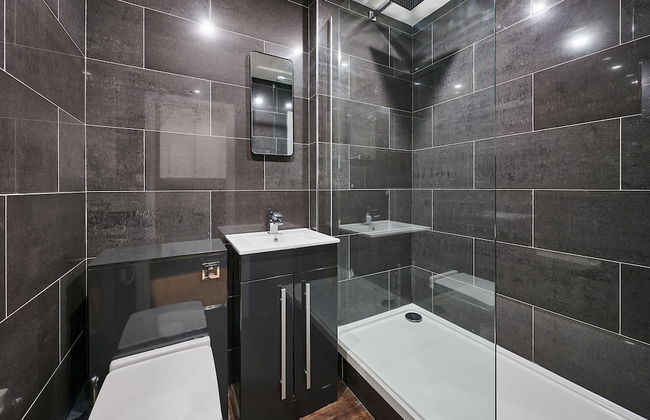
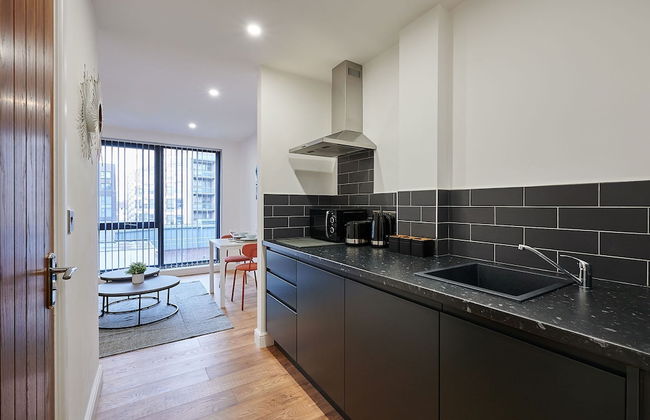
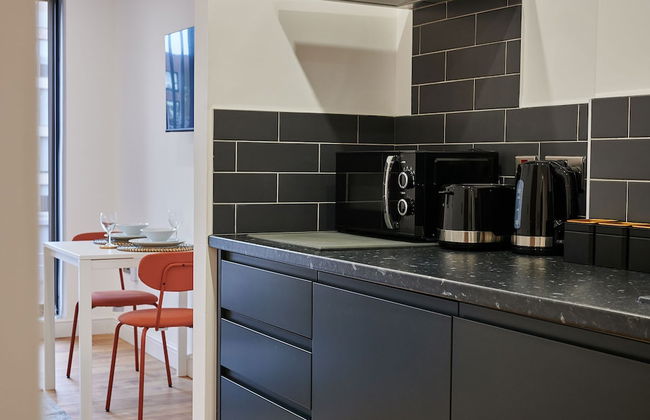
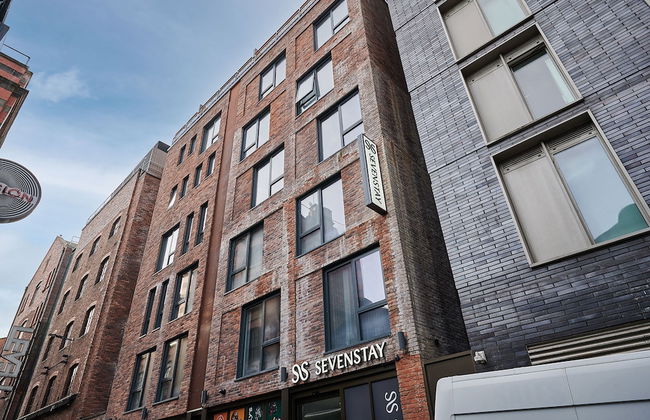
Host Stay Grouped Rooms Sevenstay Apartments
Liverpool - Ropewalks - À 270 m du centre
- 8 personnes
- Le chauffage
- Tv
- Serviettes
- Feuilles


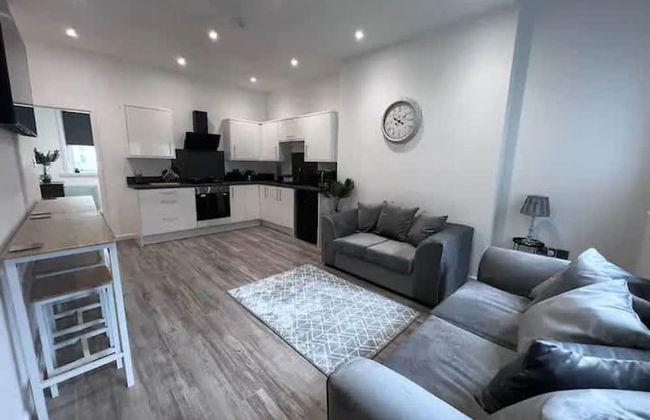
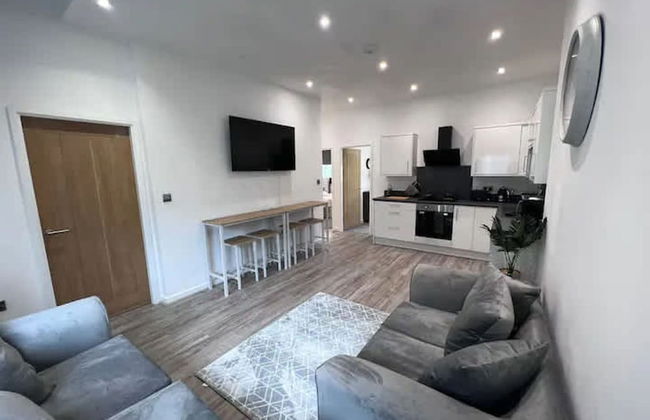
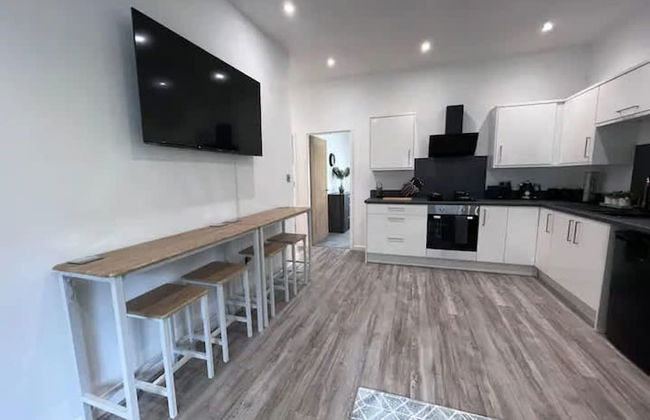
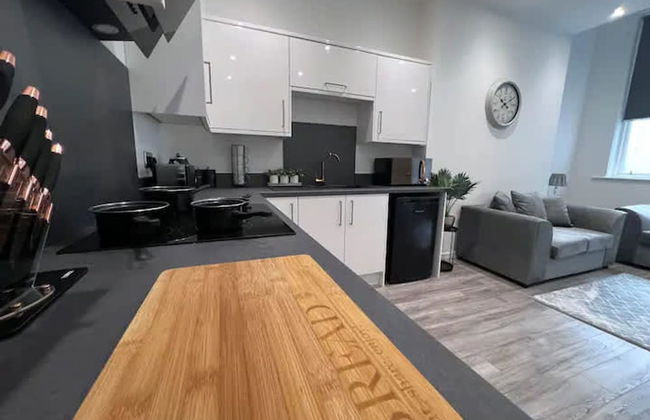
Central Liverpool Retreat
Liverpool - Commercial District - À 580 m du centre
- 67 M2
- 5 personnes
- Cuisinette
- Le chauffage
- Tv
- Machine à laver
- Serviettes


Irwell Chambers Relax Explore
Liverpool - Commercial District - À 580 m du centre
- 4 personnes
- Le chauffage
- Tv
- Serviettes
- Feuilles


Host Stay The Municipal View Abode
Liverpool - Commercial District - Dans le centre
- 4 personnes
- Le chauffage
- Parking
- Balcon
- Tv
- Machine à laver
- Serviettes
- Feuilles


Host Stay Ropewalks Quarters VII
Liverpool - Ropewalks - À 500 m du centre
- 8 personnes
- Le chauffage
- Parking
- Balcon
- Tv
- Machine à laver
- Serviettes
- Feuilles


Host Stay Chic Townhouse by the Docks
Liverpool - Liverpool - À 910 m du centre
- 4 personnes
- Le chauffage
- Parking
- Balcon
- Tv
- Machine à laver
- Serviettes
- Feuilles


Host Stay The Georgian Quarters at Canning III and IV
Liverpool - Hope - À 890 m du centre
- 22 personnes
- Le chauffage
- Parking
- Tv
- Machine à laver
- Serviettes
- Feuilles


Irwell Liverpool s Heart
Liverpool - Commercial District - À 580 m du centre
- 4 personnes
- Le chauffage
- Tv
- Serviettes
- Feuilles


Host Stay Highfield Street Hideaway
Liverpool - Commercial District - À 330 m du centre
- 10 personnes
- Le chauffage
- Tv
- Machine à laver
- Serviettes
- Feuilles


Irwell Your Liverpool Base
Liverpool - Commercial District - À 580 m du centre
- 4 personnes
- Le chauffage
- Tv
- Machine à laver
- Serviettes
- Feuilles


Liverpool Modern Irwell Stay
Liverpool - Commercial District - À 580 m du centre
- 5 personnes
- Le chauffage
- Tv
- Machine à laver
- Serviettes
- Feuilles

Irwell Experience Liverpool Life
Liverpool - Commercial District - À 580 m du centre
- 3 personnes
- Le chauffage
- Tv
- Serviettes
- Feuilles

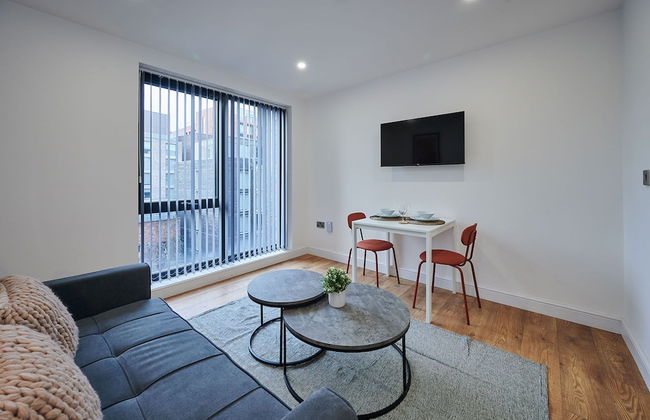
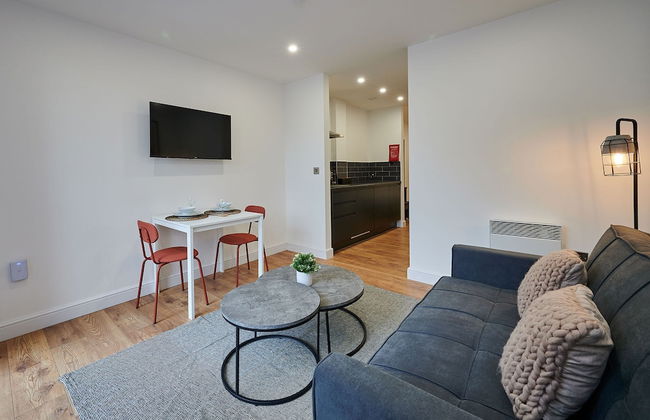


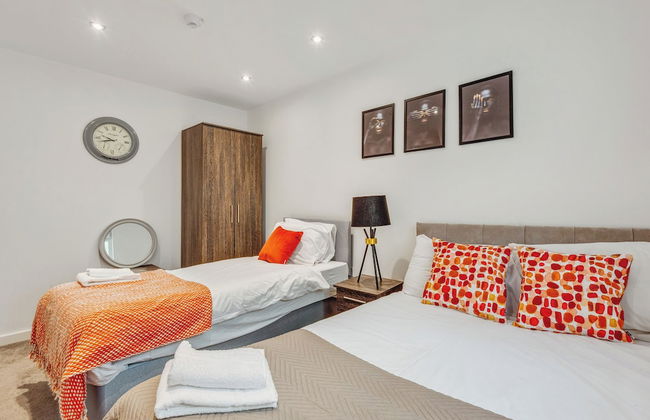
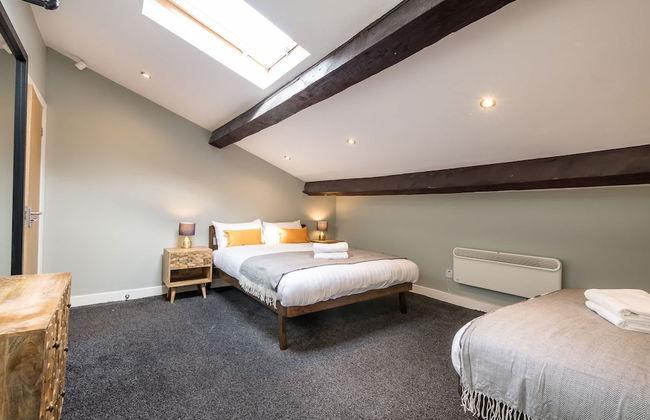
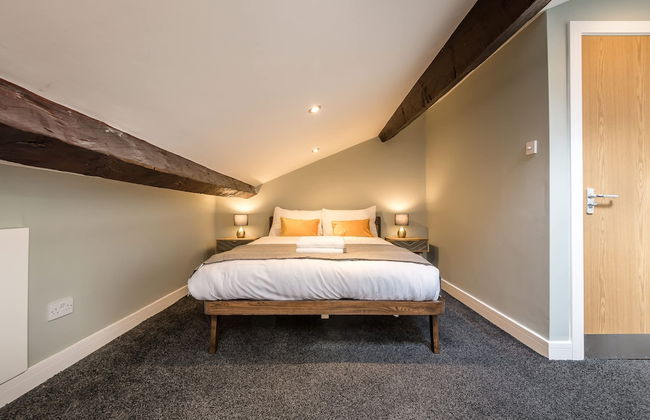
Host Stay Deluxe Studio for Two Sevenstay Apartments
Liverpool - Ropewalks - À 280 m du centre
- 2 personnes
- Le chauffage
- Tv
- Serviettes
- Feuilles