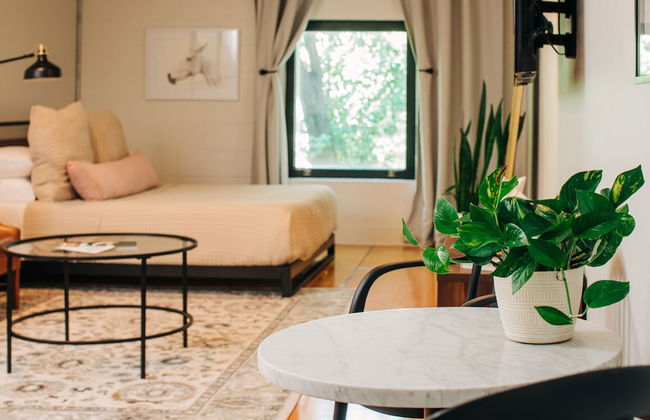
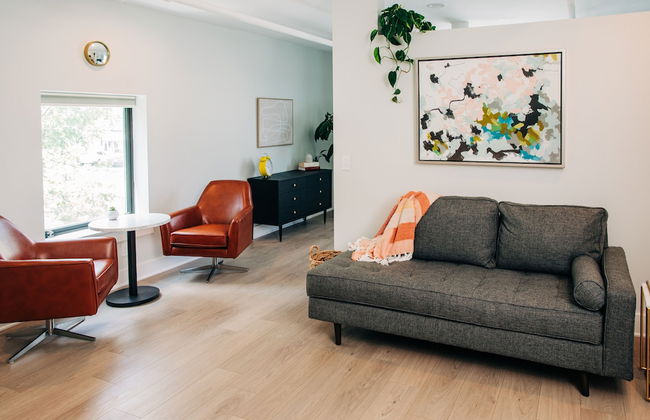
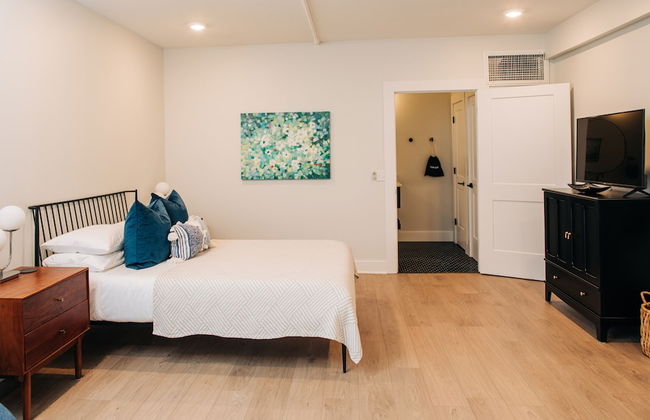
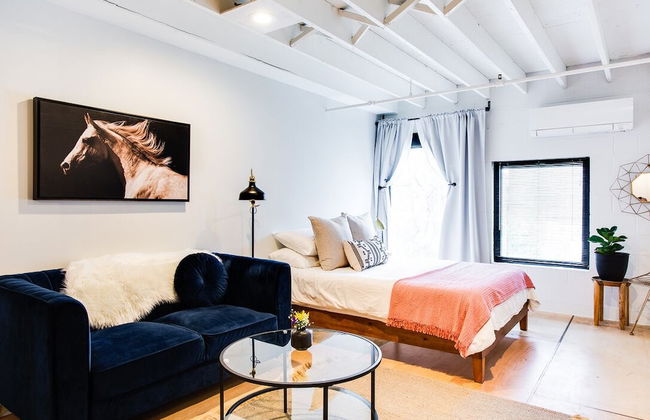
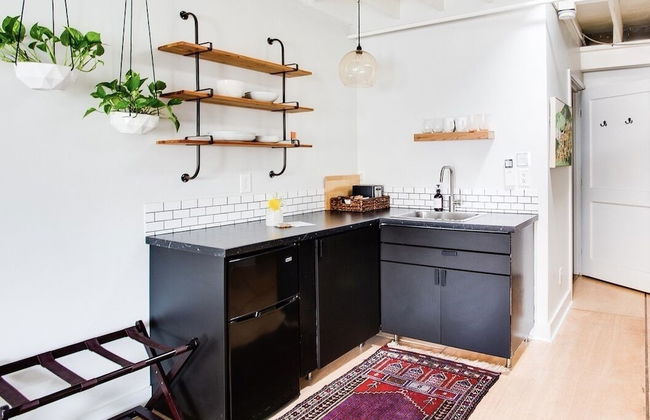
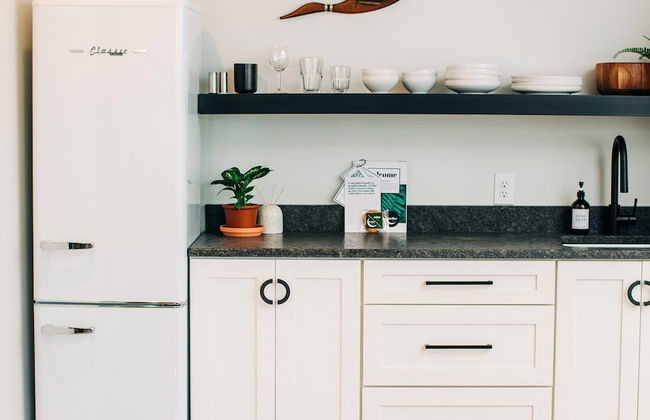
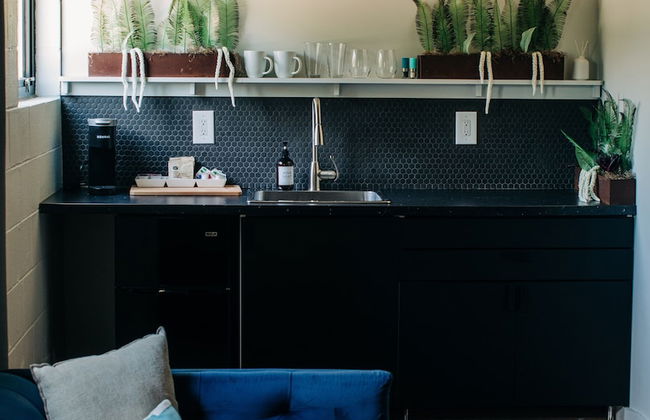
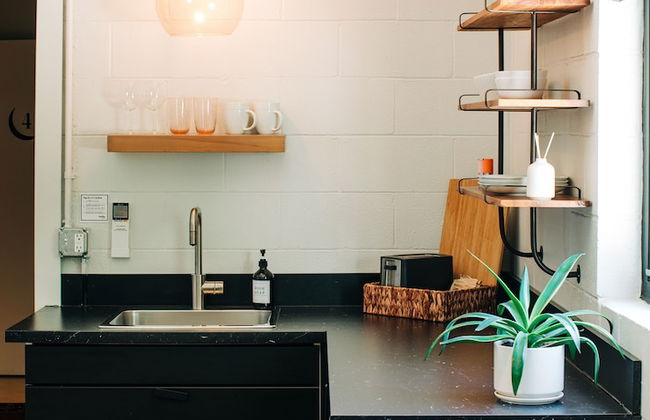
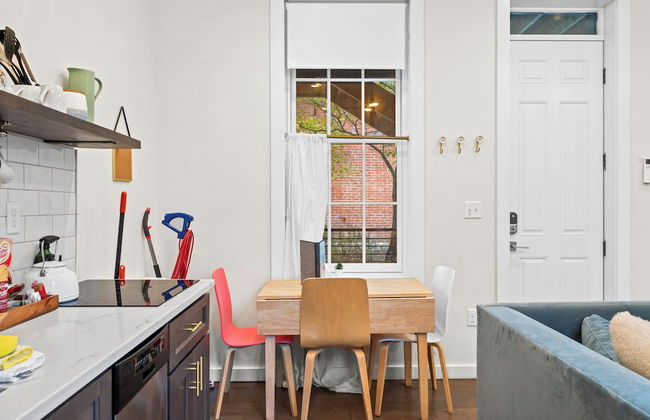
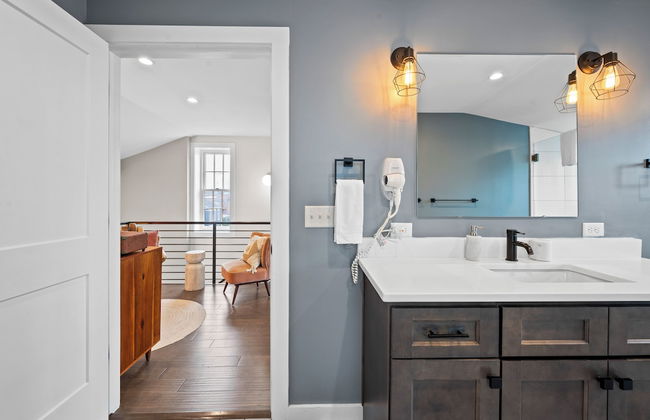
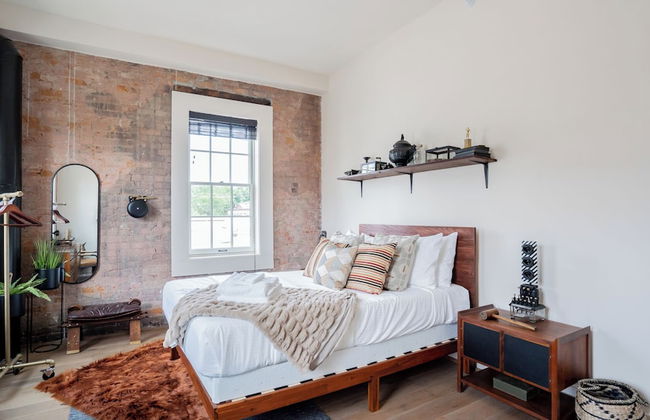
80 Appartements à Kentucky
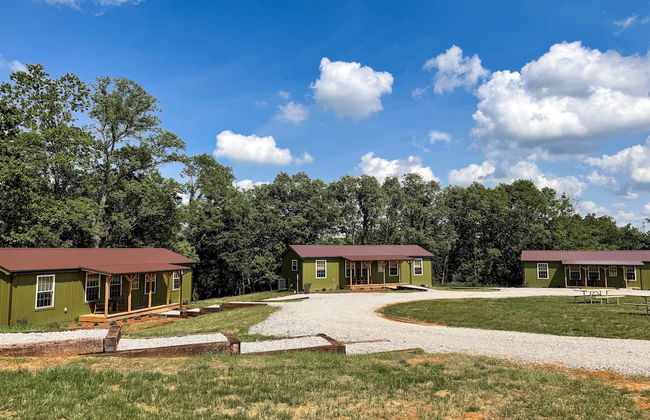


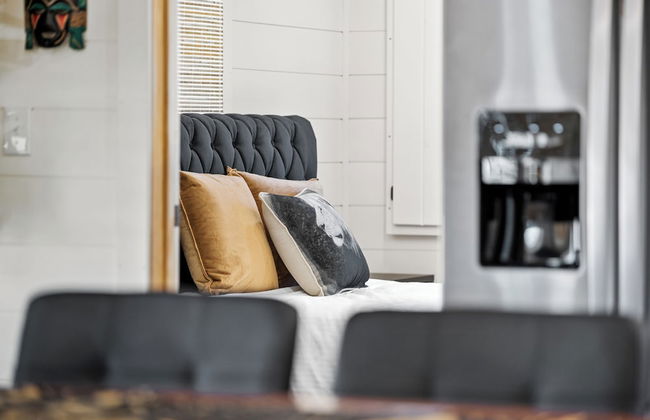


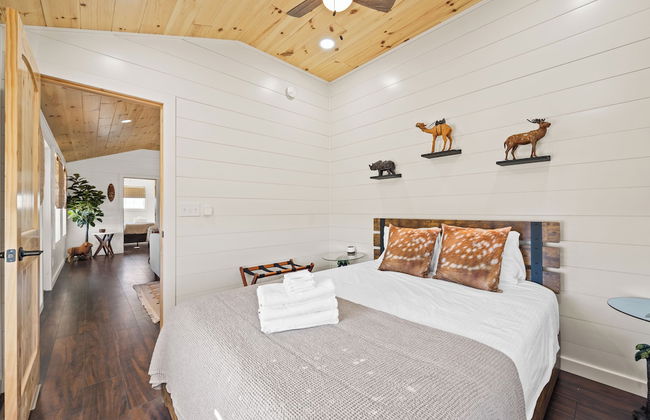
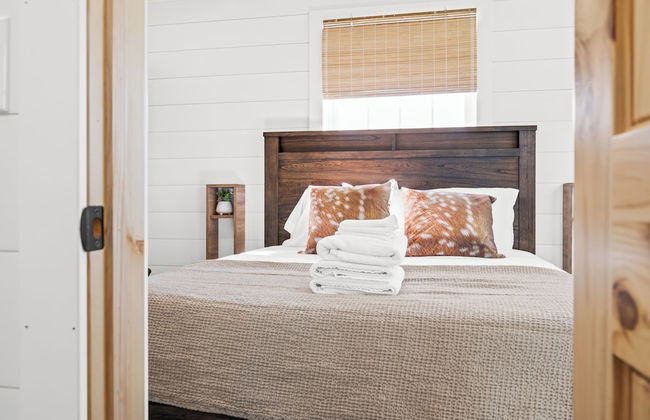


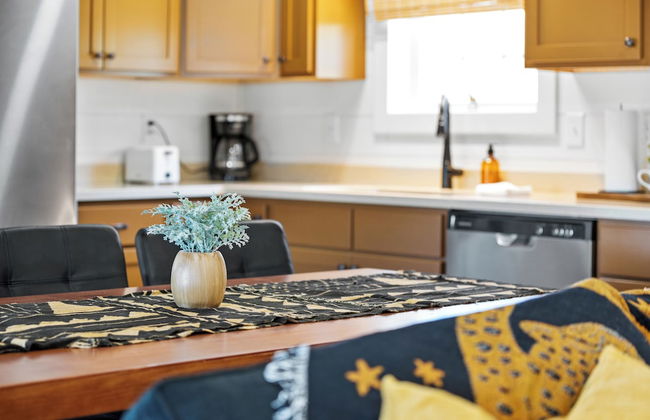


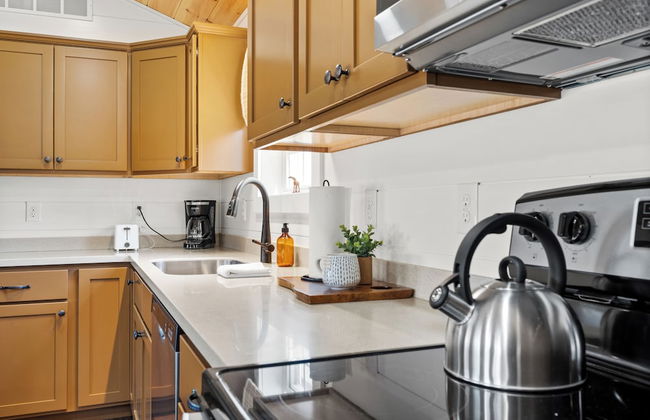

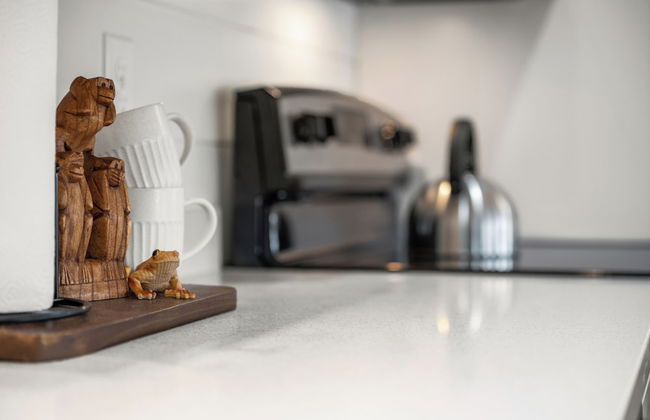
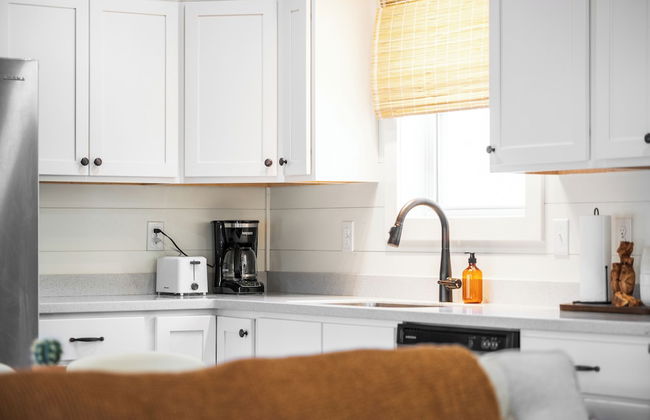
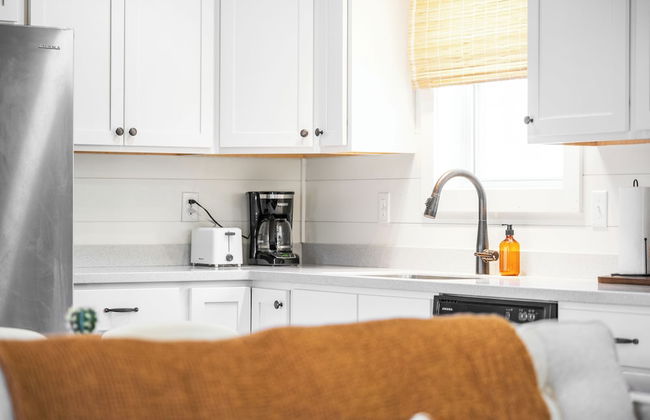


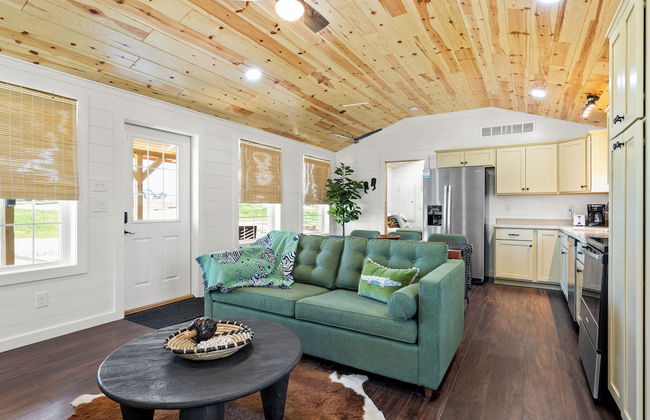

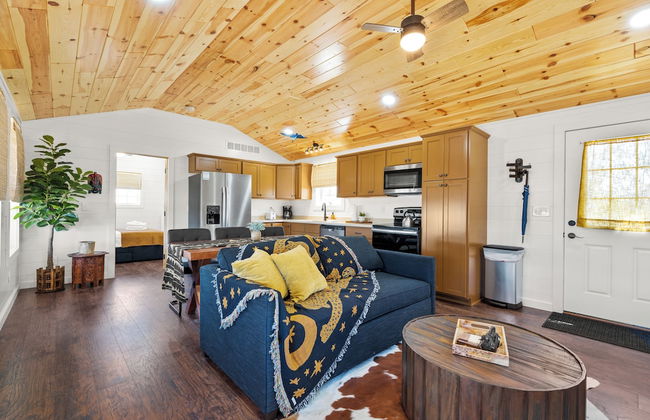
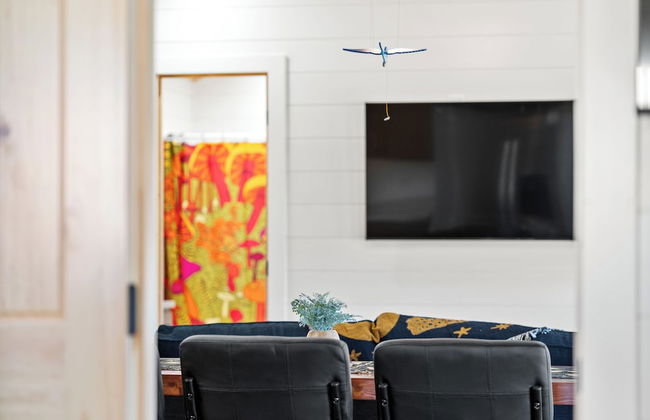
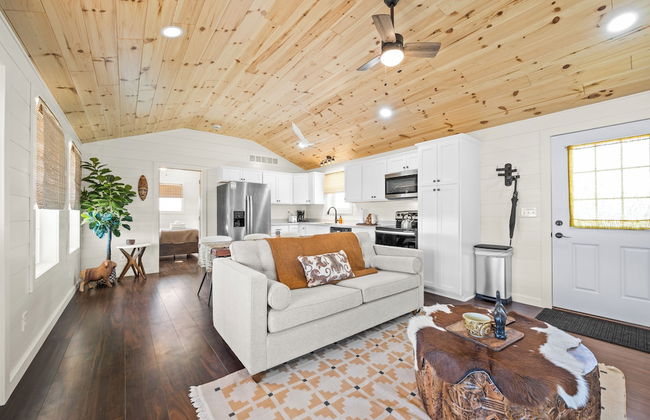


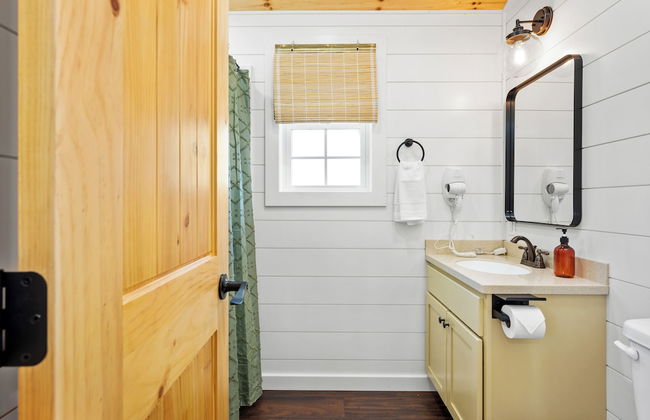


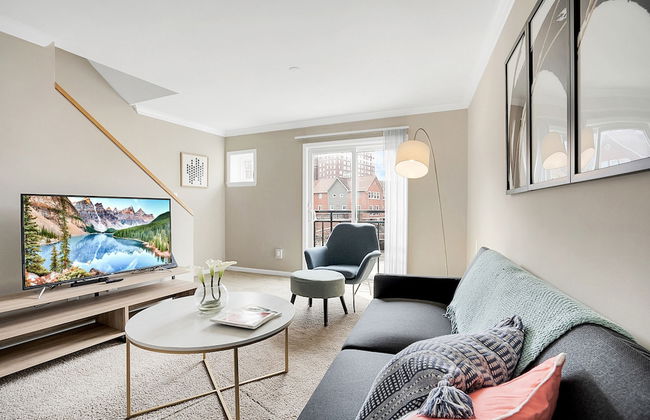
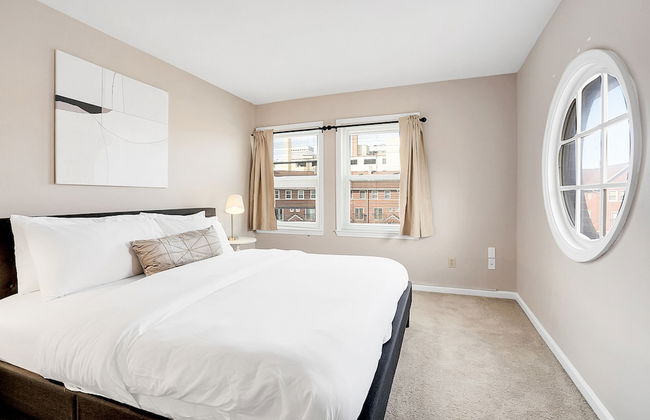
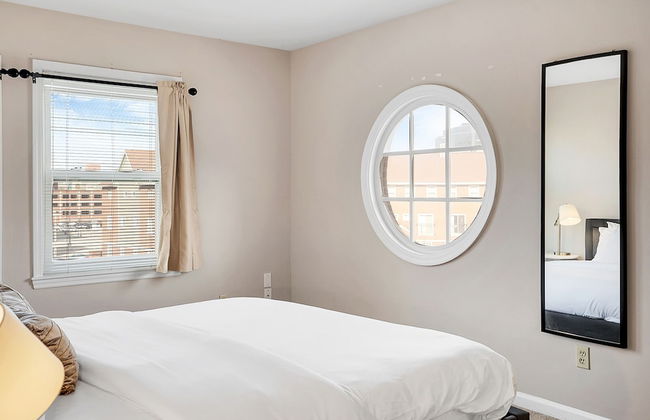
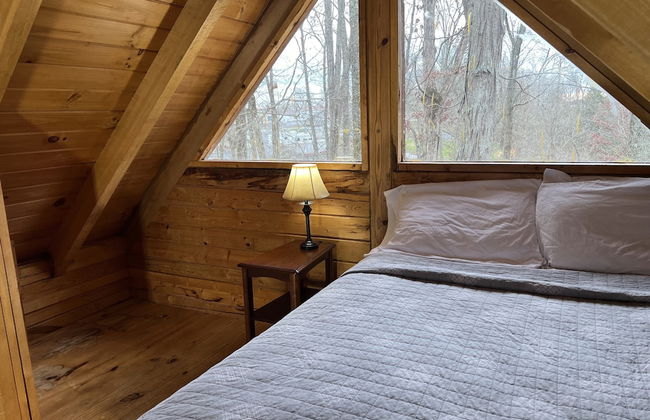
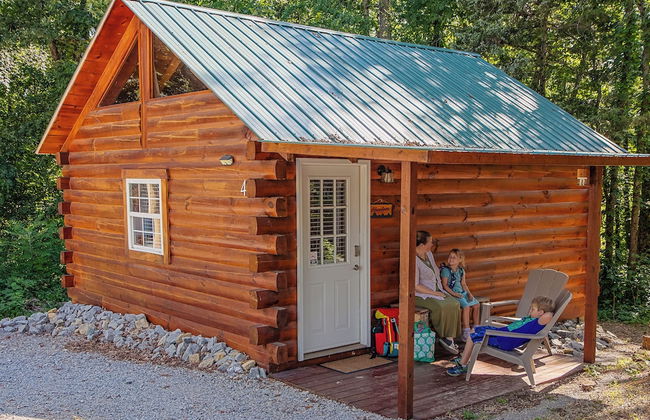
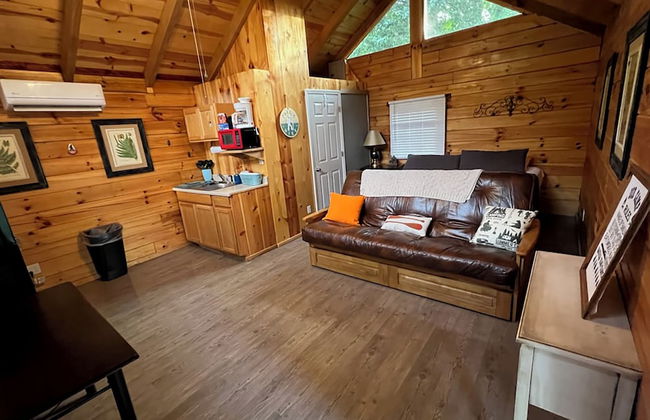
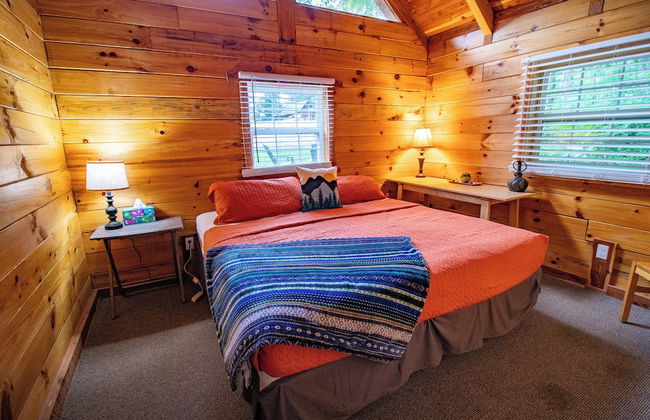
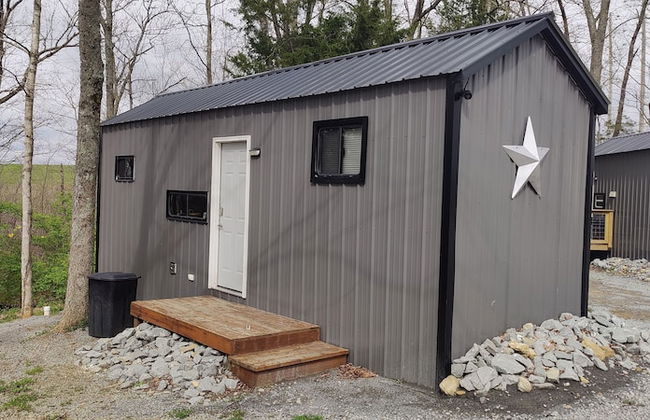
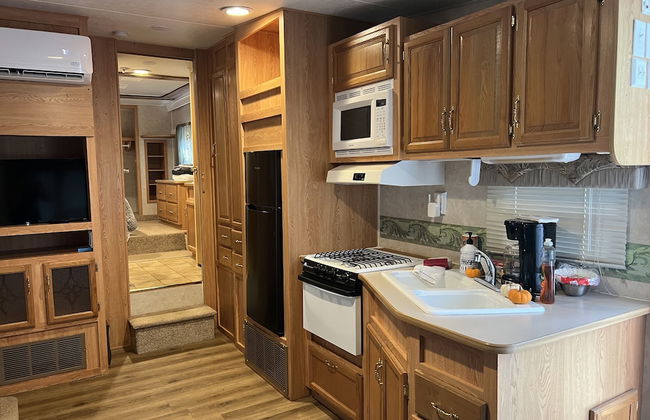
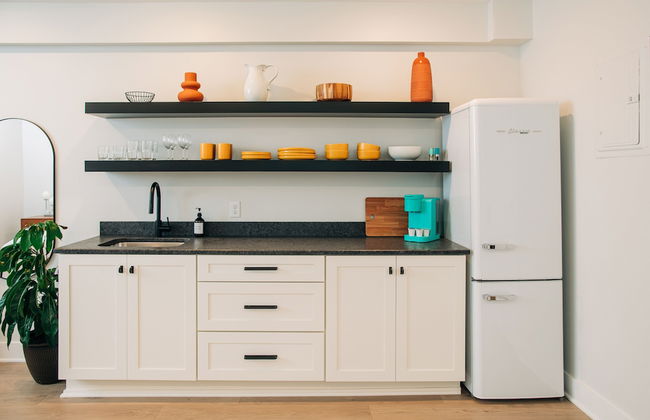
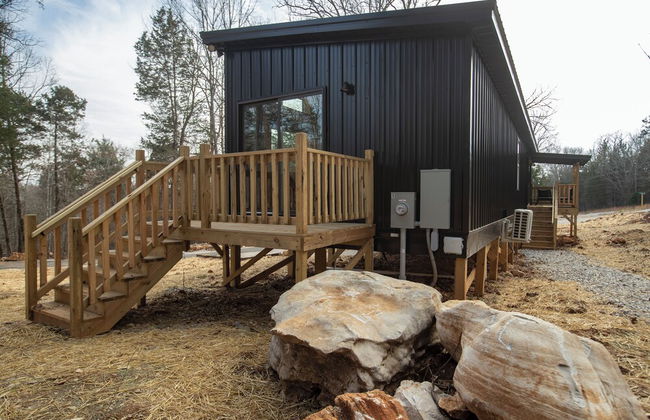
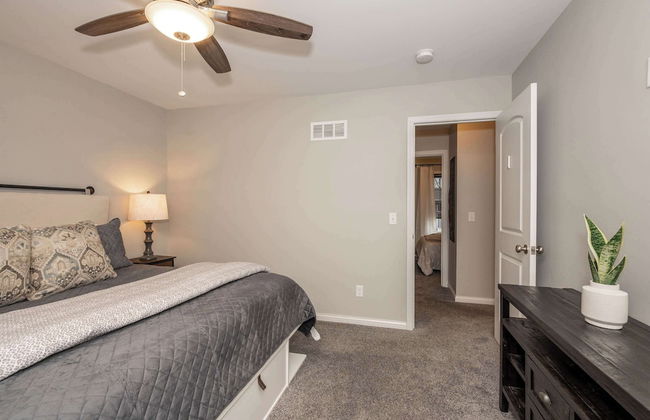
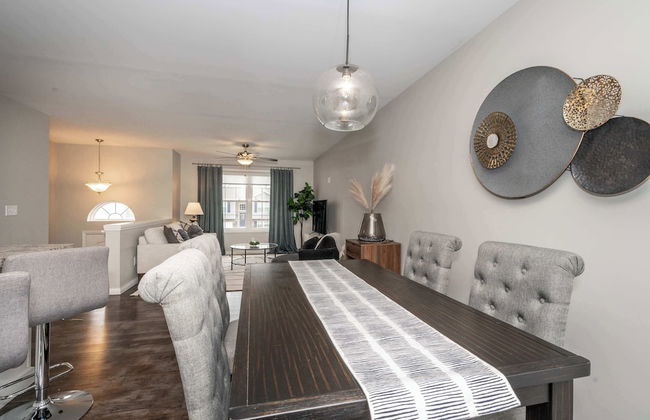
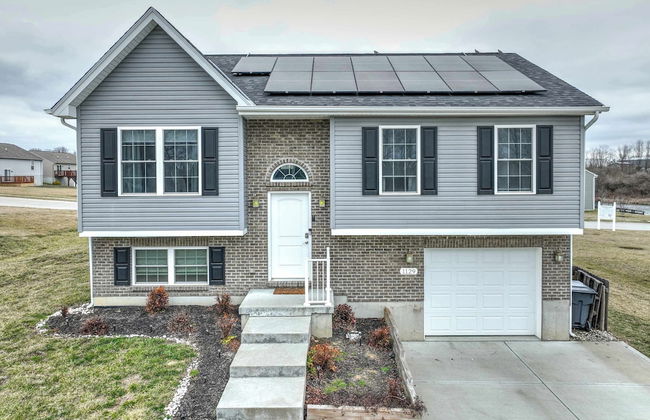
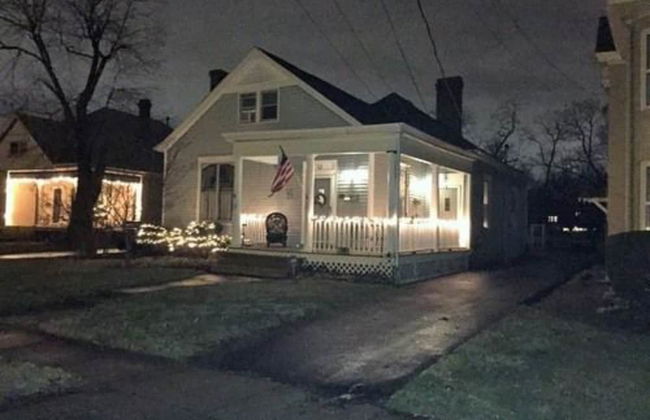
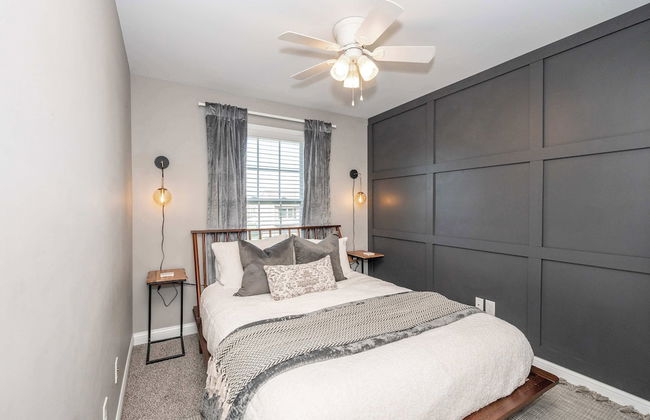
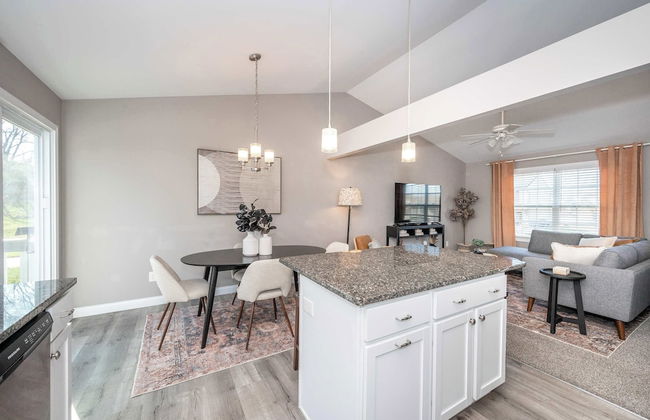
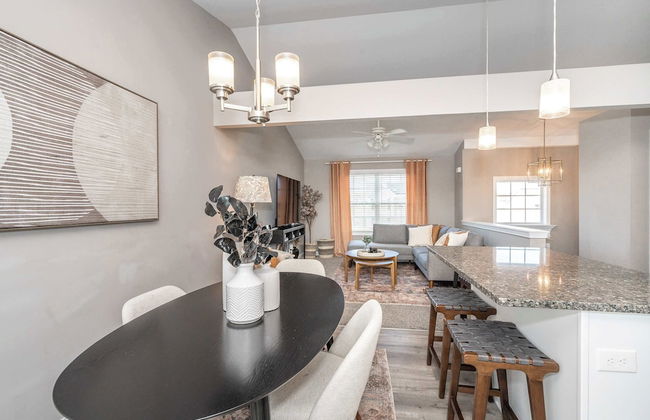
The Lodges at Eden Reserve
Williamstown - À 1.4 km du centre
- 6 personnes
- Air conditionné
- Le chauffage
- Parking
- Tv
- Machine à laver
- Cheminée
- Barbecue
- Serviettes
13 avis


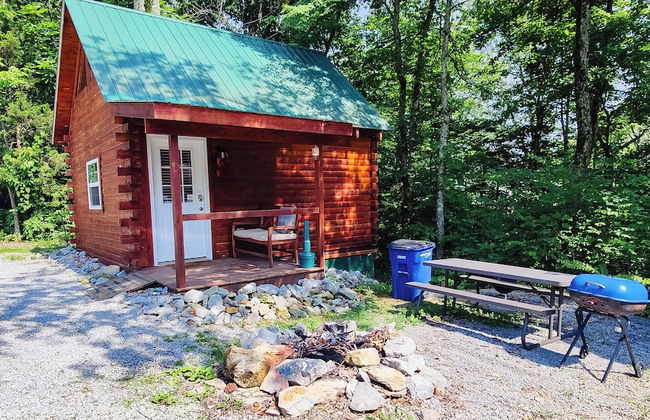


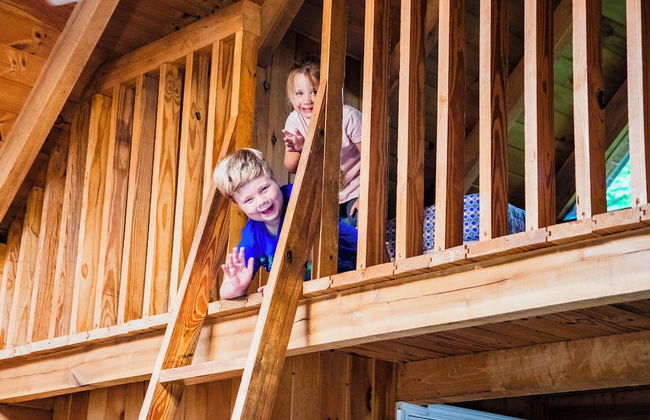


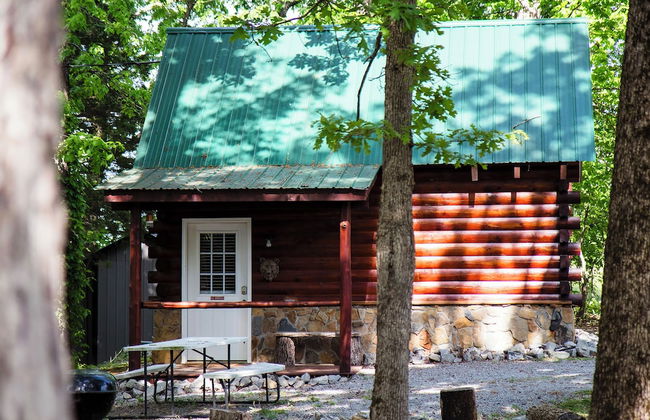


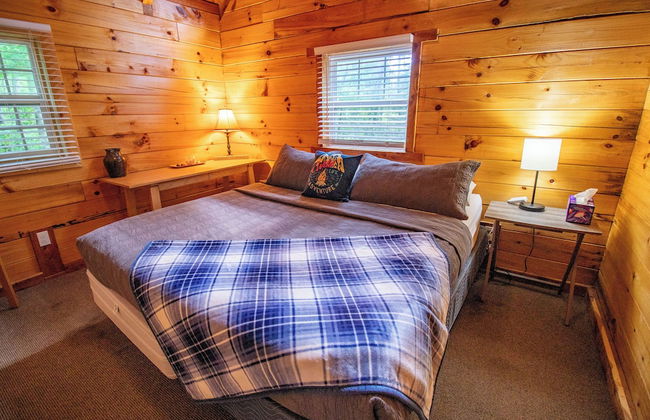


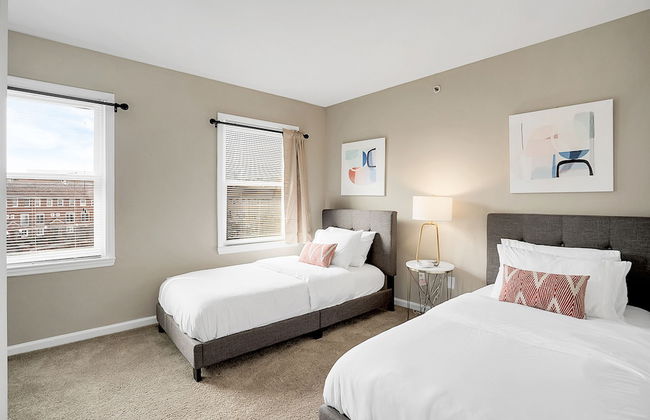
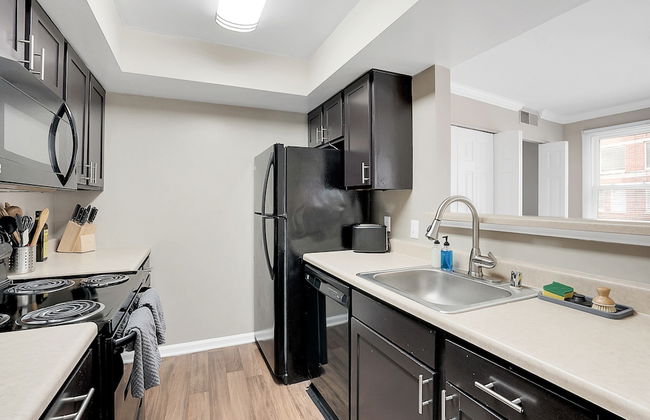
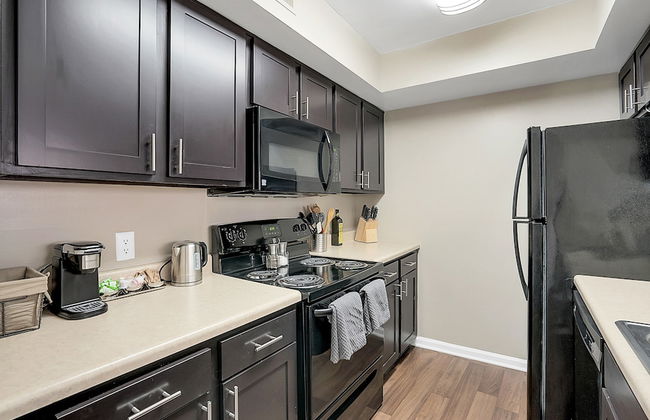
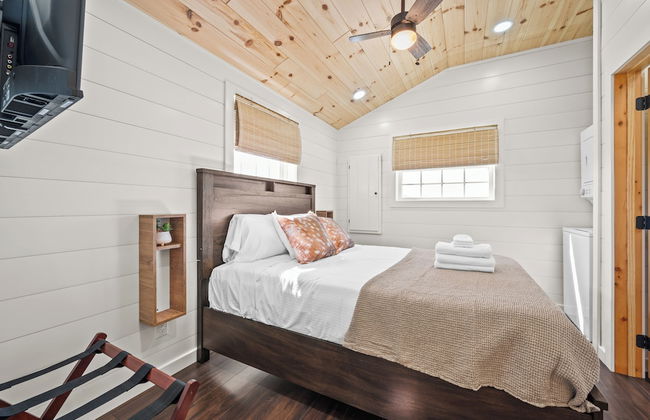
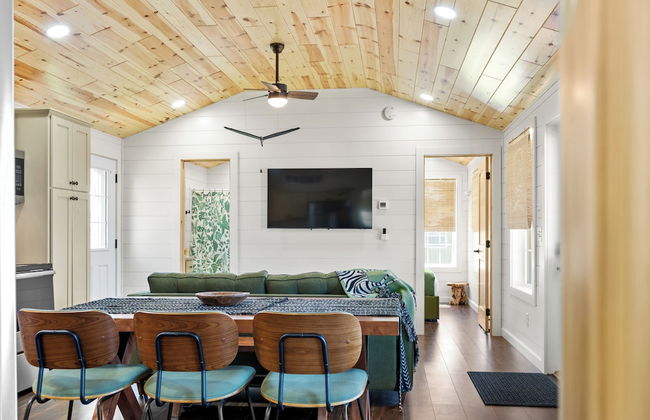
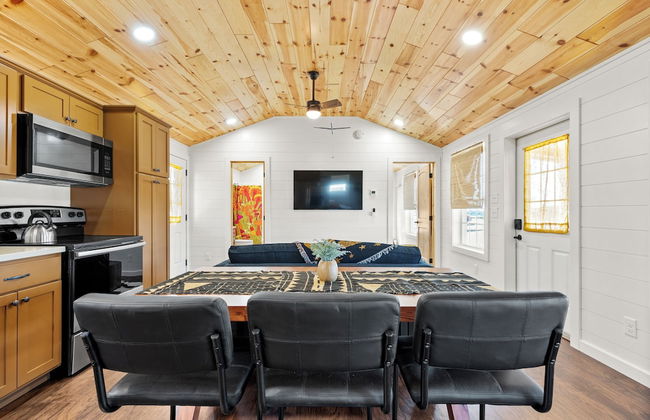
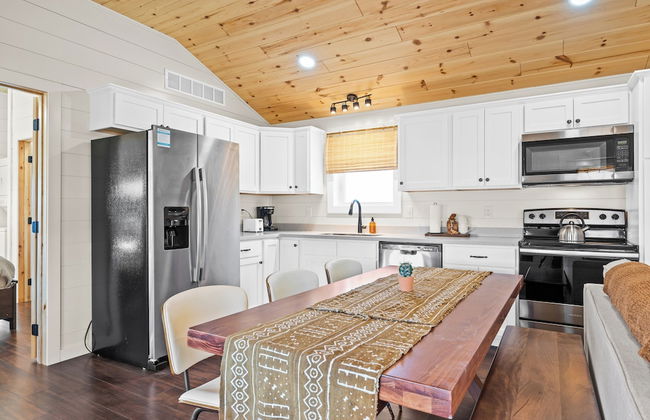
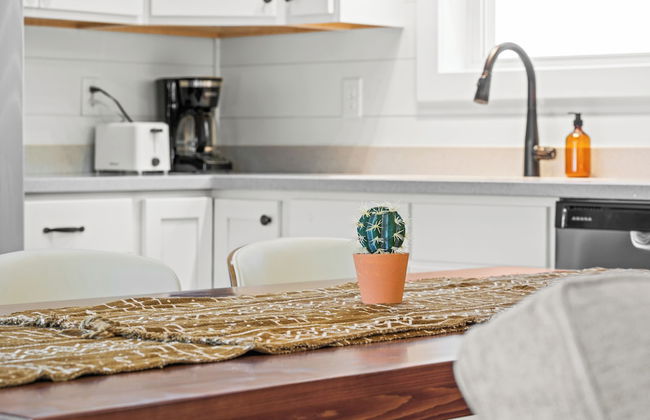
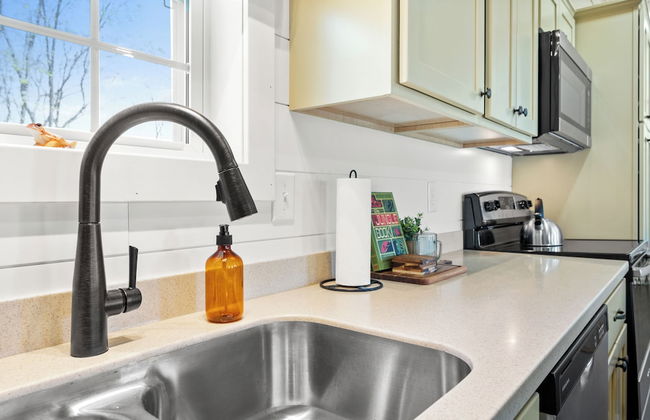
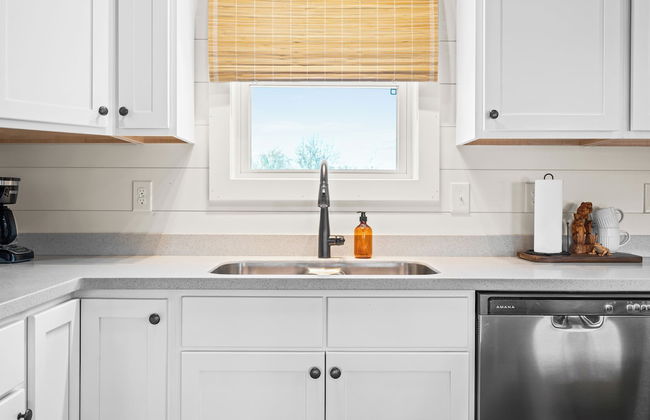
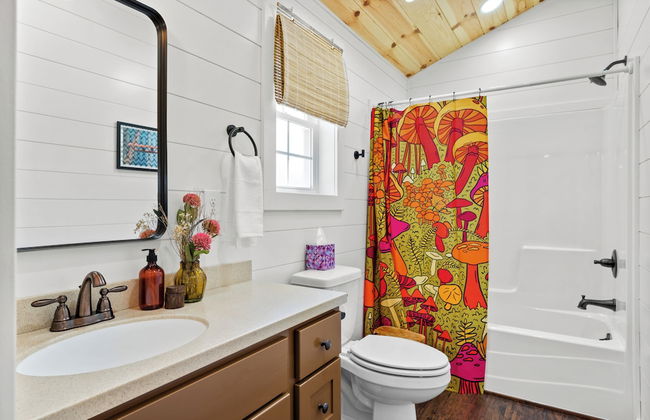
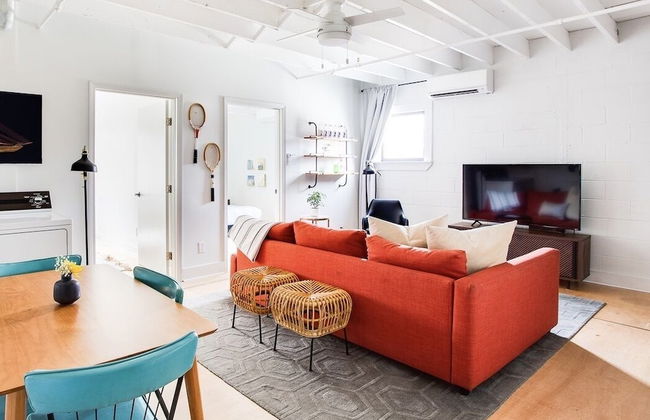
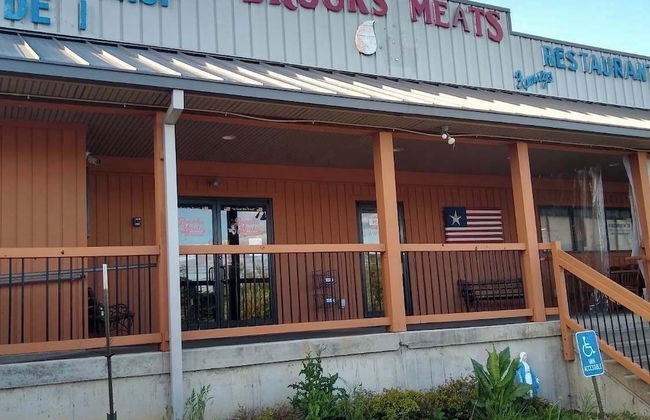
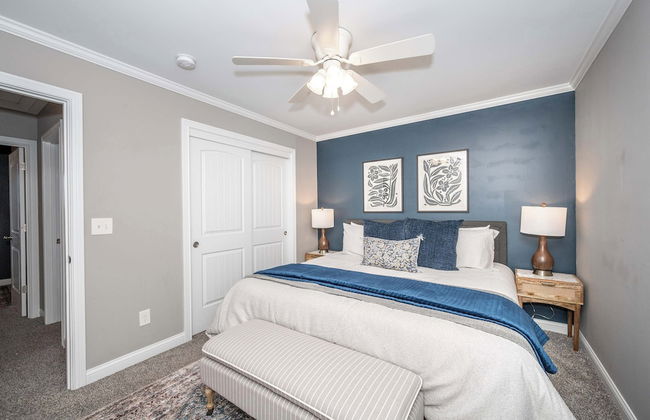
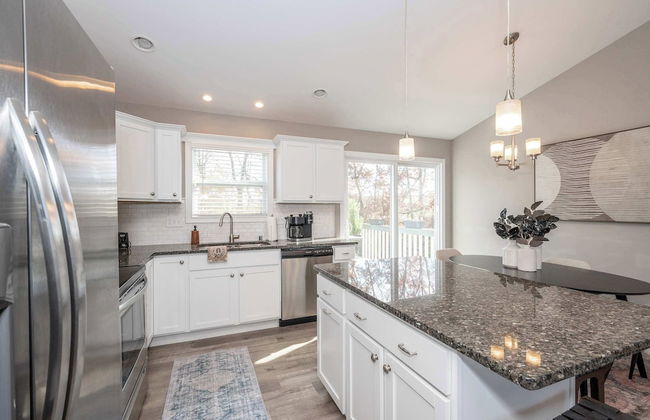
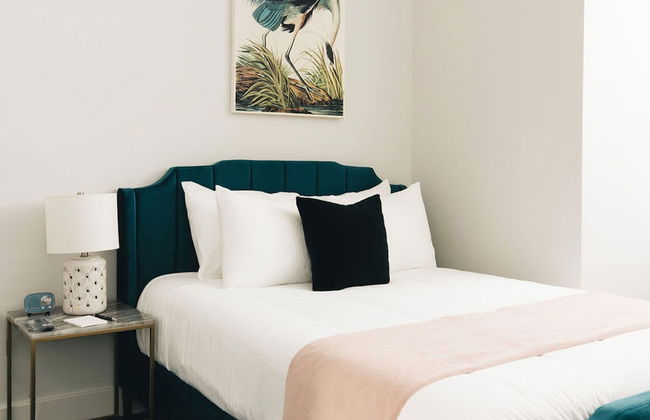
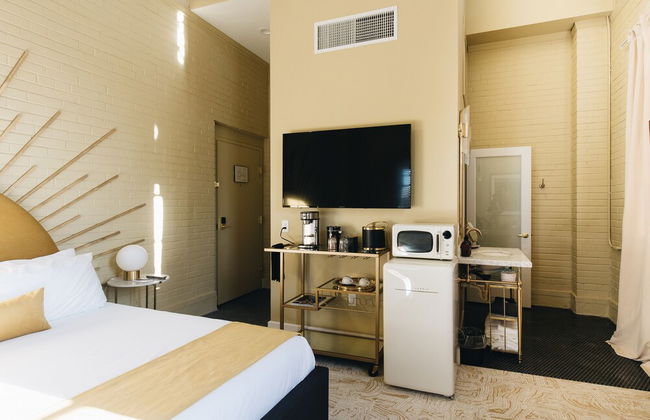
Kozy Haven Log Cabin Rentals
Columbia
- 169 M2
- 10 personnes
- Cuisinette
- Air conditionné
- Le chauffage
- Parking
- Tv
- Cheminée
- Barbecue
- Feuilles
30 avis
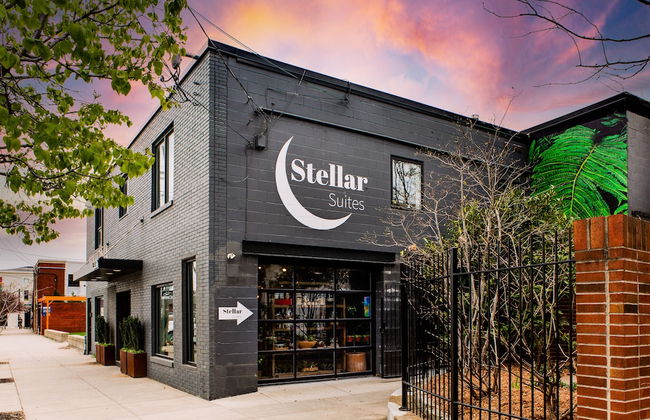


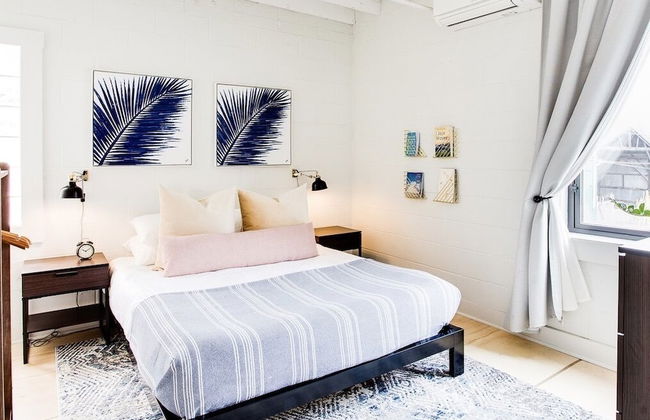
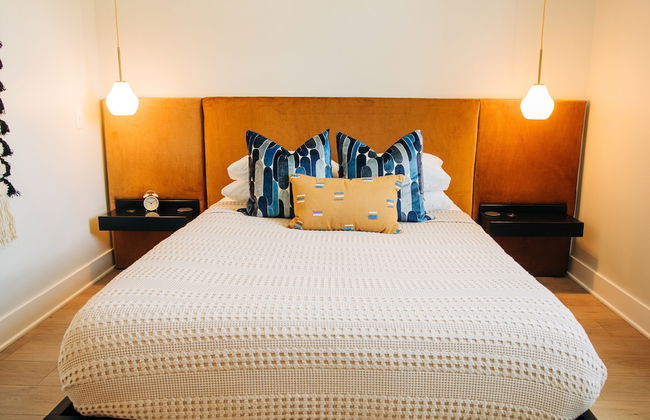


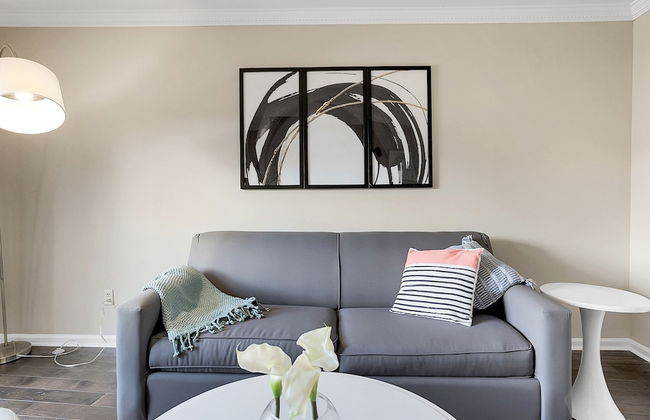
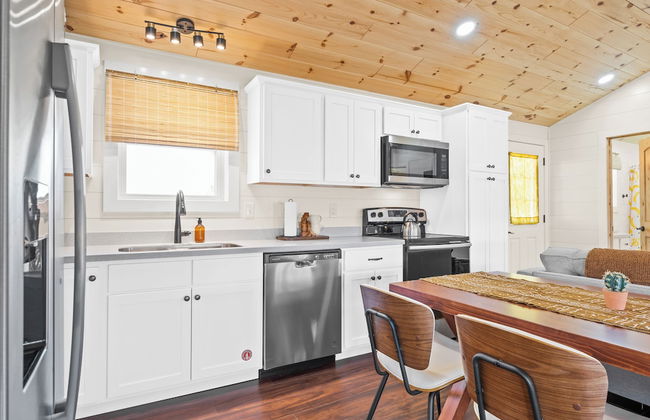
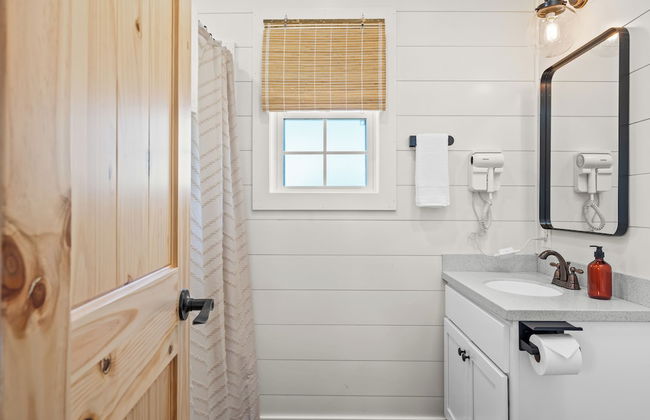
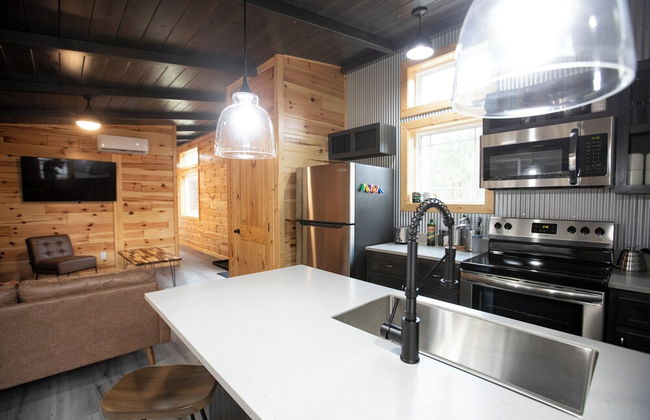
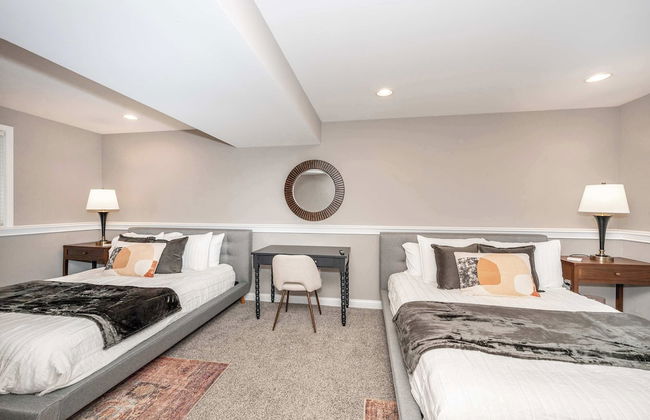
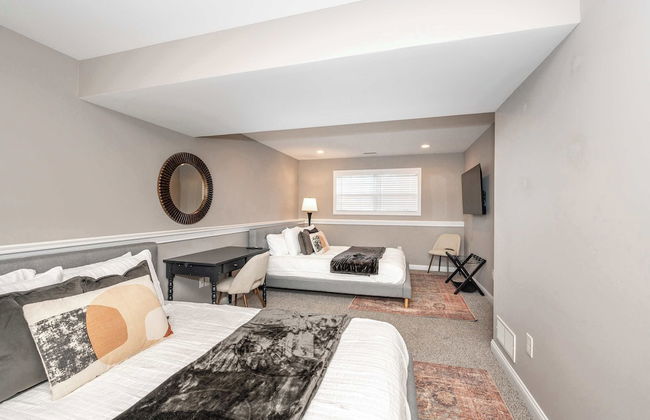
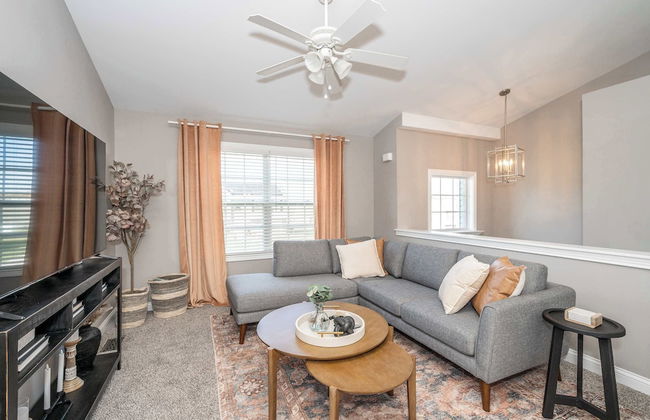
Stellar Suites
Louisville - Phoenix Hill - À 2.1 km du centre
- 65 M2
- 6 personnes
- Air conditionné
- Le chauffage
- Jardin
- Tv
- Serviettes
- Feuilles
90 avis
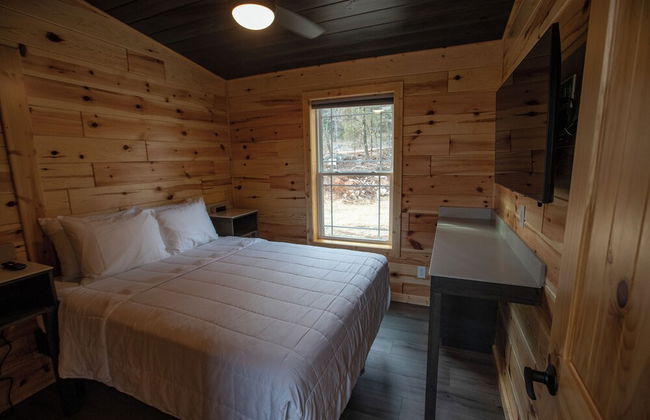


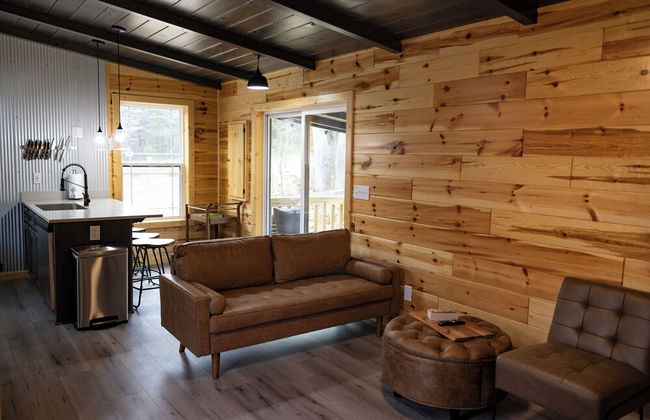


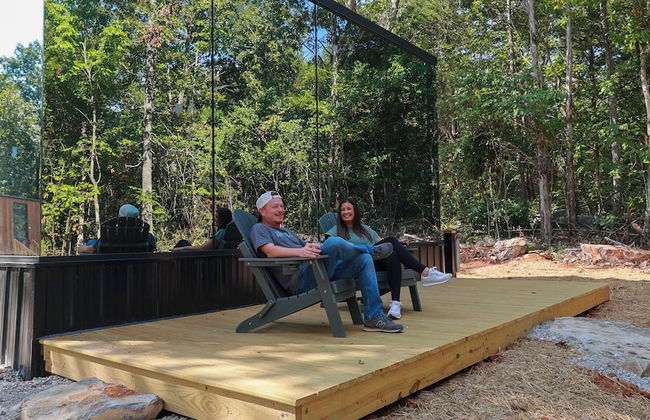
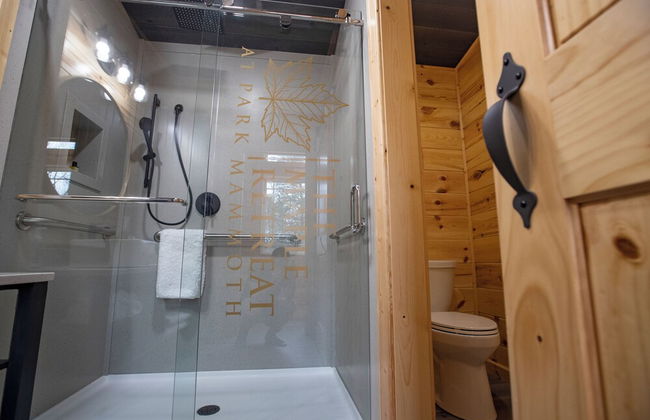


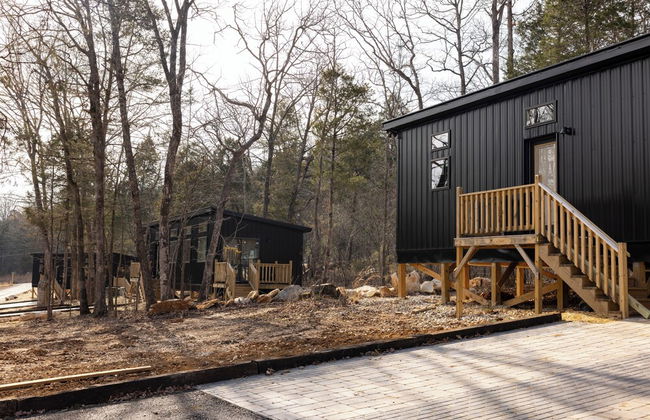


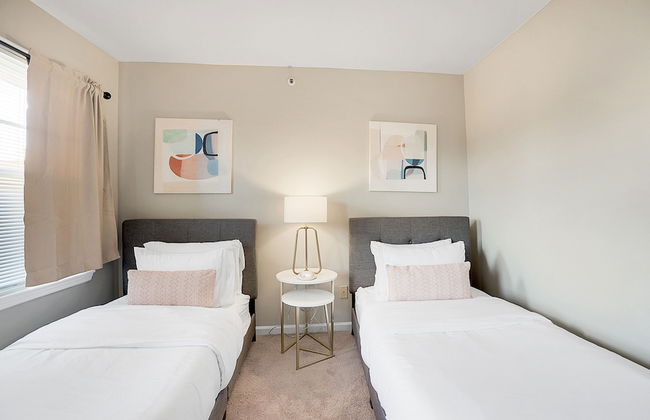
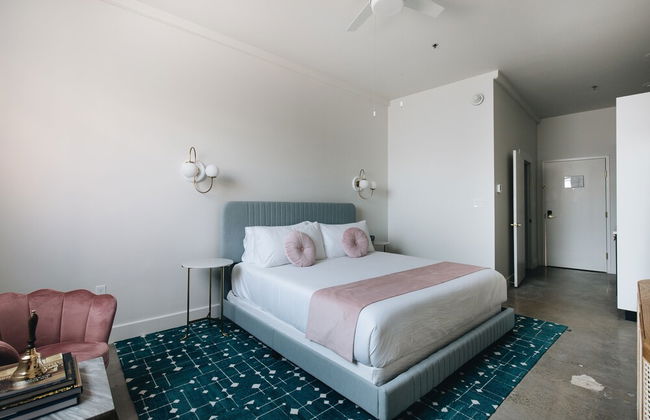
The Maple Retreat at Park Mammoth
Pk City
- 67 M2
- 5 personnes
- Air conditionné
- Le chauffage
- Parking
- Cheminée
- Barbecue
- Serviettes
- Feuilles
6 avis


The Luxe Spot 1
Covington - À 460 m du centre
- 93 M2
- 4 personnes
- Air conditionné
- Le chauffage
- Parking
- Tv
- Machine à laver
- Serviettes
6 avis


Heart of Mainstrasse 3
Covington - À 230 m du centre
- 121 M2
- 4 personnes
- Air conditionné
- Parking
- Ascenseur
- Tv
- Machine à laver
- Serviettes
8 avis


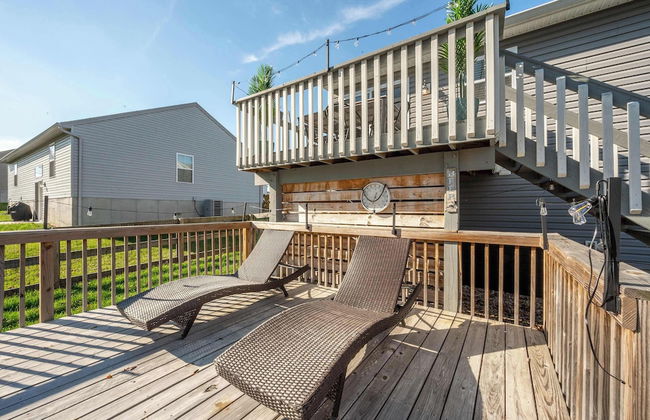
The Gem Vacation Rental
Walton
- 186 M2
- 10 personnes
- Air conditionné
- Terrasse
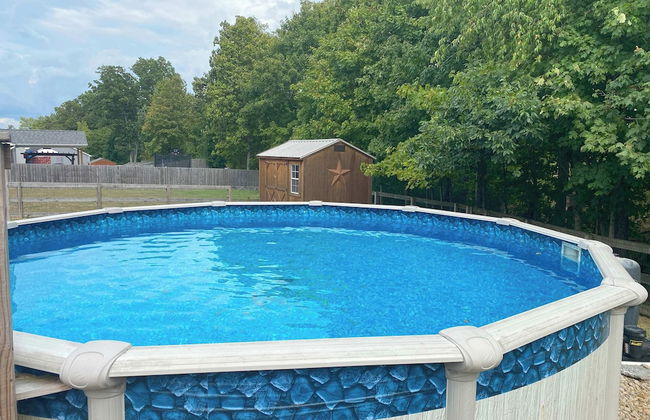
- Piscine
- Parking
- Tv
- Machine à laver
- Cheminée
- Serviettes
- Feuilles
2 avis


Heart of Mainstrasse Apt 1
Covington - À 230 m du centre
- 93 M2
- 4 personnes
- Air conditionné
- Le chauffage
- Parking
- Ascenseur
- Tv
- Machine à laver
- Serviettes
4 avis


Heart of Mainstrasse Apt 2
Covington - À 230 m du centre
- 93 M2
- 4 personnes
- Air conditionné
- Parking
- Ascenseur
- Tv
- Machine à laver
- Serviettes
6 avis
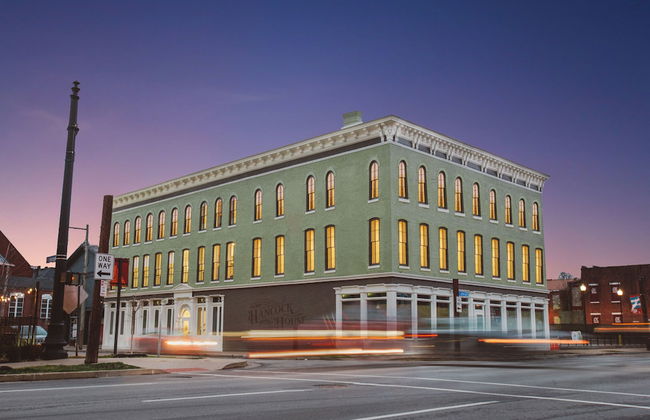

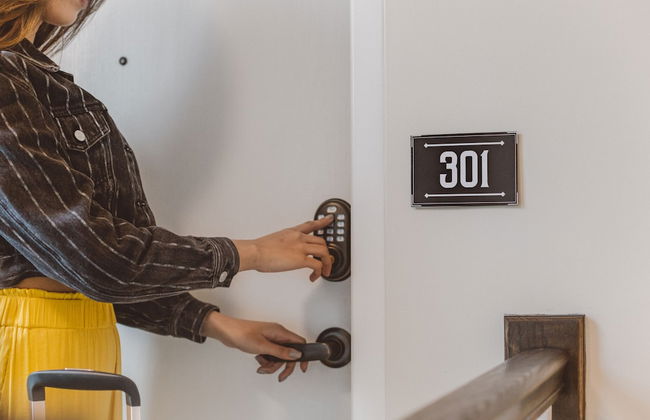


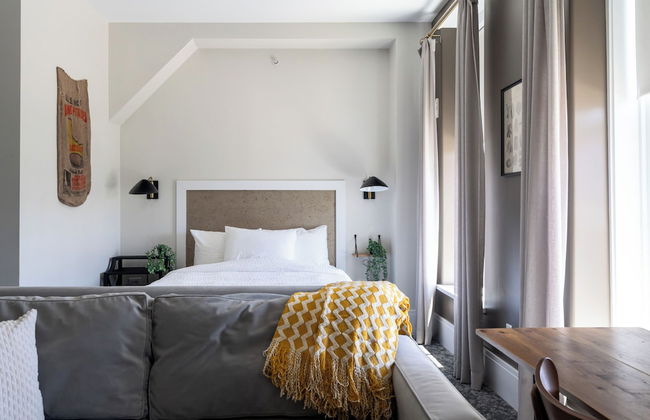
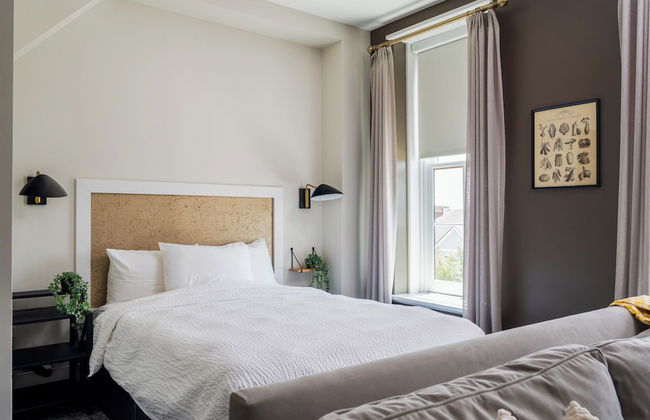


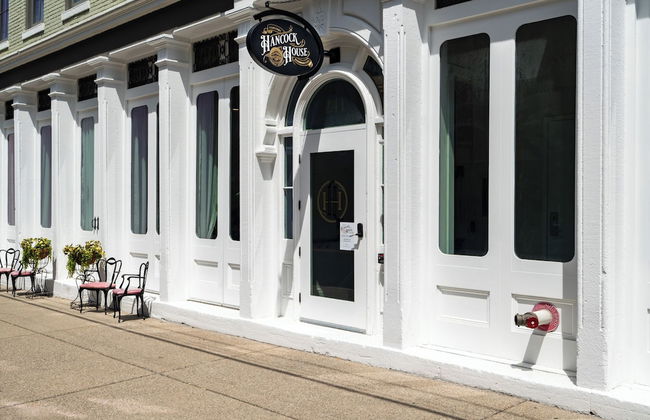
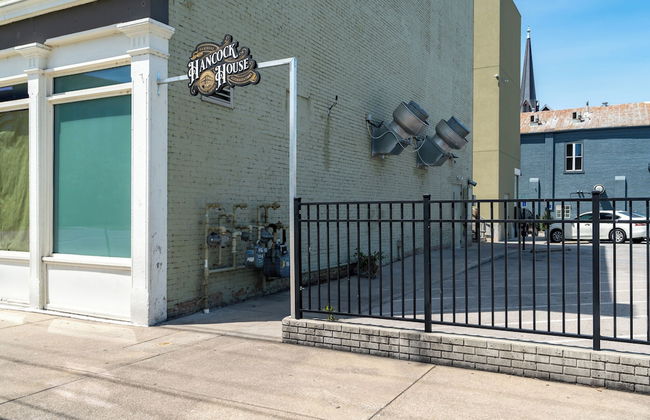
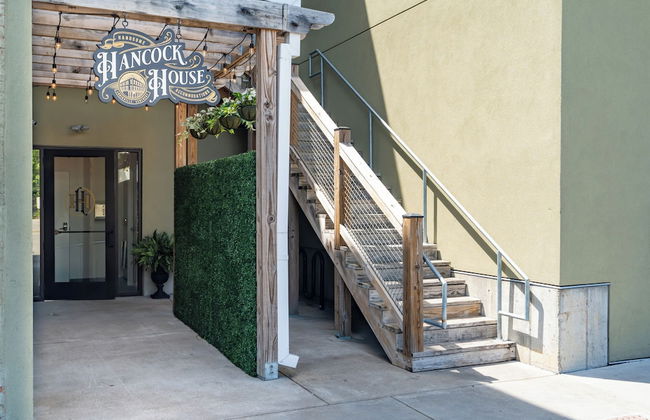


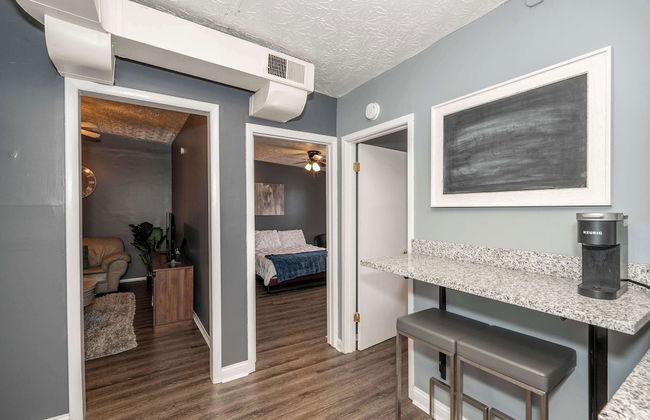
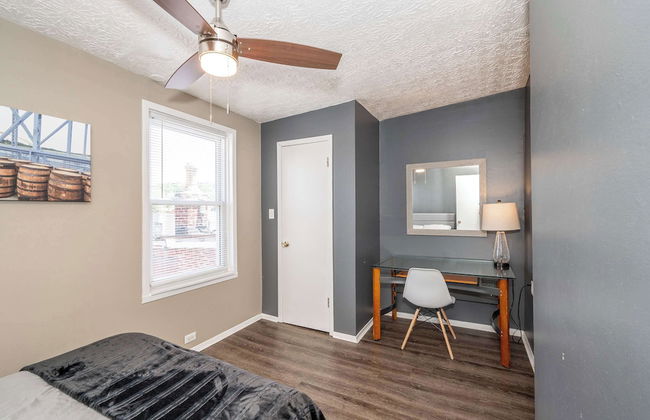
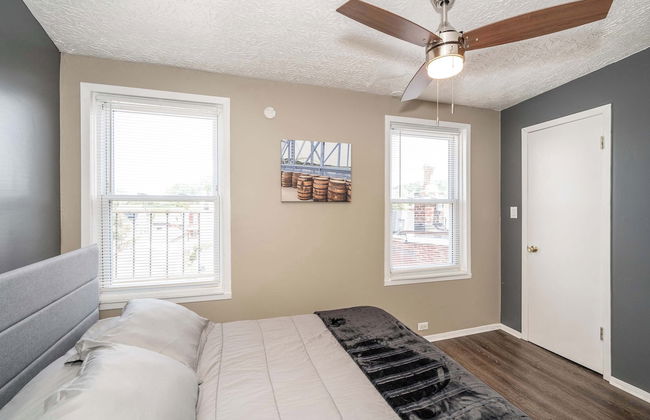
Hancock House
Louisville - Phoenix Hill - À 1.7 km du centre
- 43 M2
- 4 personnes
- Air conditionné
- Le chauffage
- Parking
- Ascenseur
- Tv
- Serviettes
- Feuilles
202 avis


Heart of Mainstrasse Apt 4
Covington - À 230 m du centre
- 93 M2
- 4 personnes
- Air conditionné
- Le chauffage
- Parking
- Ascenseur
- Tv
- Machine à laver
- Serviettes
3 avis


Kathy's Place
Lexington - Eastside - À 1.6 km du centre
- 4 personnes
- Cuisinette
- Air conditionné
- Le chauffage
- Parking
- Balcon
- Tv
- Machine à laver
- Barbecue
- Serviettes
- Feuilles
4 avis


Covington Charm 201
Covington - À 340 m du centre
- 42 M2
- 2 personnes
- Air conditionné
- Le chauffage
- Parking
- Tv
- Machine à laver
- Serviettes
5 avis


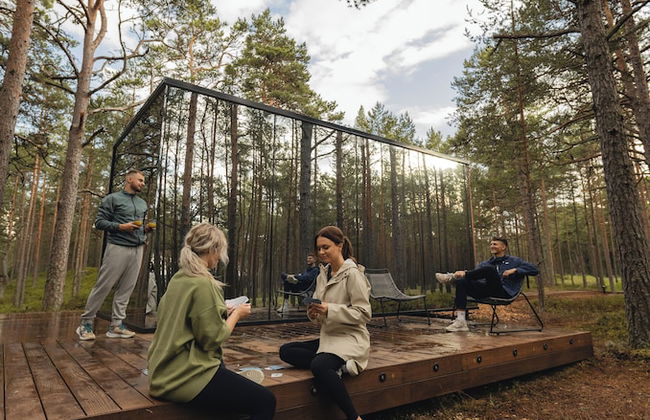
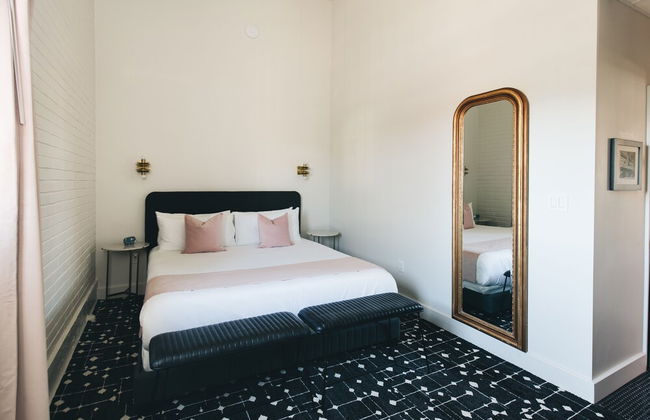
Ark Adventure Retreat
Walton
- 93 M2
- 10 personnes
- Air conditionné
- Le chauffage
- Piscine
- Parking
- Balcon
- Tv
- Machine à laver
- Serviettes
- Feuilles
2 avis
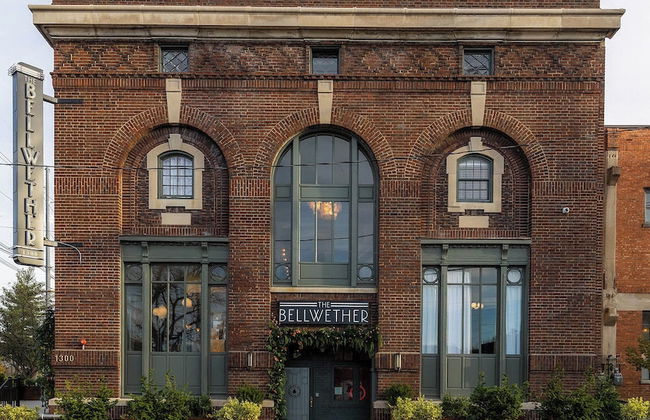
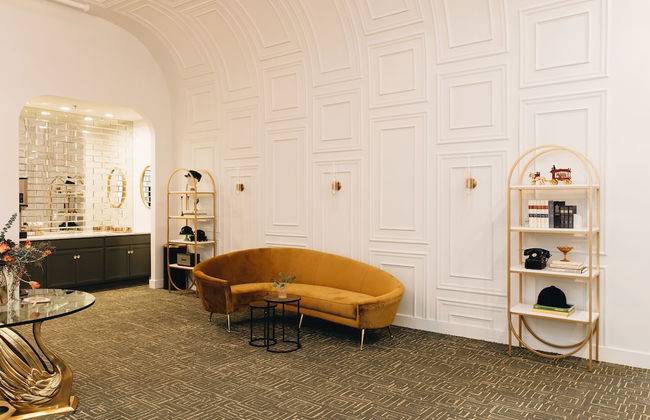


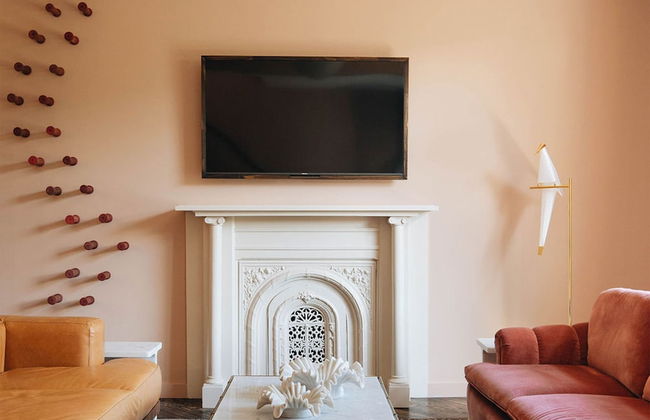


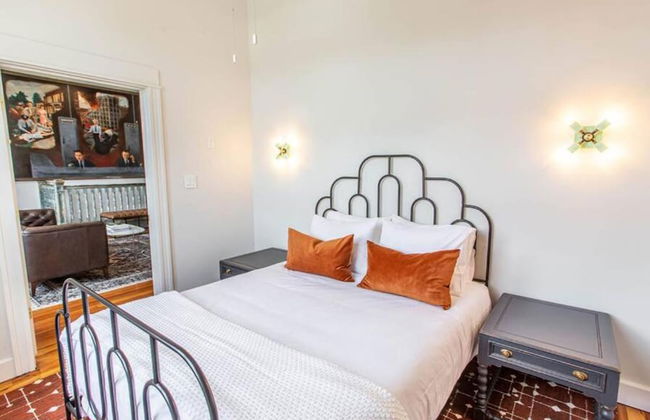
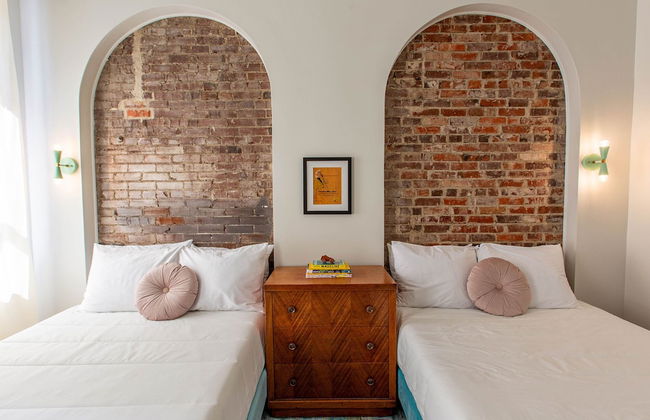


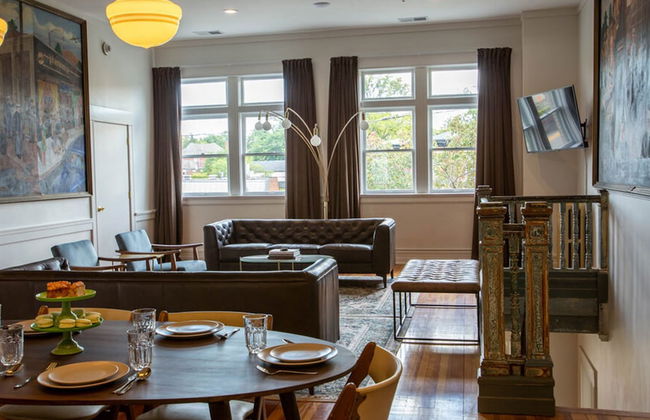


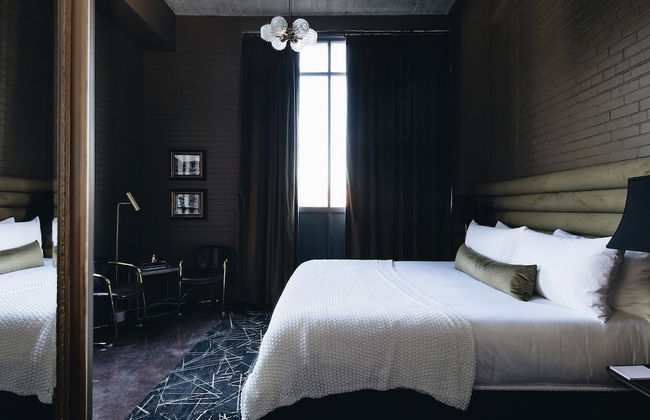
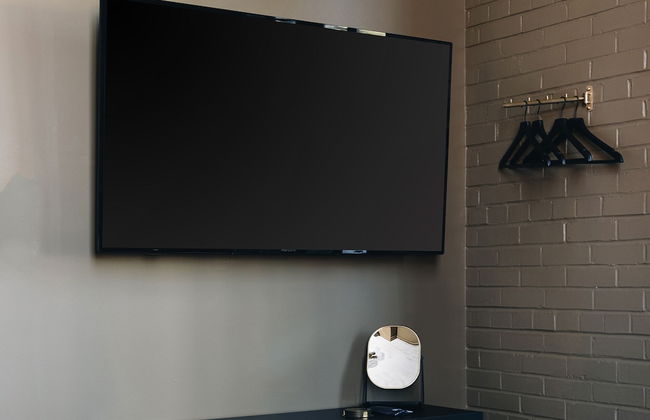


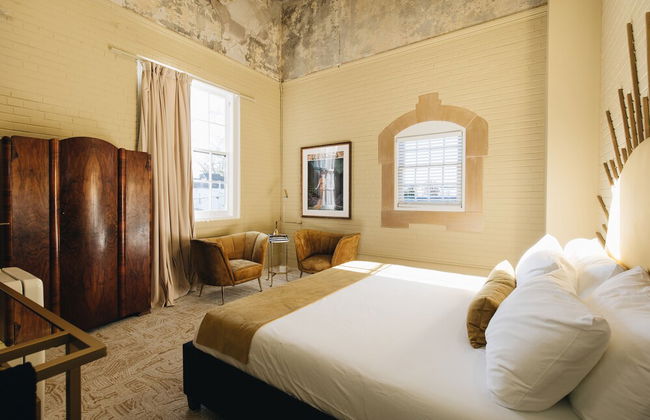
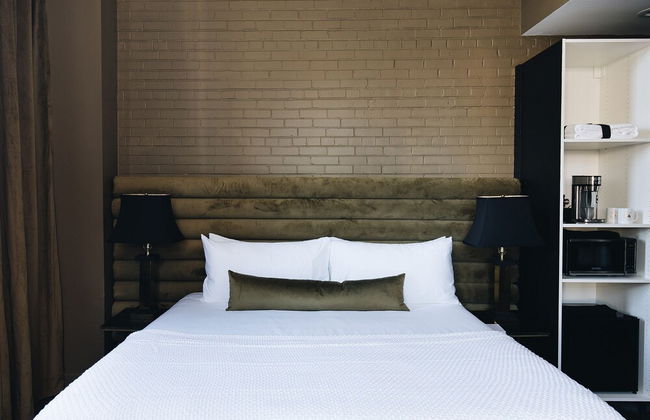


The Bellwether Hotel
Louisville - Tyler Park - À 4.5 km du centre
- 12 personnes
- Air conditionné
- Le chauffage
- Tv
- Serviettes
- Feuilles
10 avis


Monmouth Loft 1
Newport
- 93 M2
- 2 personnes
- Air conditionné
- Le chauffage
- Parking
- Tv
- Machine à laver
- Serviettes
3 avis