
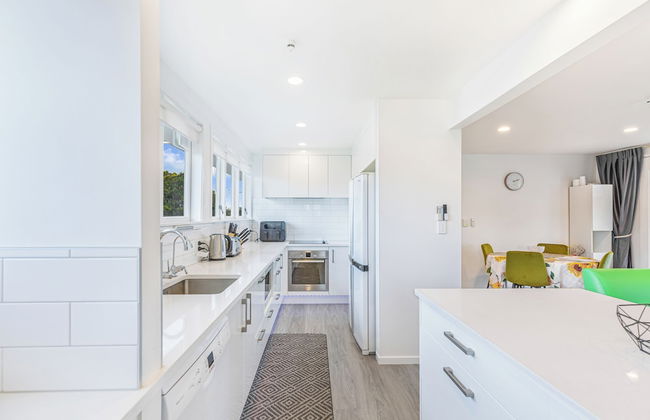
6 Appartements à Ellerslie


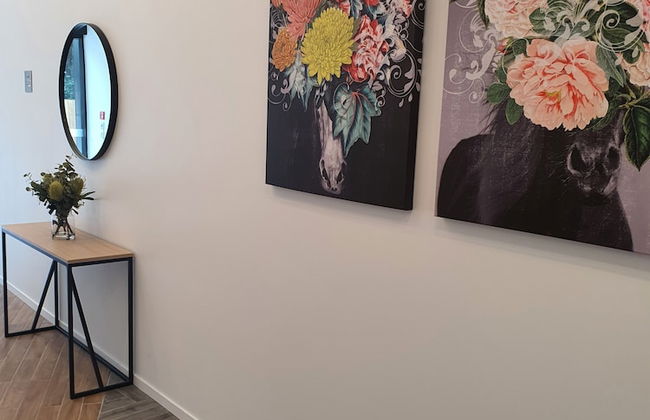
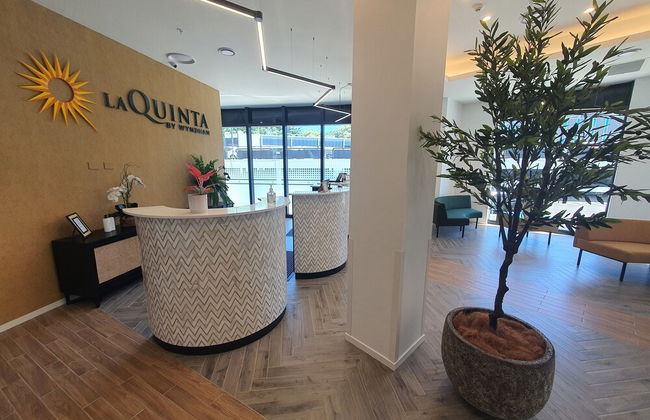

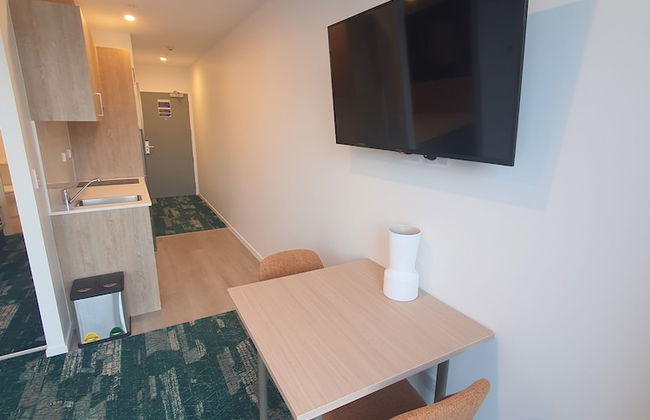
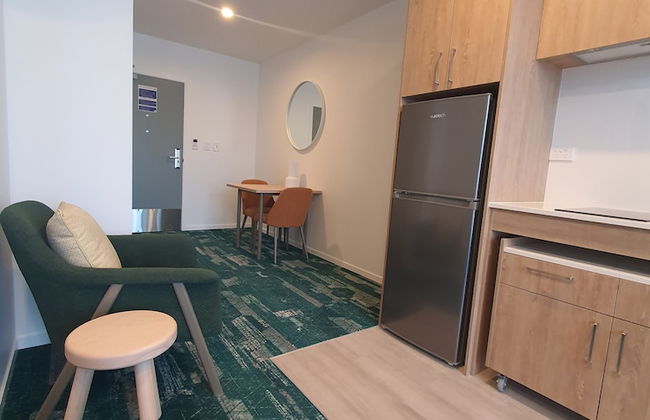
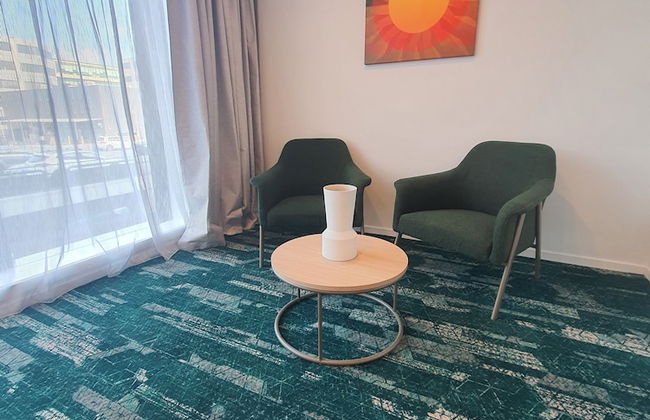

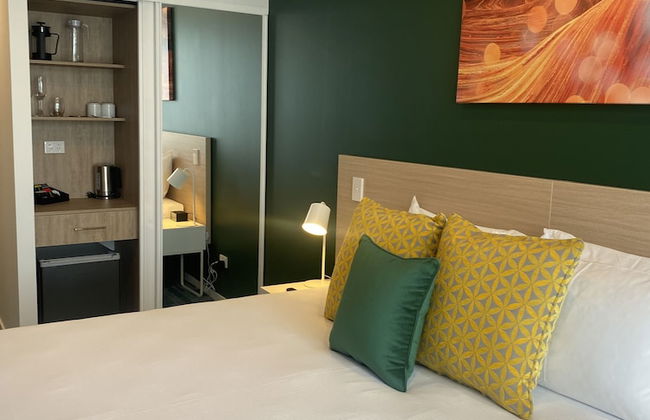


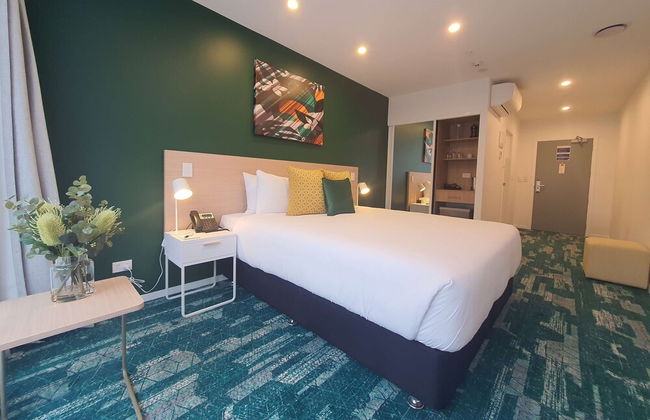
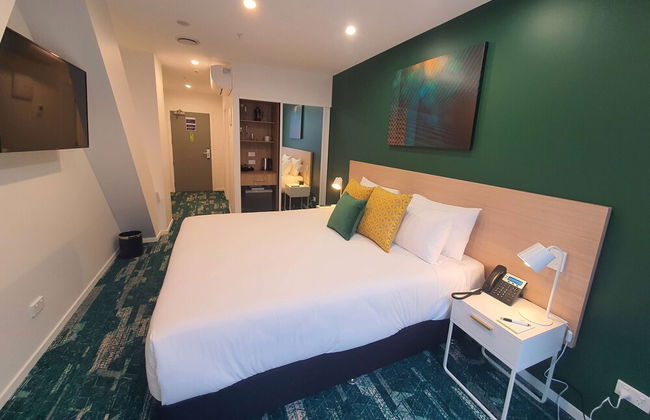


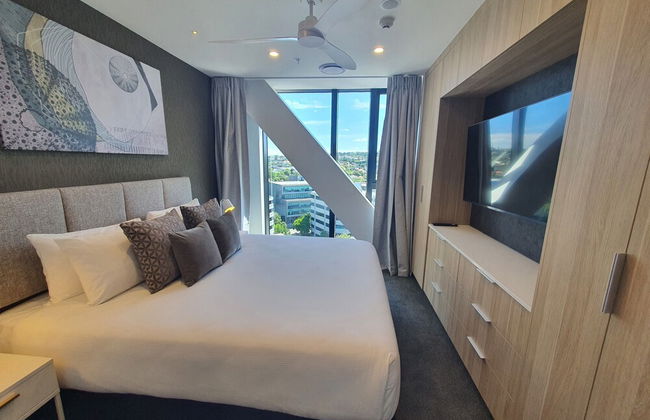


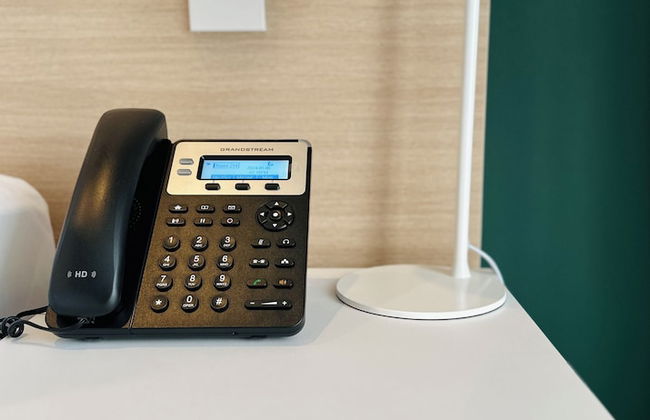


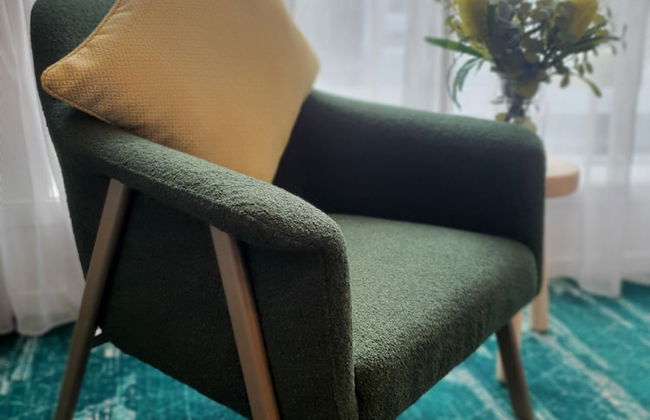
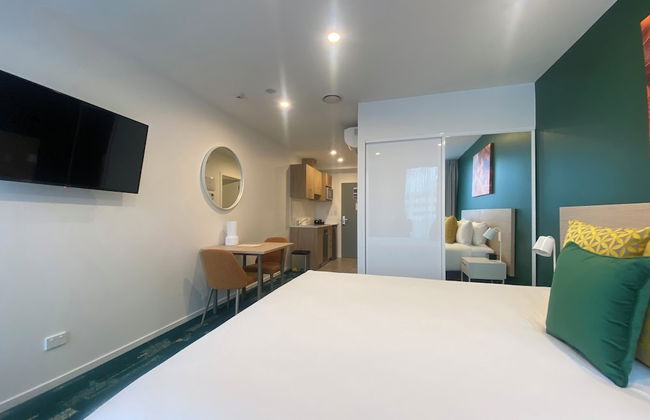
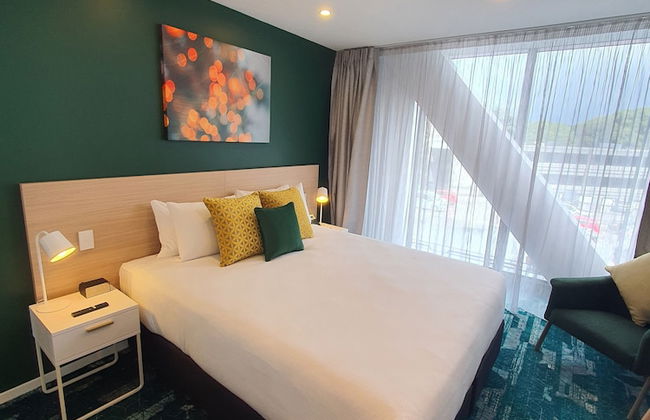


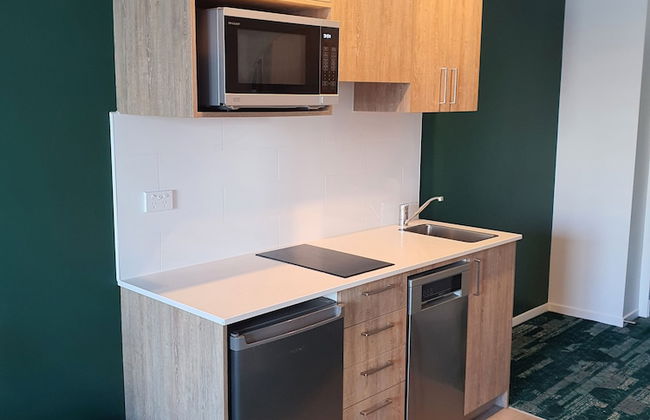


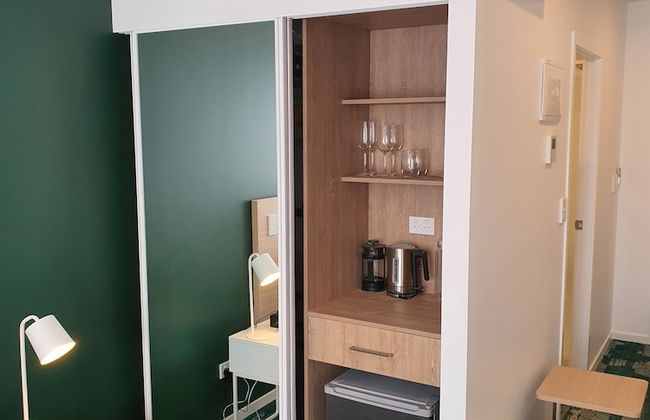

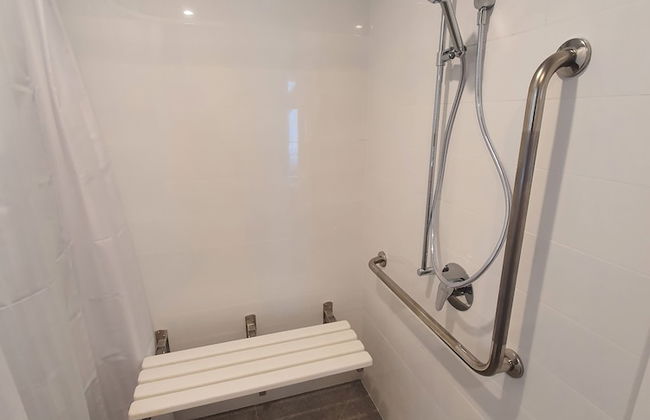
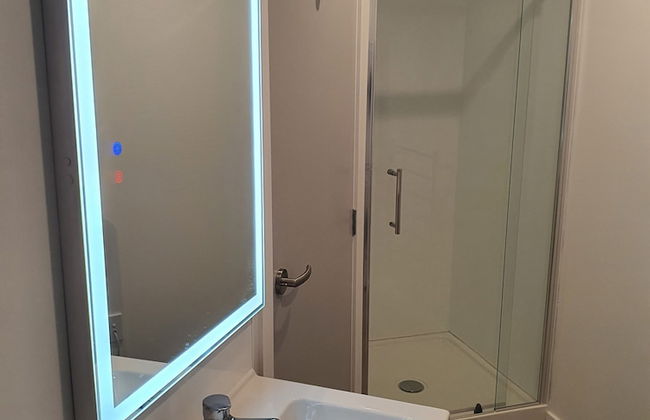


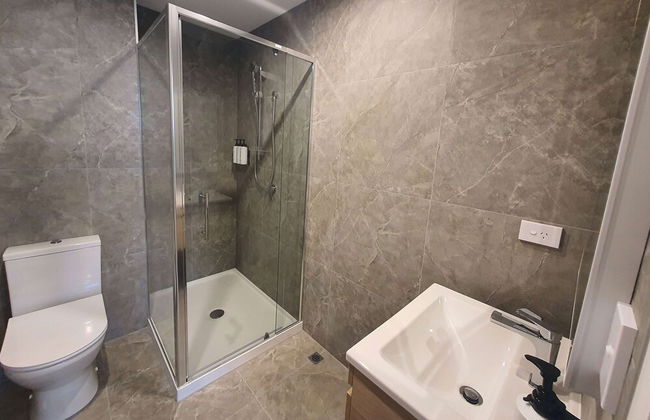

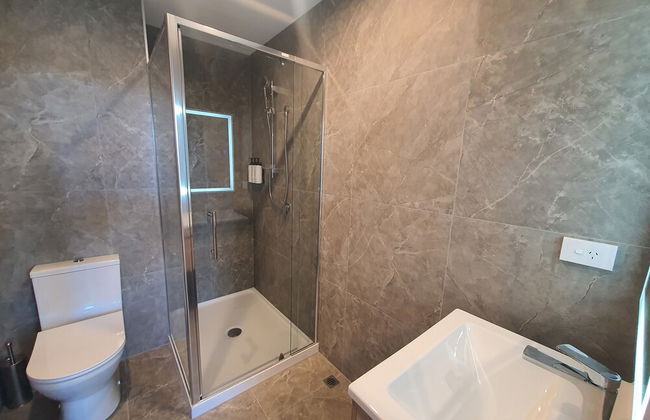
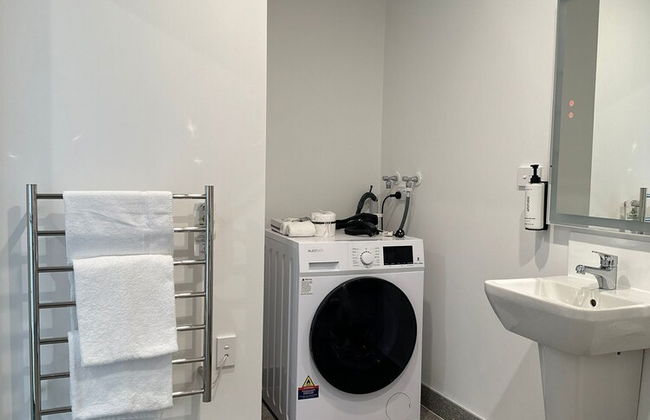

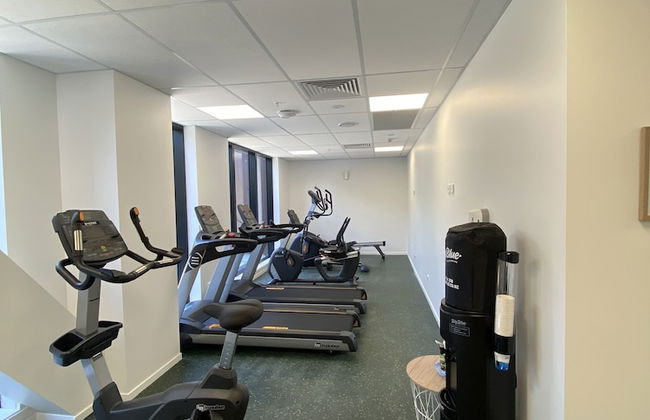
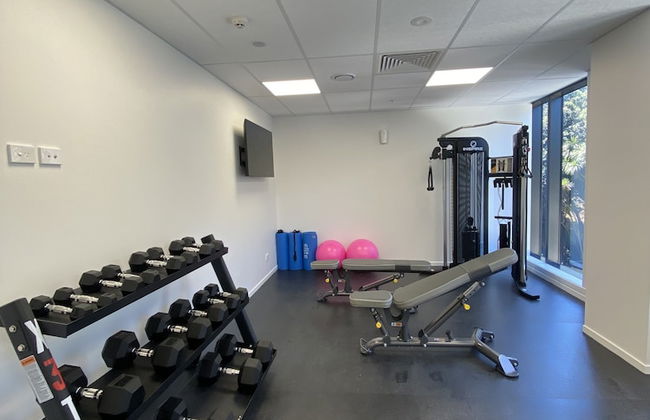


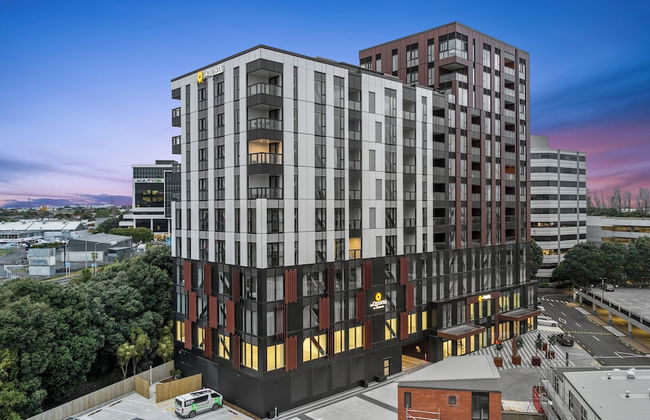
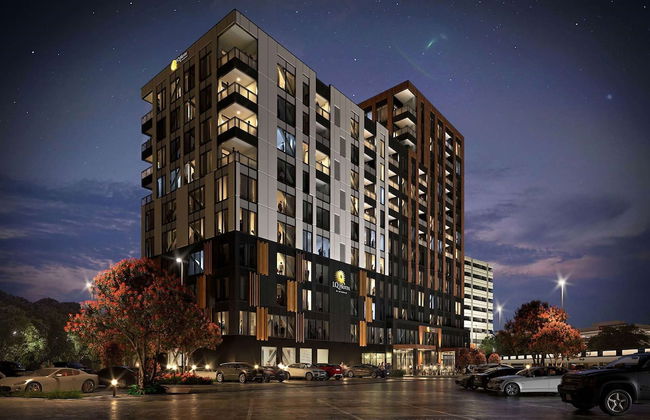

La Quinta By Wyndham Ellerslie Auckland
Auckland - Ellerslie - À 6.4 km du centre
- 104 M2
- 4 personnes
- Cuisinette
- Air conditionné
- Parking
- Ascenseur
- Balcon
- Tv
- Machine à laver
- Serviettes
- Feuilles
118 avis


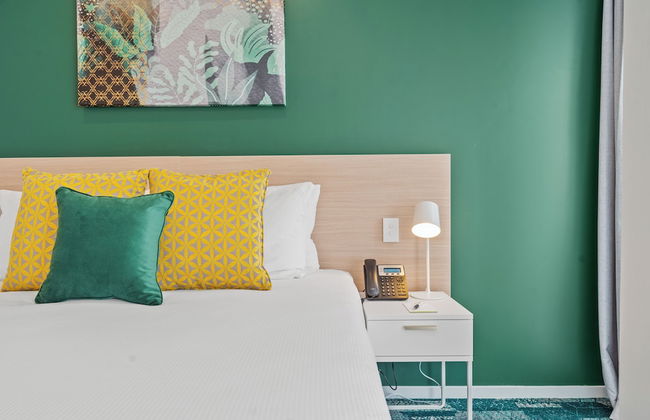
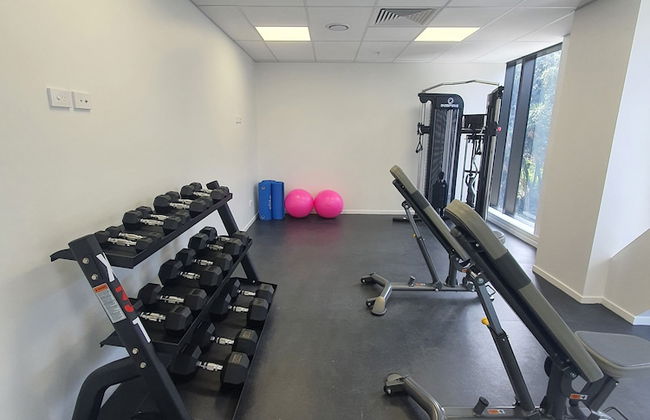
Central Park Residence
Auckland - Ellerslie - À 6.4 km du centre
- Terrasse
- Parking
- Ascenseur
- Jardin
- Barbecue


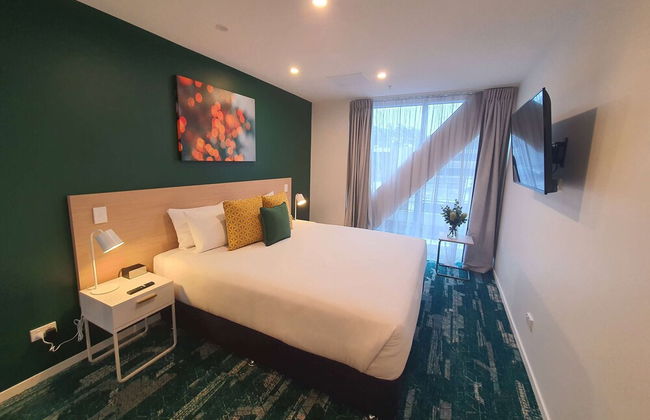
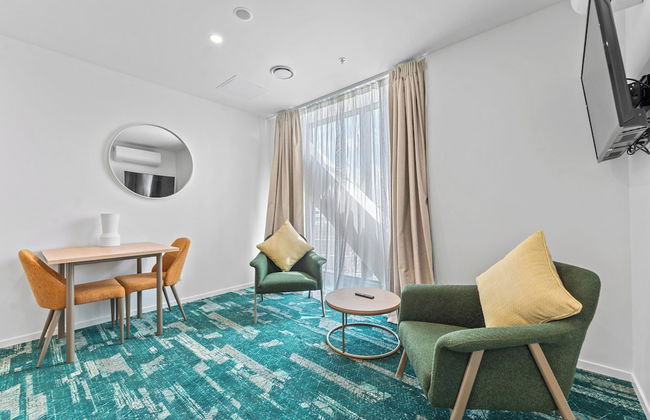
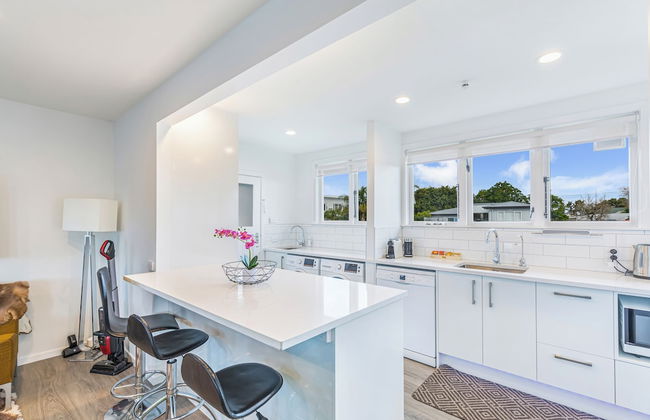
Urban Vogue Escape with Parking- Air-con
Auckland - Ellerslie - À 6.3 km du centre
- 65 M2
- 4 personnes
- Air conditionné
- Le chauffage
- Parking
- Tv
- Machine à laver
- Serviettes
- Feuilles


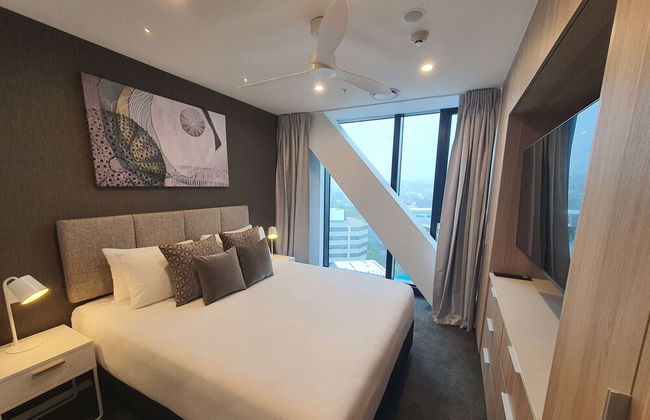
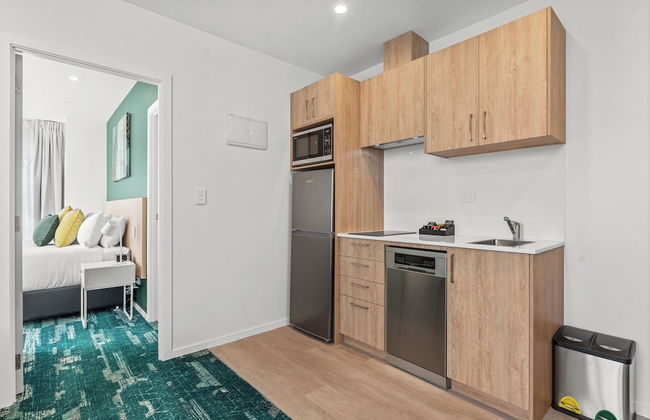
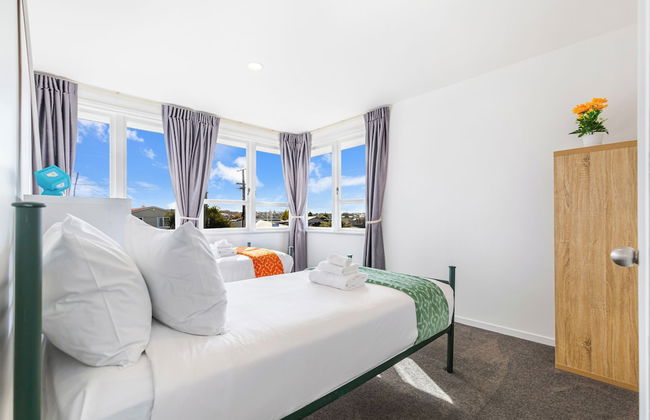
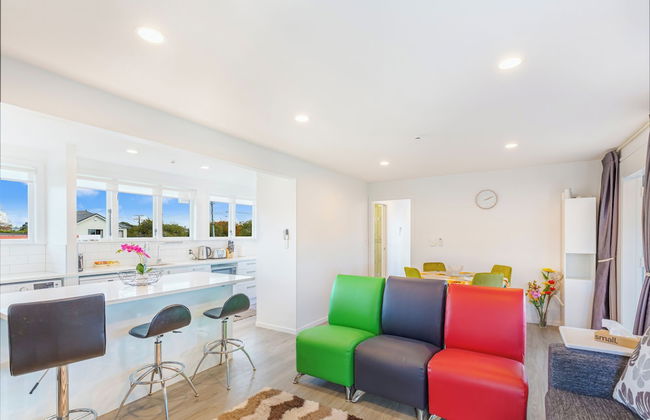
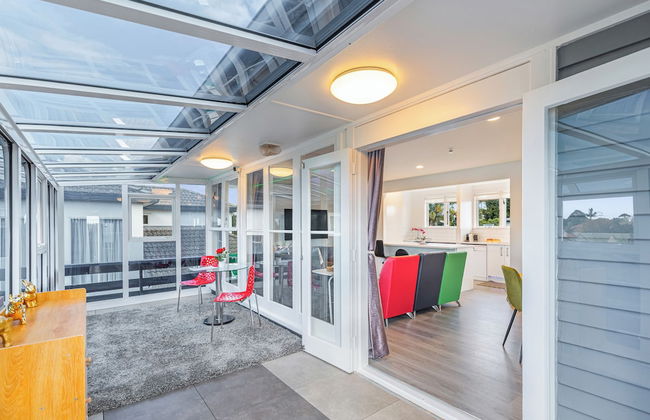
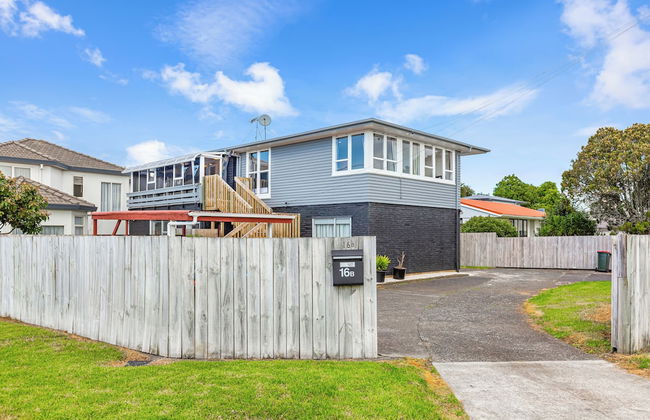
Spacious Renovated 3BR in Ellerslie I Zodiak Stays
Auckland - Ellerslie - À 6.3 km du centre
- 150 M2
- 6 personnes
- Air conditionné
- Le chauffage
- Parking
- Tv
- Machine à laver
- Serviettes


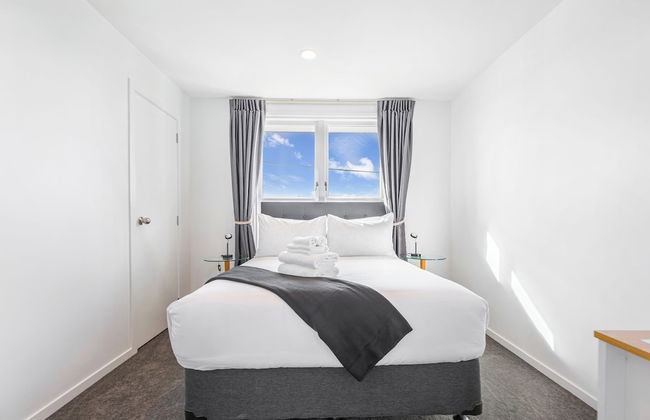


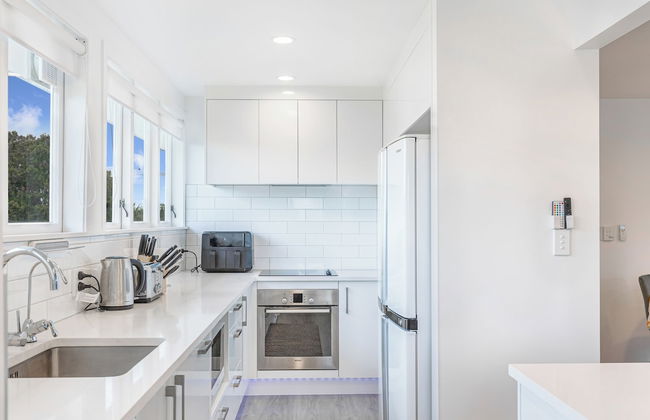


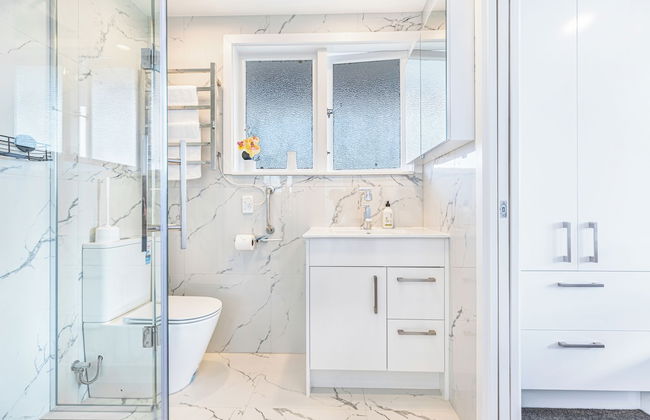


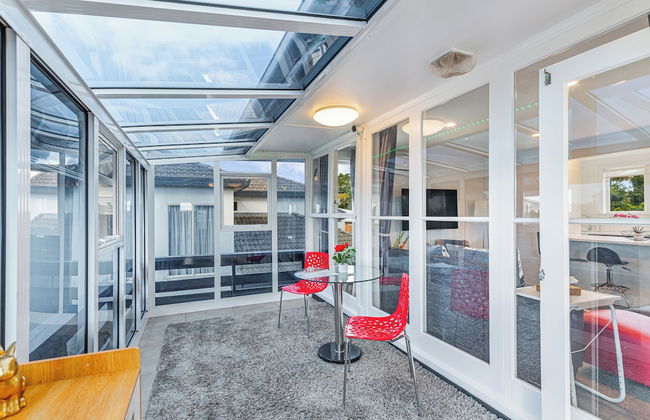
Ellerslie 3BR House | Fresh Reno | Zodiak Stays
Auckland - Ellerslie - À 6.3 km du centre
- 150 M2
- 6 personnes
- Air conditionné
- Le chauffage
- Parking
- Machine à laver
- Serviettes


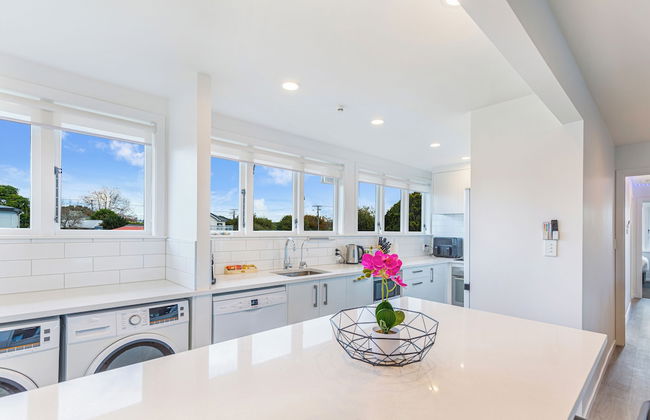
Apartment in Auckland with garden
Auckland - Ellerslie - À 6.1 km du centre
- 149 M2
- 6 personnes
- Parking
- Jardin