THE Lost Compass #2165

49 photos
Photo 1 - THE Lost Compass #2165
Photo 2 - THE Lost Compass #2165
Photo 3 - THE Lost Compass #2165

Description

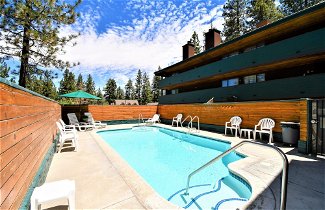
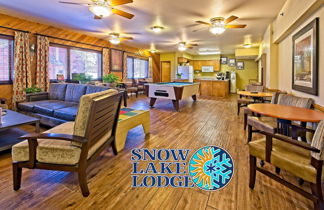
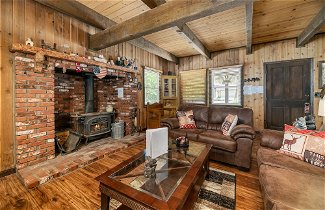
Make use of convenient amenities such as complimentary wireless internet access, an arcade/game room, and barbecue grills.


Accommodations information

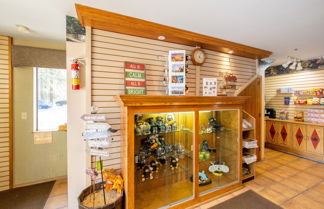
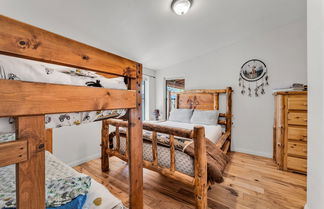
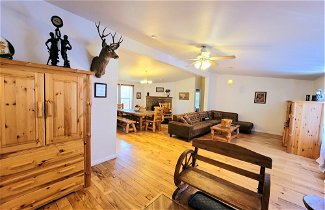
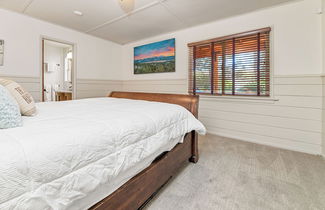
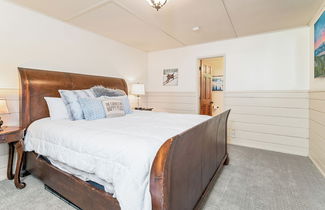
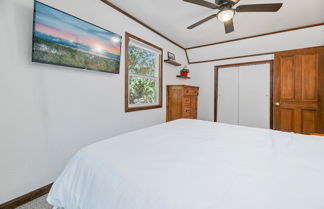
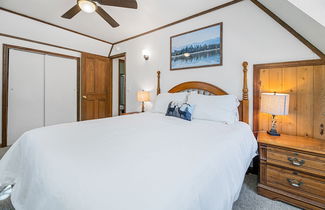
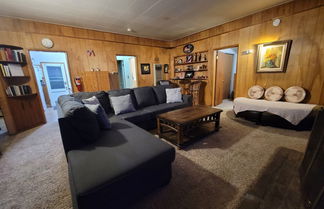
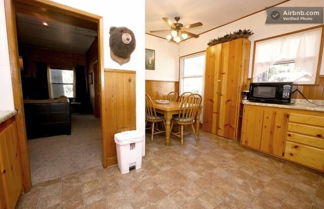
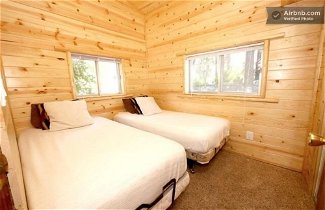
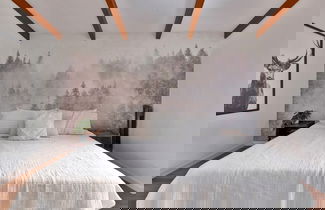
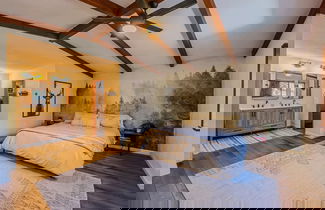
Make yourself comfortable in your individually decorated cabin. The bathroom has a bathtub or shower and designer toiletries. Conveniences include a coffee/tea maker and a washer/dryer.

Services information

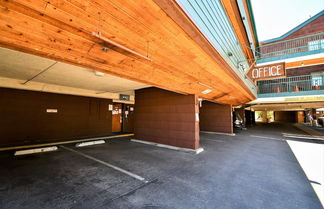
Limited parking is available onsite.

Location information

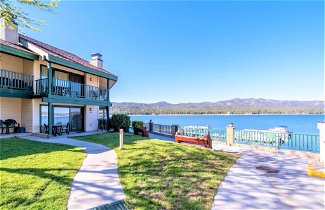
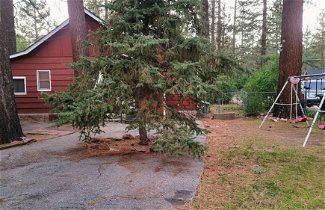
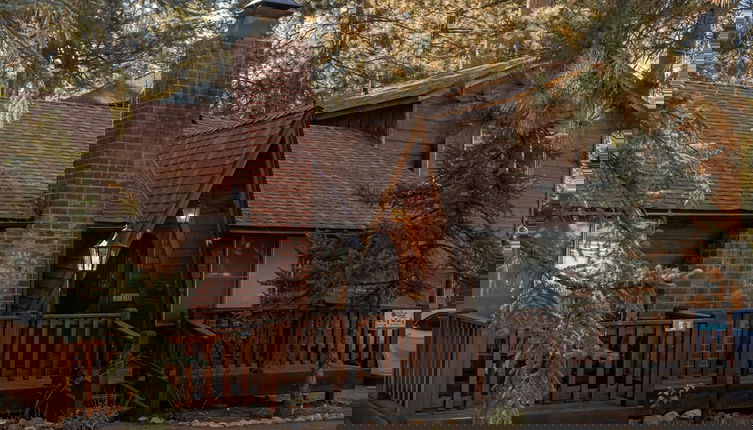
Located in Big Bear Lake (Boulder Bay), this cabin is within a 10-minute drive of The Village and Snow Summit. This cabin is 0.1 mi (0.1 km) from Metcalf Bay and 0.4 mi (0.6 km) from Big Bear Lake.
Distances are displayed to the nearest 0.1 mile and kilometer.

Metcalf Bay - 0.1 km / 0.1 mi
Big Bear Lake - 0.6 km / 0.4 mi
Pleasure Point Marina - 1 km / 0.6 mi
Boulder Bay Park - 1.2 km / 0.8 mi
Castle Rock Trail - 2.5 km / 1.5 mi
Aspen Glen Picnic Area - 2.7 km / 1.7 mi
Holloway's Marina & RV Park - 3 km / 1.9 mi
Alpine Slide at Magic Mountain - 3.1 km / 1.9 mi
Big Bear Marina - 3.9 km / 2.4 mi
Gilner Point - 3.9 km / 2.4 mi
The Village - 4.1 km / 2.5 mi
Bowling Barn - 4.1 km / 2.5 mi
Pine Knot Marina - 4.4 km / 2.8 mi
Pine Knot Park - 4.5 km / 2.8 mi
Big Bear Visitor Center - 4.5 km / 2.8 mi

The nearest airports are:
San Bernardino, CA (SBD-San Bernardino Intl.) - 58.2 km / 36.1 mi
Los Angeles - Ontario Intl. Airport (ONT) - 92.5 km / 57.5 mi

Registration number

VRR-2023-1338

Location
Timber Ln Big Bear Lake, United States

Equipment and services

Access and location
  • Wheelchair accessible
  • Pets allowed
  • Parking

Heating and cooling
  • Heating
  • Fan

Food and cooking
  • Coffee maker
  • Dining table

Sleeping and cleaning
  • Bed linen
  • Bath linen
  • Bathtub
  • Washing machine
  • Toiletries
  • Wardrobe

Entertainment
  • Internet (wifi)
  • Video games

Outdoors
  • Barbecue

Health
  • Staff hygene training
  • Contactless check in/out

Conditions

Restrictions

Pets allowed
Smoking forbidden


Do you want to see other options?
We have found these other suggestions you may like...
9.0 Exceptional 3544 reviews
Aparthotel in Big Bear Lake
1.8 km from Bear Mountain
9.2 Exceptional 411 reviews
Aparthotel in Big Bear Lake
900 m from Sierra Summit
9.0 Exceptional 72 reviews
Cabin in Big Bear City
3.5 km from Snow Summit
10.0 Superb 3 reviews
Cabin in Big Bear Lake
2.9 km from Bear Mountain
10.0 Superb 7 reviews
Cabin in Big Bear Lake
2.8 km from Sierra Summit
8.4 Very good 49 reviews
Cabin in Big Bear City
5.1 km from Snow Summit

Photos of the accommodation

Photo 1 - THE Lost Compass #2165
Photo 2 - THE Lost Compass #2165
Photo 3 - THE Lost Compass #2165
Photo 4 - THE Lost Compass #2165
Photo 5 - THE Lost Compass #2165
Photo 6 - THE Lost Compass #2165
Photo 7 - THE Lost Compass #2165
Photo 8 - THE Lost Compass #2165
Photo 9 - THE Lost Compass #2165
Photo 10 - THE Lost Compass #2165
Photo 11 - THE Lost Compass #2165
Photo 12 - THE Lost Compass #2165
Photo 13 - THE Lost Compass #2165
Photo 14 - THE Lost Compass #2165
Photo 15 - THE Lost Compass #2165
Photo 16 - THE Lost Compass #2165
Photo 17 - THE Lost Compass #2165
Photo 18 - THE Lost Compass #2165
Photo 19 - THE Lost Compass #2165
Photo 20 - THE Lost Compass #2165
Photo 21 - THE Lost Compass #2165
Photo 22 - THE Lost Compass #2165
Photo 23 - THE Lost Compass #2165
Photo 24 - THE Lost Compass #2165
Photo 25 - THE Lost Compass #2165
Photo 26 - THE Lost Compass #2165
Photo 27 - THE Lost Compass #2165
Photo 28 - THE Lost Compass #2165
Photo 29 - THE Lost Compass #2165
Photo 30 - THE Lost Compass #2165
Photo 31 - THE Lost Compass #2165
Photo 32 - THE Lost Compass #2165
Photo 33 - THE Lost Compass #2165
Photo 34 - THE Lost Compass #2165
Photo 35 - THE Lost Compass #2165
Photo 36 - THE Lost Compass #2165
Photo 37 - THE Lost Compass #2165
Photo 38 - THE Lost Compass #2165
Photo 39 - THE Lost Compass #2165
Photo 40 - THE Lost Compass #2165
Photo 41 - THE Lost Compass #2165
Photo 42 - THE Lost Compass #2165
Photo 43 - THE Lost Compass #2165
Photo 44 - THE Lost Compass #2165
Photo 45 - THE Lost Compass #2165
Photo 46 - THE Lost Compass #2165
Photo 47 - THE Lost Compass #2165
Photo 48 - THE Lost Compass #2165
Photo 49 - THE Lost Compass #2165