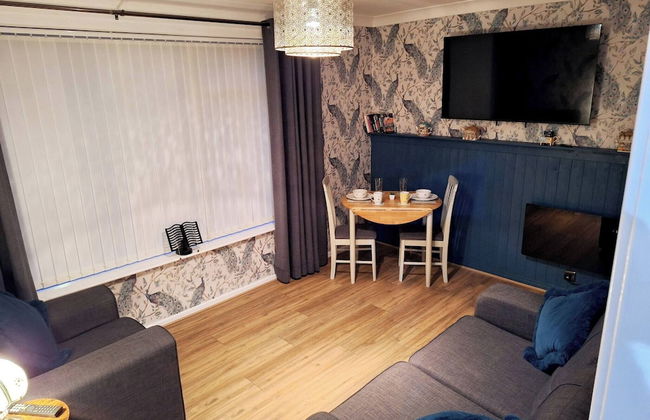
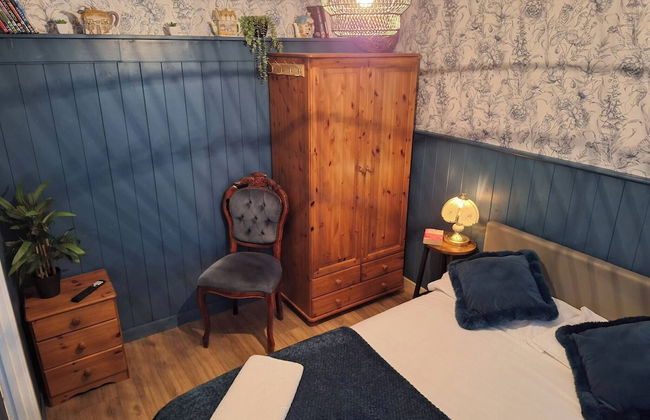
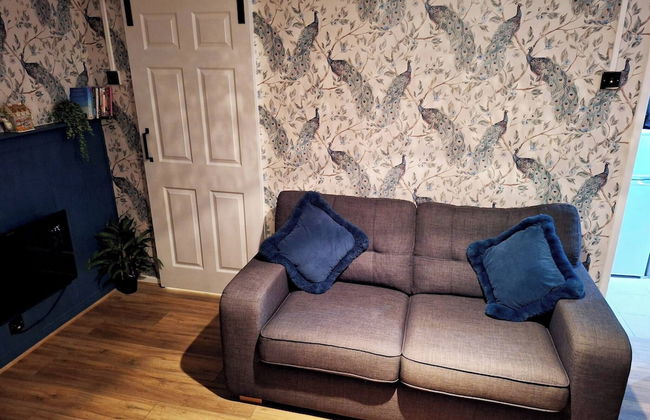
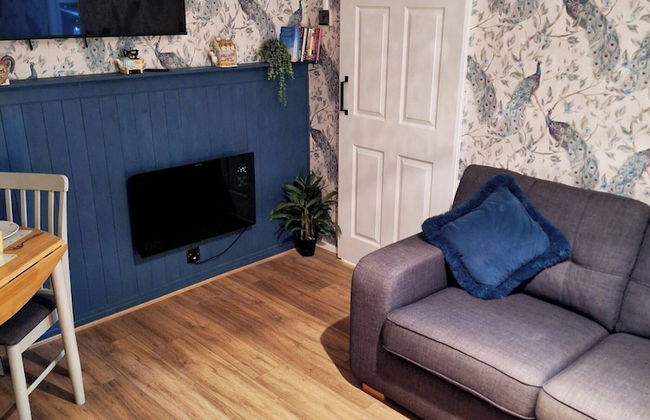
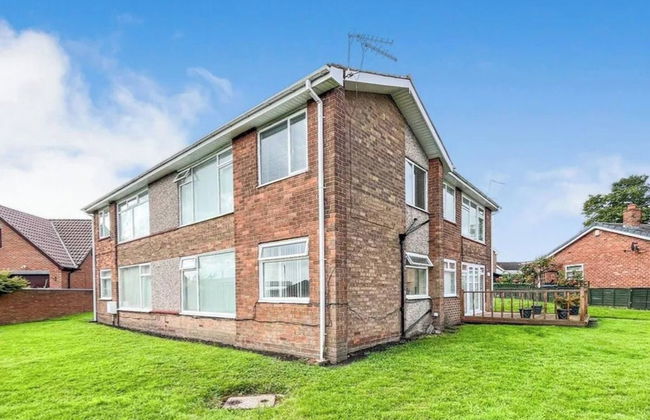
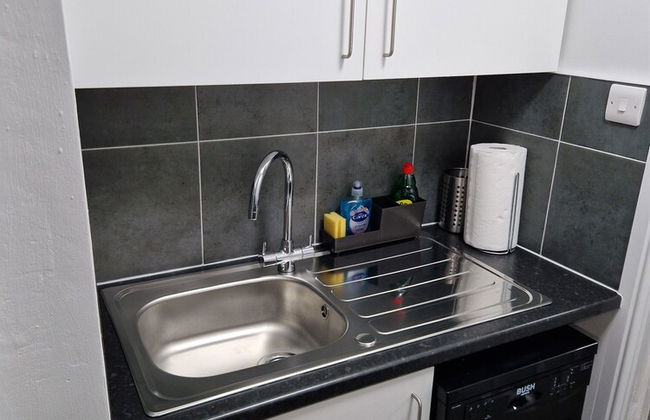
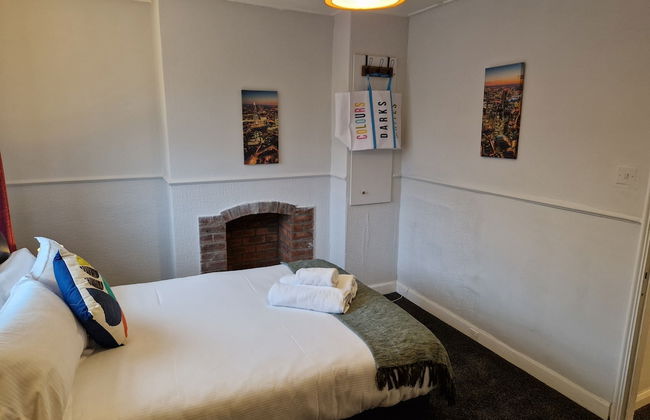
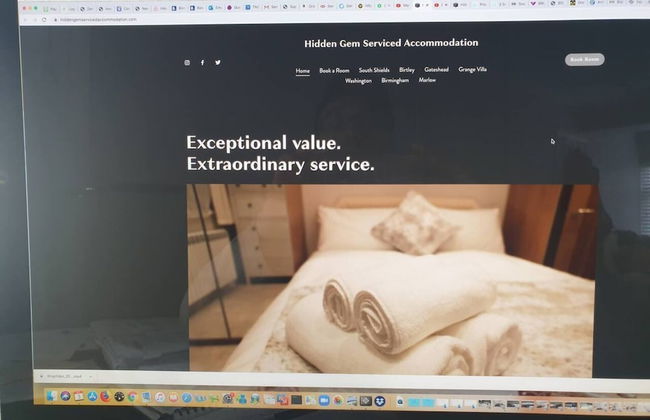
8 Apartments in Chester


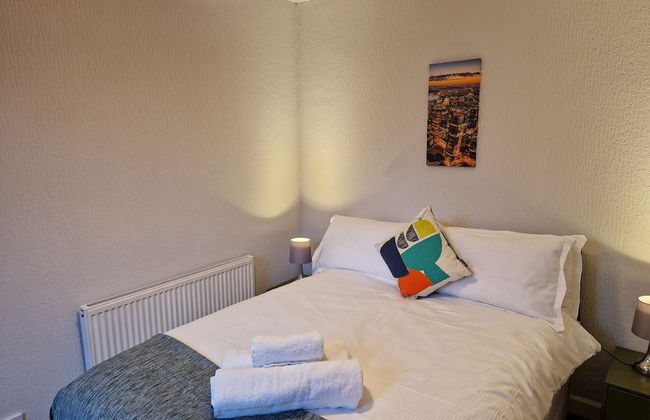
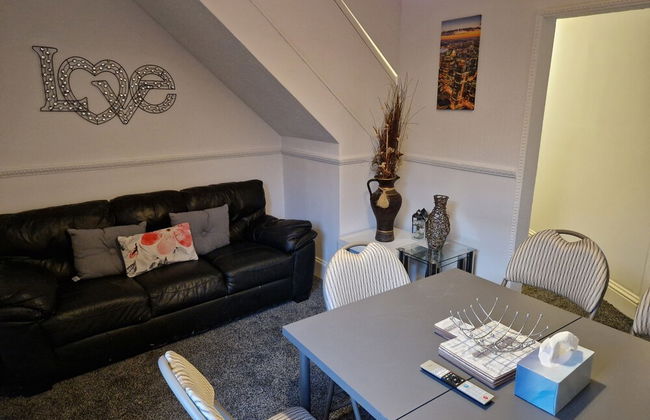
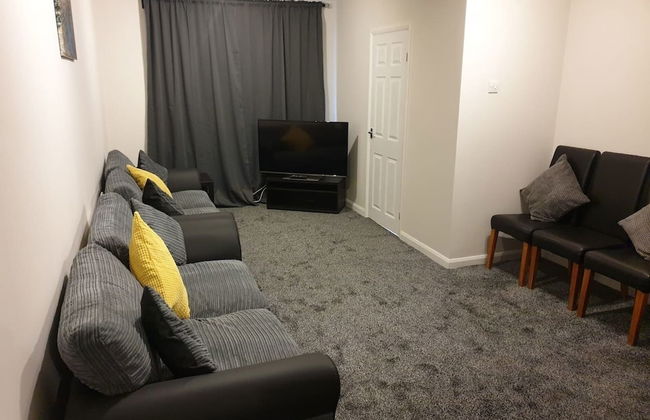
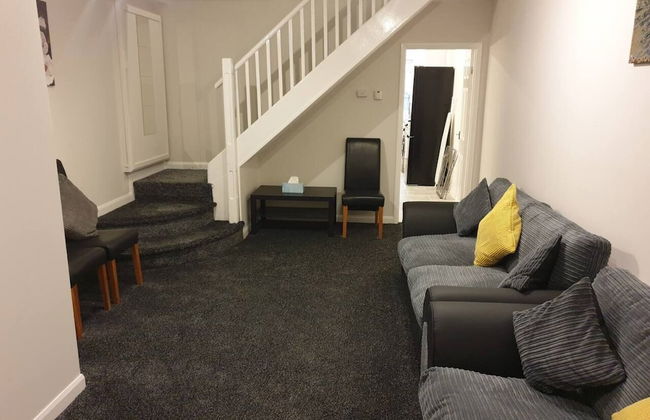
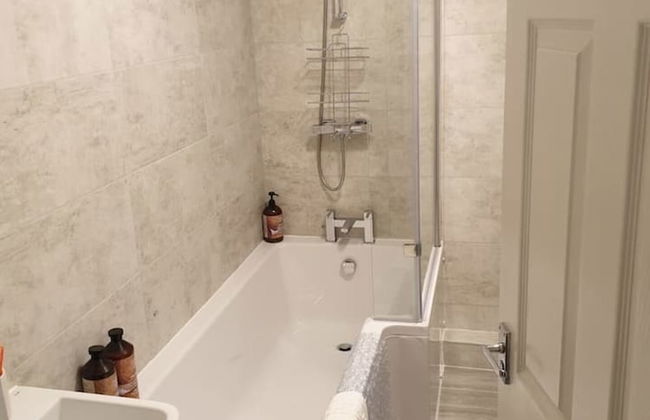
Birtley's Amethyst, 3 Bedroom Apt ,sleeps 6 Guest
Chester - Birtley
- 6 people
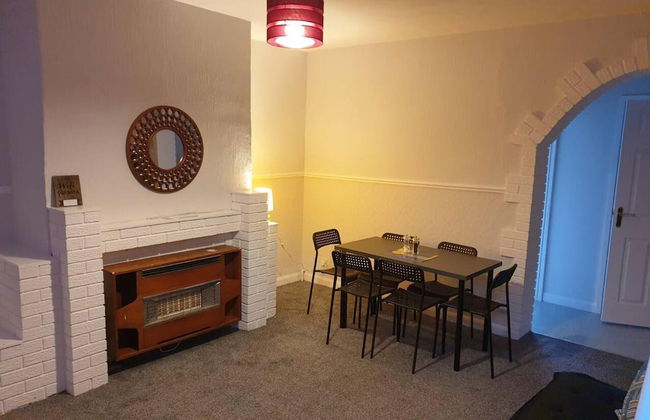
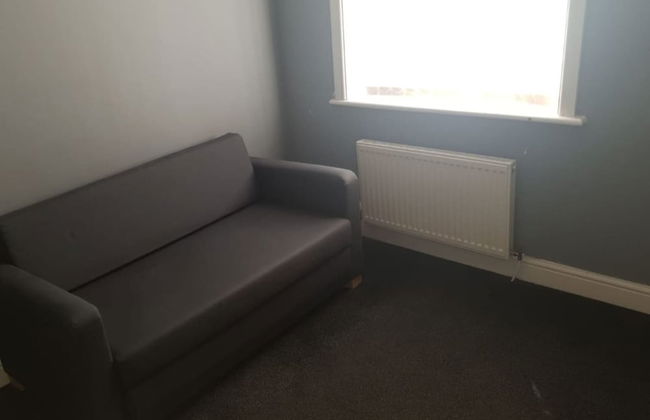
- Heating
- Terrace
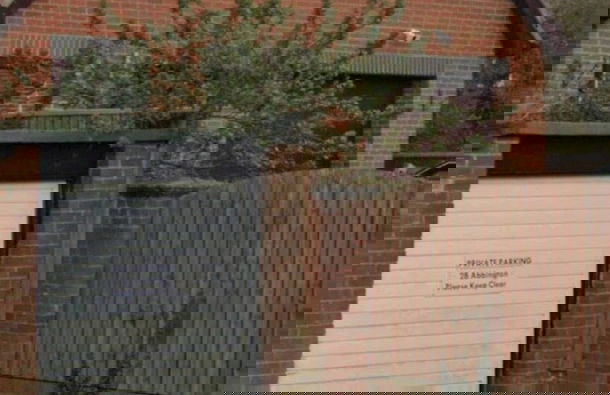
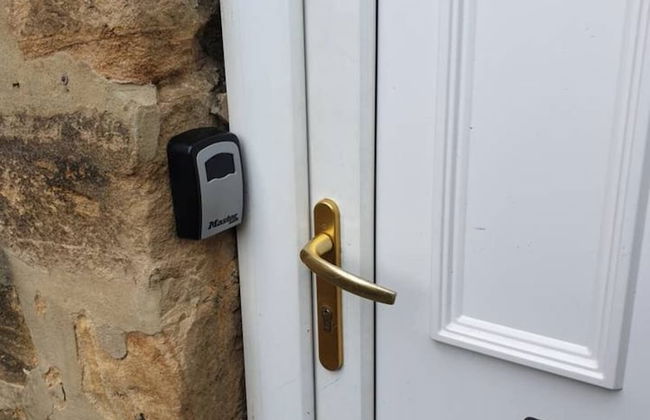
- Parking
- Garden
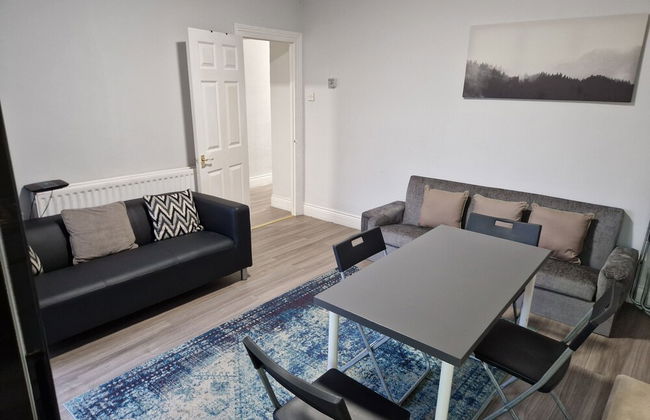
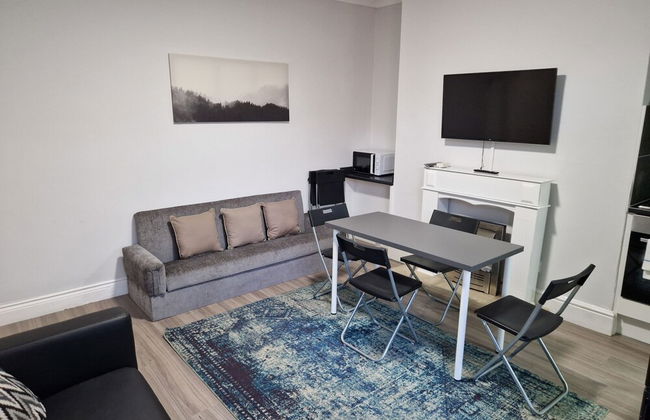
- Tv
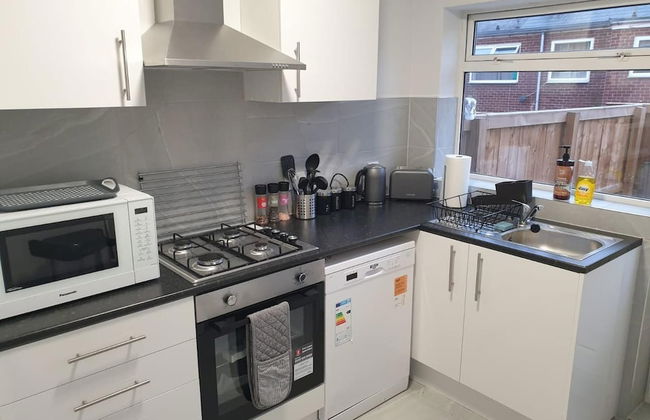
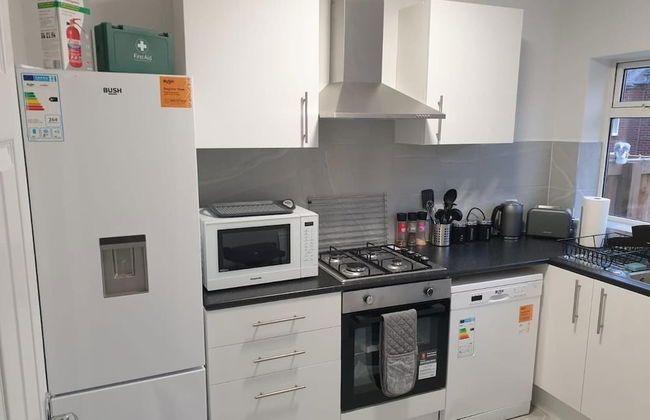
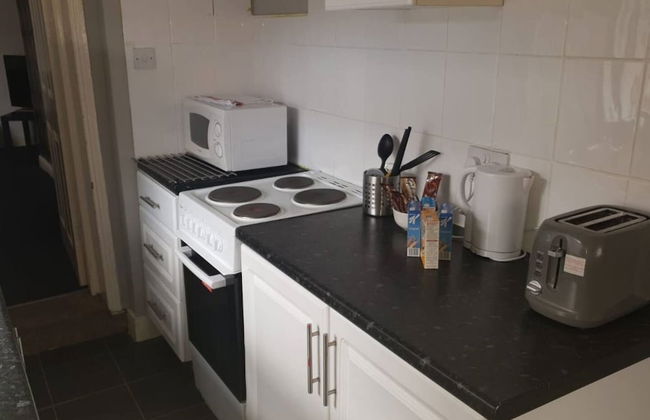
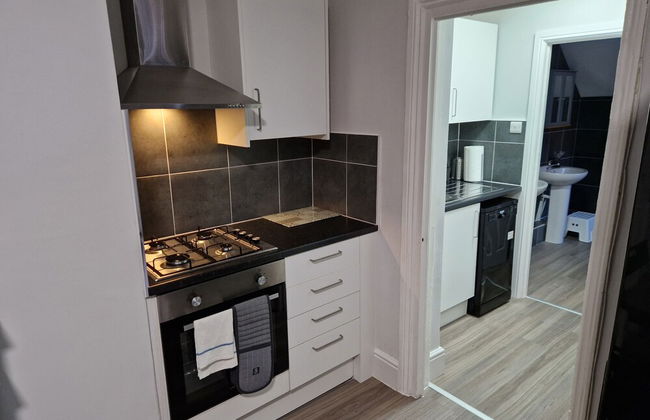
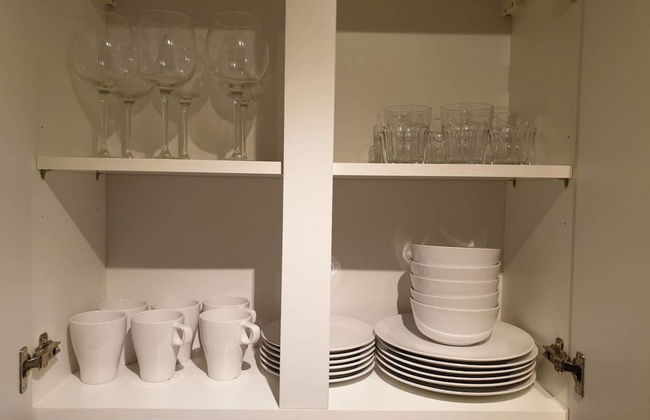
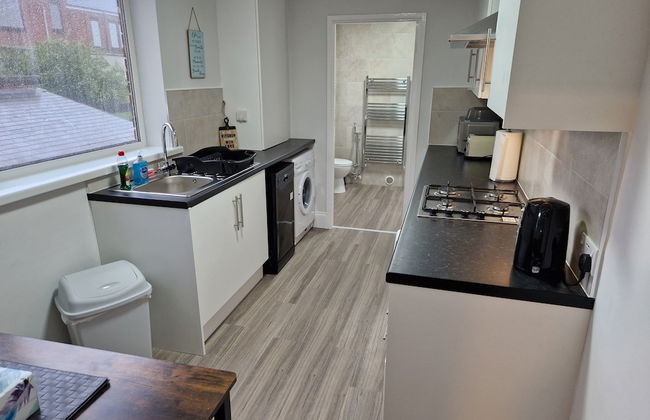
- Washing machine
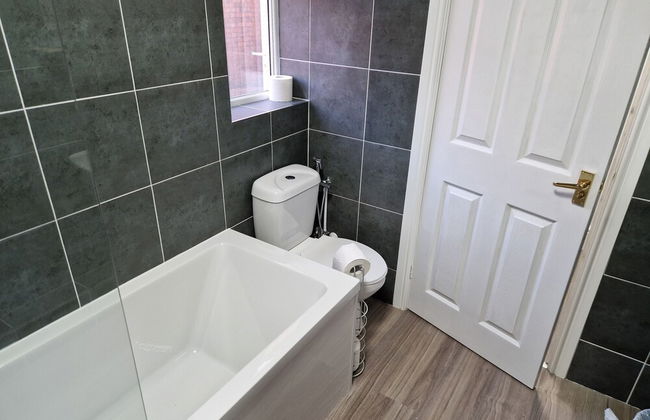
- Bath linen
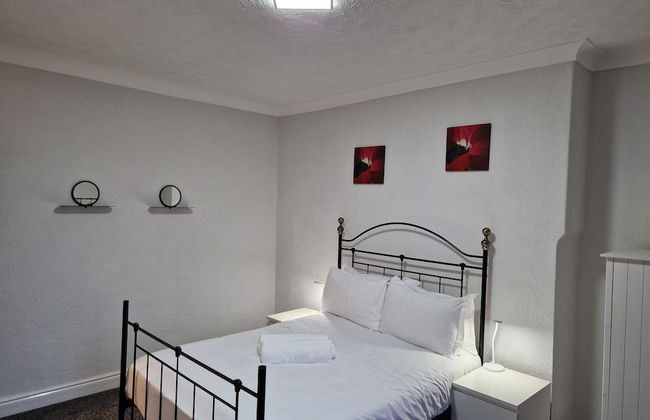
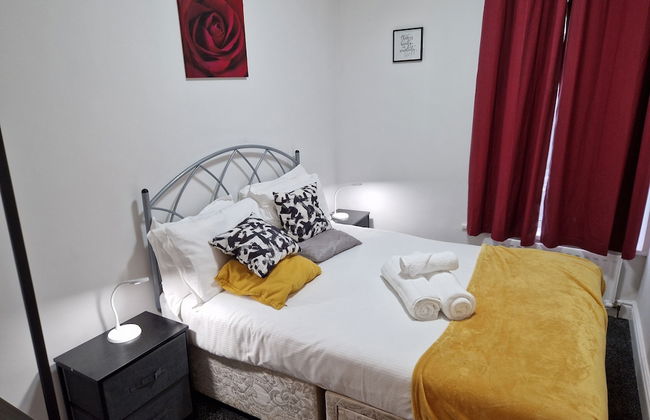
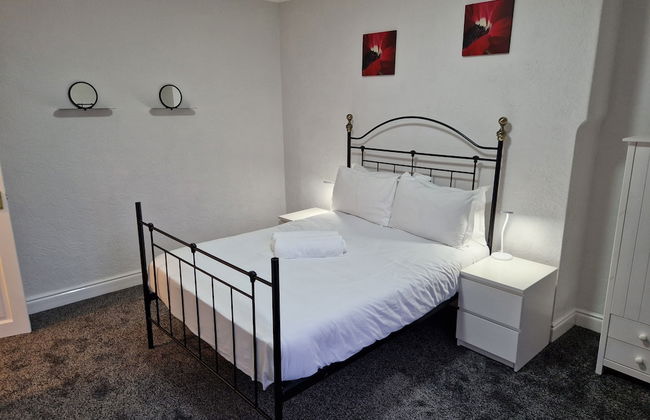
- Bed linen
1 review


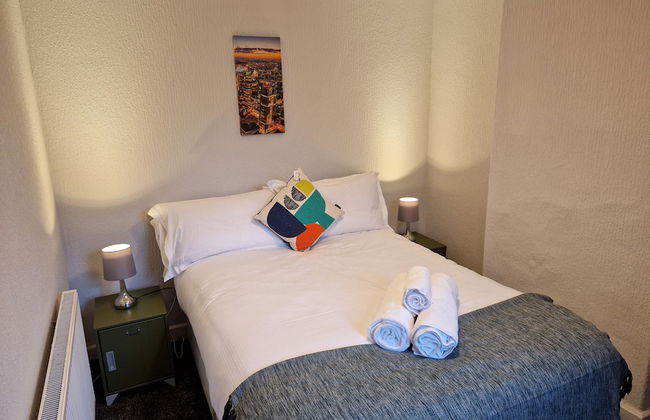
Birtley's Diamond 3 bed Apt, Sleeps 6 Guests
Chester - Birtley
- 75 M2
- 6 people
- Heating
- Terrace
- Parking
- Tv
- Washing machine
- Bath linen
- Bed linen


Grange Villa Amethyst 3 Bed House
Chester - Grange
- 75 M2
- 6 people
- Heating
- Parking
- Tv
- Washing machine
- Bath linen
- Bed linen


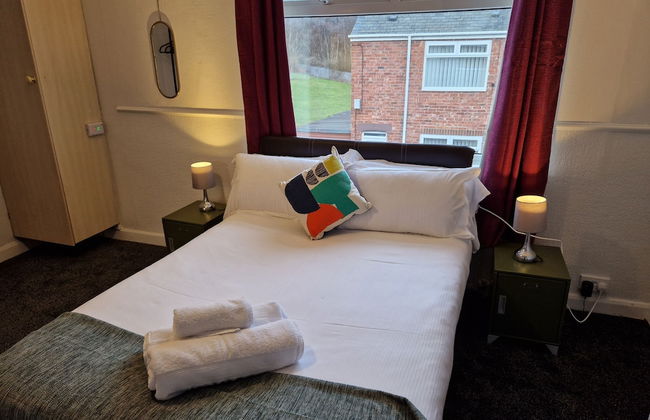
Grange Villas Diamond ,nr Chester le Street ,3 Bed
Chester - Grange
- 6 people
- Heating
- Parking
- Tv
- Washing machine
- Bath linen
- Bed linen