
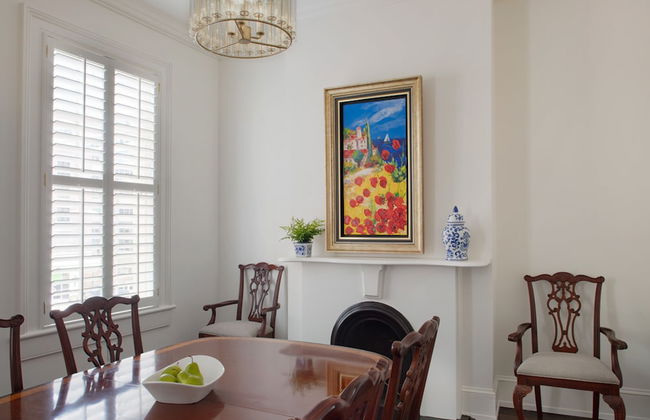
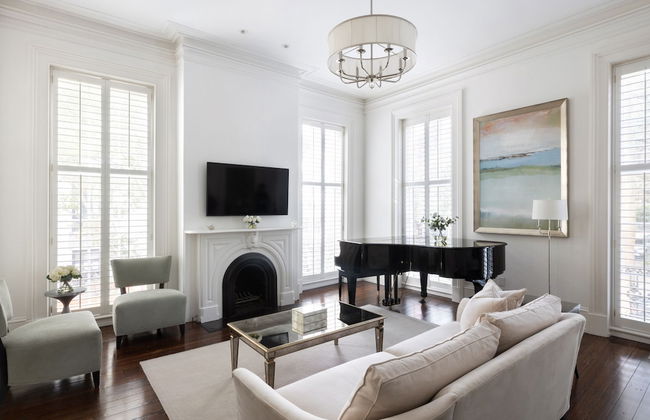
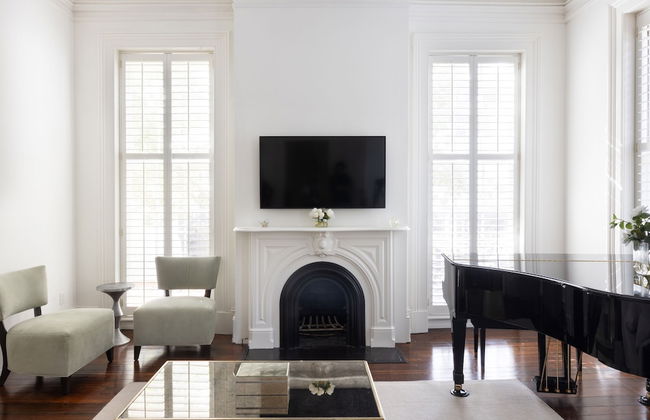
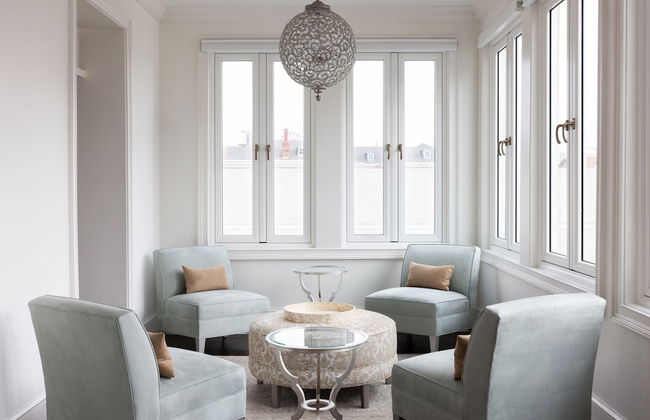
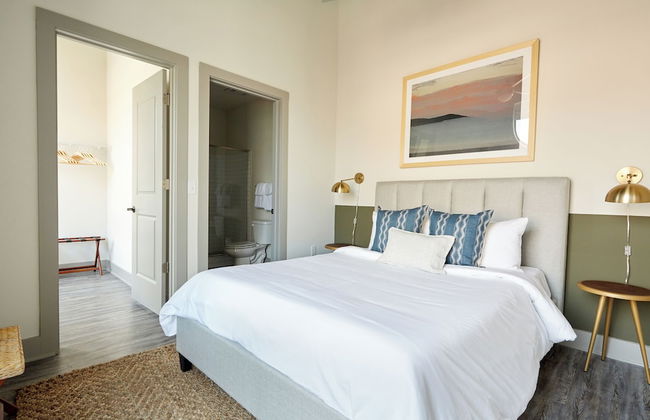
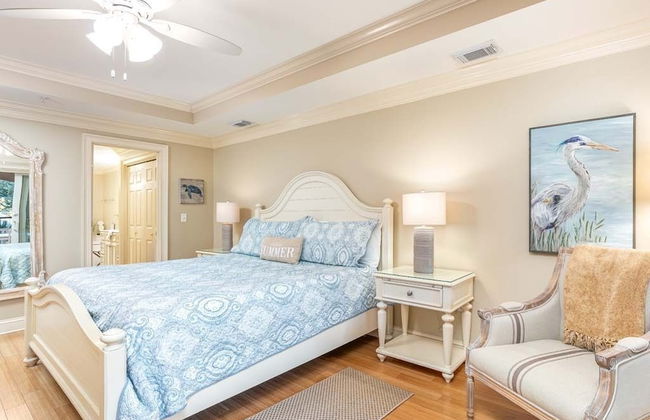
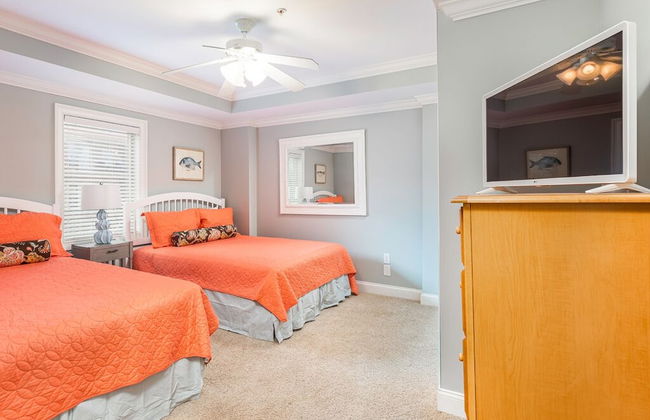
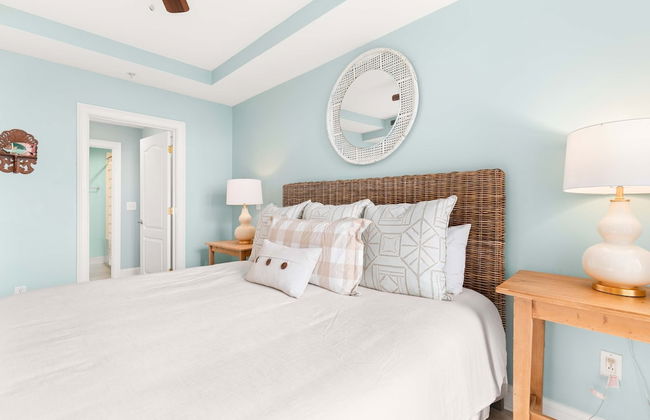
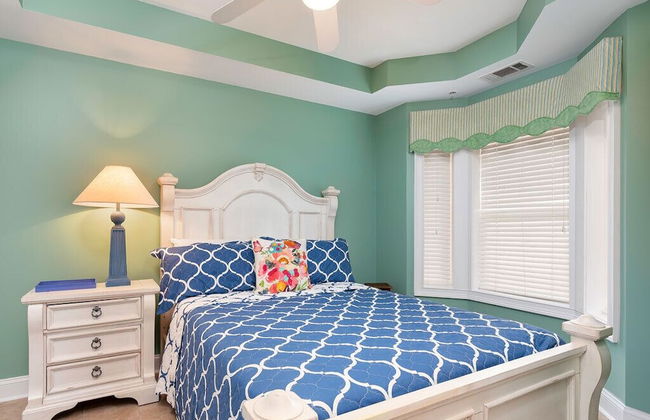
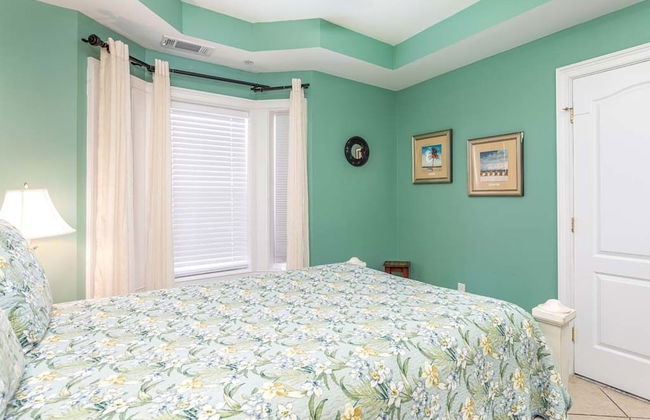
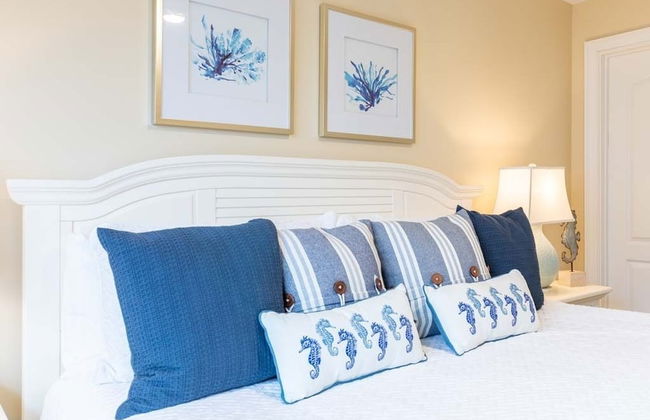
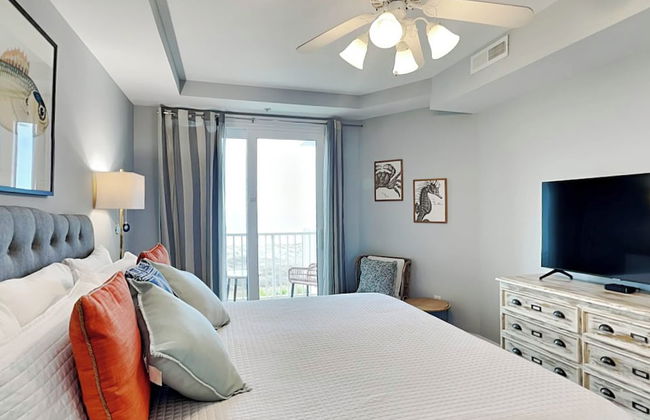
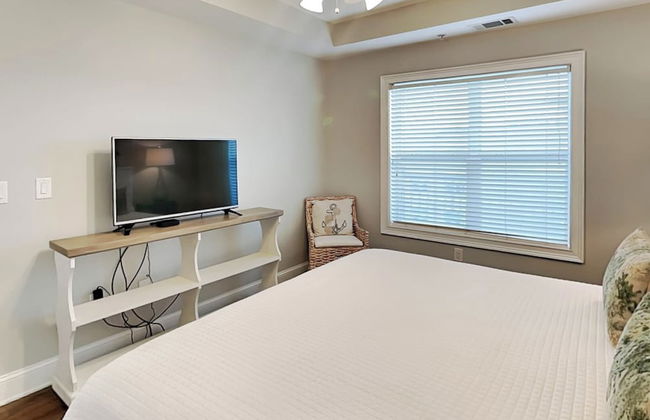
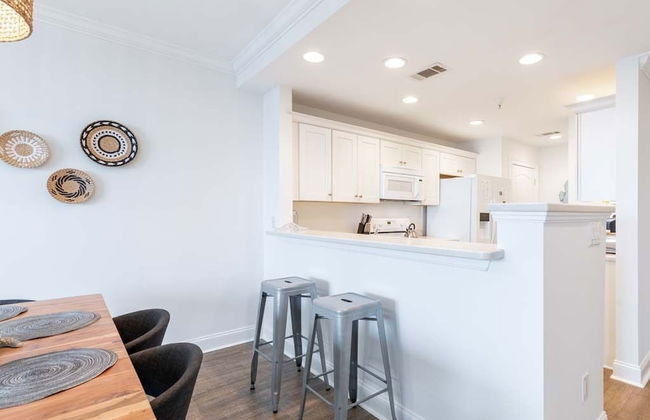
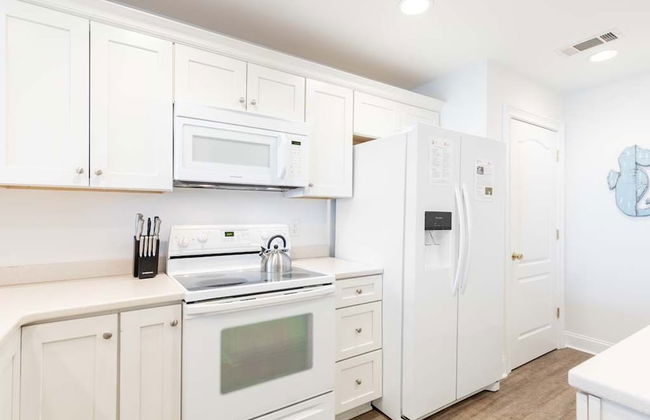
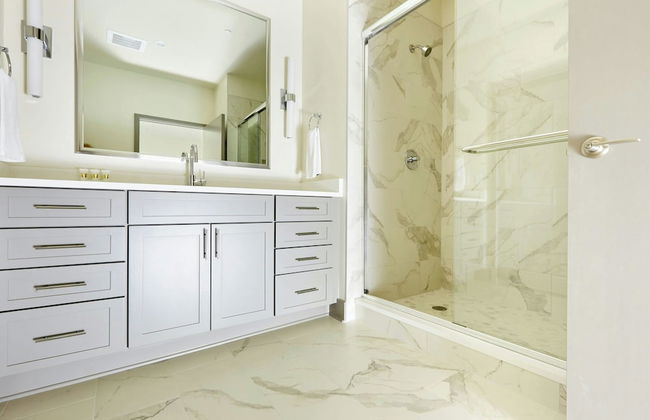
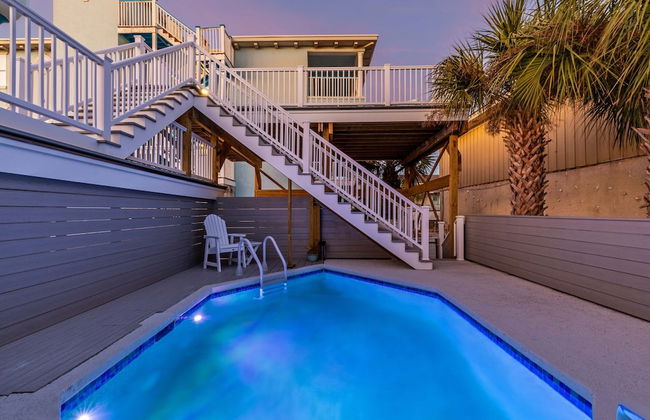
290 Apartments in Chatham


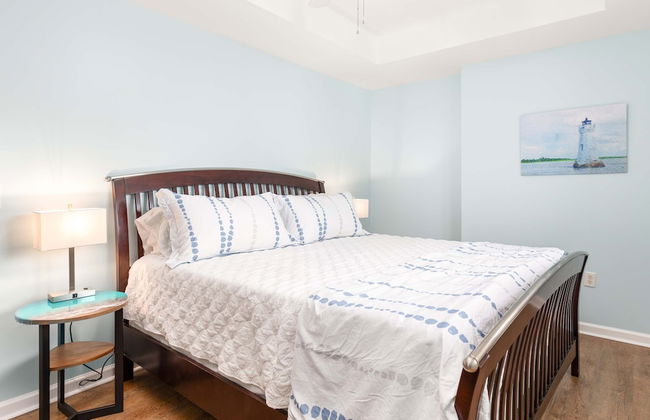
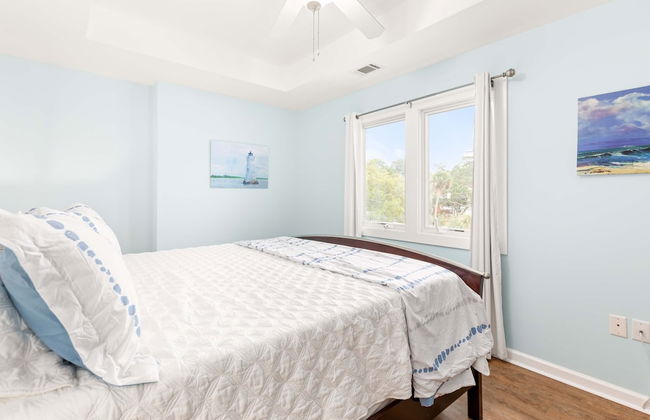
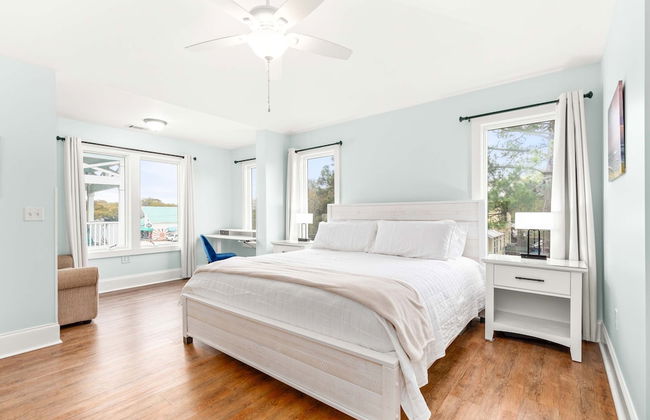
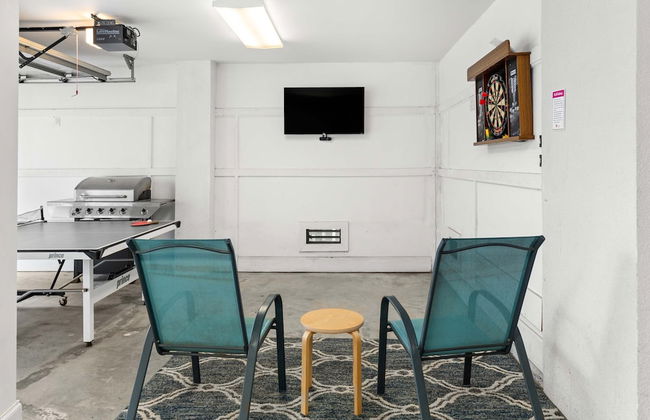
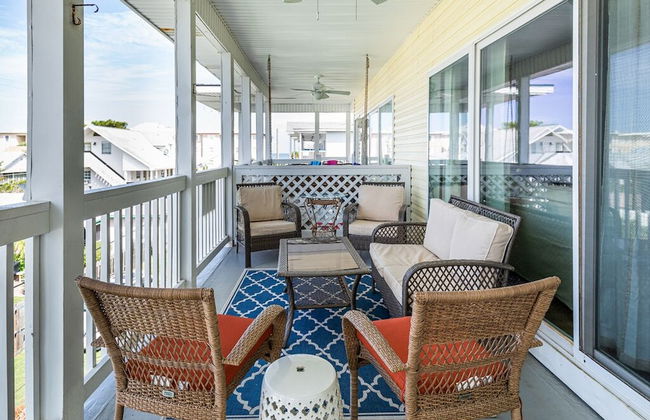
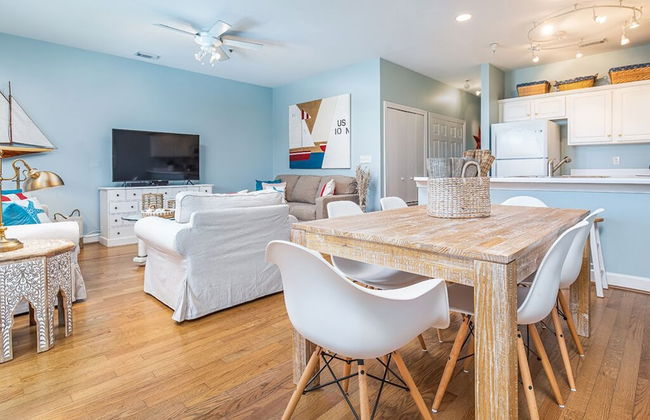
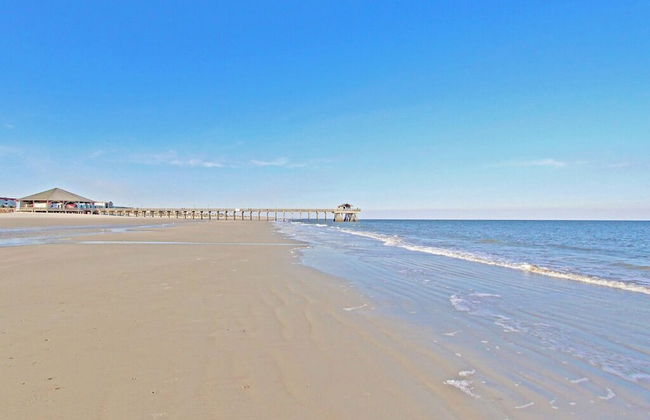
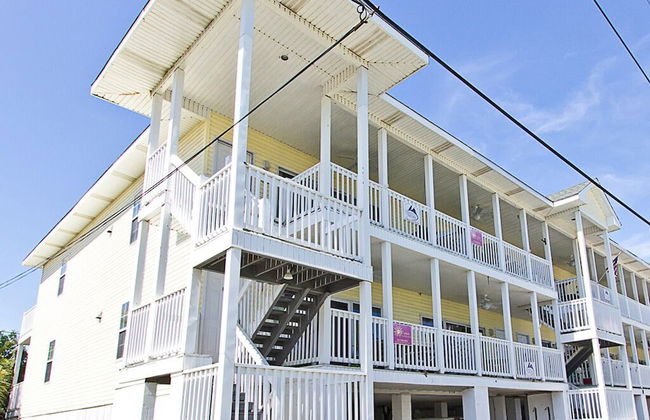
Lighthouse Point
Tybee Island
- 80 M2
- 6 people
- Air conditioning
- Heating
- Swimming pool
- Parking
- Elevator
- Tv
- Washing machine
- Bath linen
- Bed linen
36 reviews


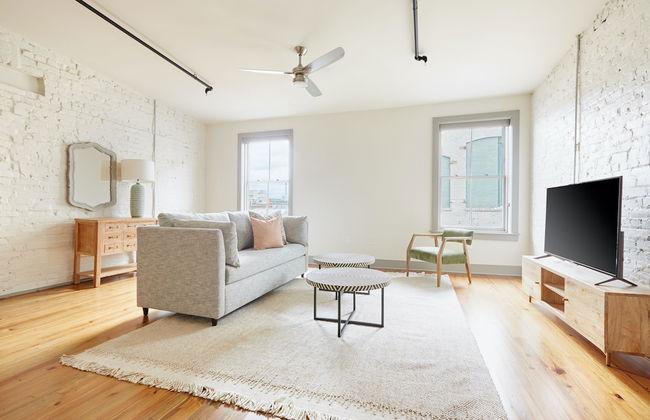
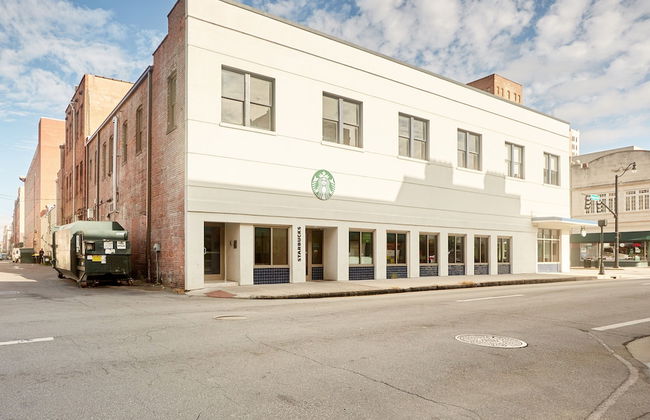
The Grant by Black Swan
Savannah - Downtown Savannah - In the center
- 8 people
- Air conditioning
- Heating
- Elevator
- Tv
- Washing machine
- Bath linen
- Bed linen
216 reviews


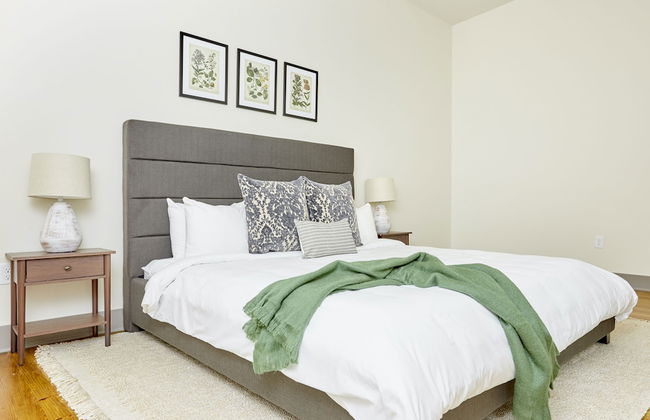
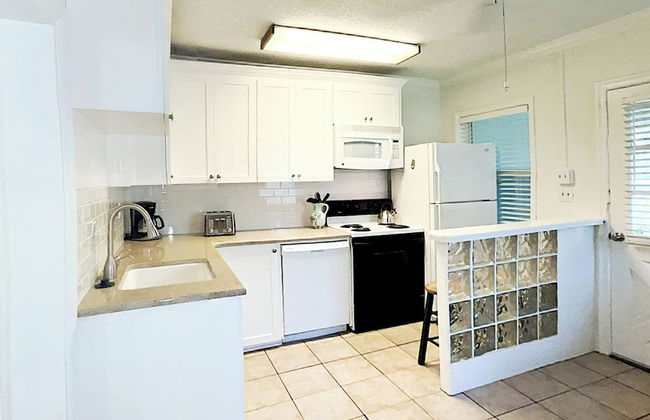
Kasa Jules Savannah
Savannah - Downtown Savannah - In the center
- 93 M2
- 6 people
- Air conditioning
- Heating
- Tv
- Washing machine
- Bath linen
- Bed linen
52 reviews

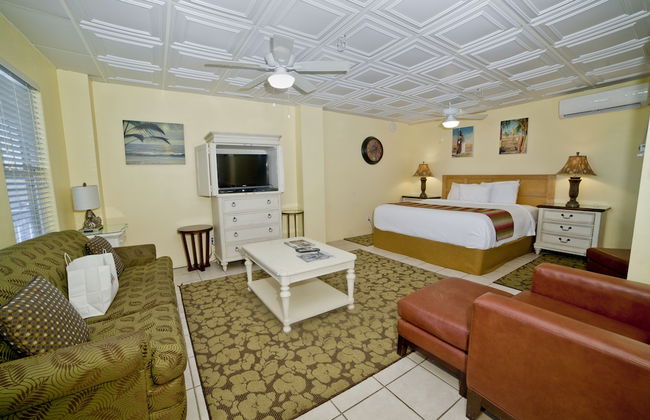


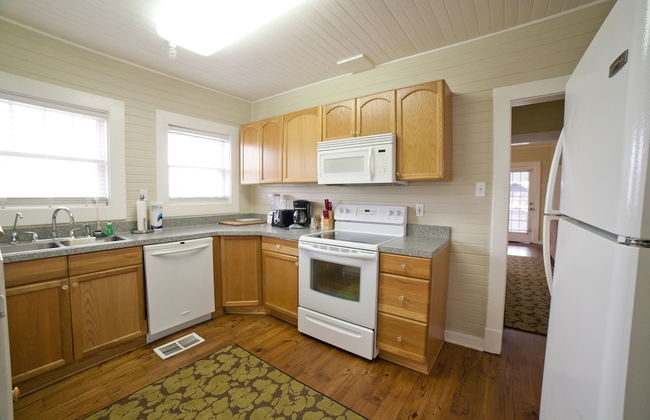
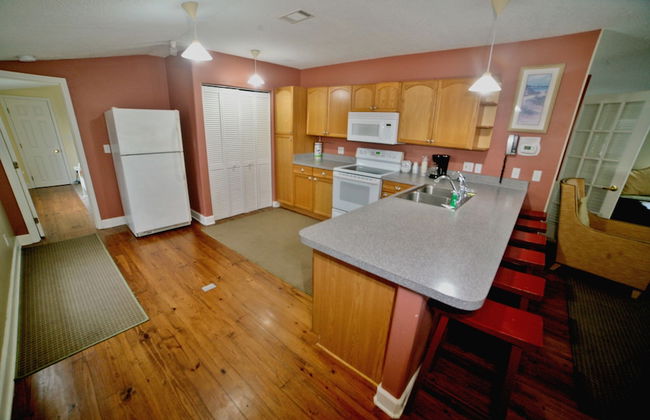
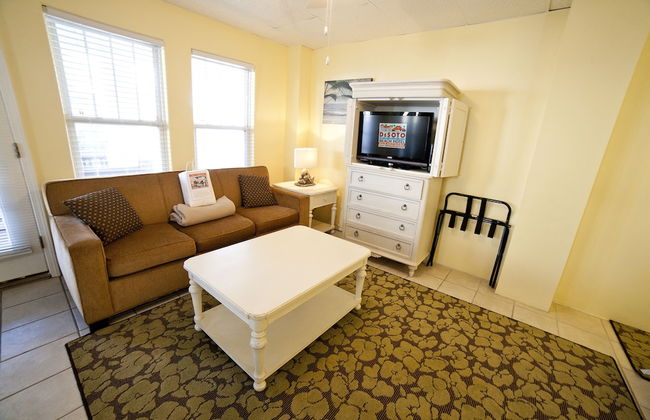
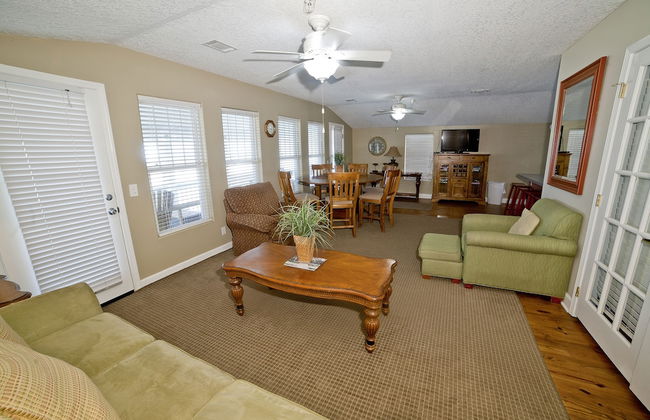


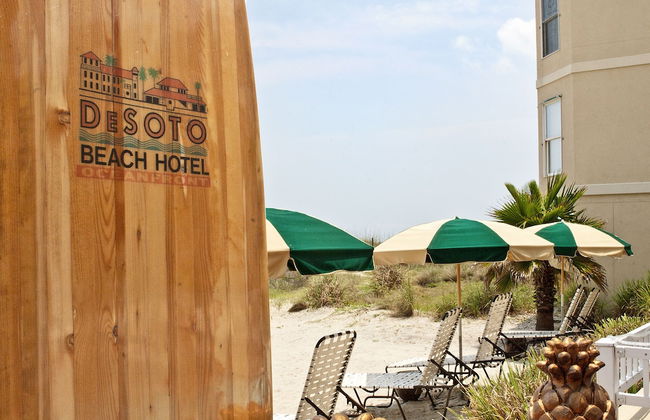


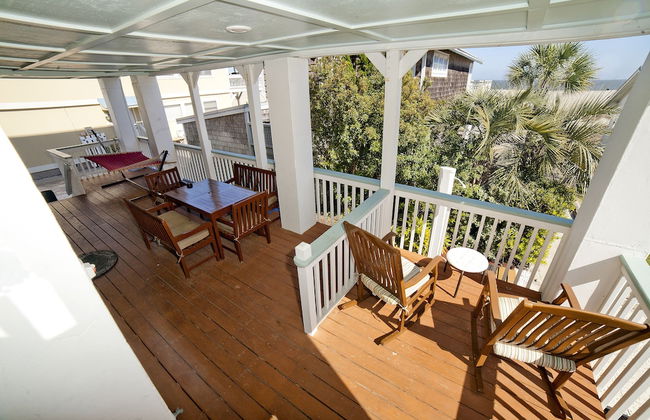
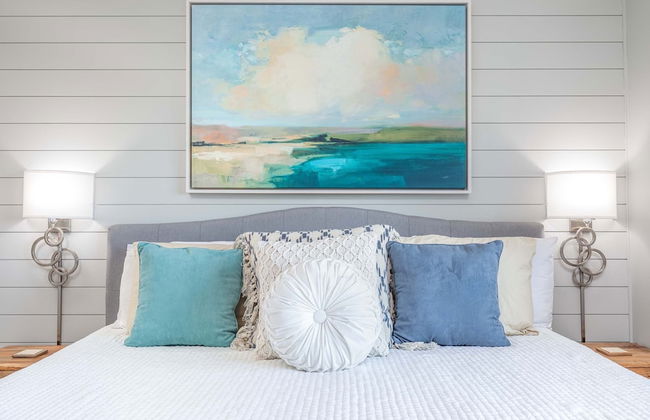
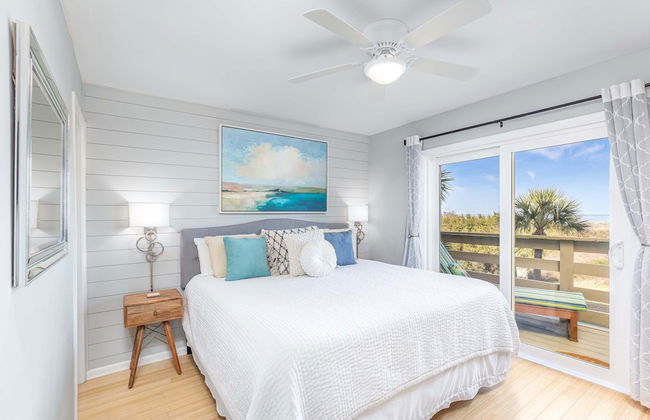
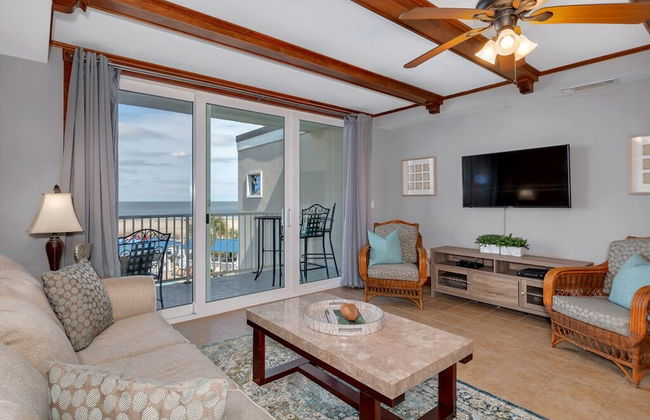
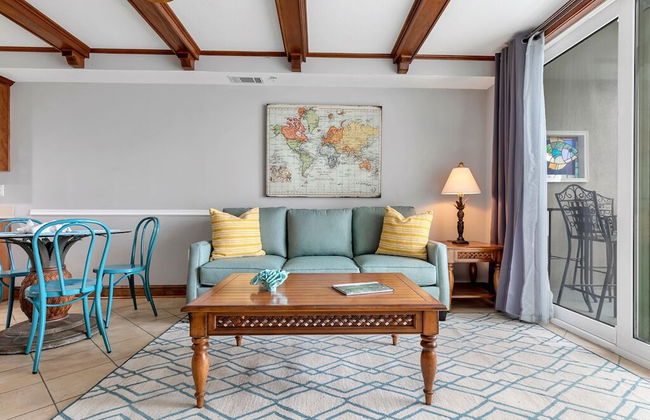
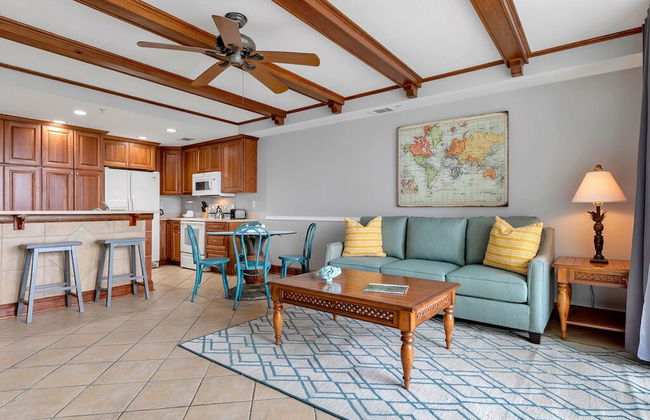
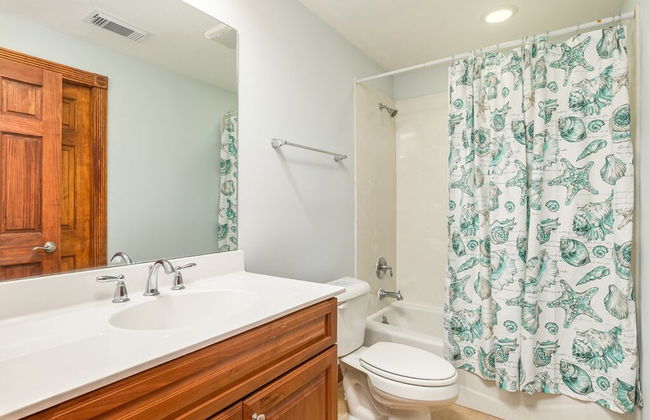
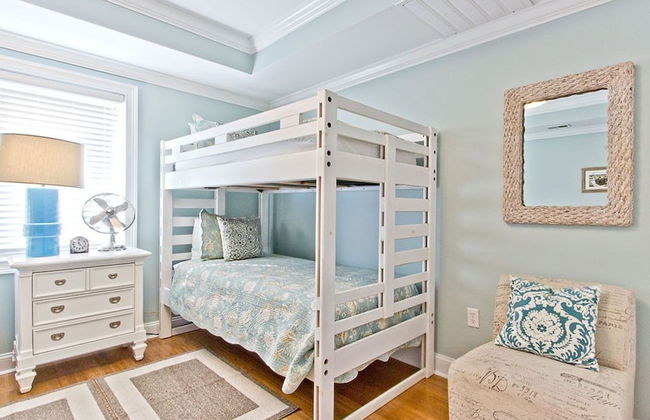
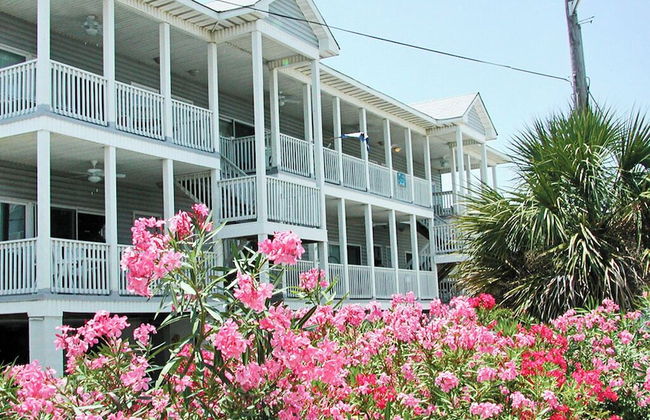
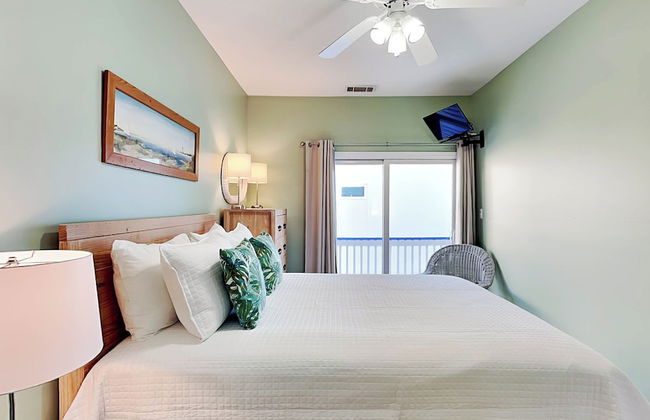
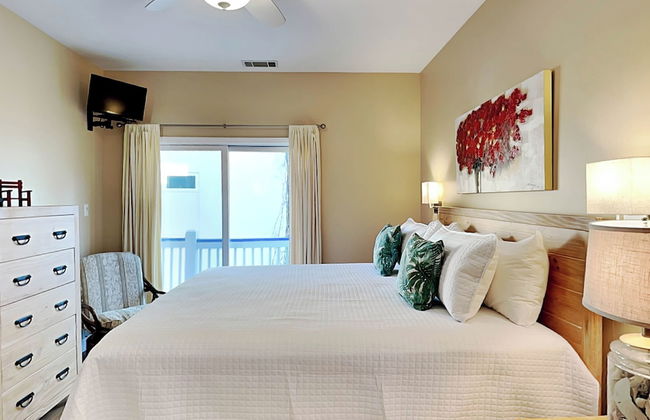
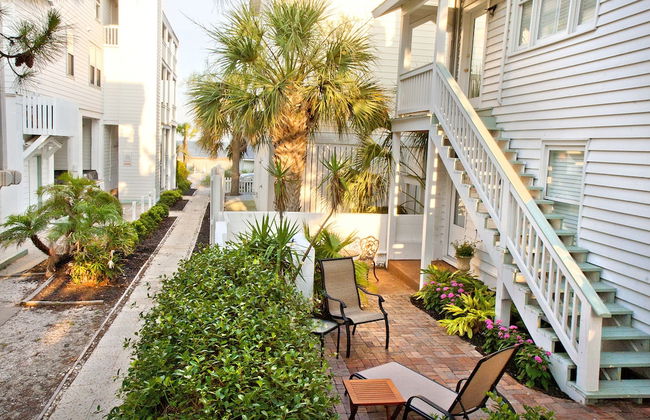
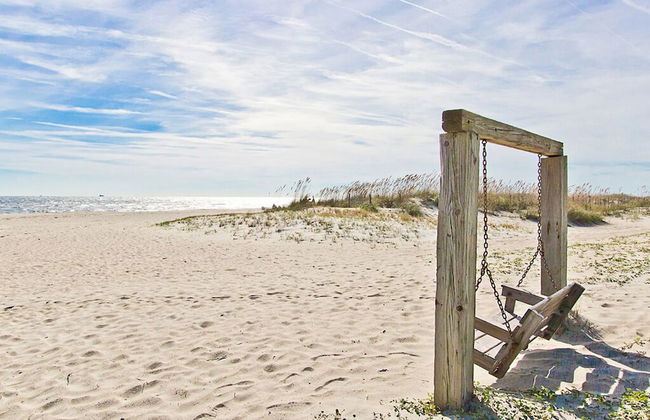
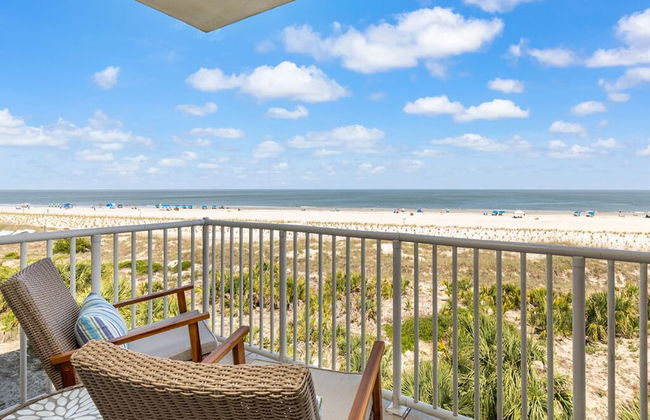
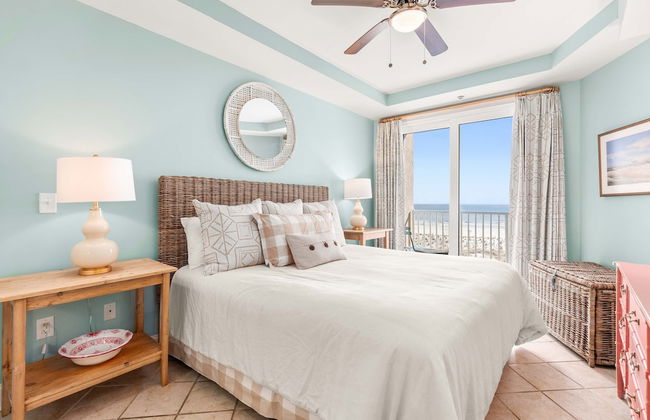
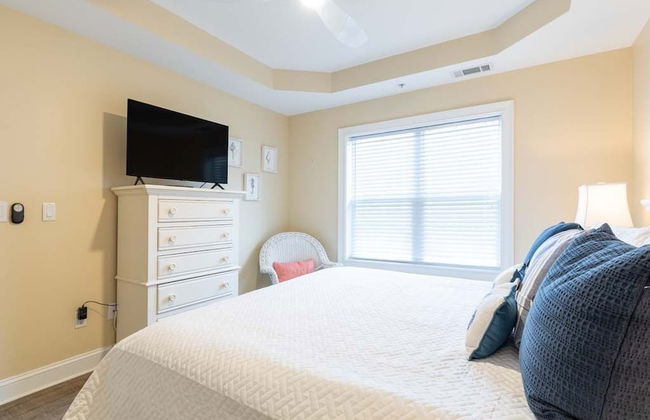
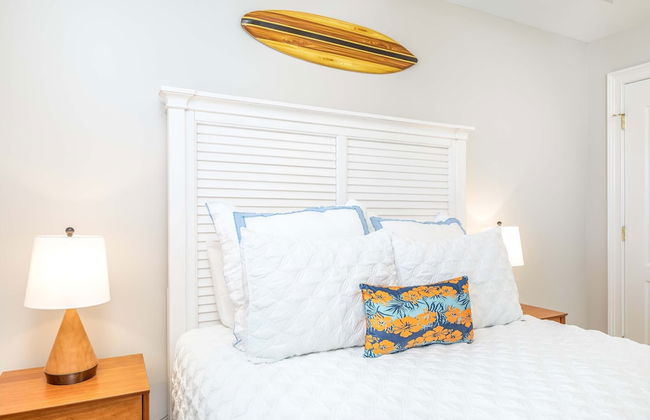
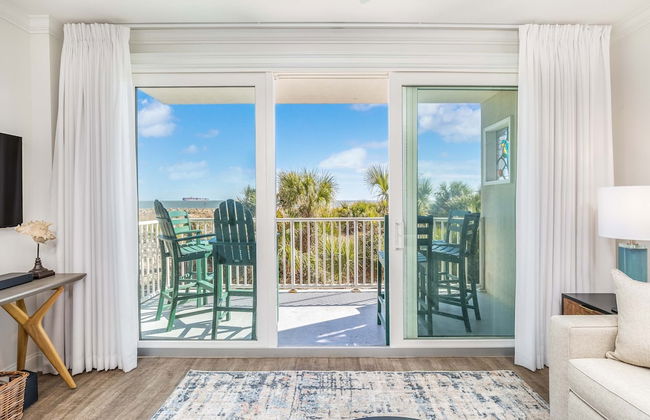
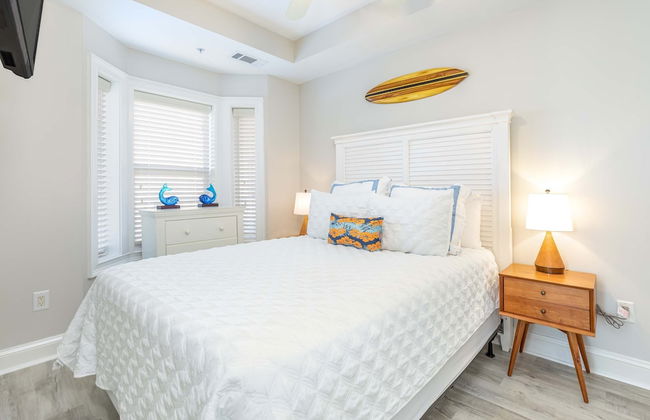
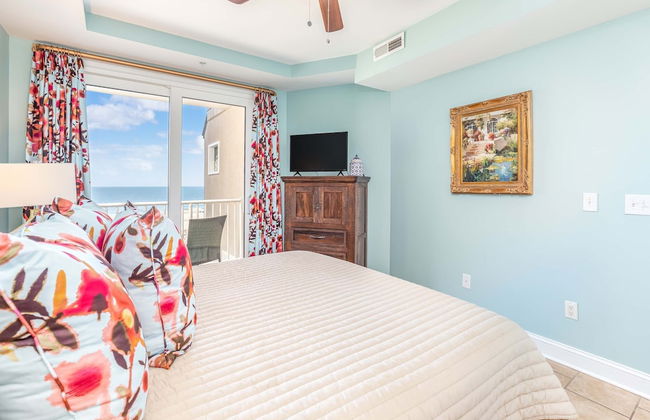
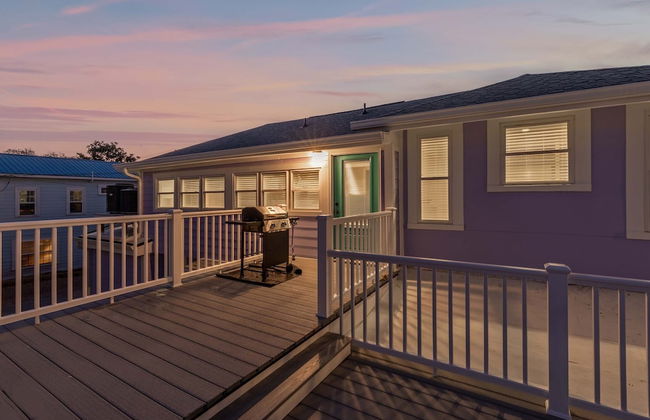
Desoto Beach Terraces
Tybee Island
- 139 M2
- 8 people
- Air conditioning
- Heating
- Terrace
- Swimming pool
- Parking
- Elevator
- Balcony
- Tv
- Washing machine
- Barbecue
- Bath linen
- Bed linen
109 reviews


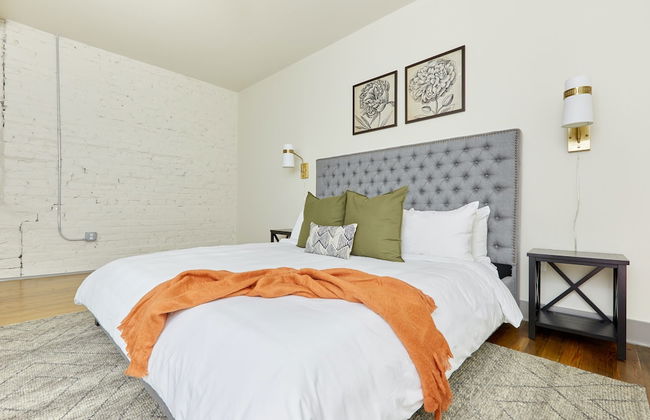


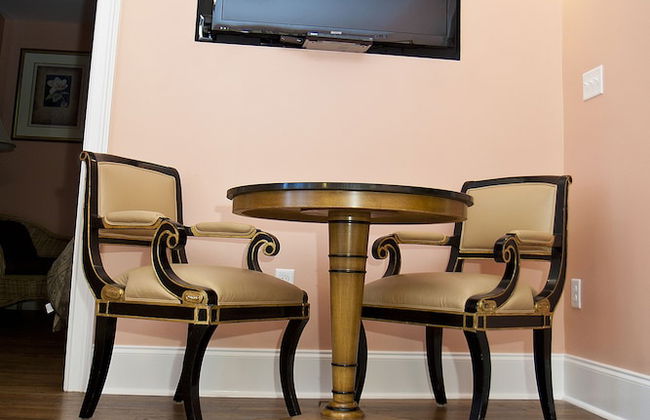
Sonder Ellis Square
Savannah - Downtown Savannah - In the center
- 225 M2
- 10 people
- Air conditioning
- Heating
- Elevator
- Tv
- Washing machine
- Bath linen
- Bed linen
95 reviews


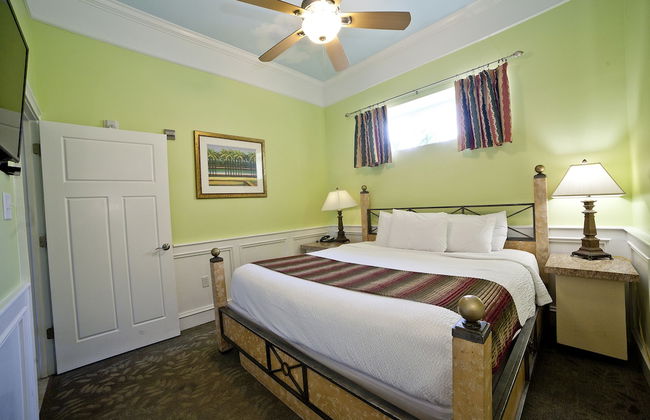
The Vue
Tybee Island
- 102 M2
- 6 people
- Air conditioning
- Heating
- Swimming pool
- Parking
- Elevator
- Balcony
- Tv
- Washing machine
- Bath linen
- Bed linen
6 reviews


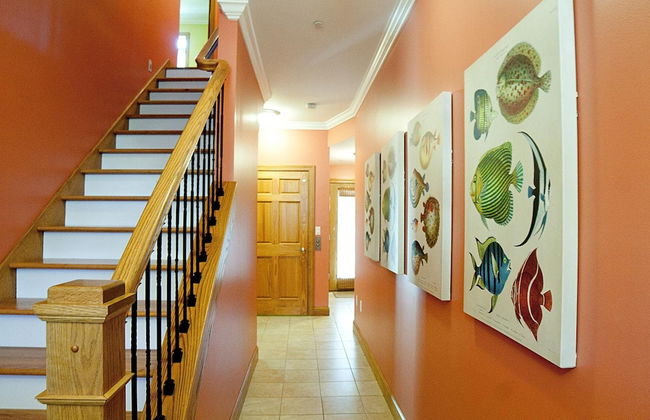

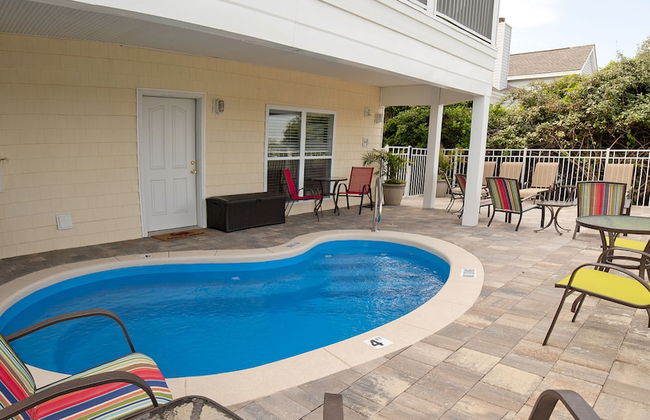

DeSoto Beach Vacations Properties
Tybee Island
- 279 M2
- 14 people
- Air conditioning
- Heating
- Terrace
- Swimming pool
- Parking
- Elevator
- Balcony
- Garden
- Tv
- Washing machine
- Barbecue
- Bath linen
- Bed linen
110 reviews

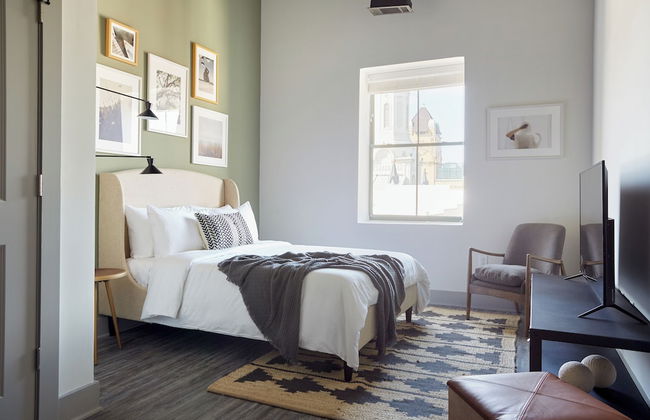


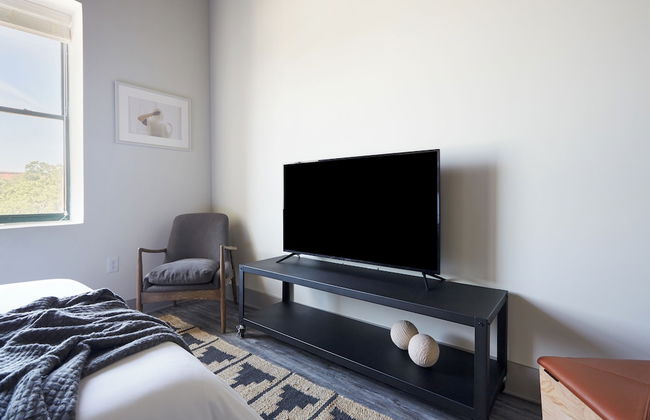


Kasa Altmayer Savannah
Savannah - Downtown Savannah - In the center
- 61 M2
- 4 people
- Air conditioning
- Heating
- Elevator
- Tv
- Washing machine
- Bath linen
- Bed linen
212 reviews


Brass Rail Villas
Tybee Island
- 128 M2
- 8 people
- Air conditioning
- Heating
- Parking
- Elevator
- Balcony
- Tv
- Washing machine
- Bath linen
- Bed linen
6 reviews


Tybee Sands
Tybee Island
- 94 M2
- 6 people
- Air conditioning
- Heating
- Parking
- Elevator
- Balcony
- Tv
- Washing machine
- Bath linen
- Bed linen
3 reviews


Sonder by Marriott Bonvoy The Drayton Apartments Historic District
Savannah - Downtown Savannah - In the center
- 4 people
- Air conditioning
- Heating
- Tv
- Washing machine
- Bath linen
- Bed linen
214 reviews


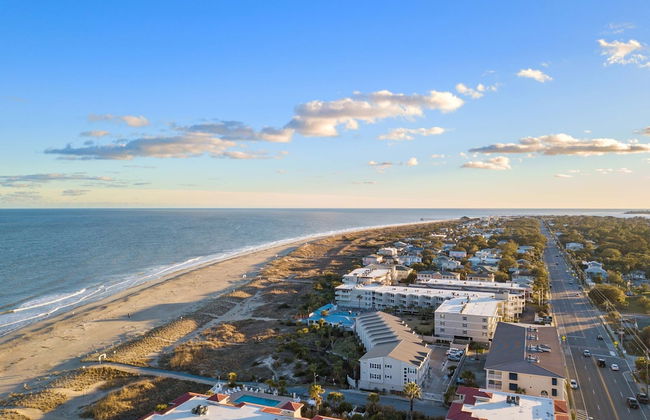
DeSoto Beach Gardens
Tybee Island
- 41 M2
- 4 people
- Kitchenette
- Air conditioning
- Terrace
- Swimming pool
- Parking
- Garden
- Tv
- Washing machine
- Bath linen
- Bed linen
208 reviews


Village Place 6B - Bella Tybee
Tybee Island
- 211 M2
- 8 people
- Heating
- Parking
- Elevator
- Tv
- Washing machine
- Bath linen
- Bed linen
2 reviews


Beach House
Tybee Island
- 123 M2
- 8 people
- Air conditioning
- Heating
- Swimming pool
- Parking
- Elevator
- Tv
- Washing machine
- Bath linen
3 reviews


Sonder by Marriott Bonvoy The Broughton Apartments Historic District
Savannah - Downtown Savannah - In the center
- 9 people
- Air conditioning
- Heating
- Elevator
- Tv
- Bath linen
- Bed linen
334 reviews


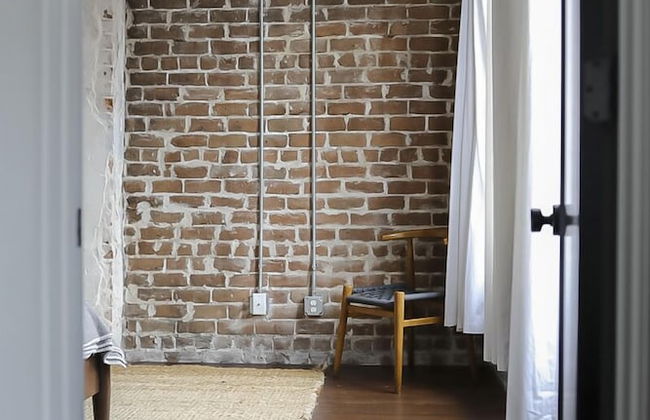
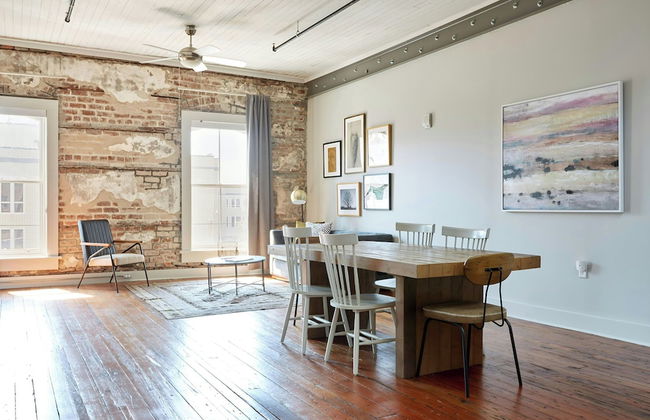
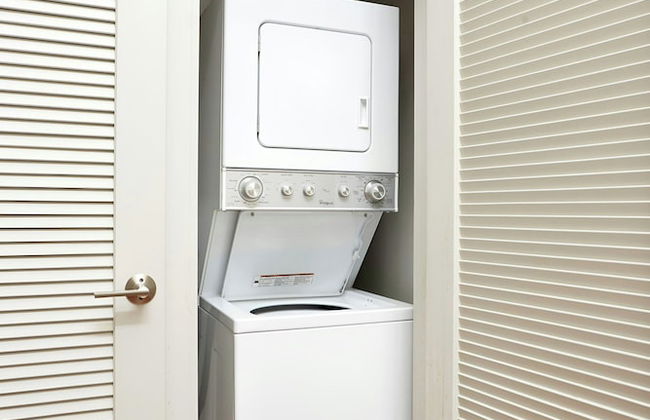
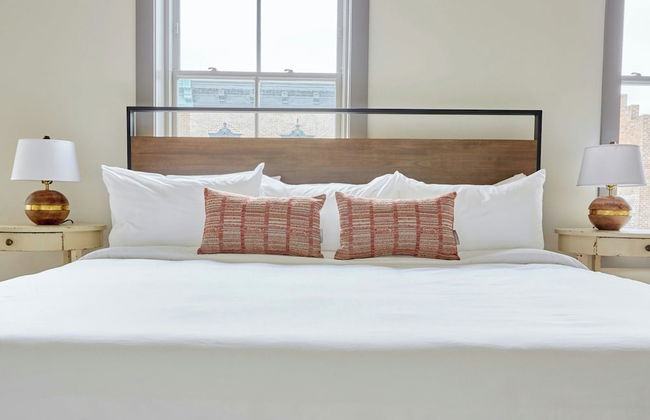
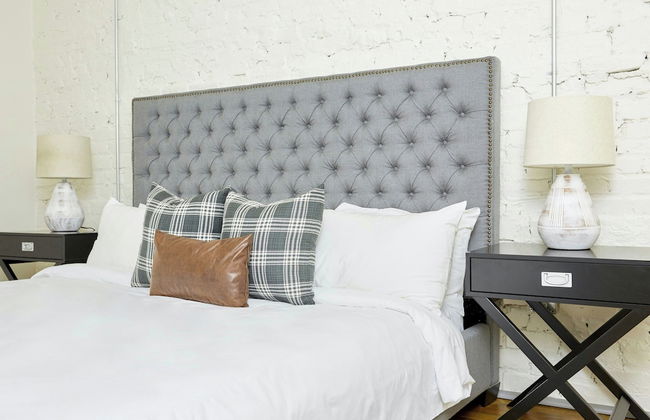
Gallery Stays - Low Country
Savannah - Beach Institute - 540 m from the center
- 6 people
- Air conditioning
- Heating
- Tv
- Washing machine
- Bath linen
7 reviews
