


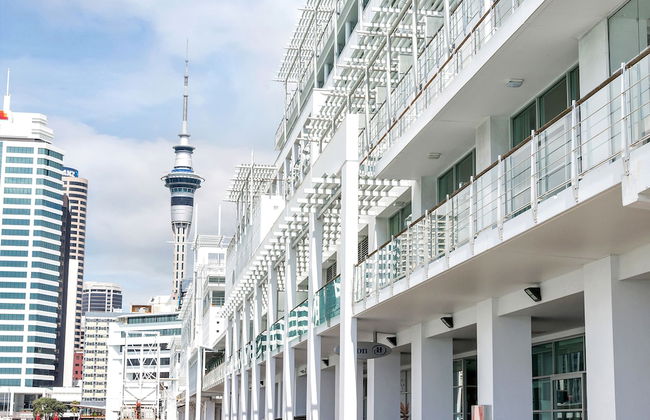


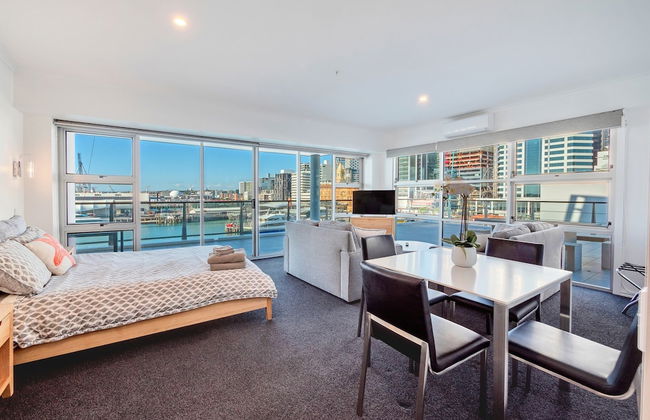
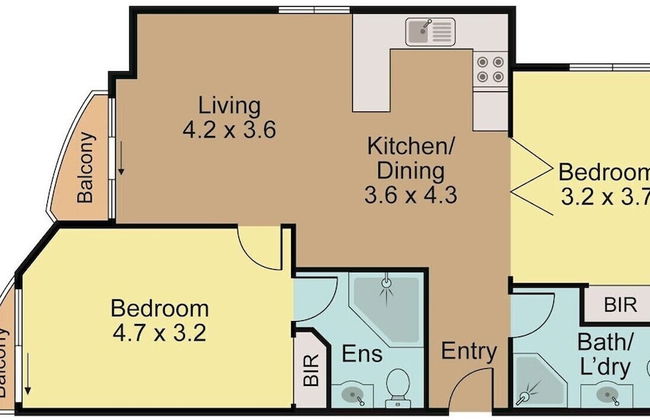
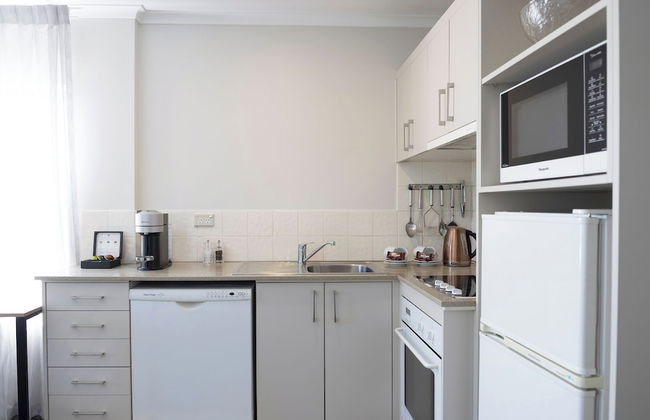
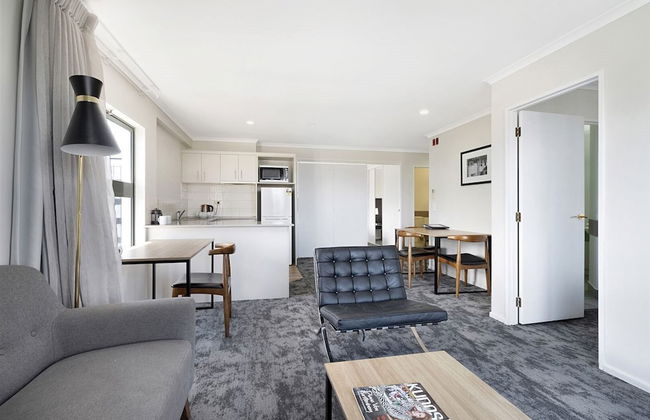
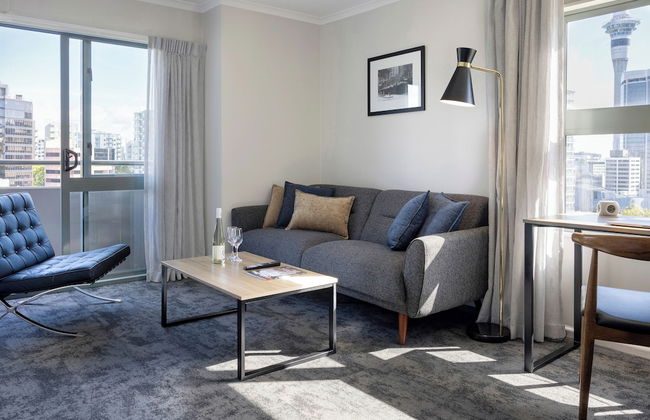
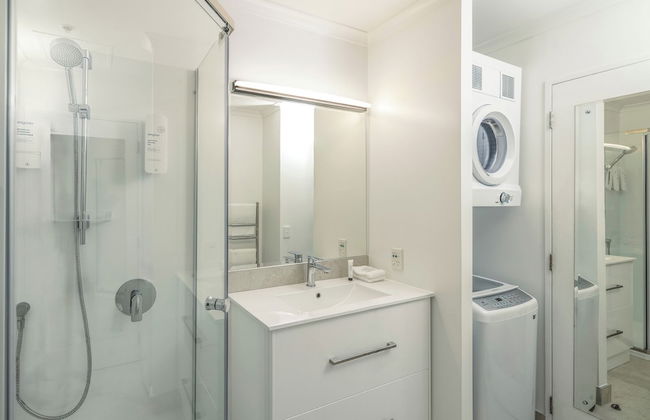
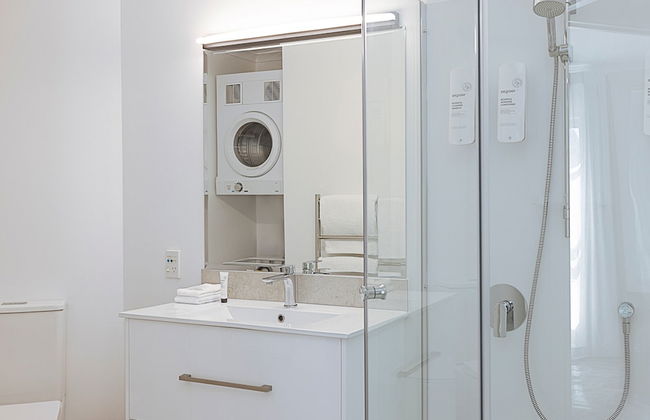
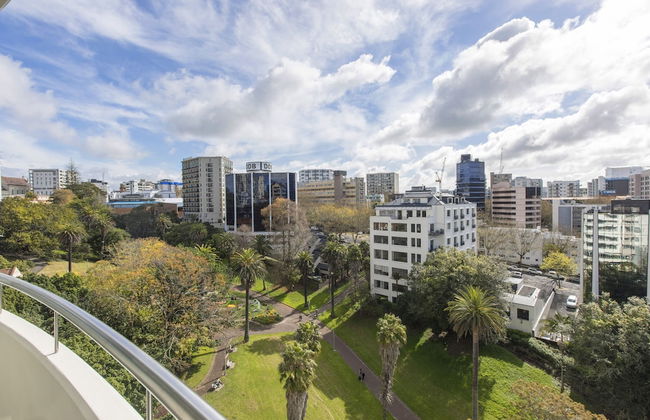
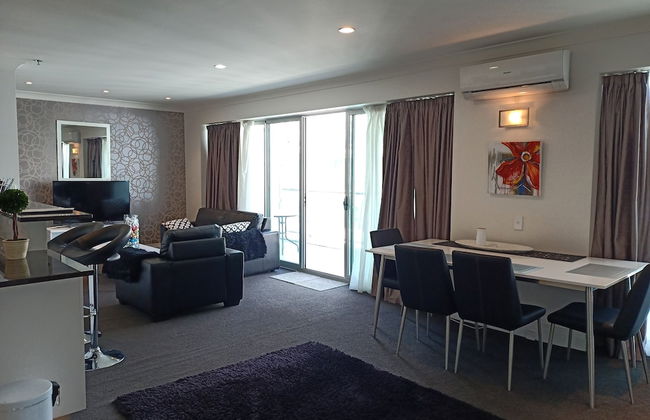
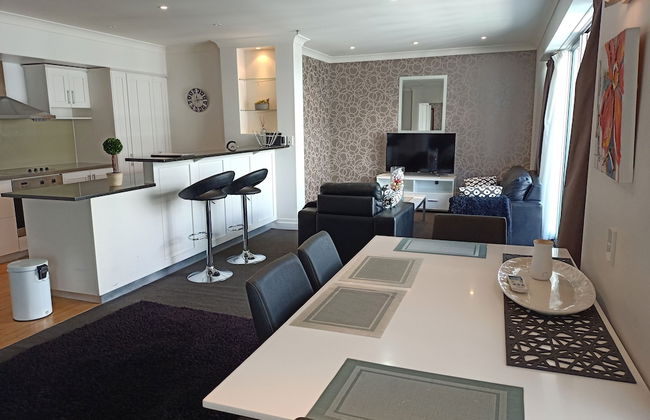
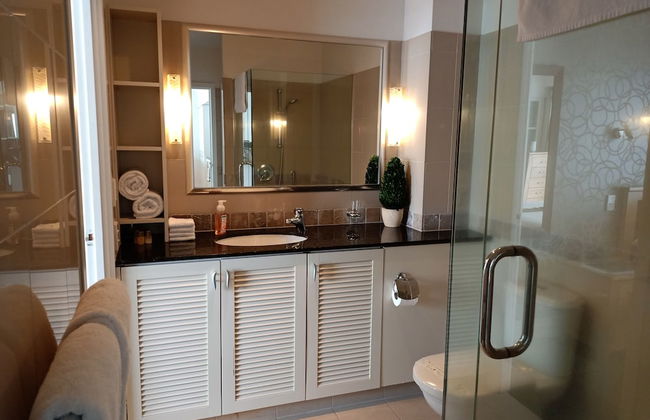
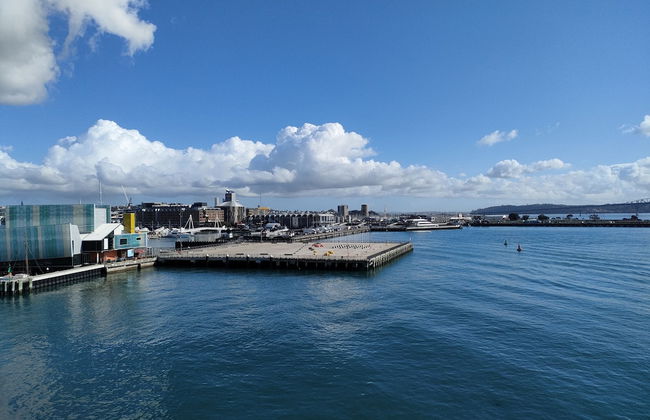
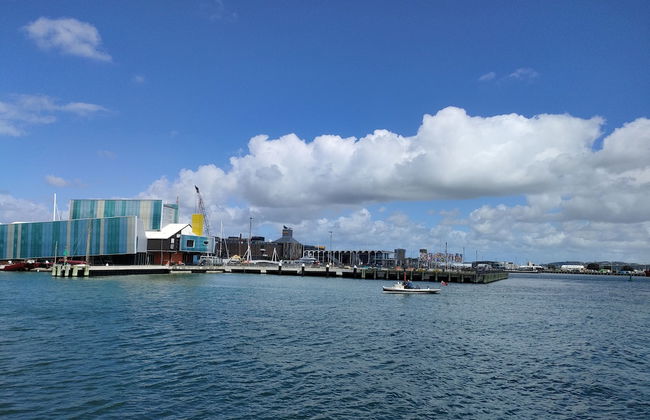
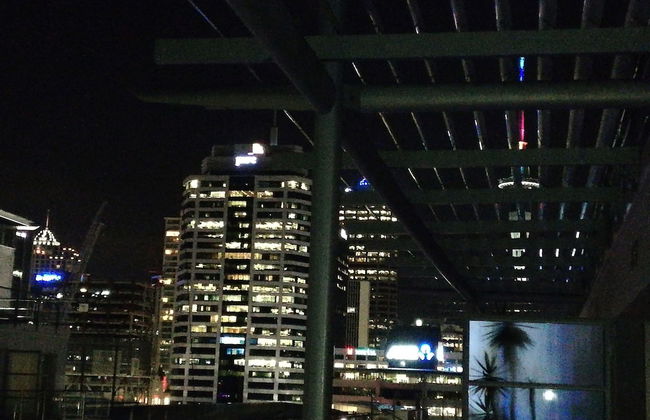
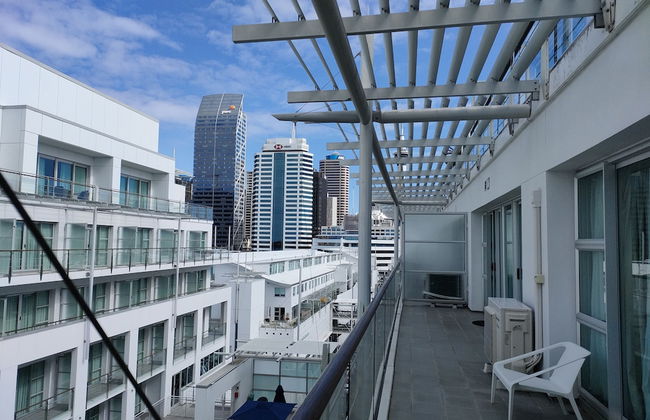
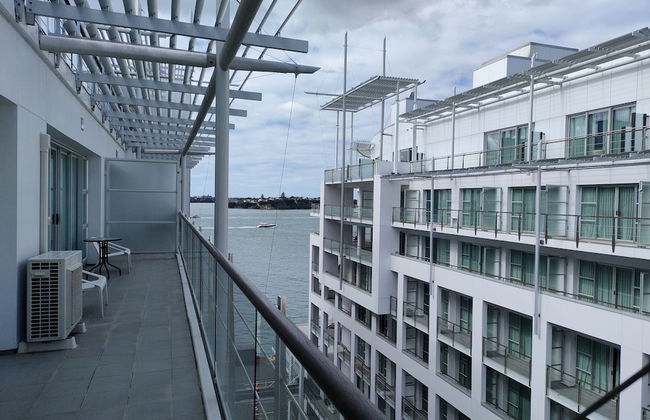
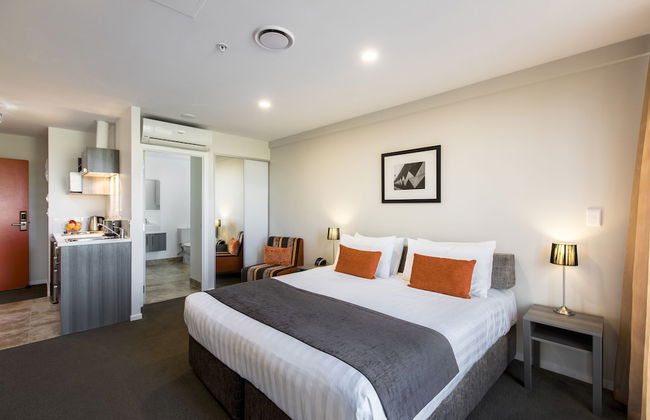
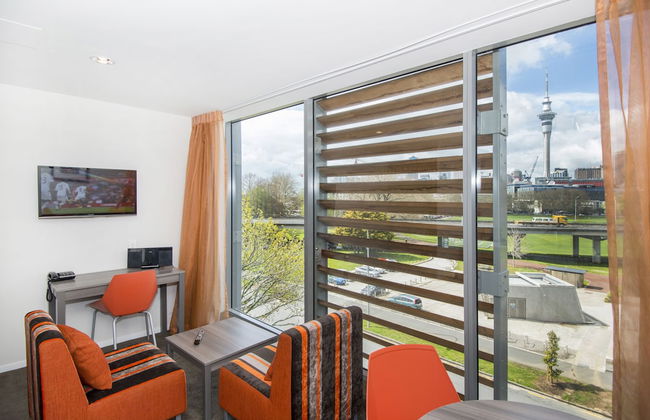
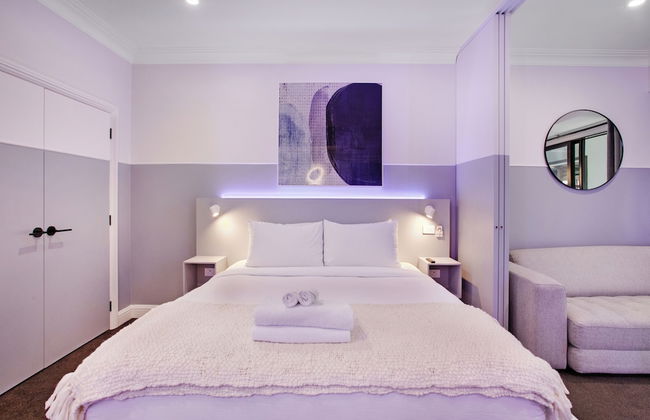
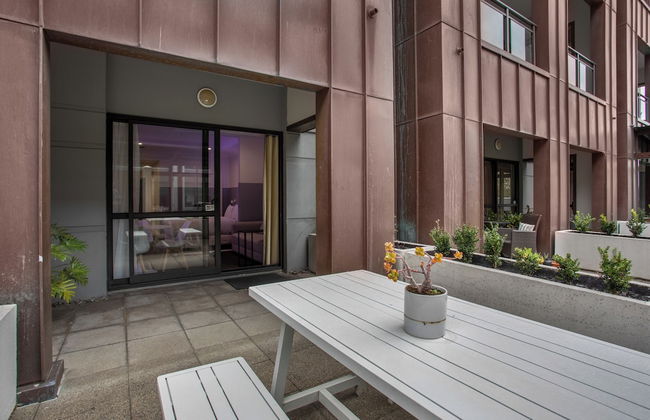
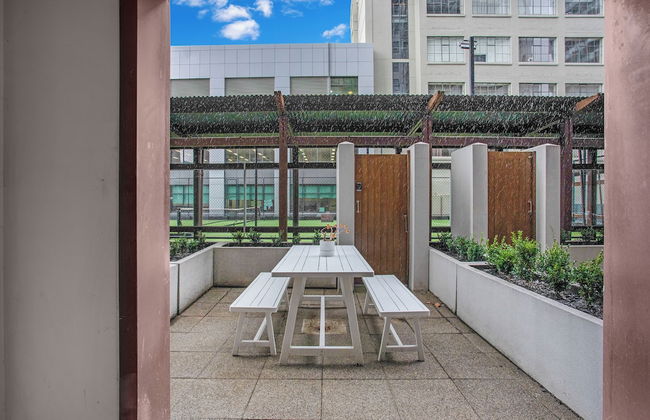
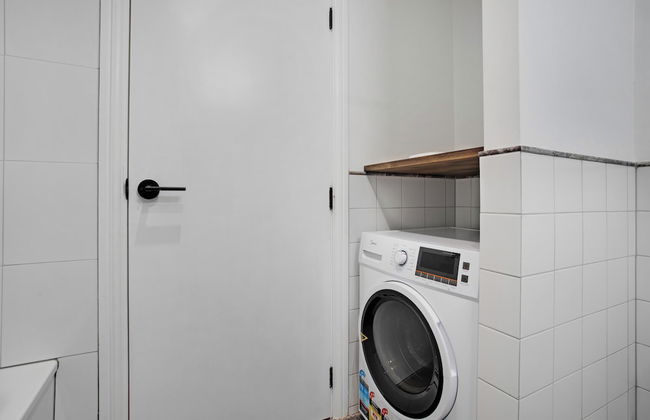
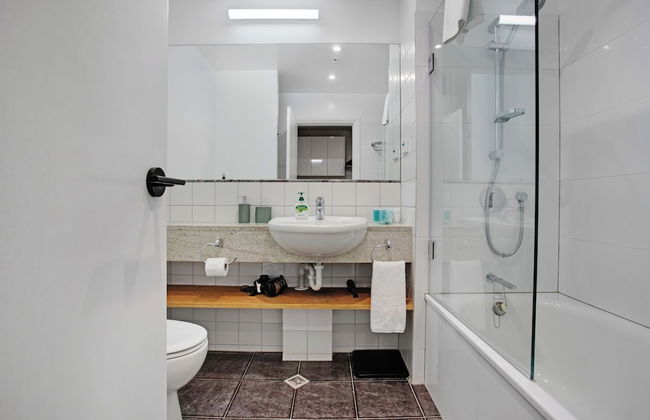
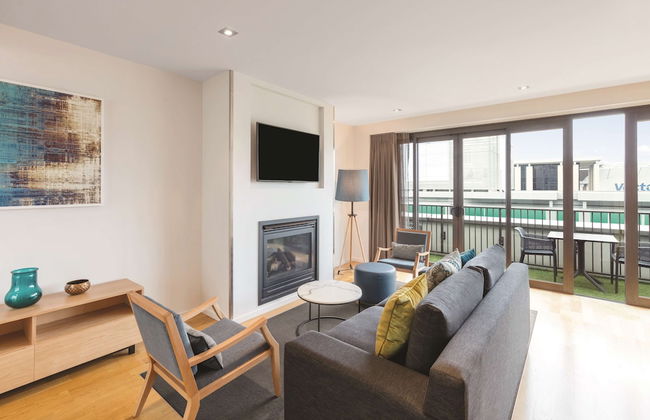
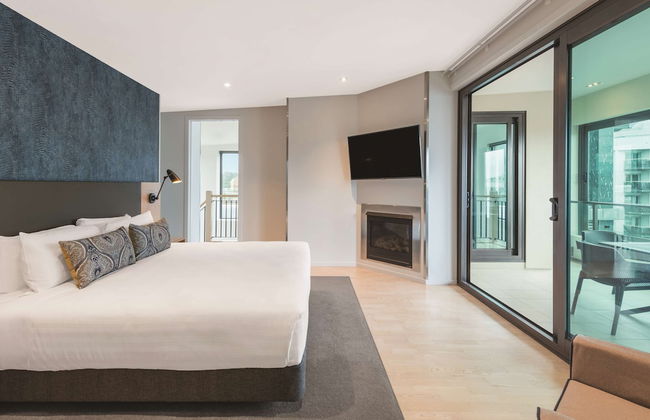
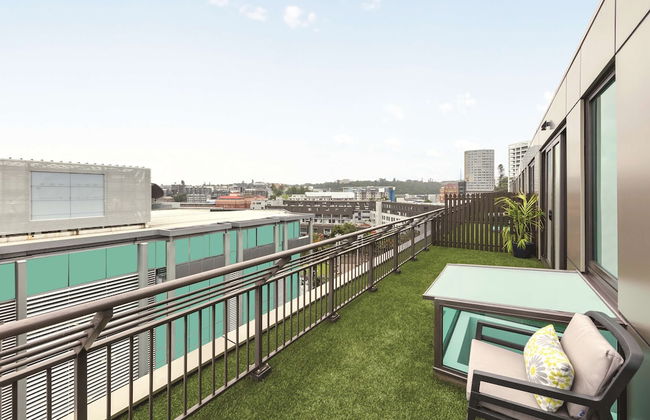
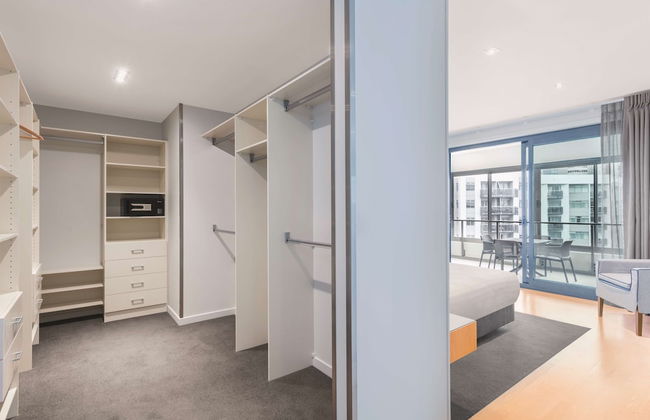
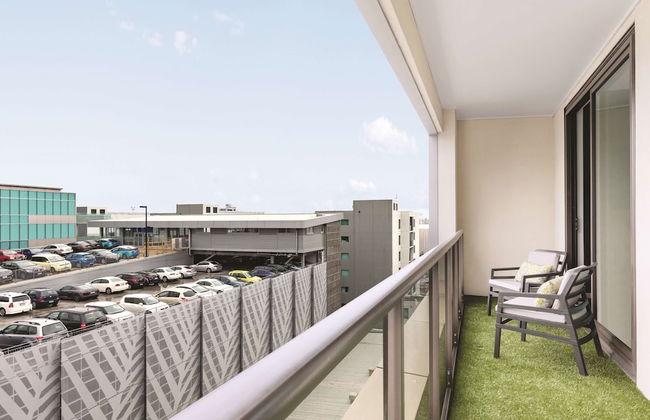
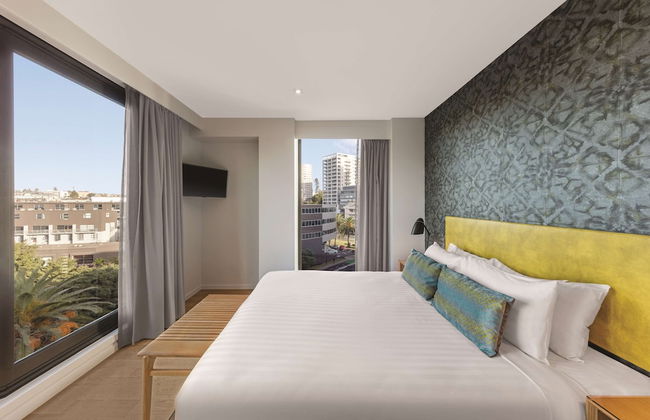
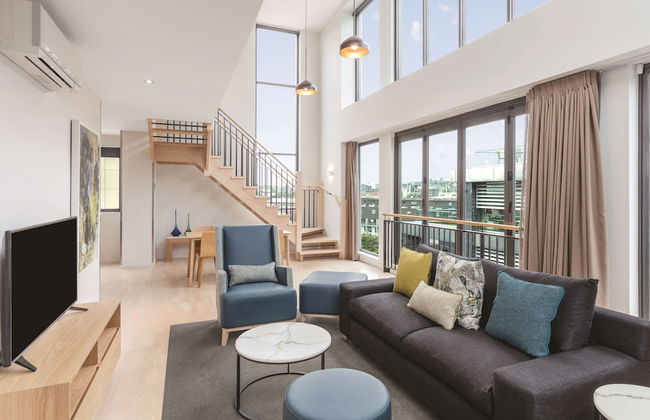
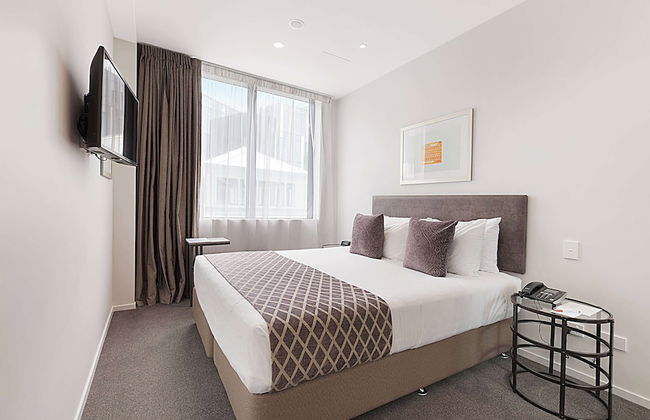
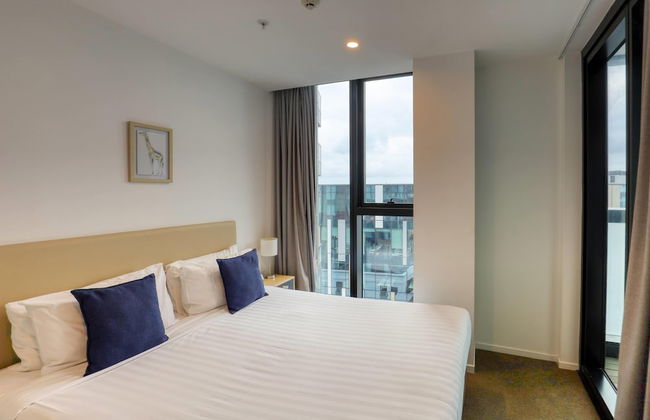
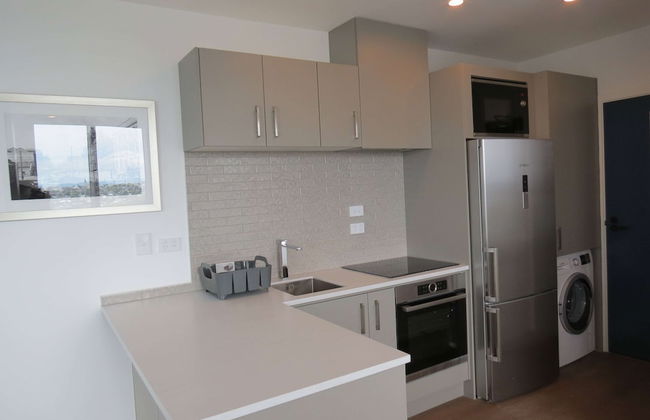
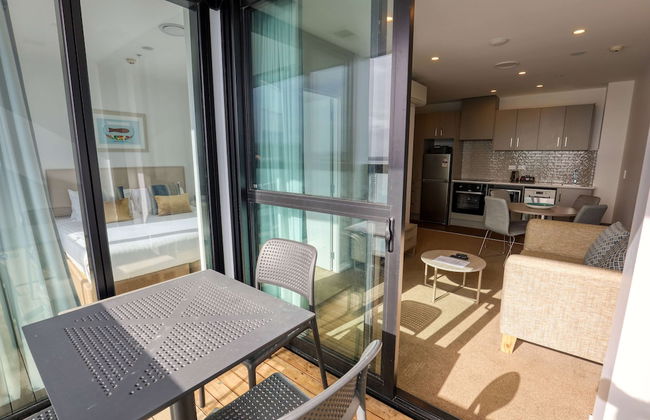
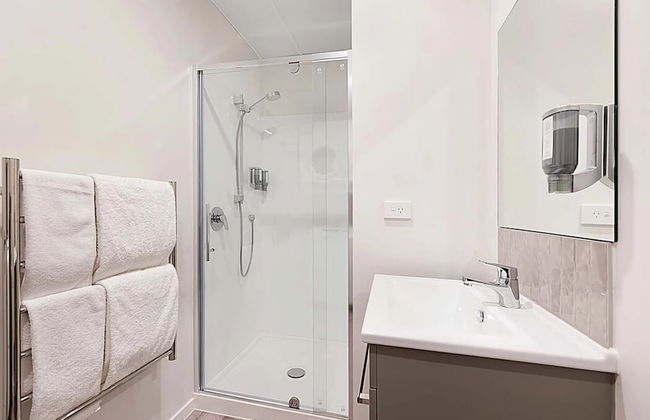
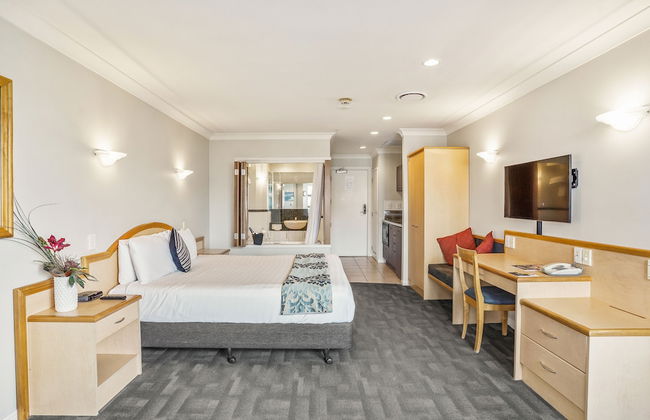
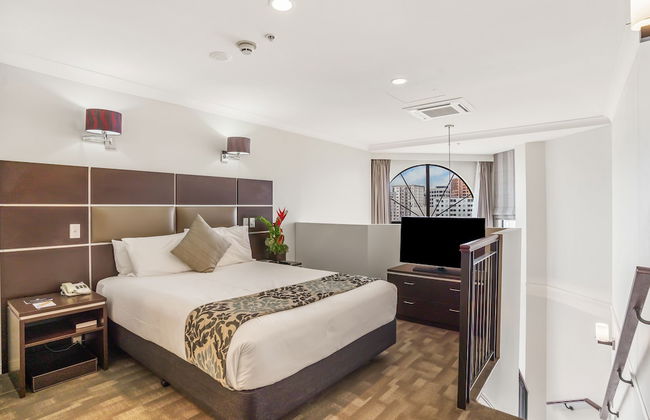
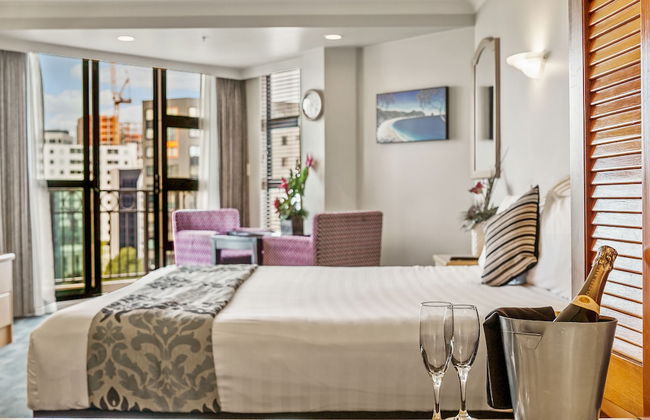
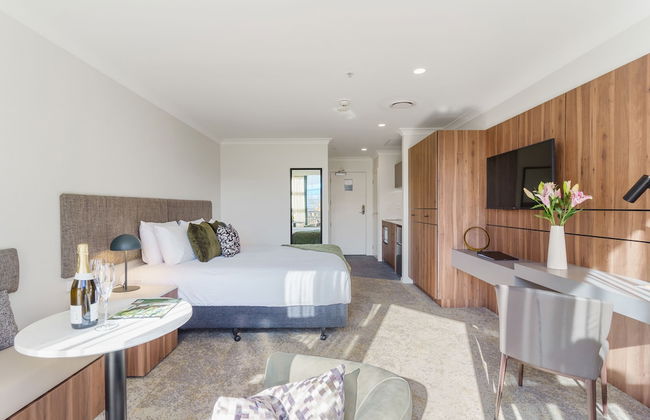
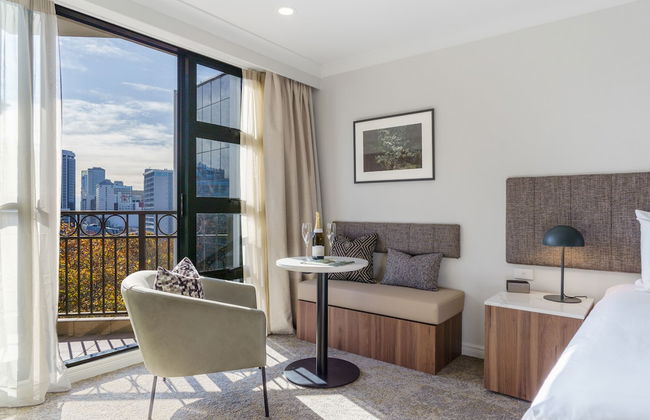
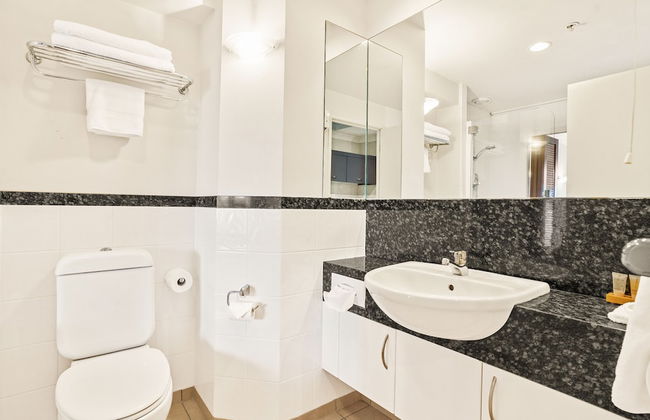
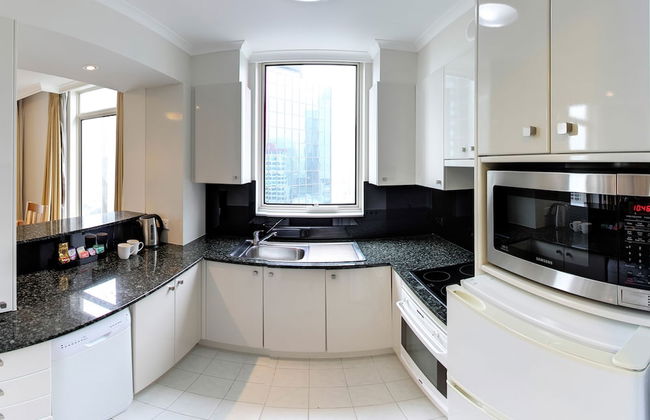
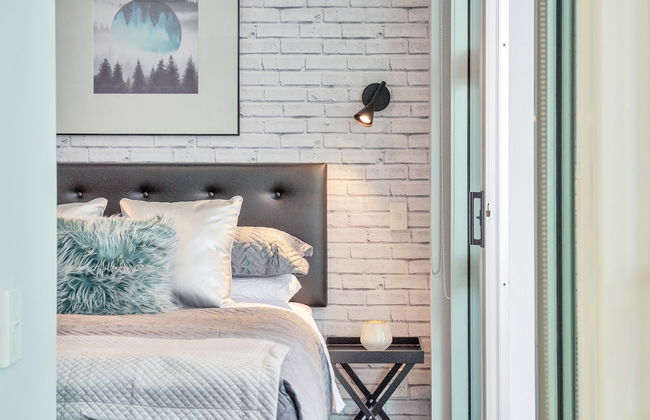
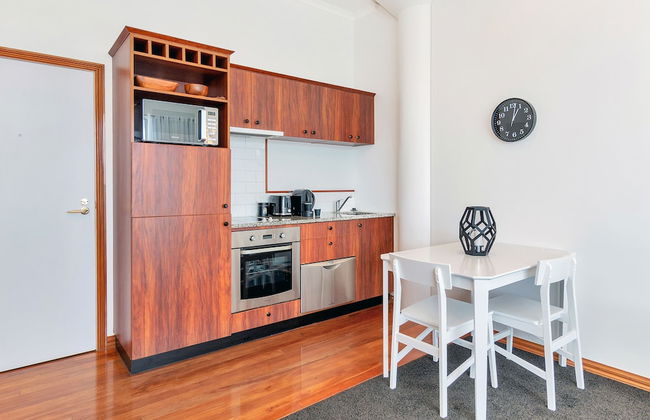
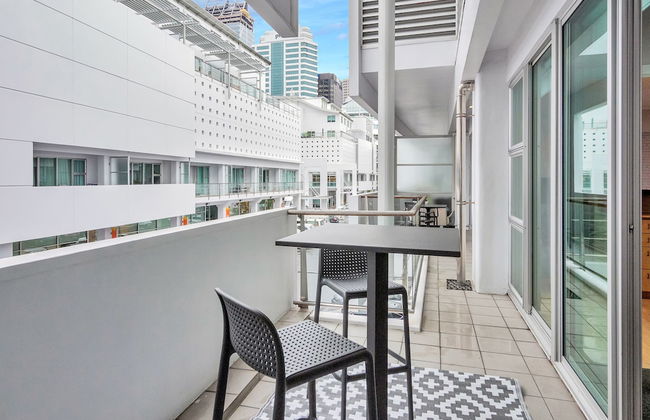
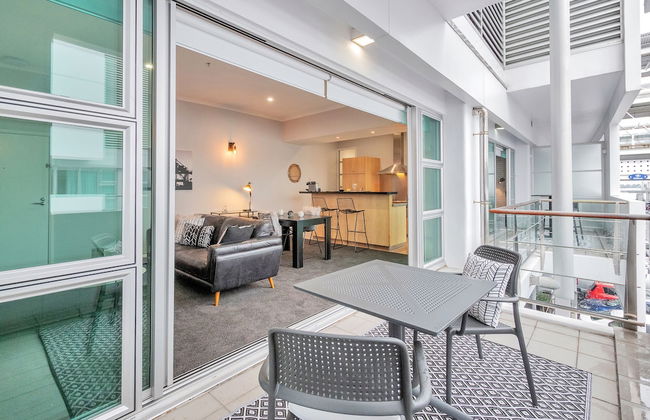
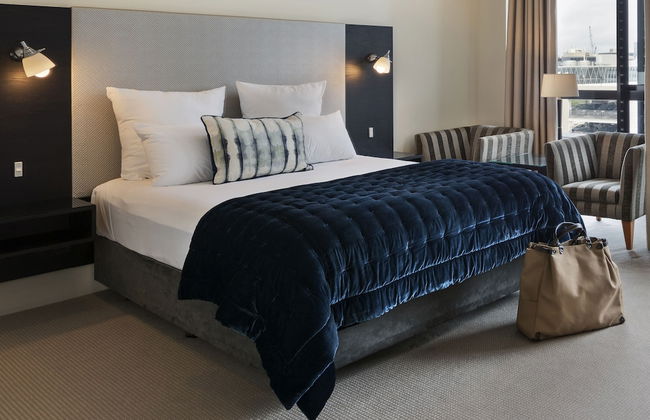
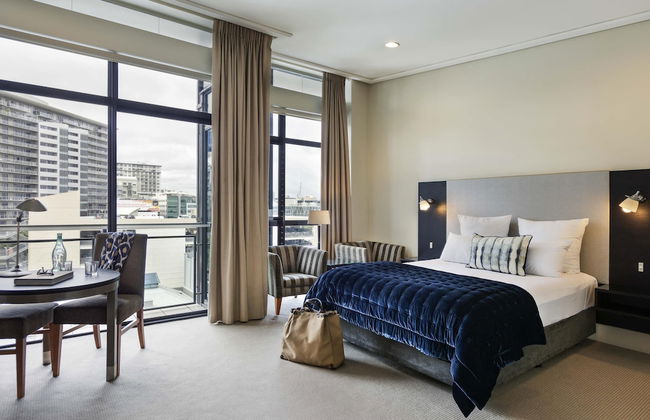
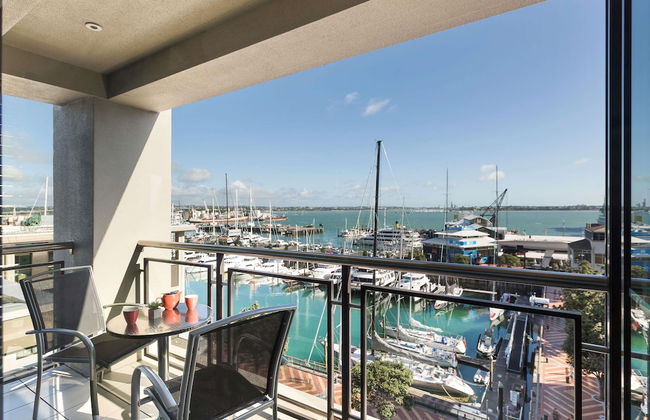
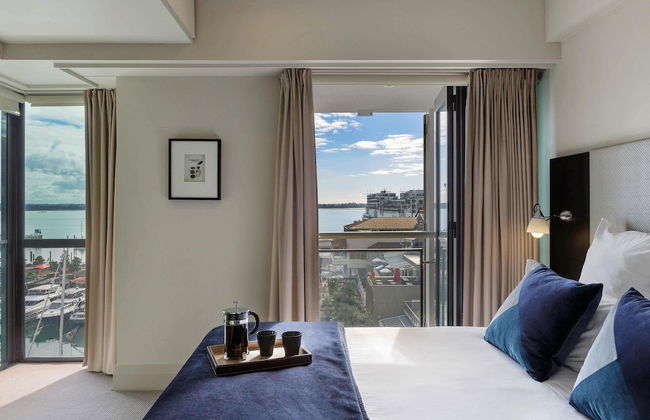
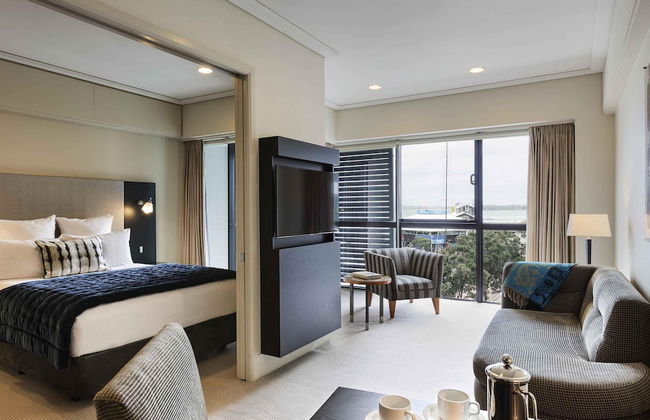
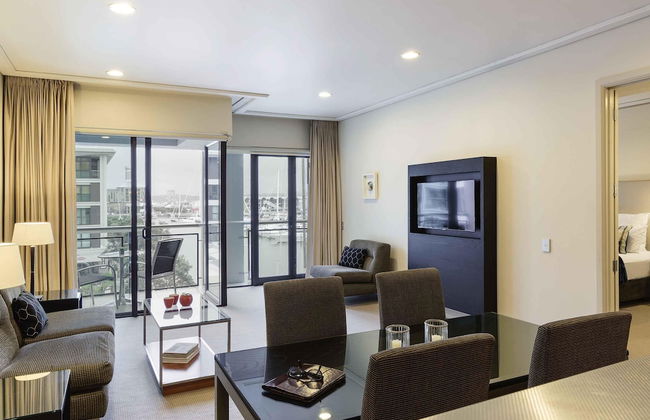
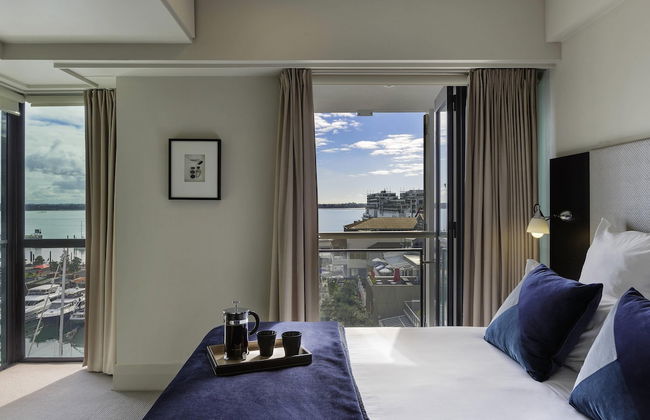
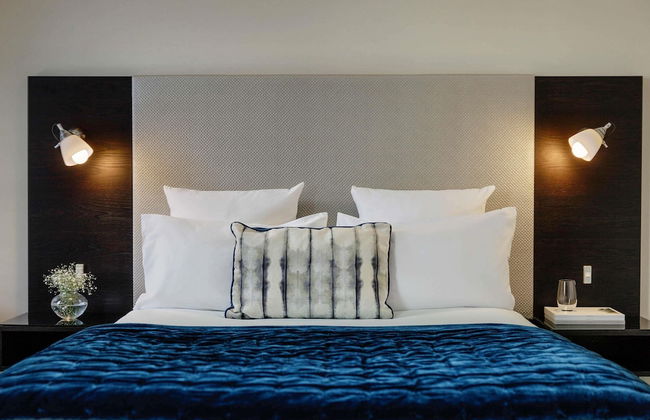
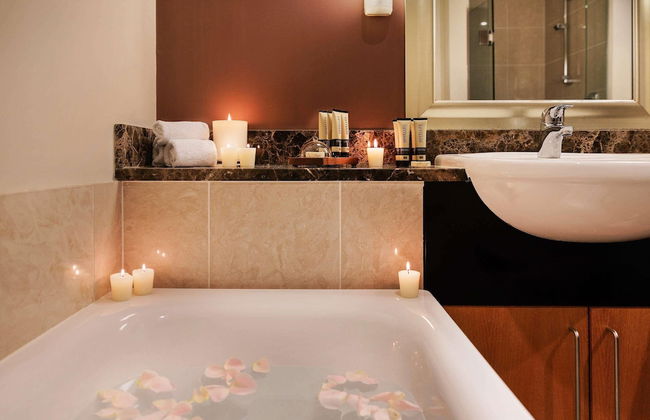
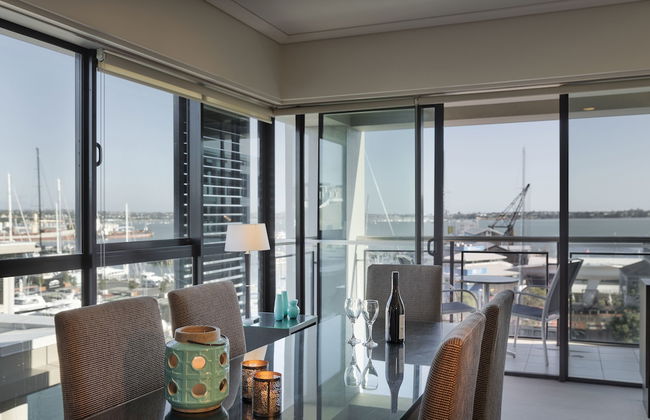
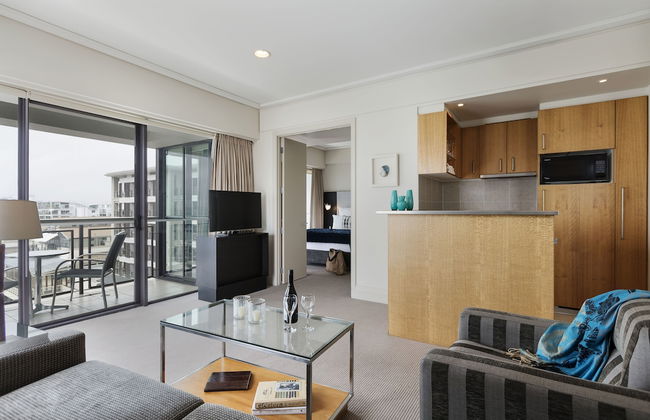
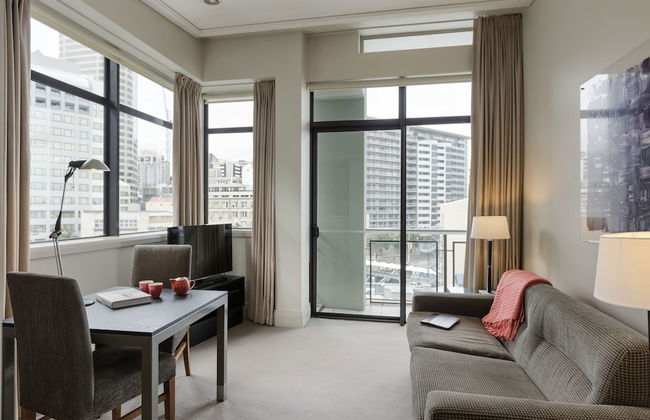
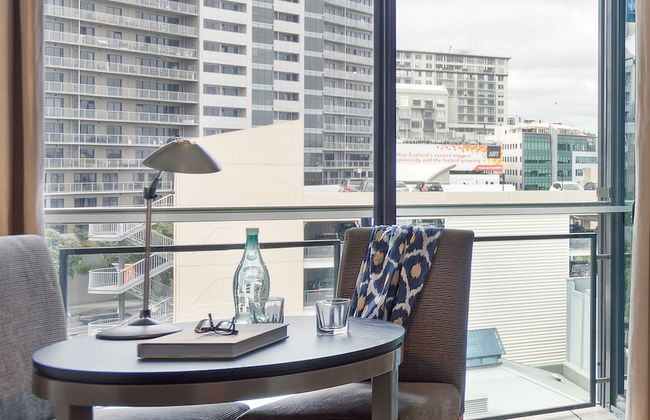
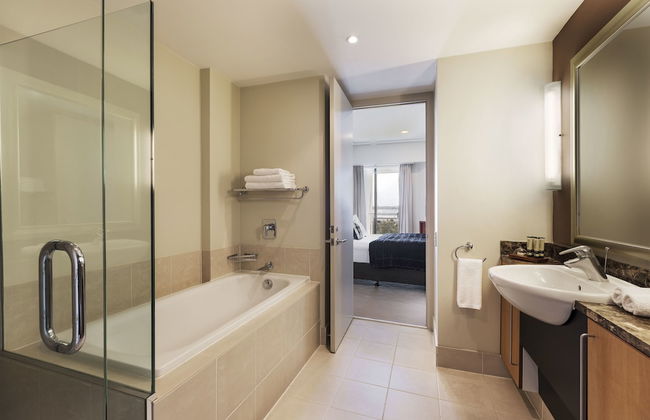
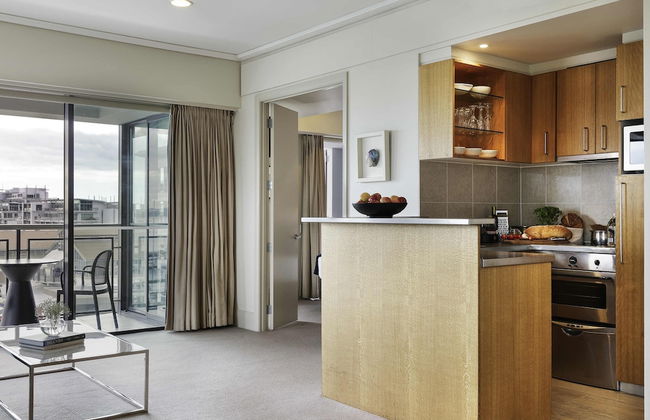
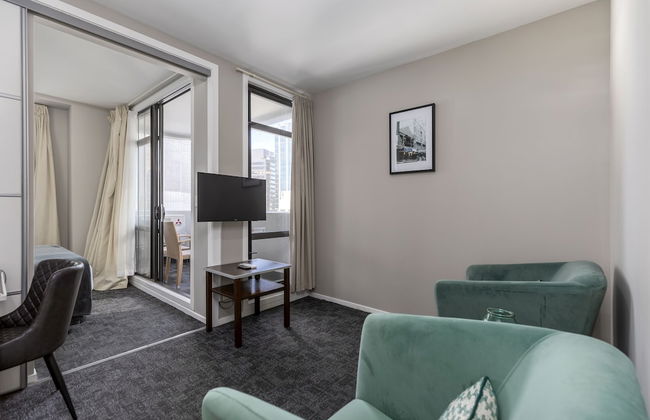
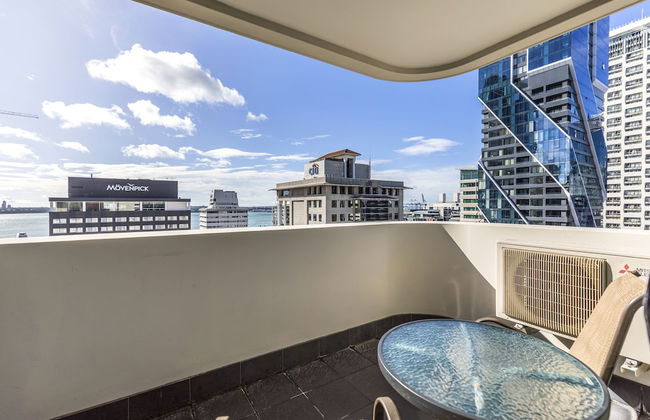
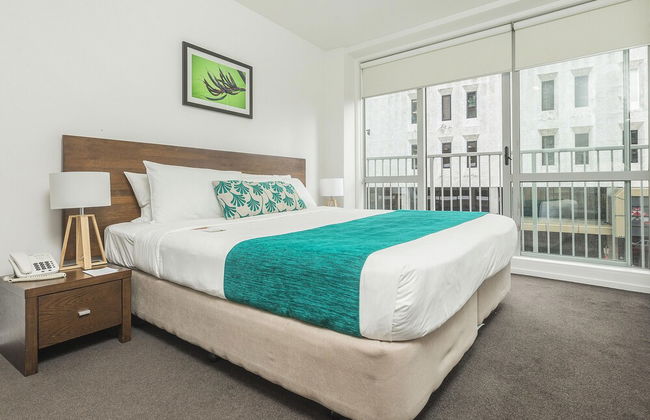
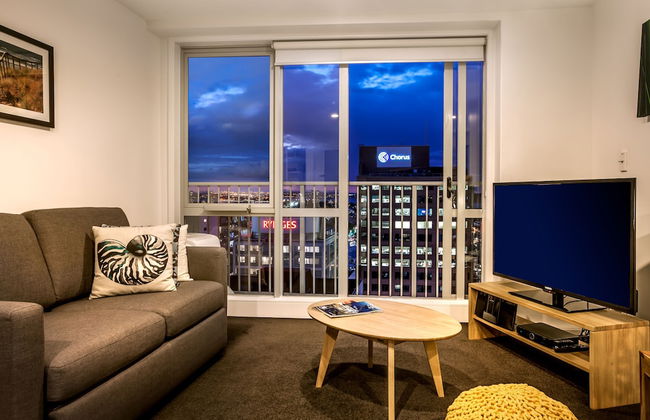
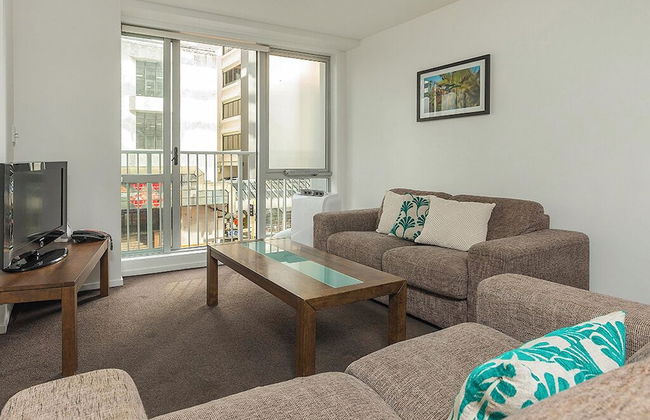
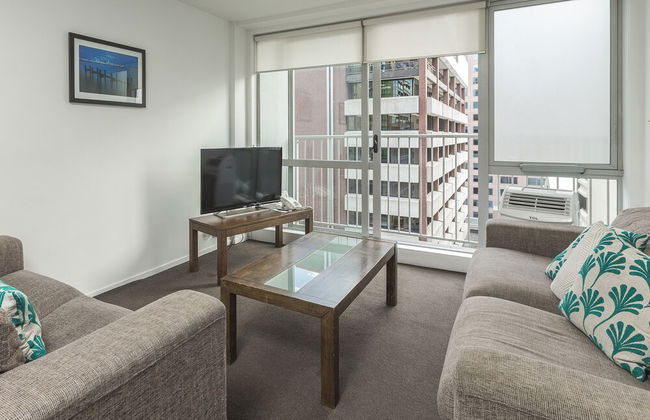
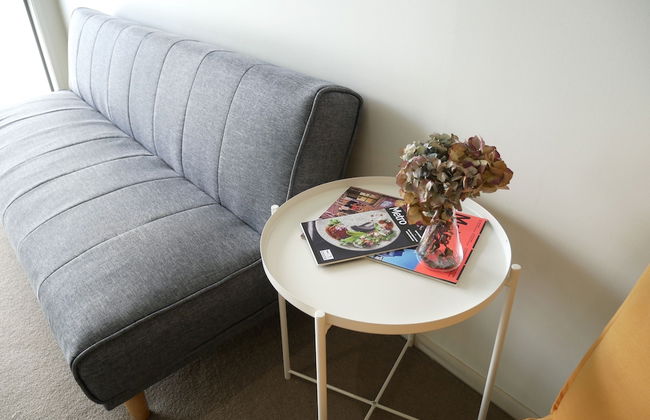
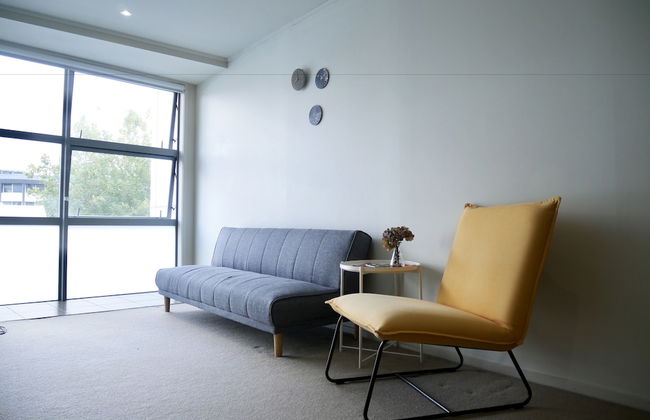
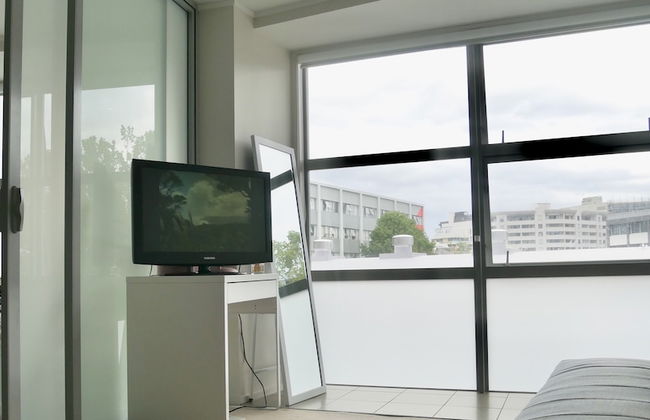
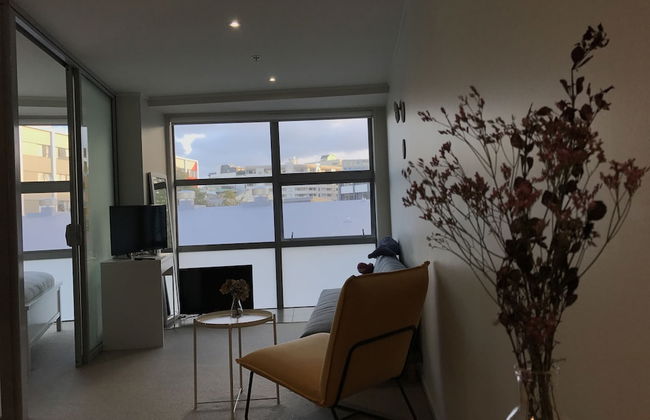
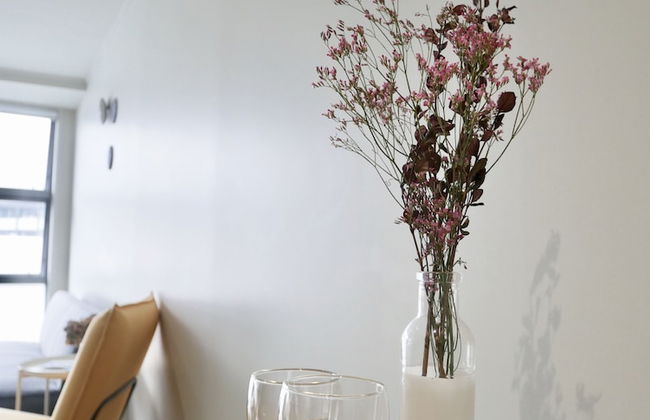
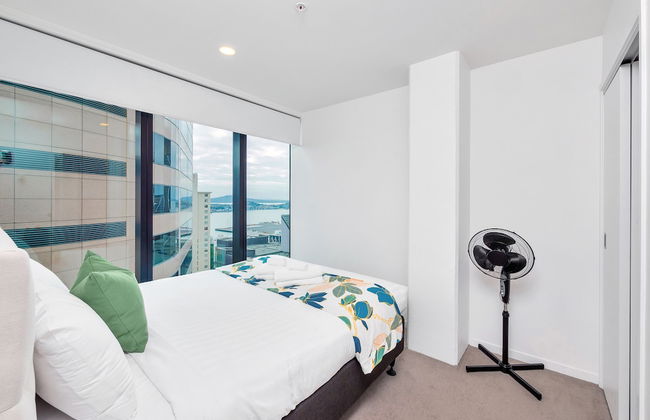
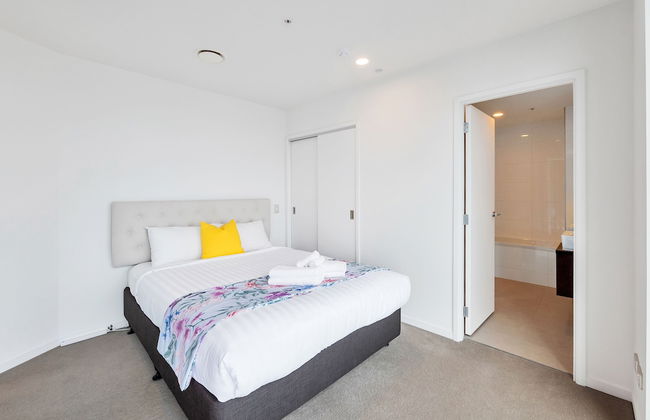
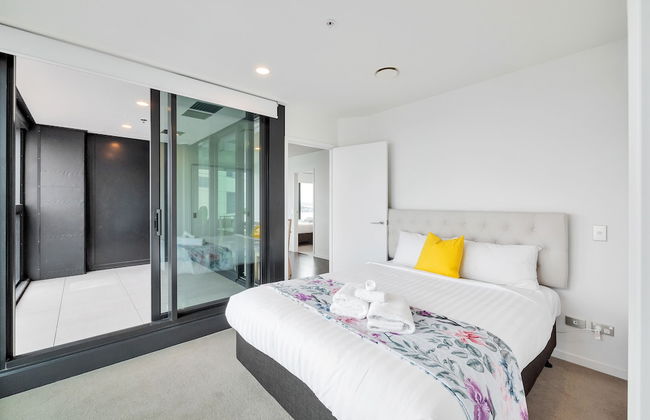
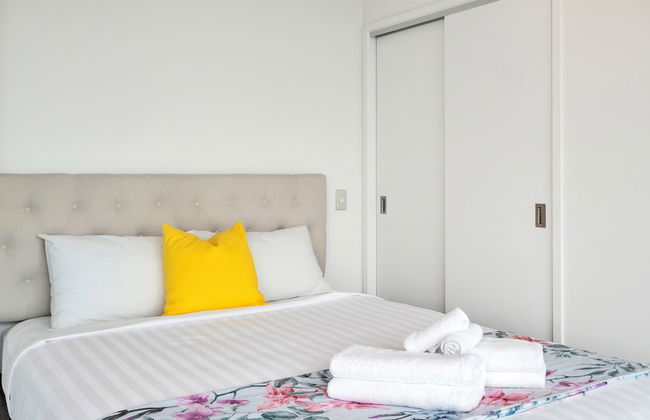
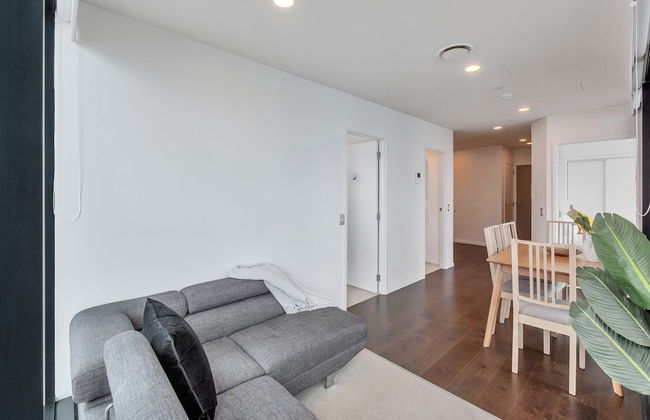
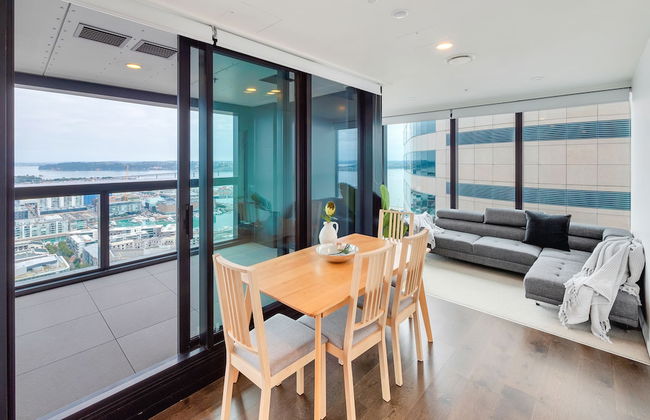
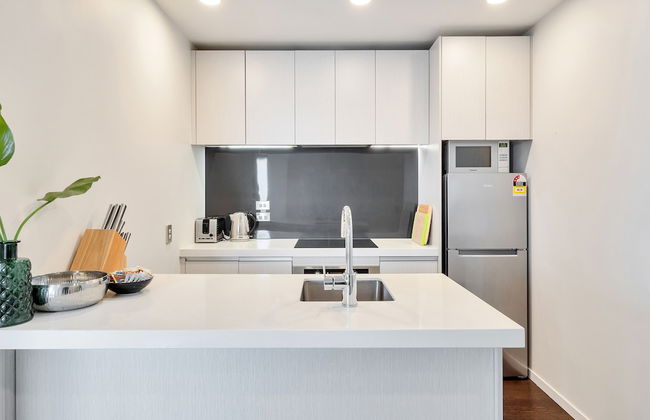
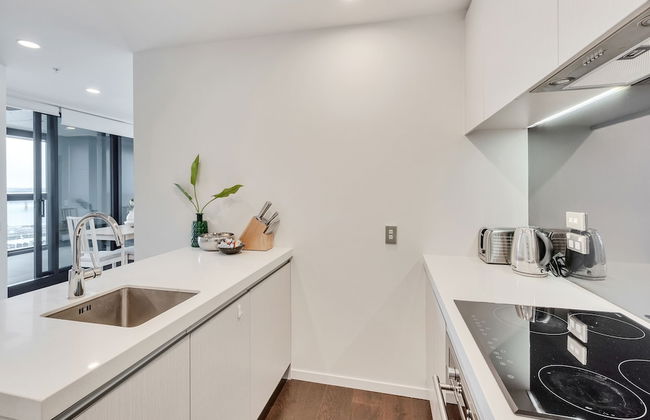
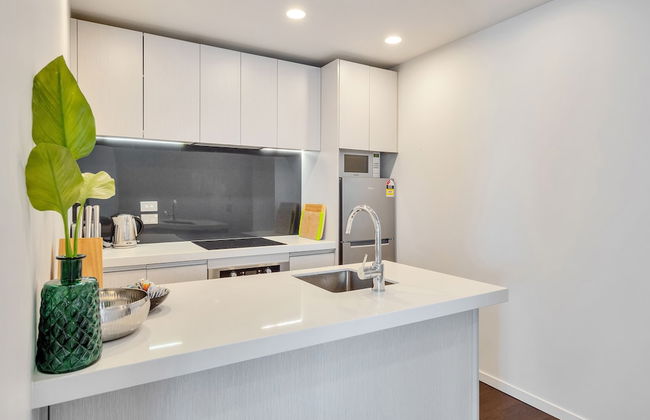
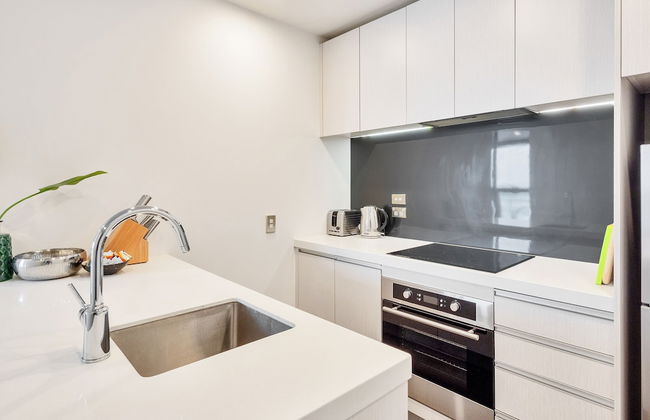
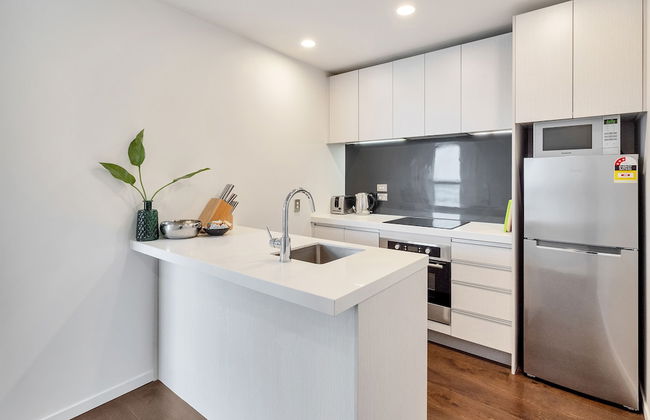
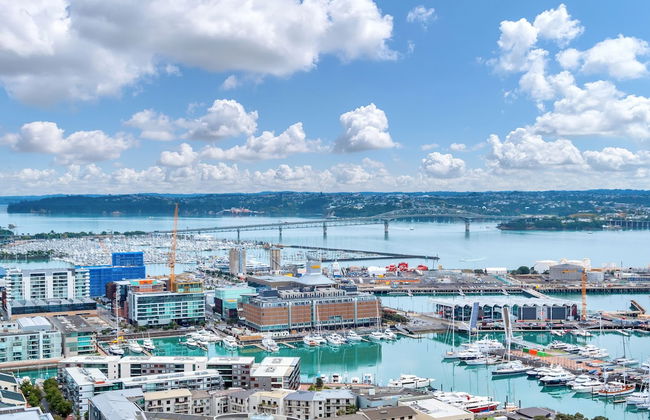
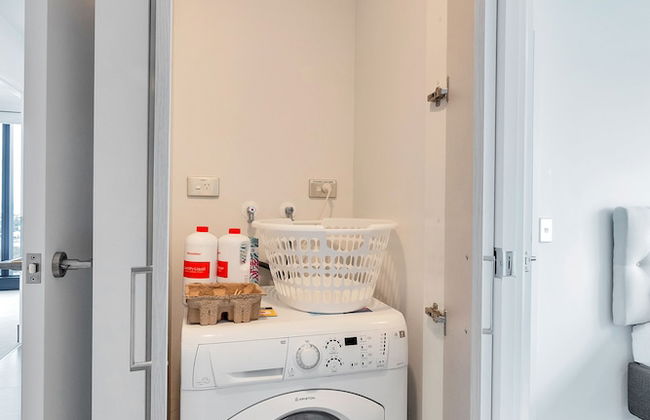
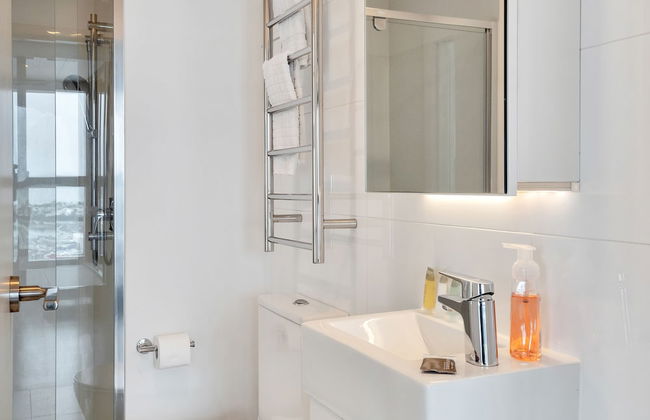
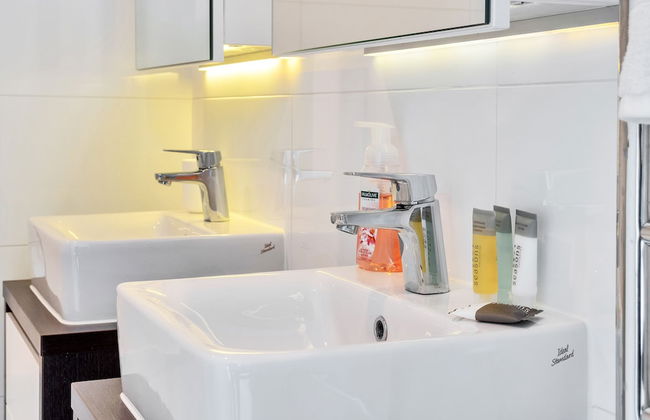
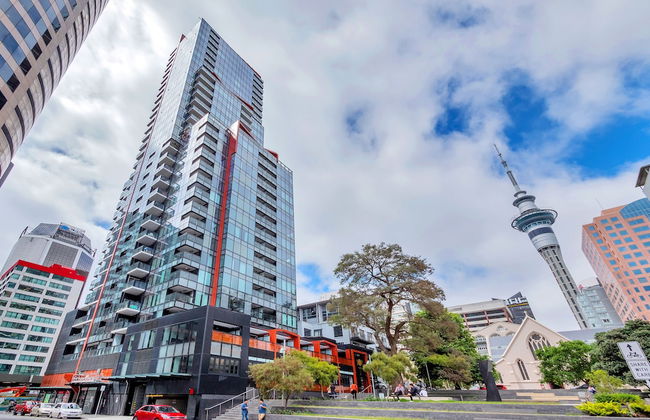
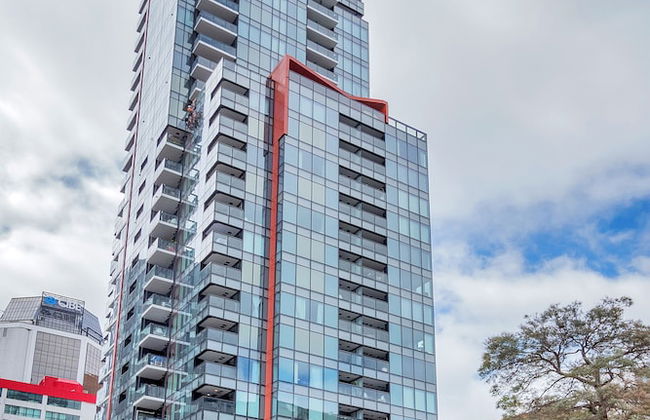
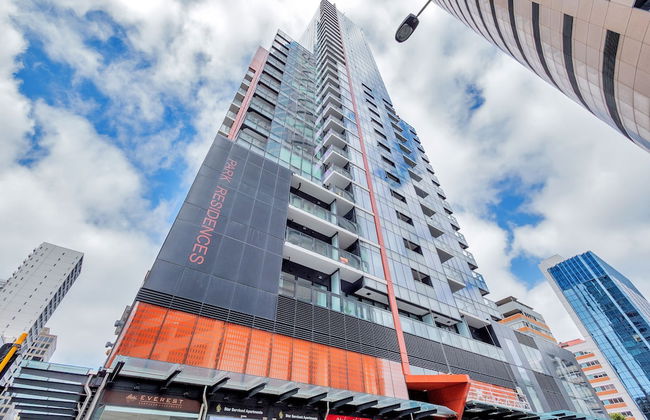
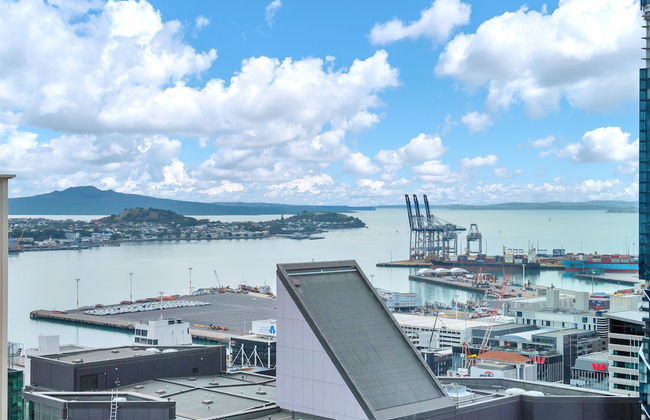
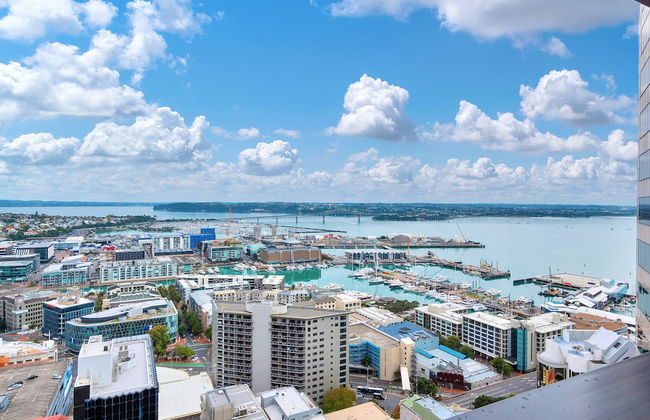
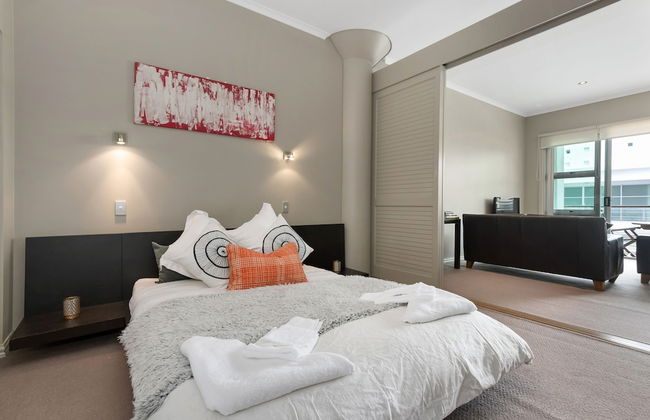
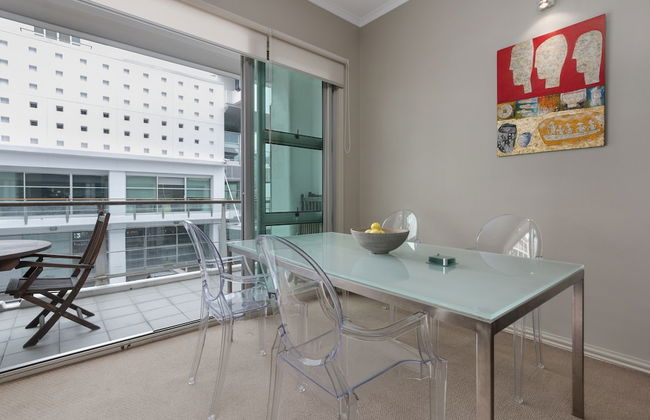
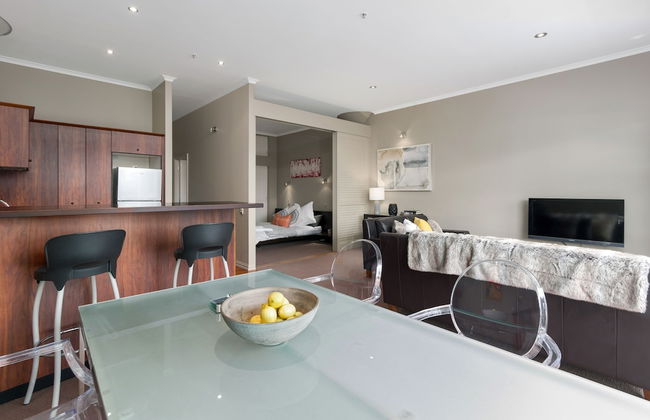
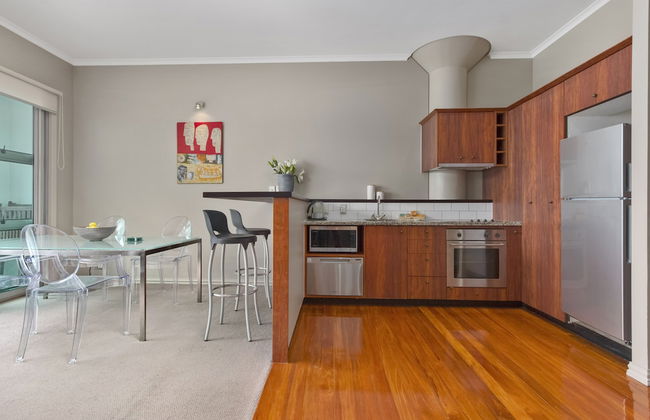
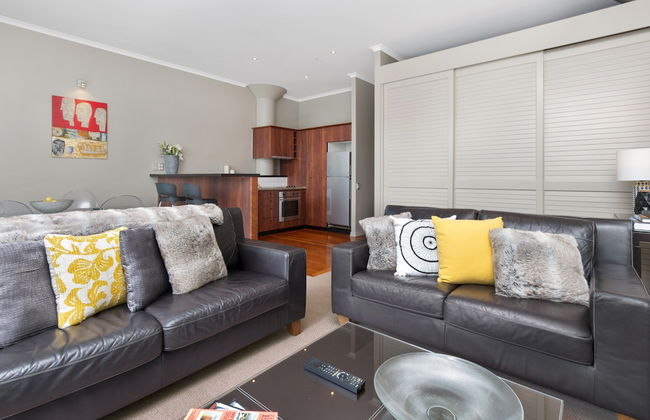
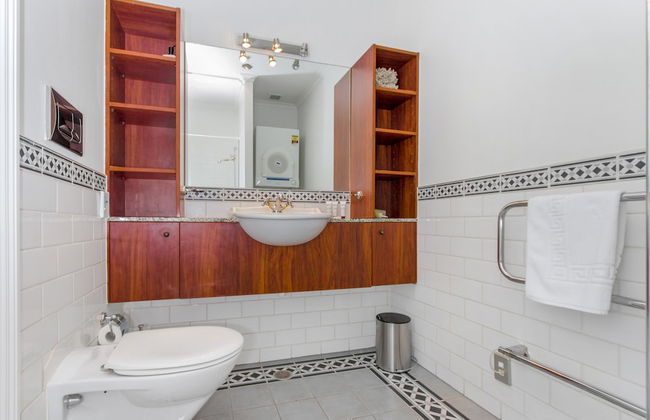
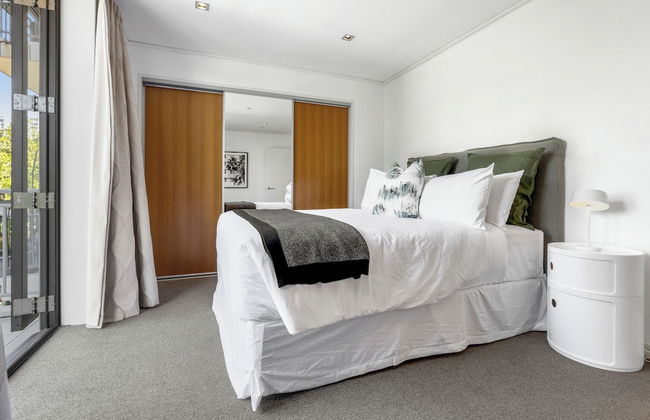
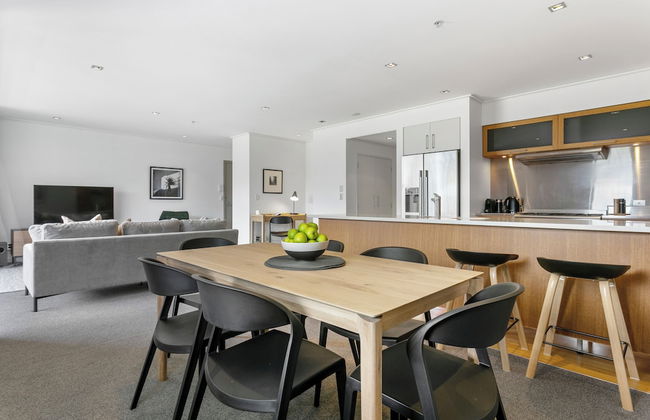
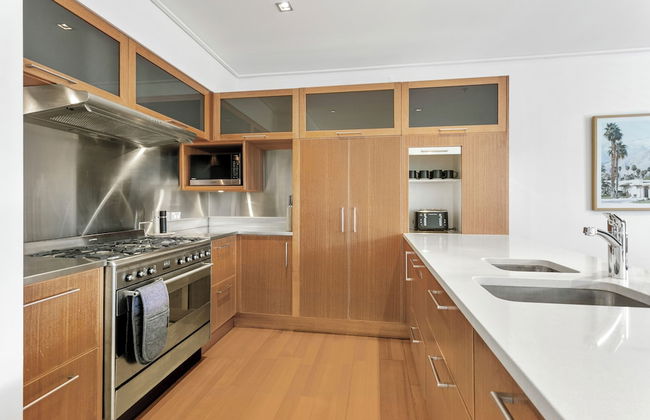
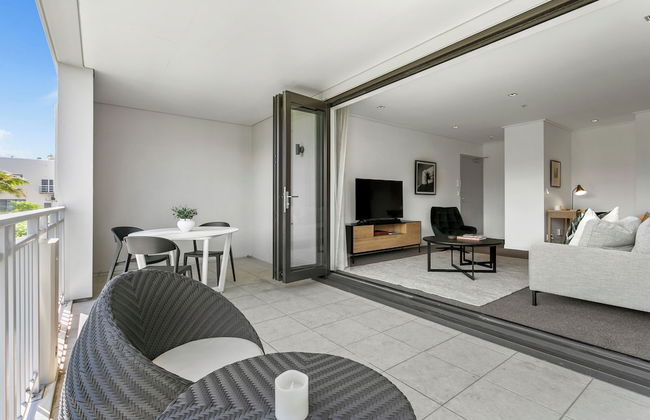
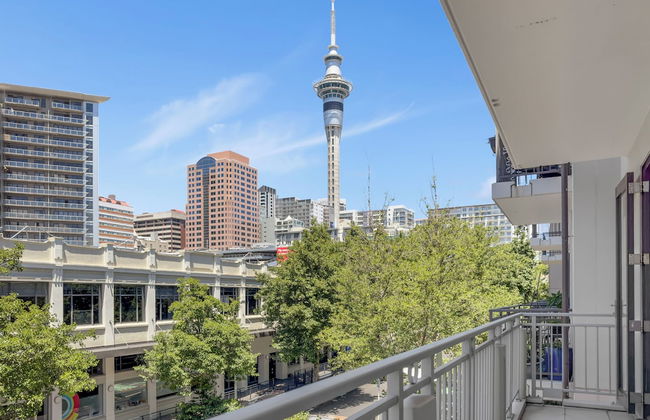
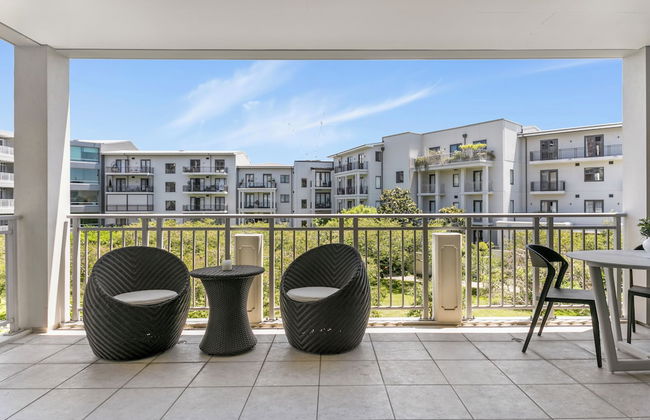
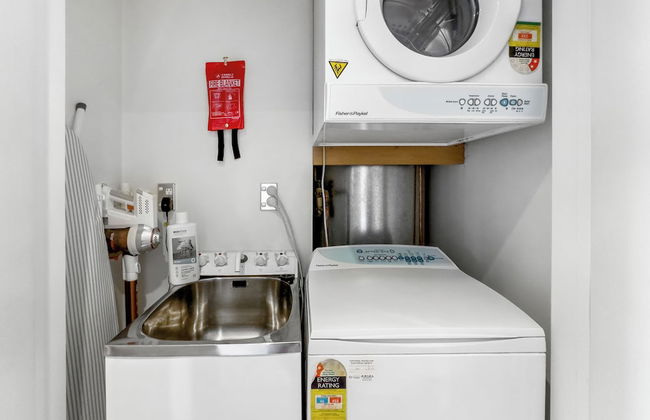
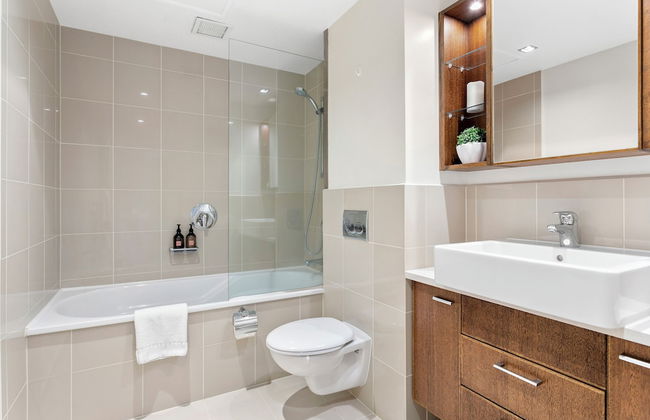
Deluxe Waterfront & City Apartment
Auckland - Auckland Central - 820 m from the center
- 55 M2
- 2 people
- Air conditioning
- Heating
- Terrace
- Parking
- Elevator
- Balcony
- Tv
- Washing machine
- Bath linen
- Bed linen


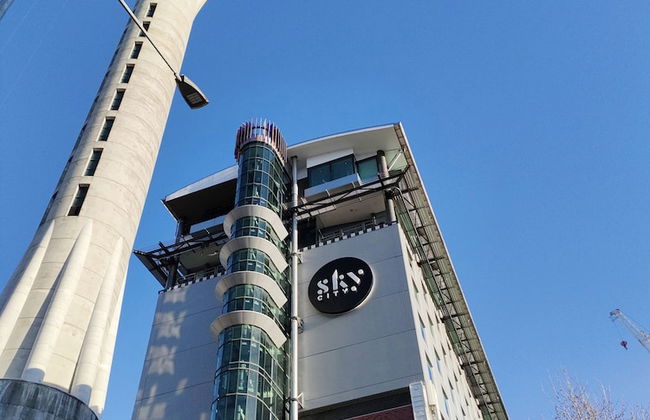
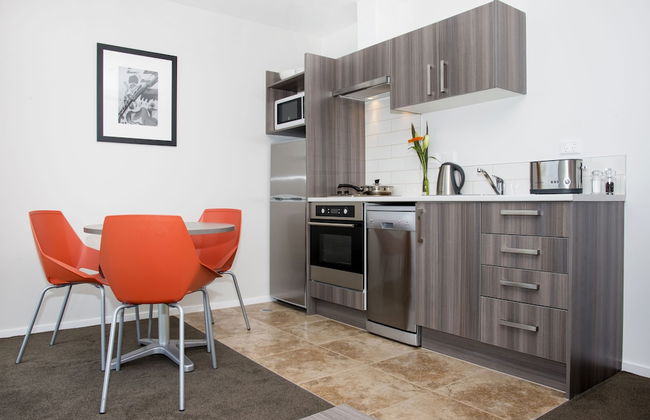
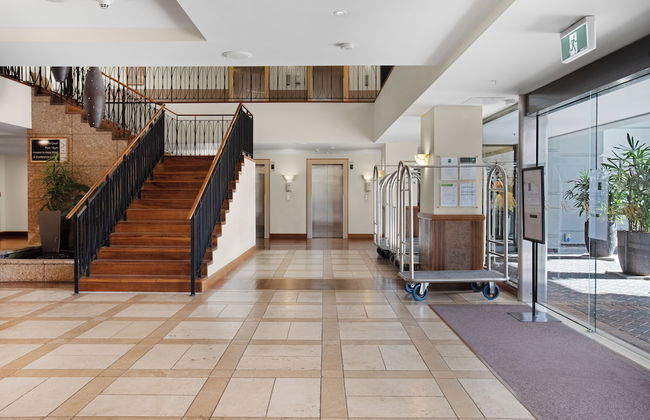
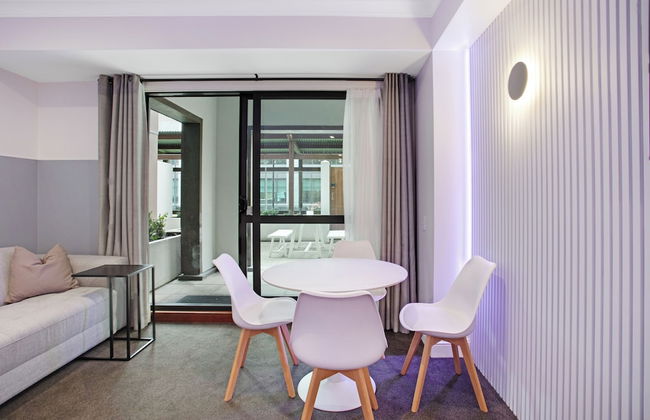
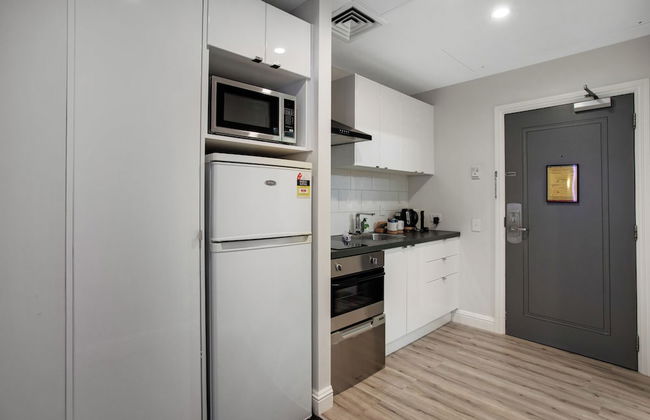
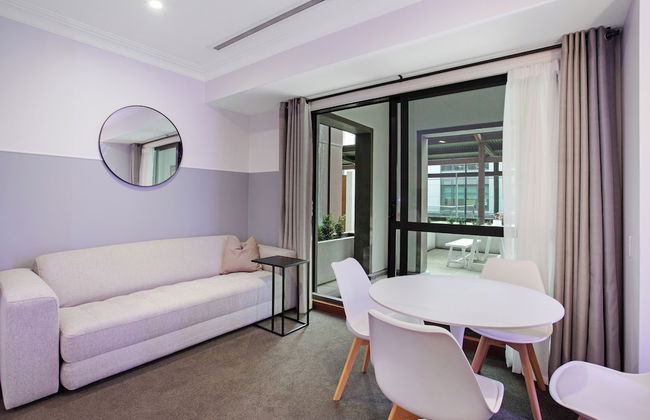
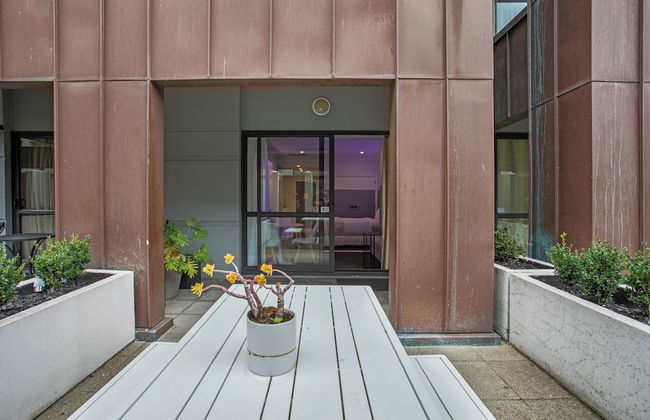
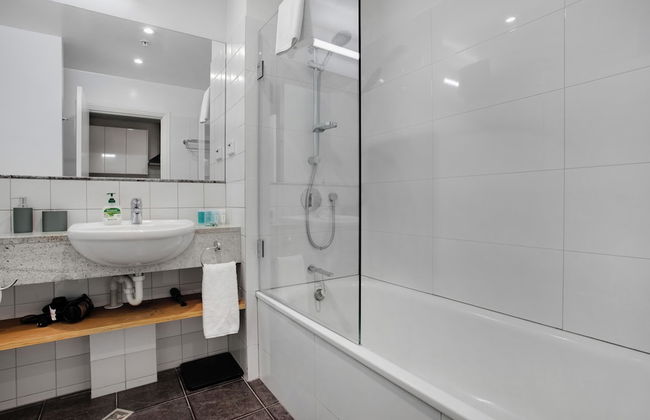
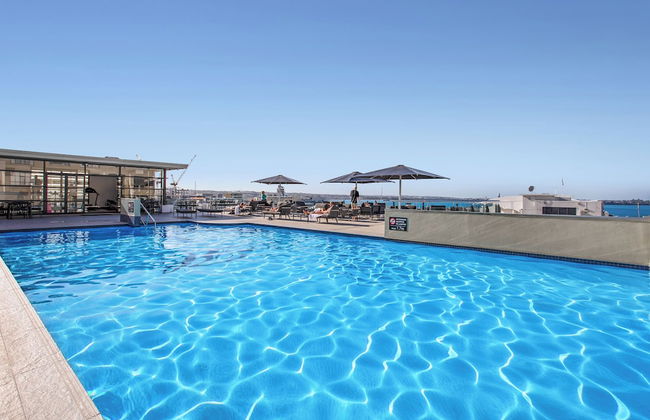
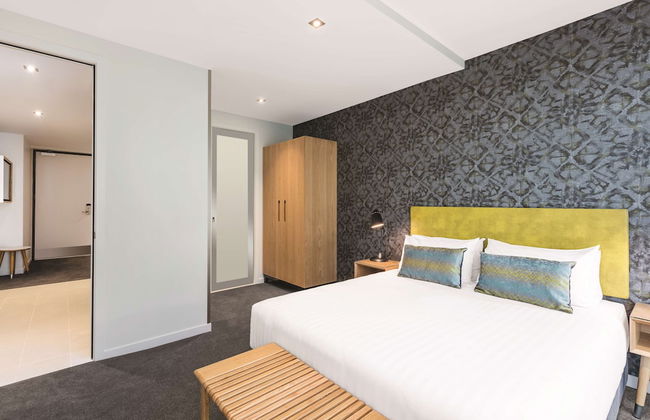
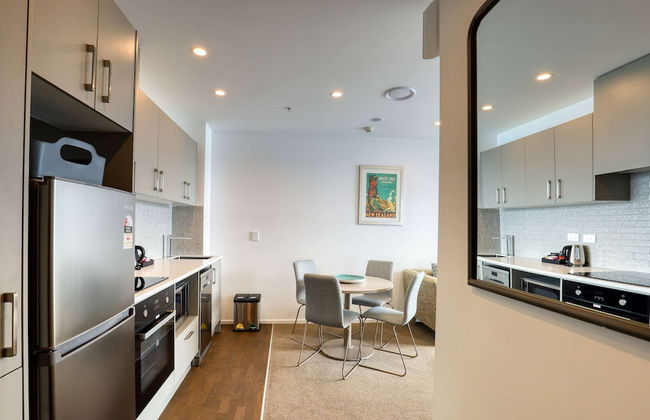
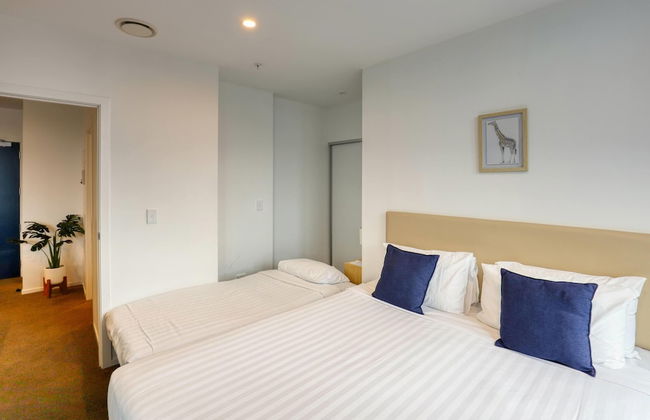
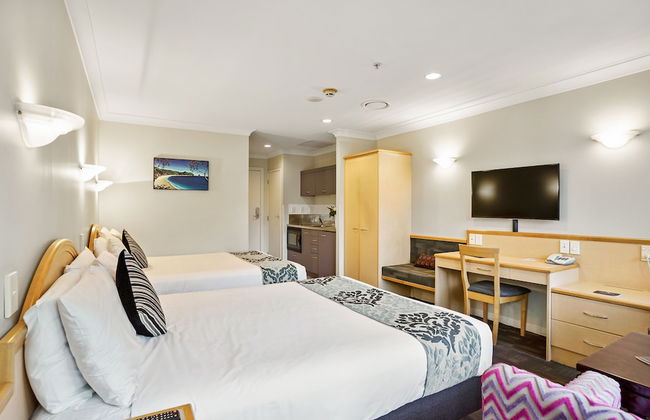
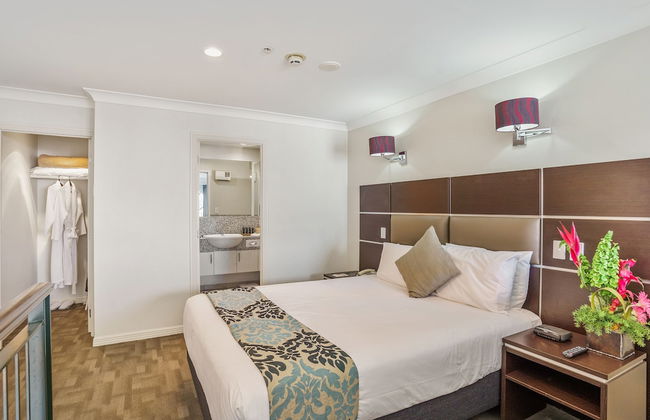
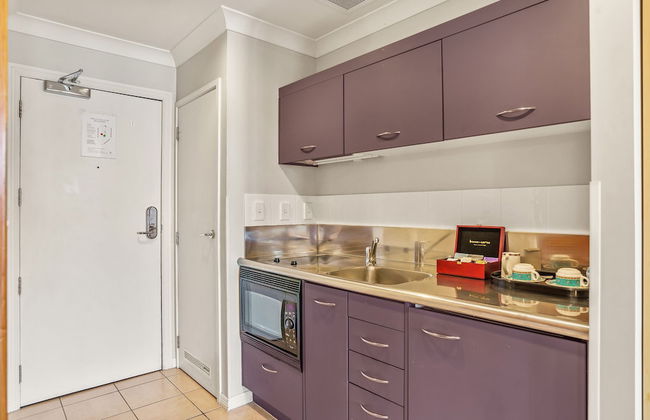
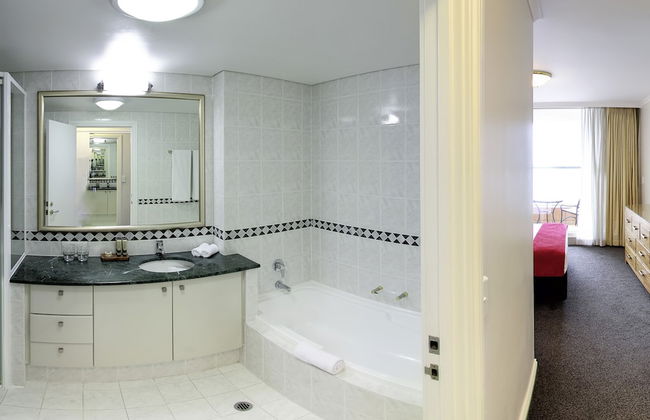
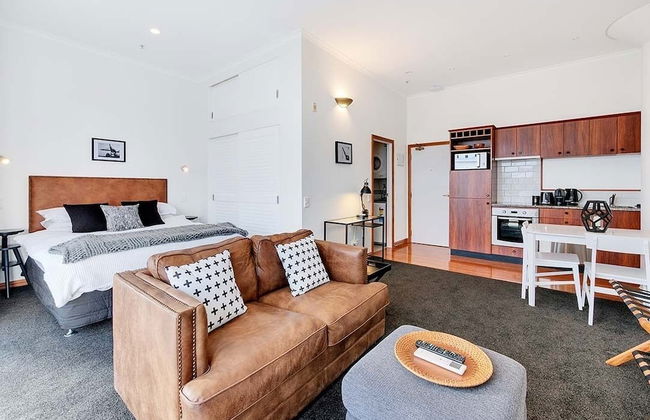
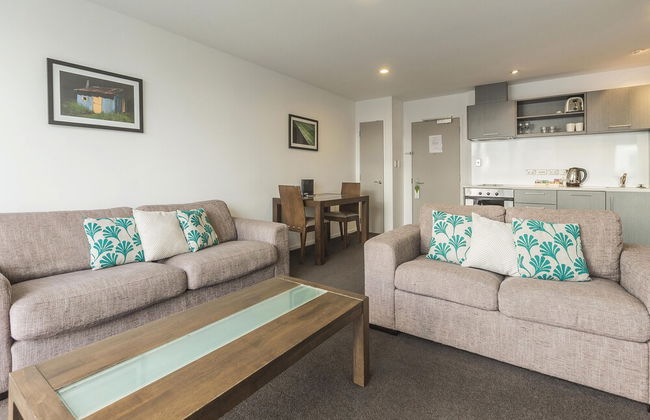
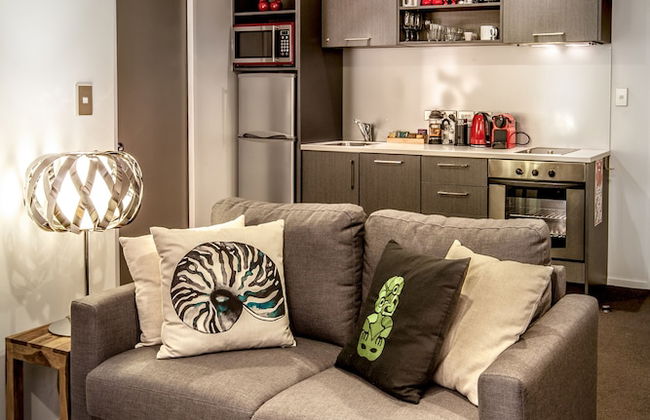
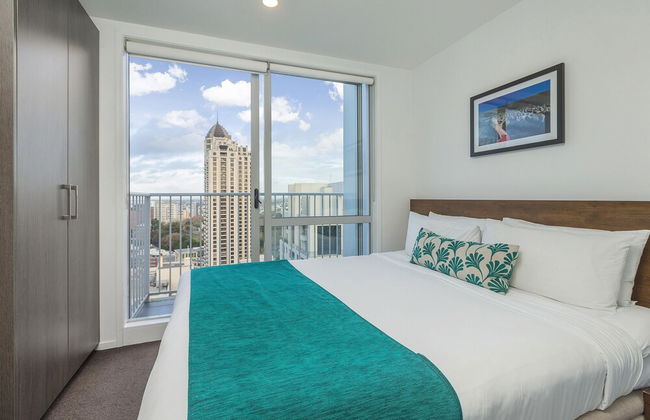
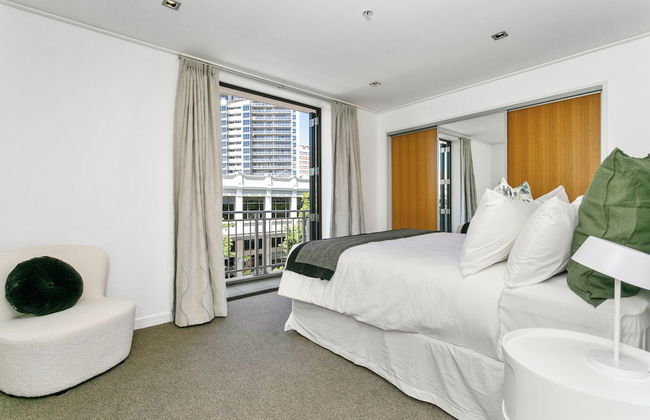
Toodle's Stylish stay on Queen Street
Auckland - Auckland Central - In the center
- 2 people
- Kitchenette
- Air conditioning
- Heating
- Swimming pool
- Parking
- Elevator
- Tv
- Bath linen
- Bed linen


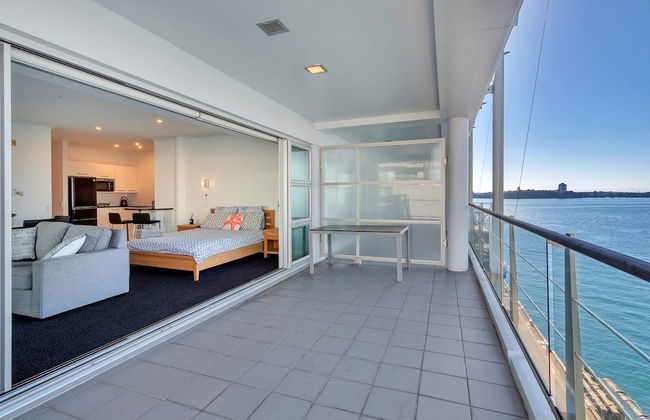


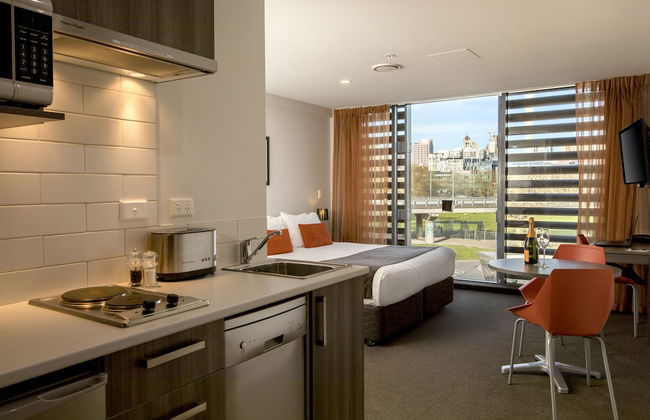
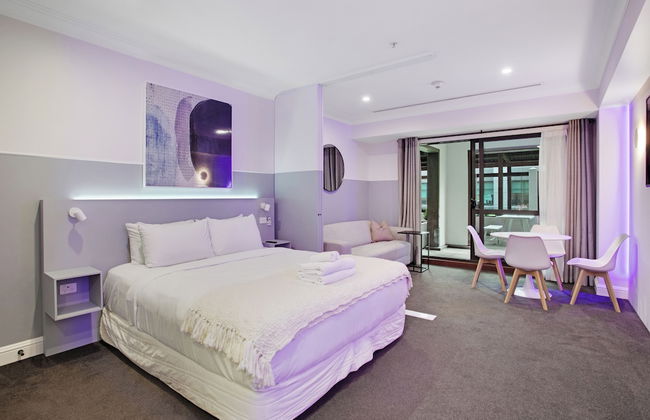
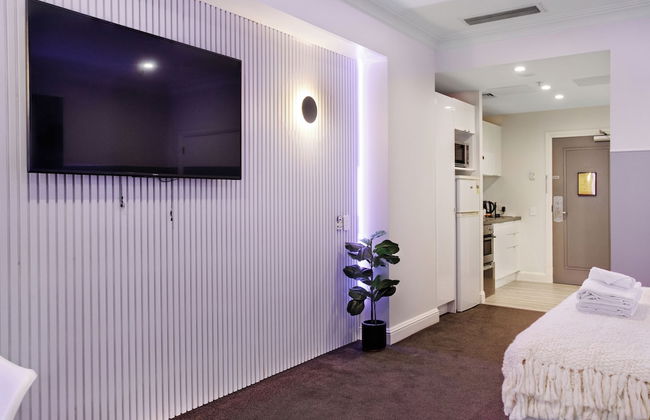
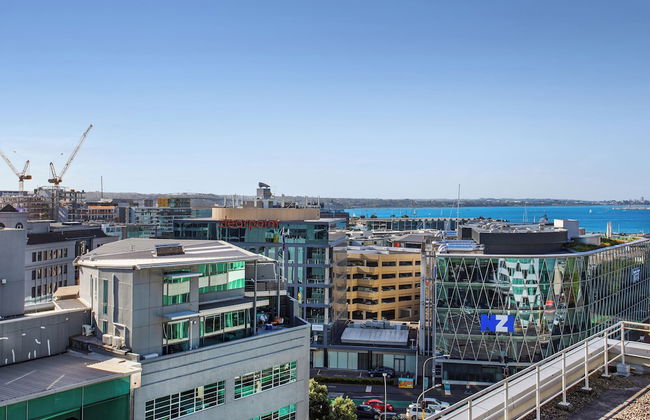
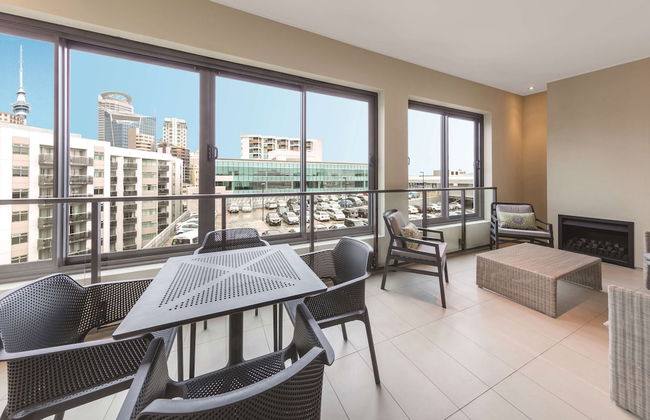
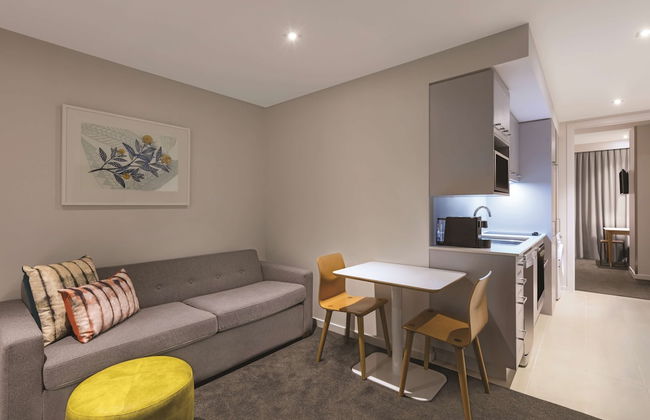
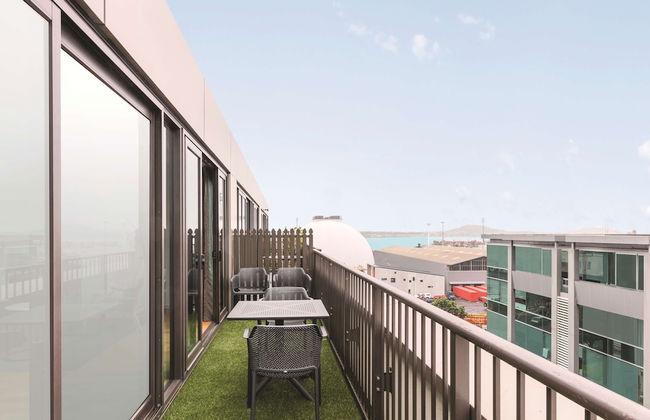
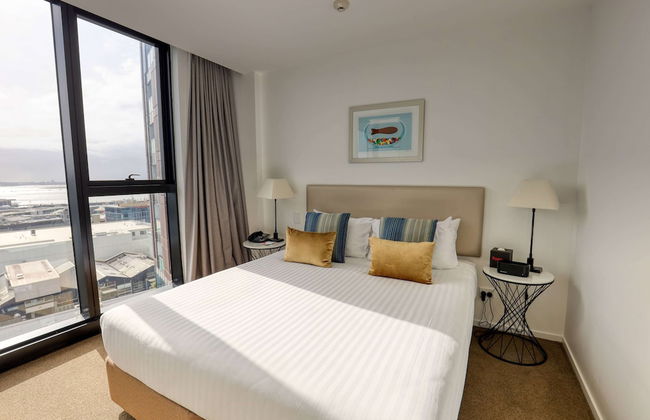
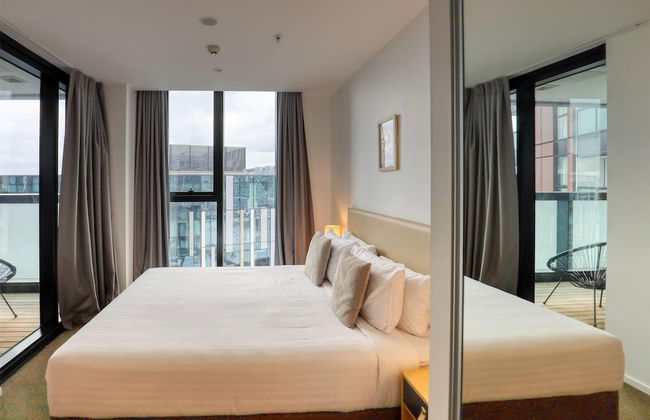
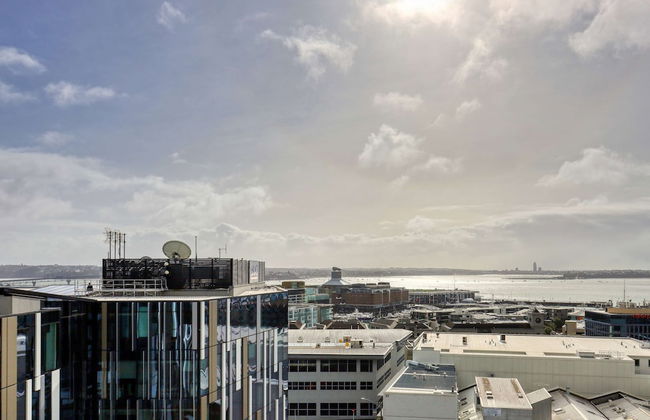
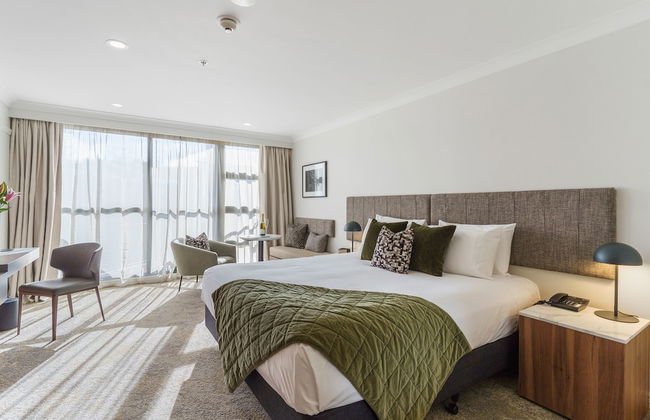
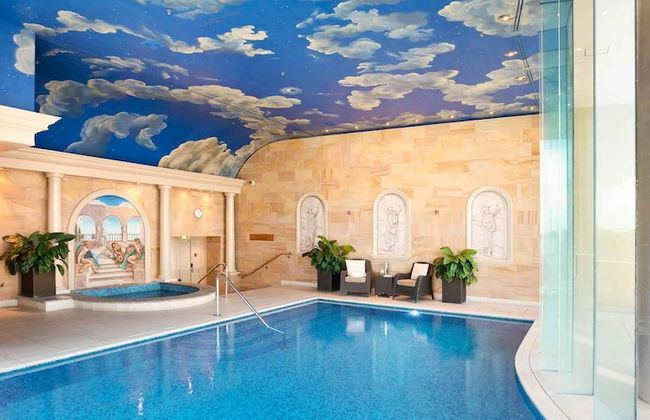
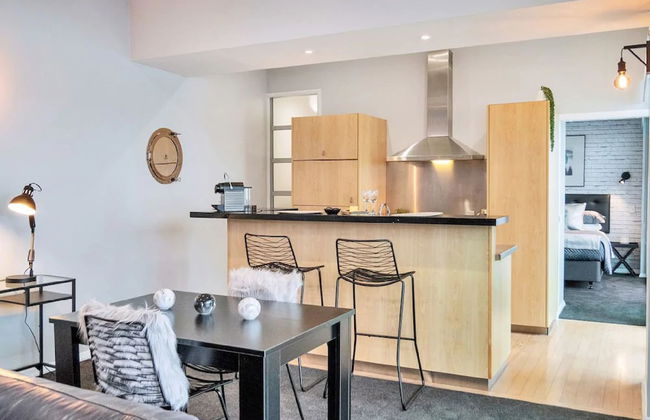
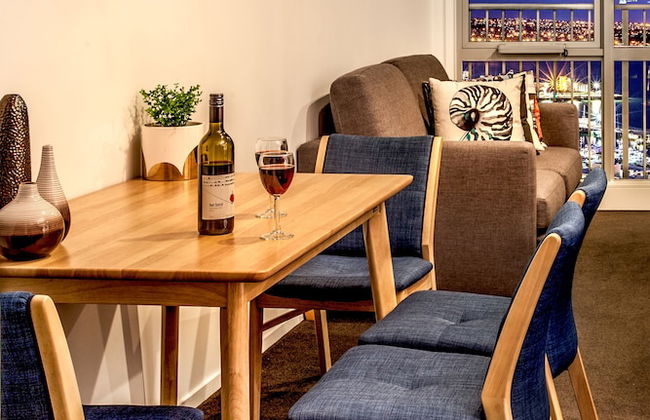
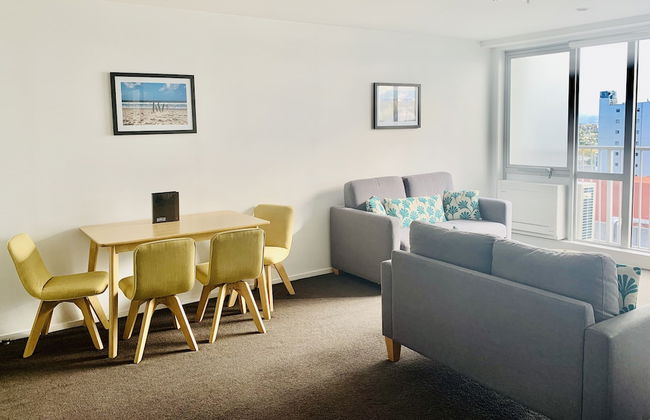
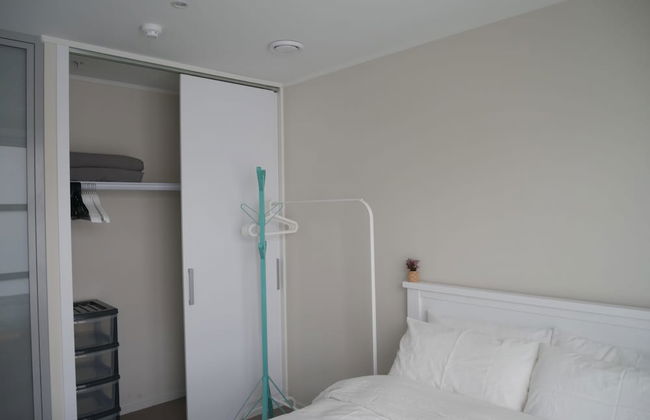
Stunning Harbour & City View Studio
Auckland - Auckland Central - 810 m from the center
- Terrace
- Parking
- Elevator


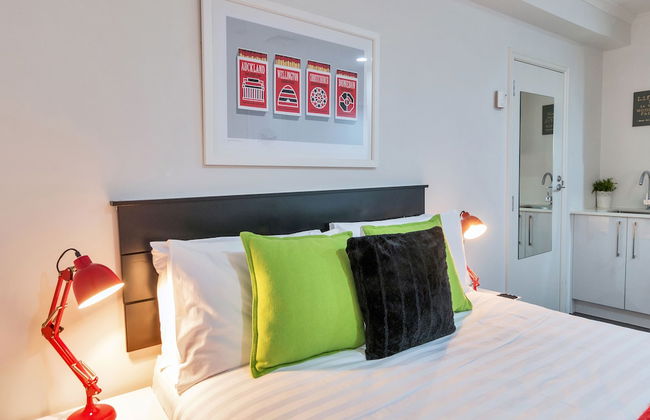


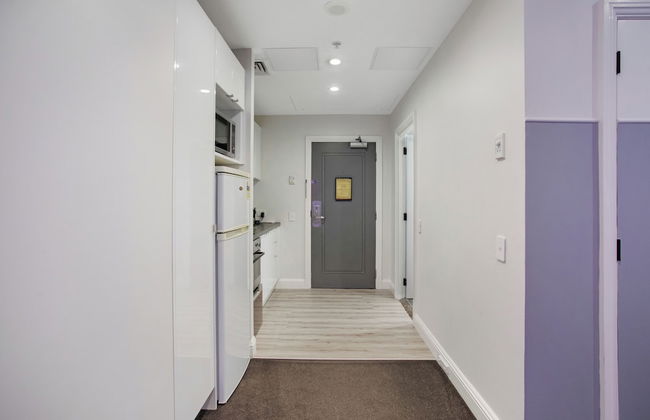
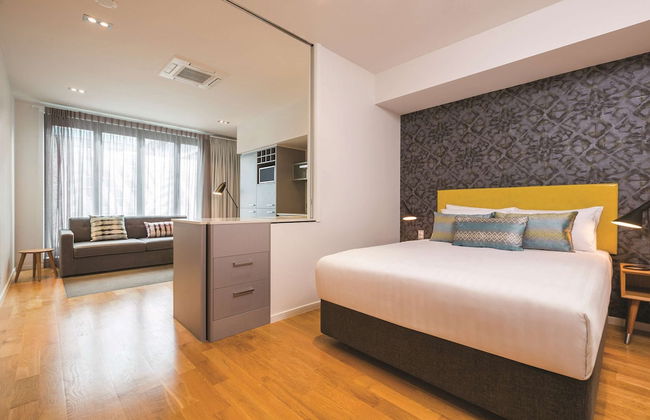
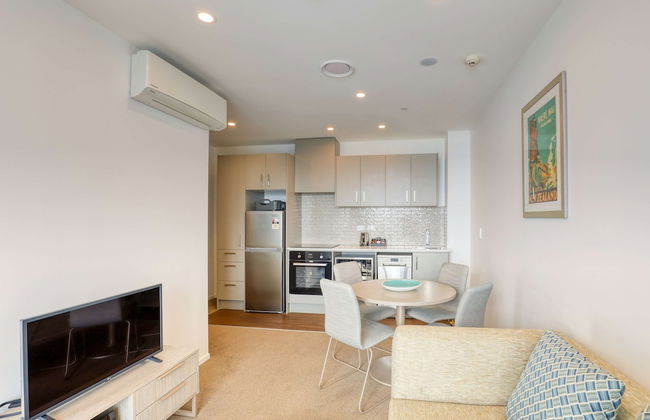
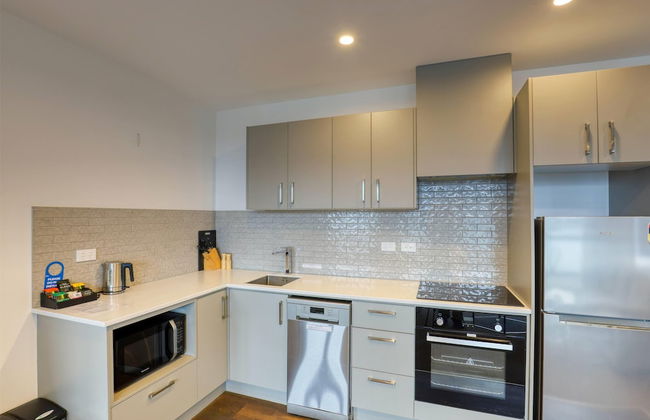
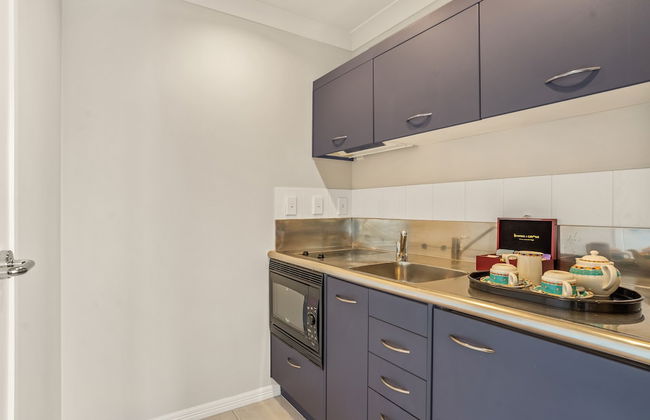
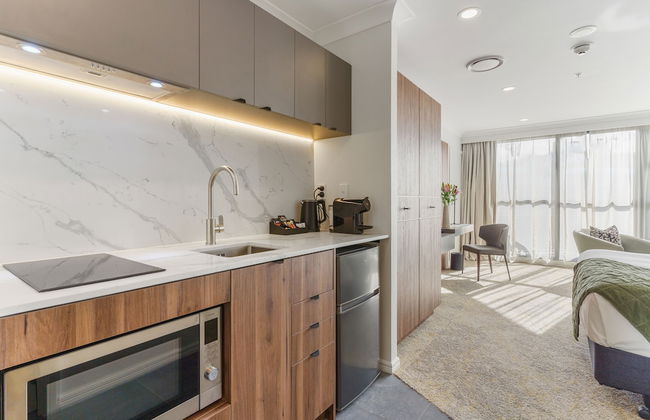
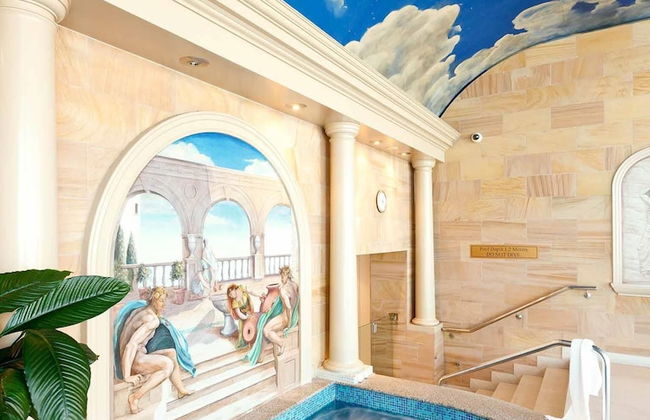
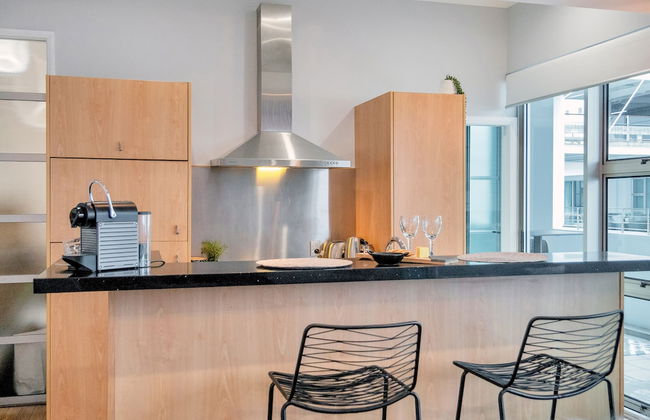
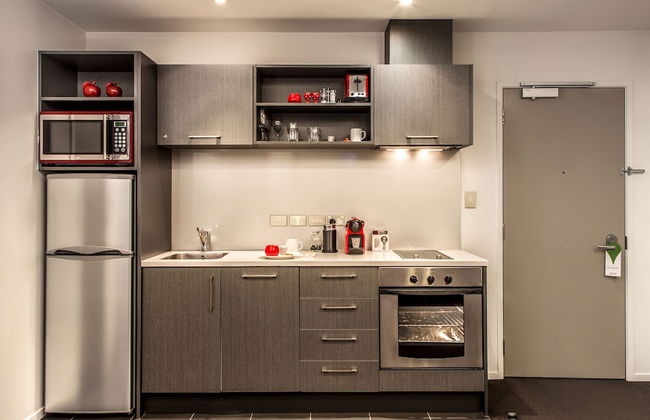
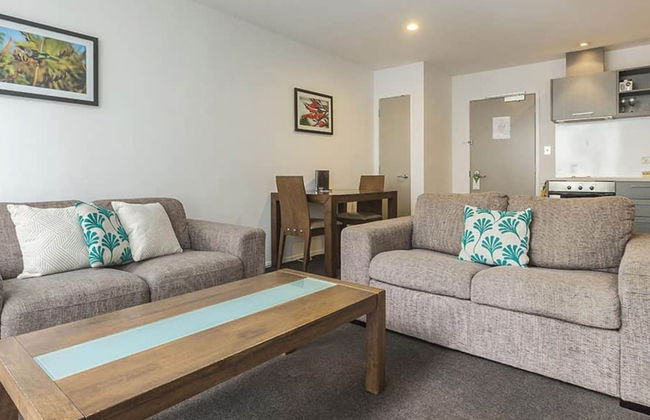
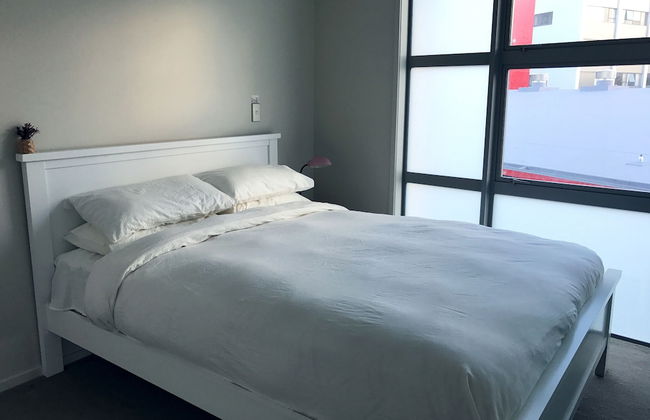
Idyllic City Studio Air-Con & Wifi
Auckland - Auckland Central - In the center
- 20 M2
- 2 people
- Kitchenette
- Air conditioning
- Heating
- Swimming pool
- Elevator
- Tv
- Washing machine
- Bath linen
- Bed linen


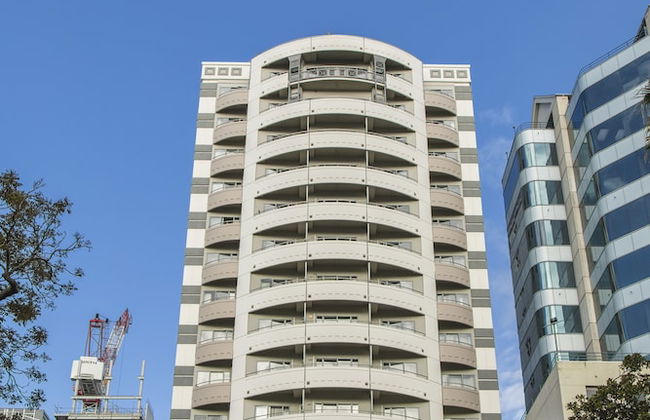
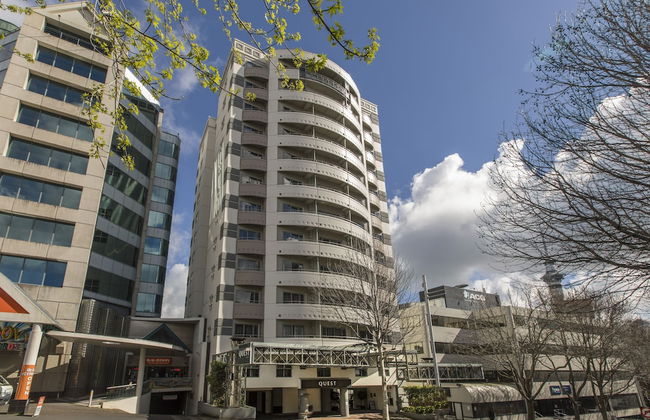

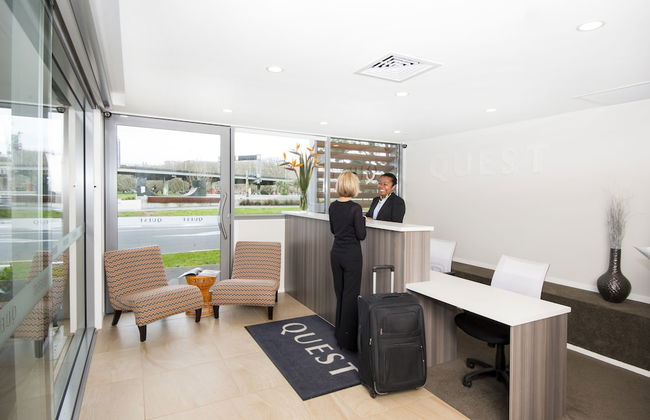
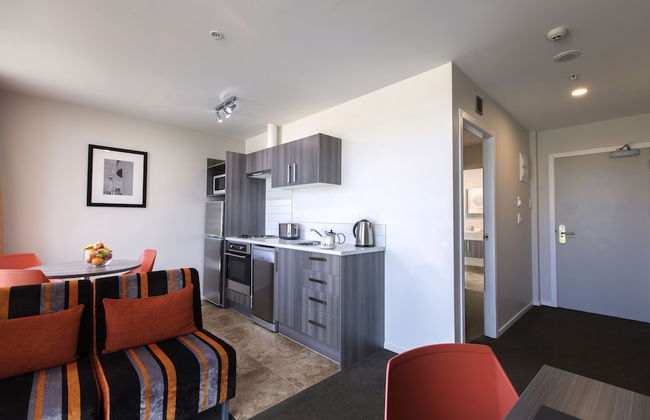
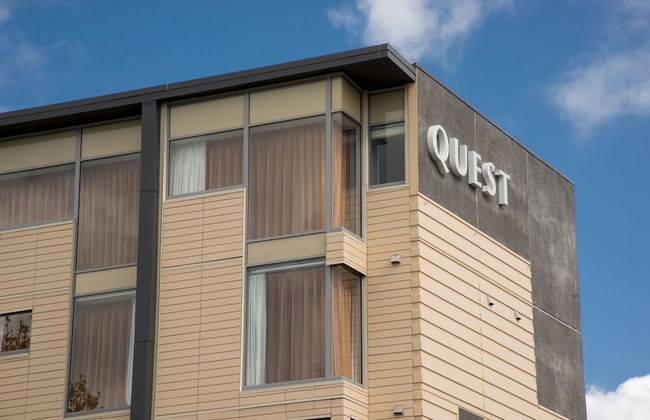
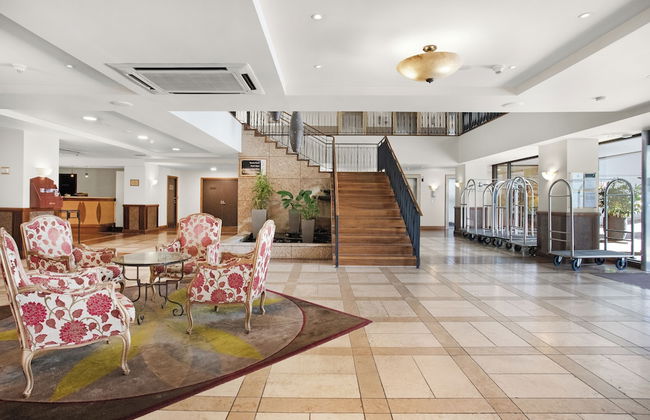
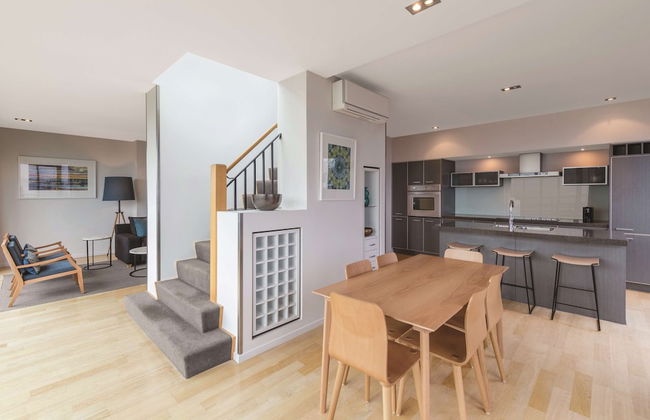
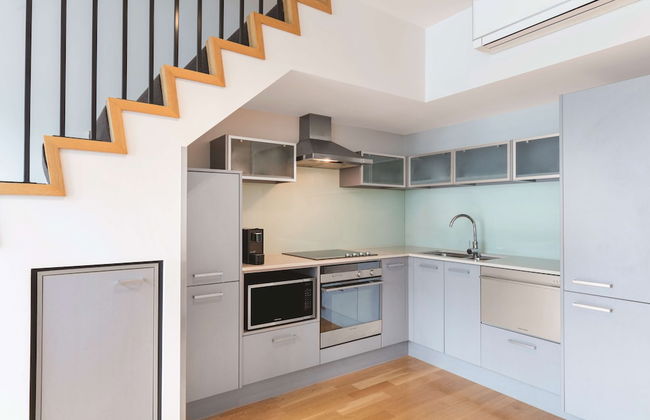
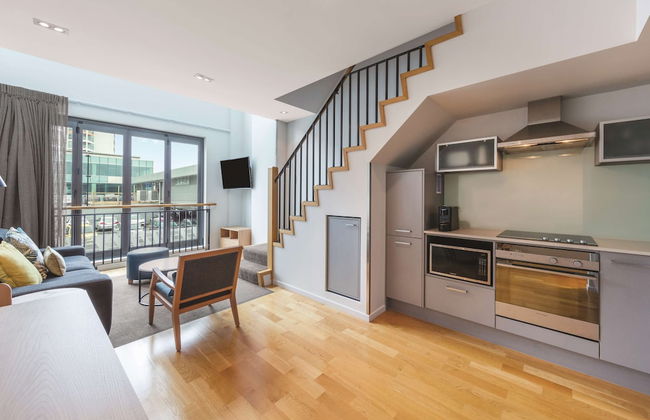
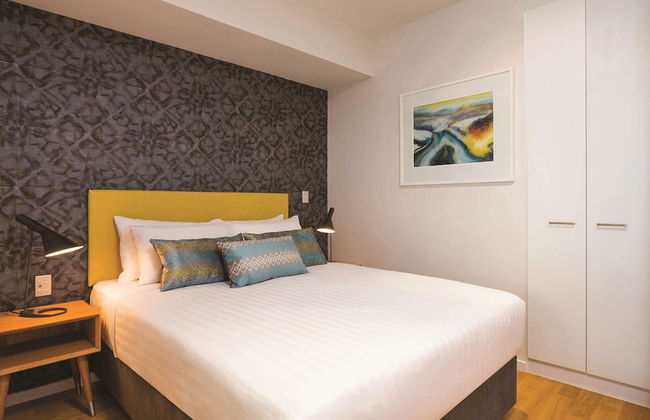
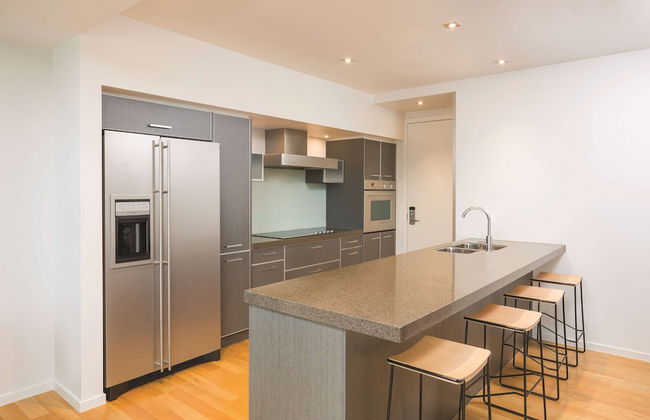
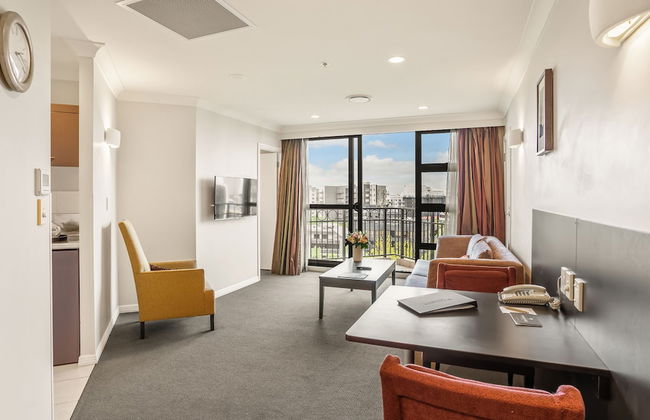
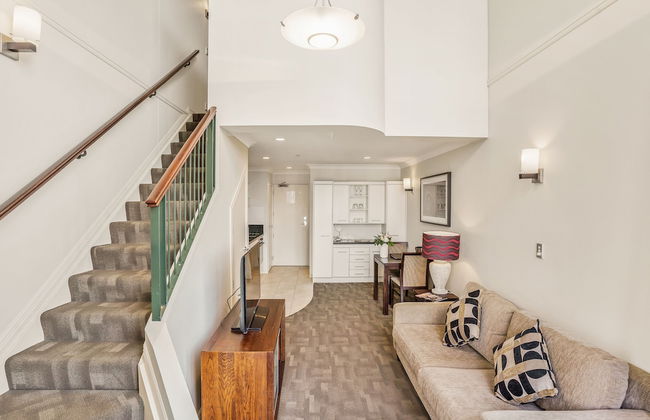
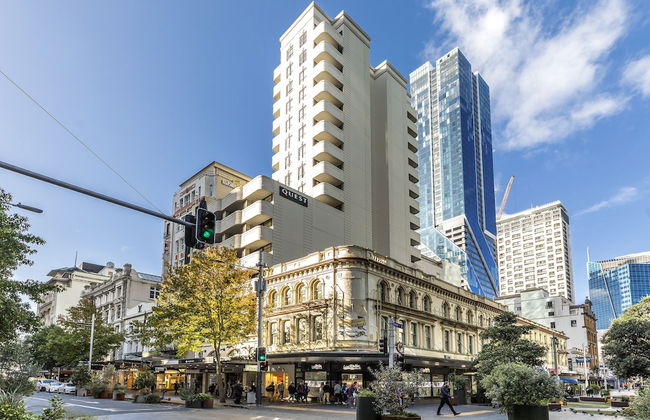
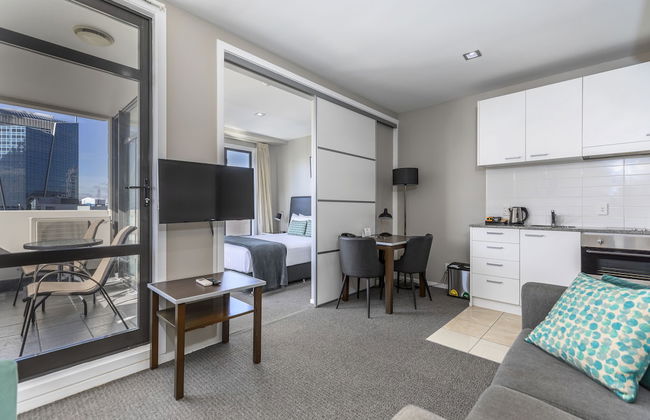
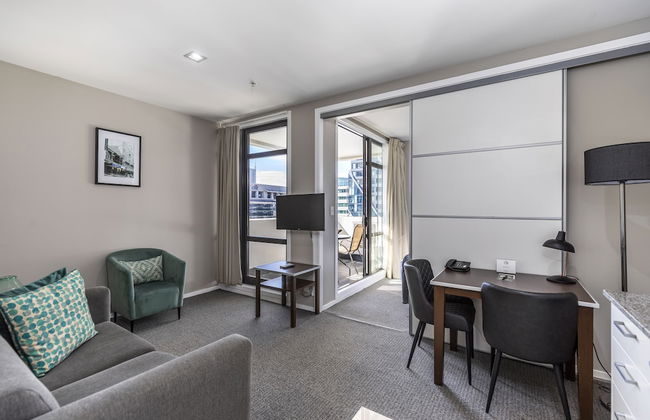
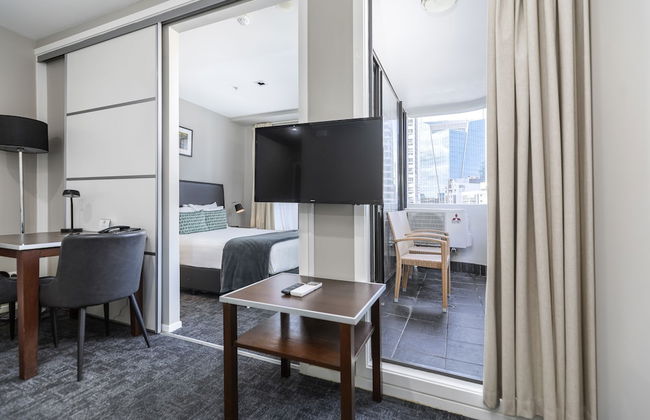
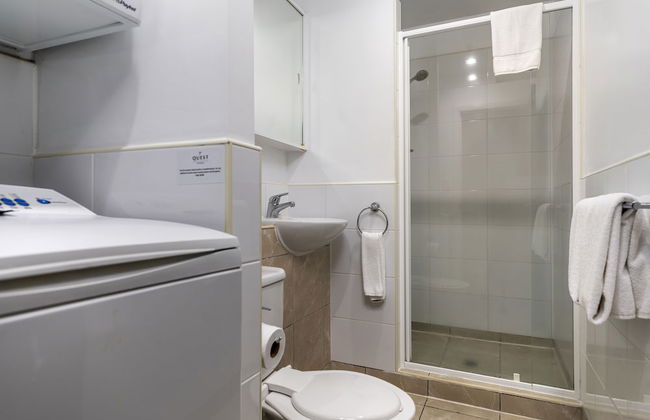
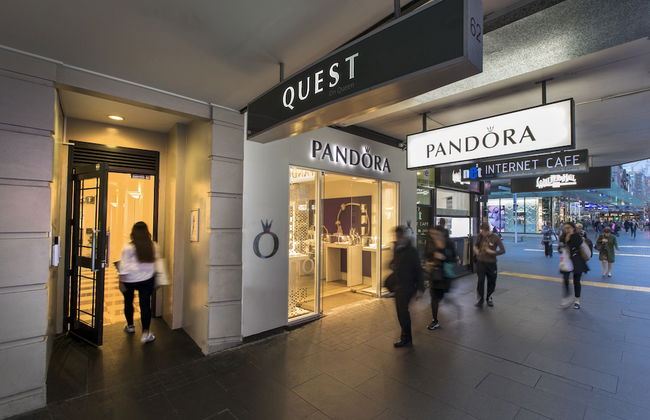
Quest Auckland
Auckland - Auckland Central - In the center
- 80 M2
- 4 people
- Kitchenette
- Air conditioning
- Heating
- Terrace
- Parking
- Elevator
- Balcony
- Tv
- Washing machine
- Bath linen
- Bed linen


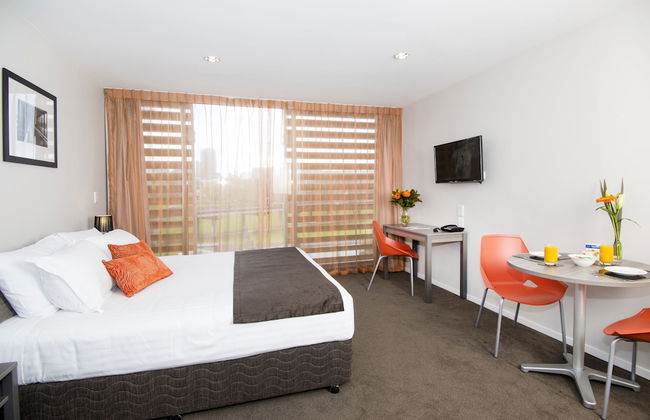


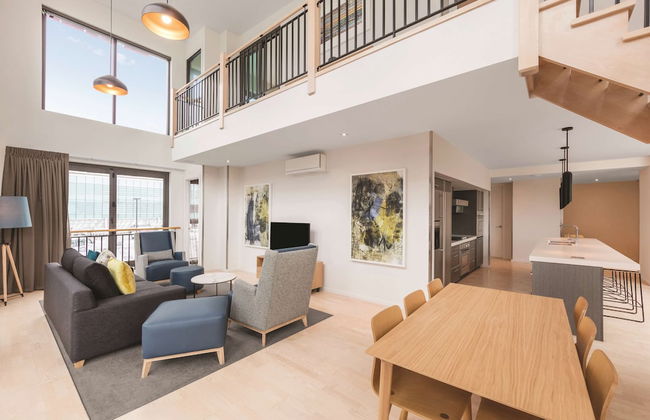
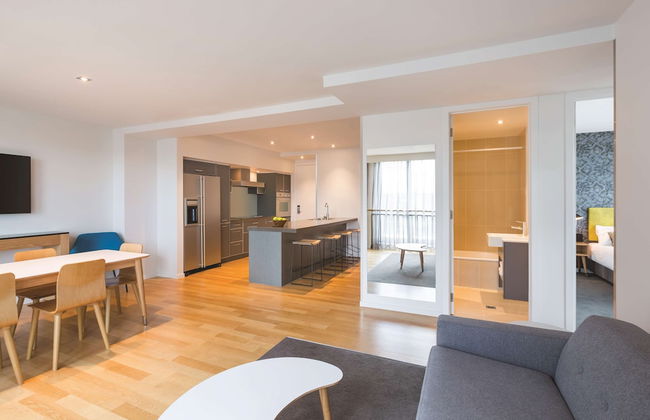
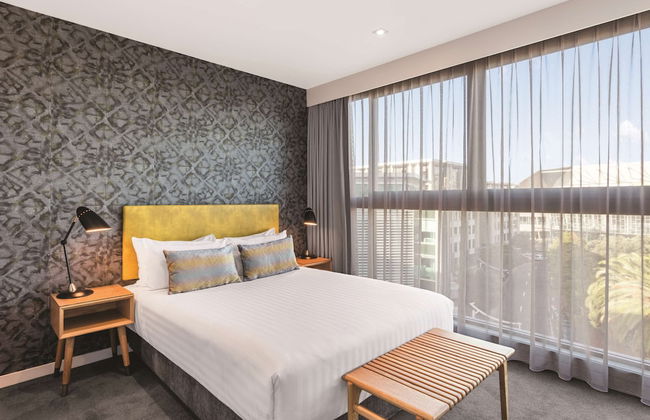
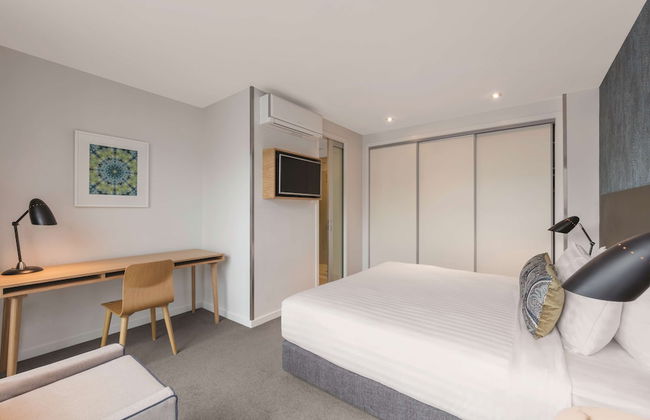
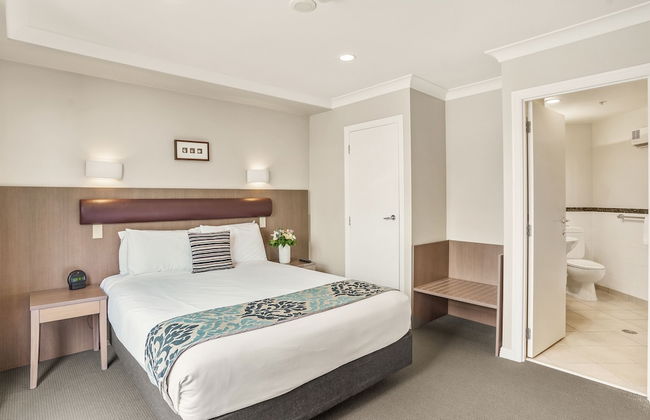
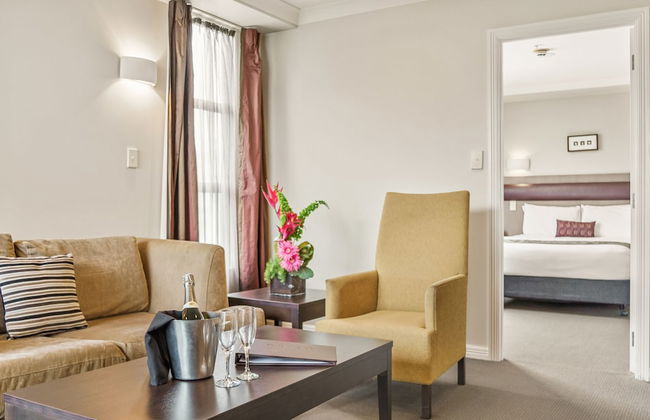
Quest on Beaumont
Auckland - Auckland Central - 750 m from the center
- 64 M2
- 5 people
- Kitchenette
- Air conditioning
- Parking
- Elevator
- Tv
- Washing machine
- Bath linen
- Bed linen


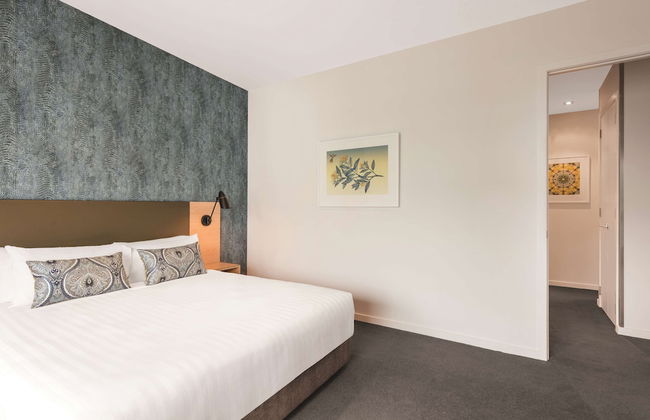
Cozy Studio Retreat in the City By Zodiak Stays
Auckland - Auckland Central - In the center
- 80 M2
- 4 people
- Air conditioning
- Heating
- Swimming pool
- Elevator
- Balcony
- Tv
- Washing machine
- Bath linen
- Bed linen
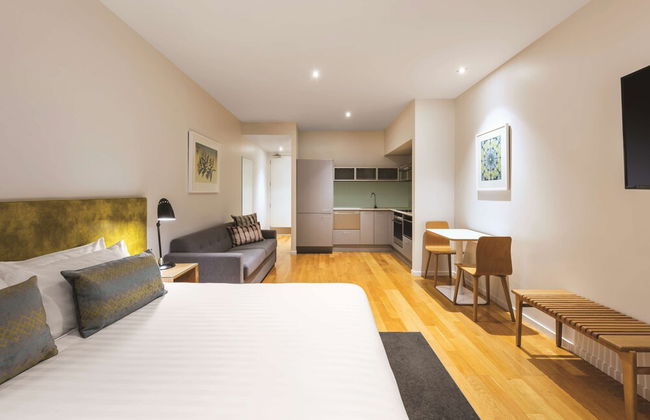
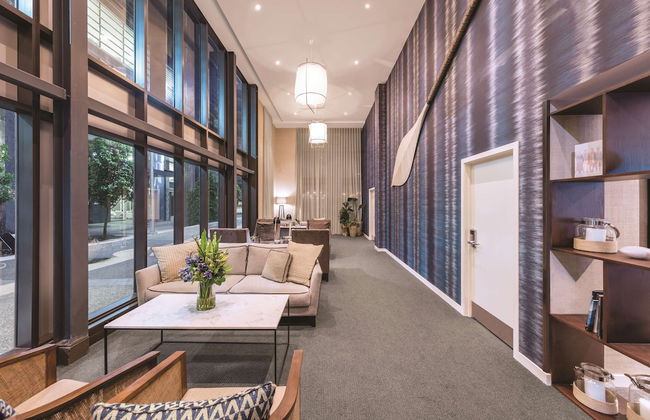
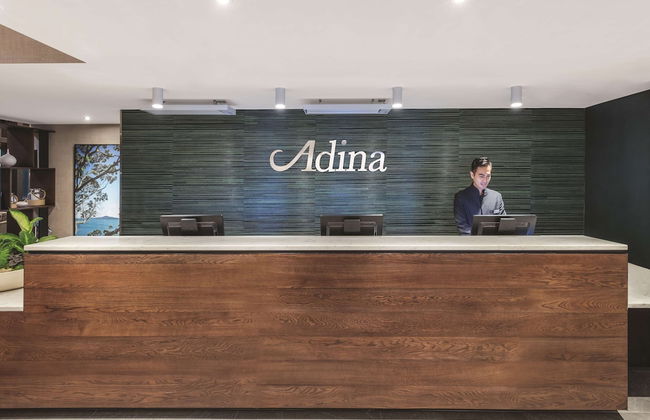

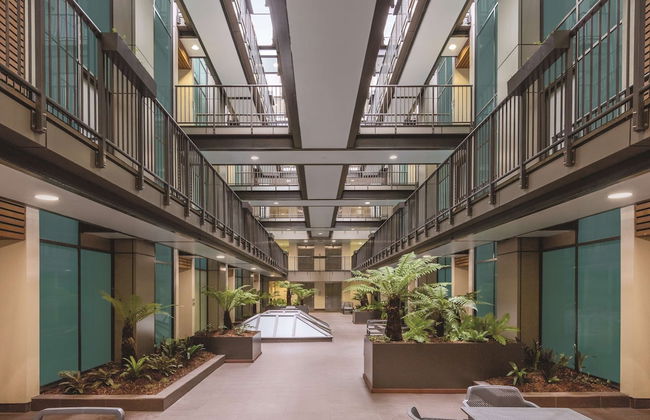

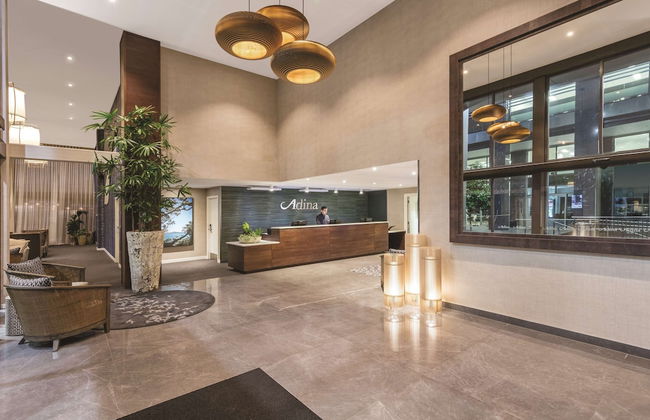


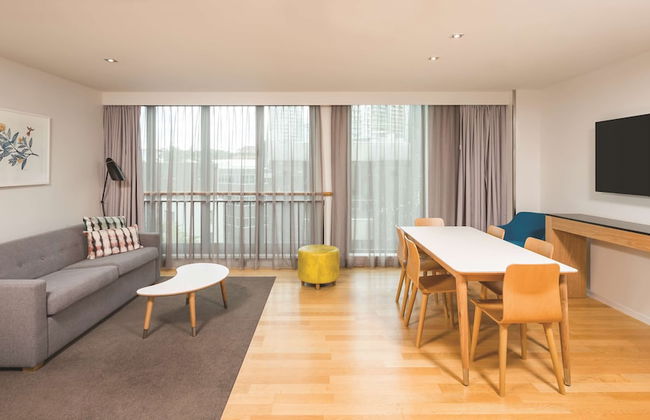


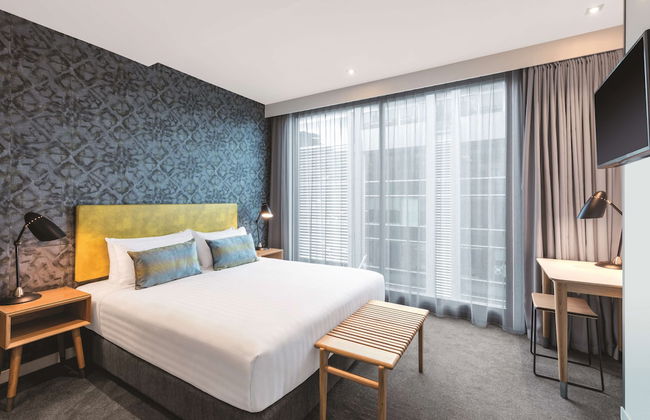


Adina Apartment Hotel Auckland Britomart
Auckland - Auckland Central - 670 m from the center
- 200 M2
- 7 people
- Kitchenette
- Air conditioning
- Heating
- Parking
- Elevator
- Balcony
- Tv
- Bath linen
- Bed linen
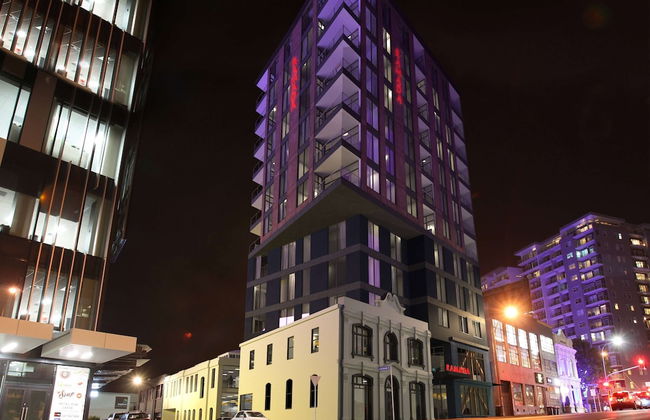
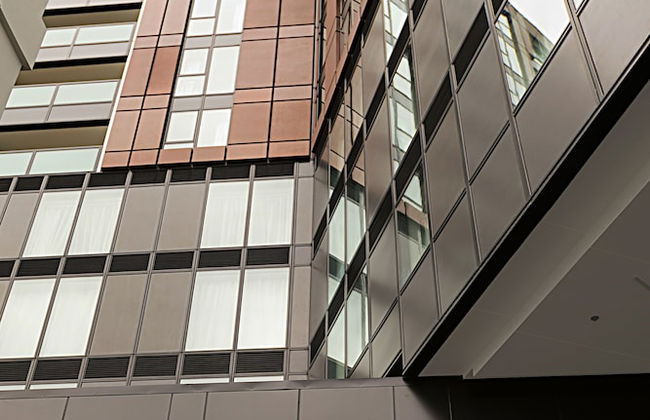


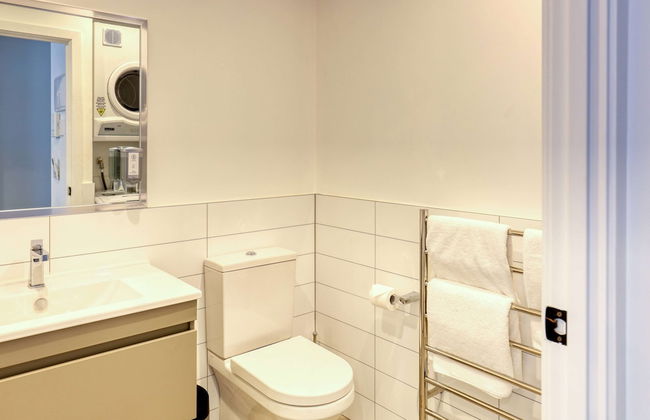
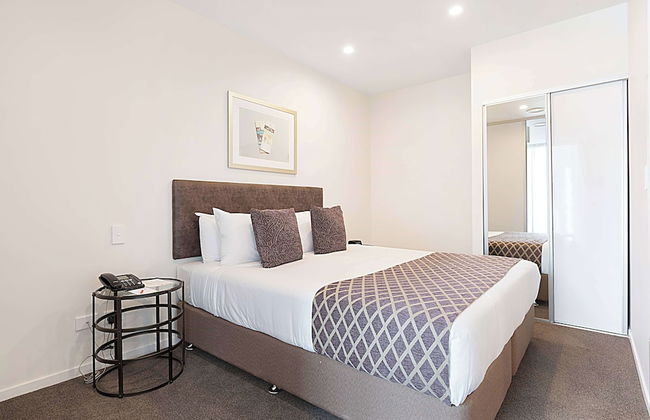

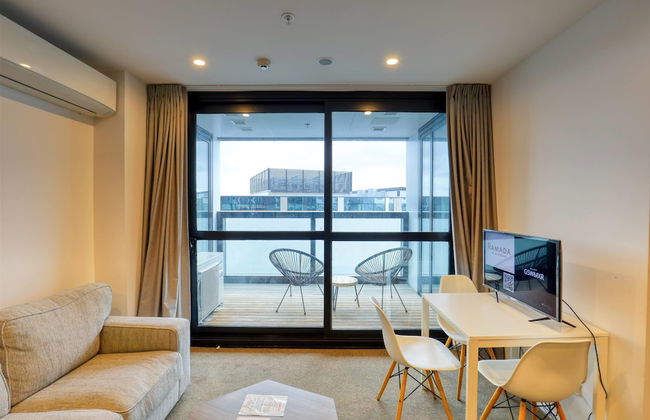

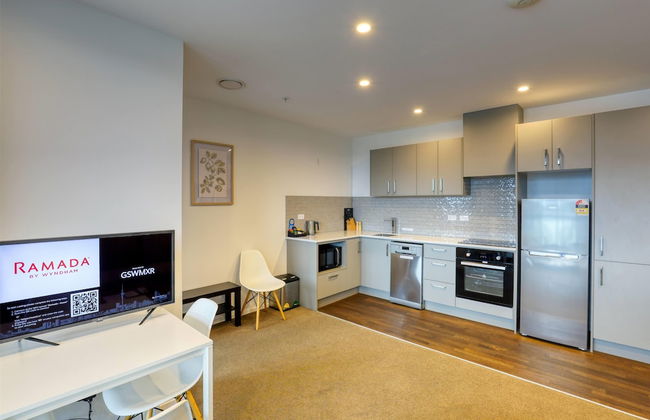


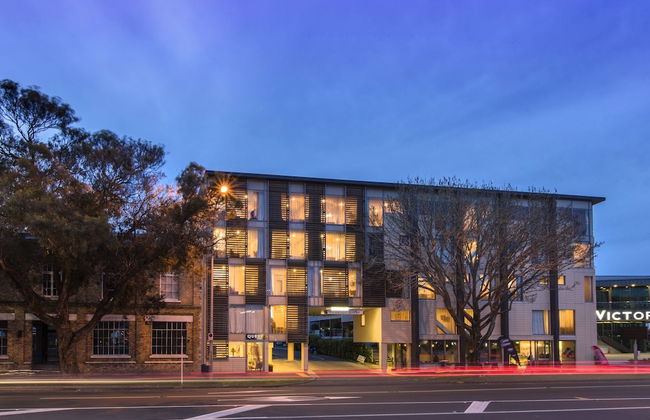
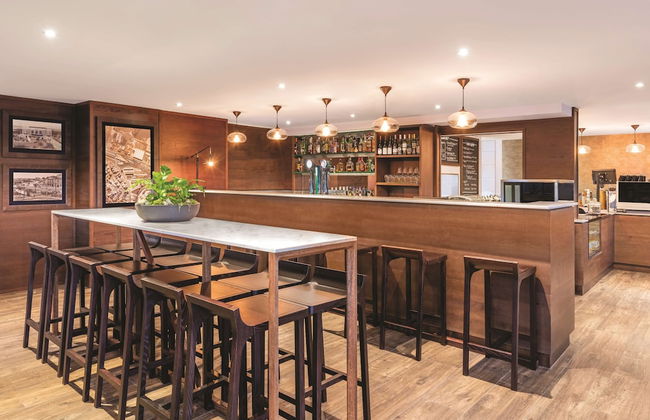
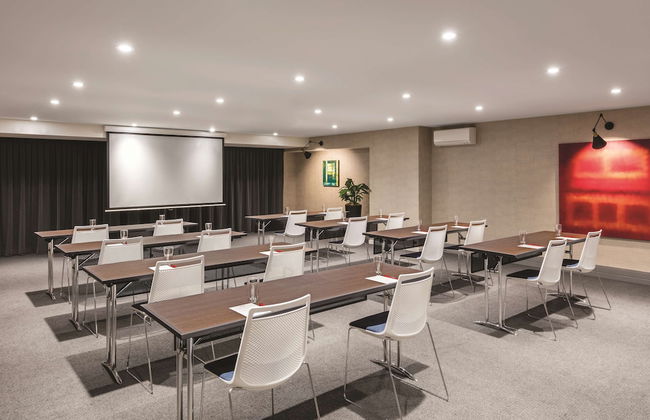
Ramada Suites By Wyndham Victoria Street West
Auckland - Auckland Central - In the center
- 70 M2
- 5 people
- Kitchenette
- Air conditioning
- Heating
- Parking
- Elevator
- Tv
- Bath linen
- Bed linen


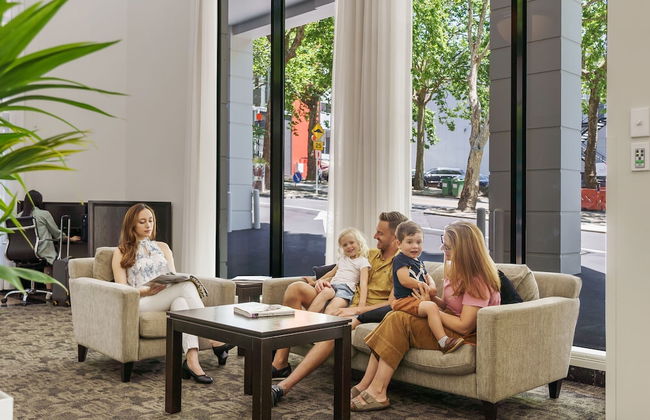
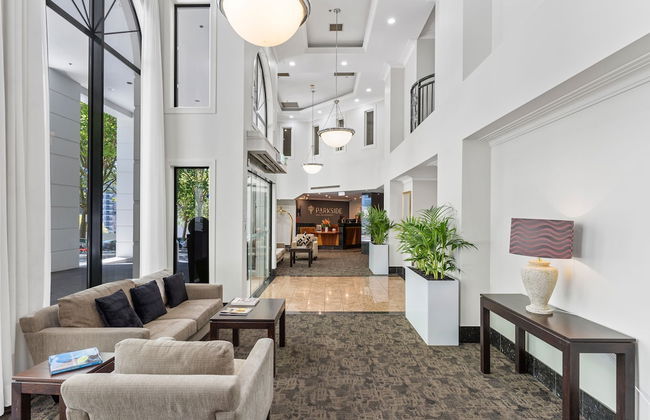

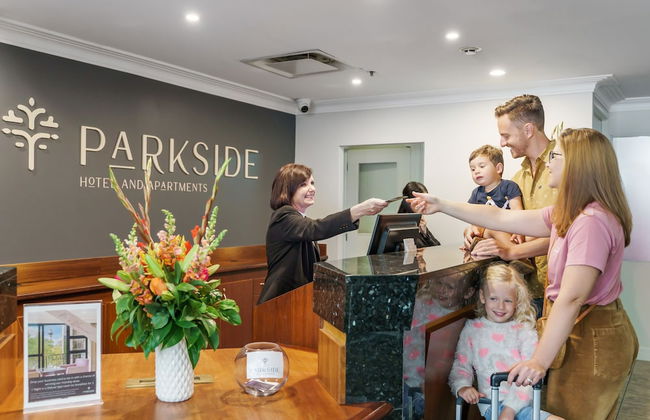


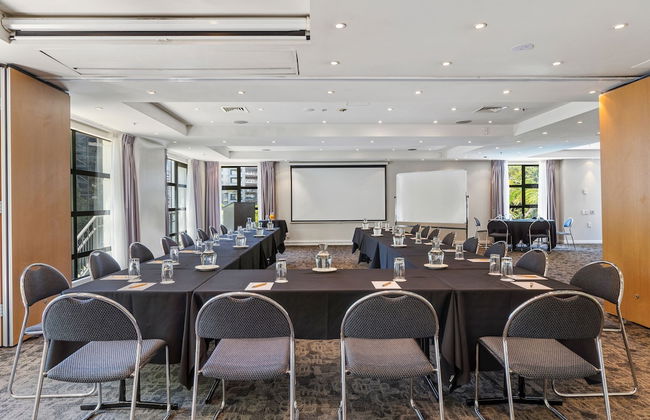

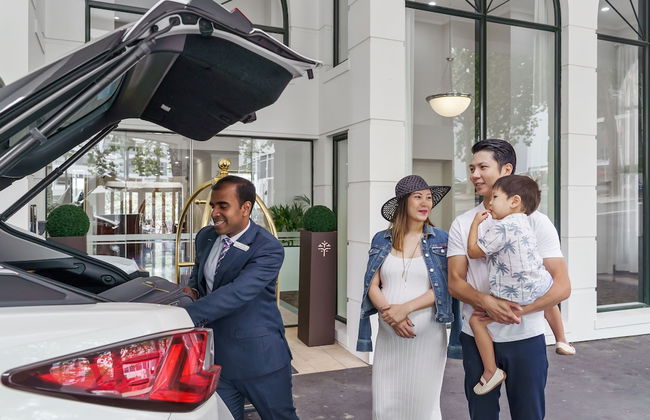

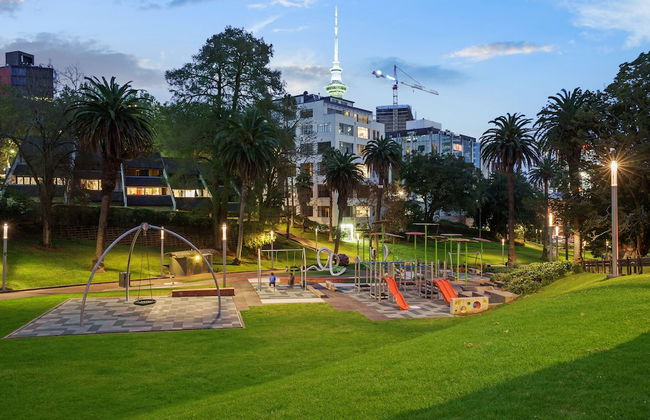
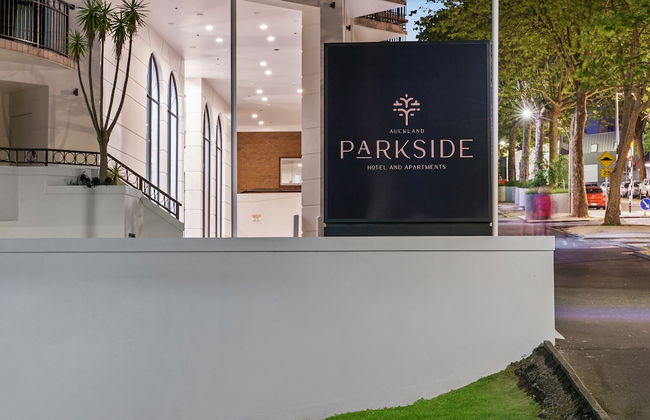
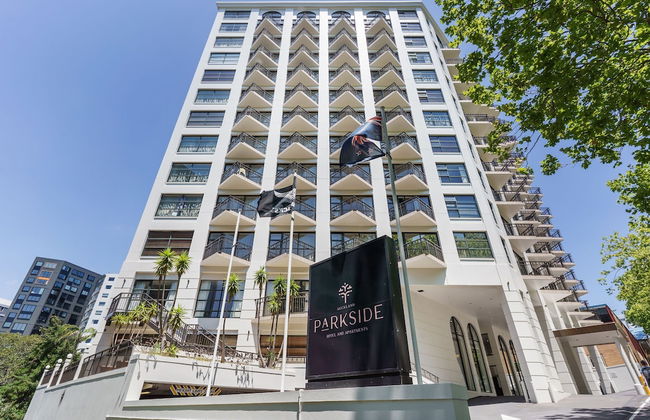
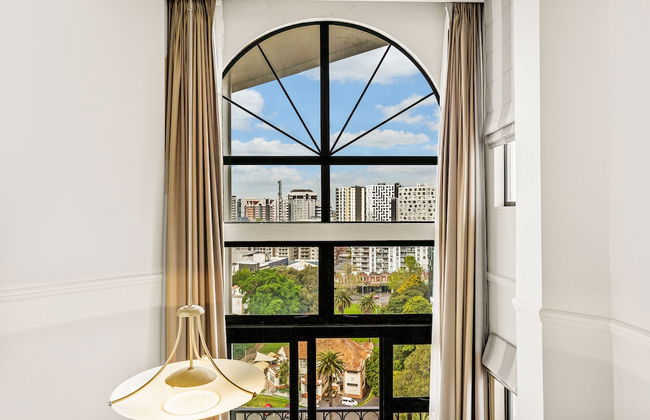
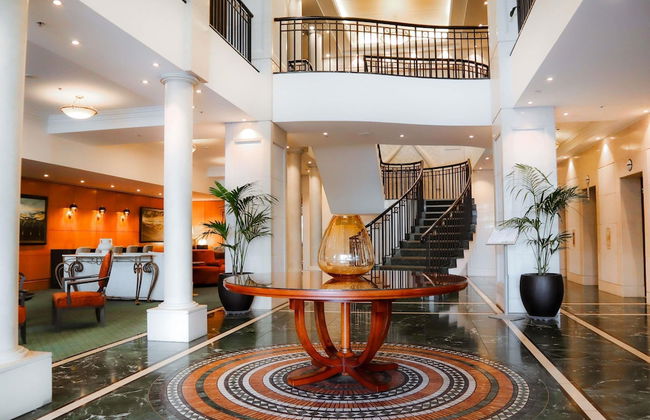
Parkside Hotel & Apartments Auckland
Auckland - Auckland Central - In the center
- 37 M2
- 4 people
- Kitchenette
- Terrace
- Swimming pool
- Parking
- Elevator
- Balcony
- Tv
- Washing machine
- Bath linen
- Bed linen


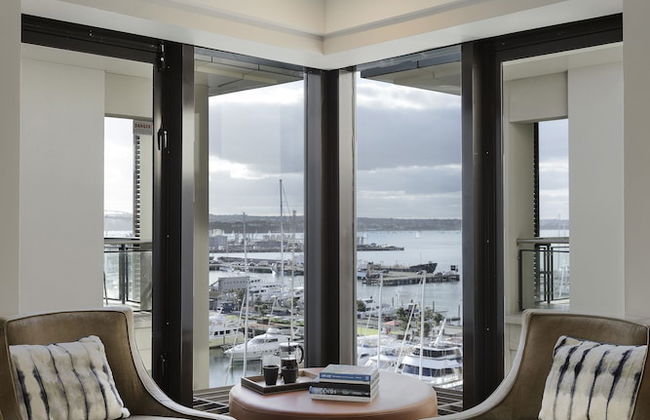
The Sebel Quay West Auckland
Auckland - Auckland Central - 350 m from the center
- 125 M2
- 5 people
- Air conditioning
- Parking
- Elevator
- Balcony
- Tv
- Washing machine
- Bath linen
- Bed linen


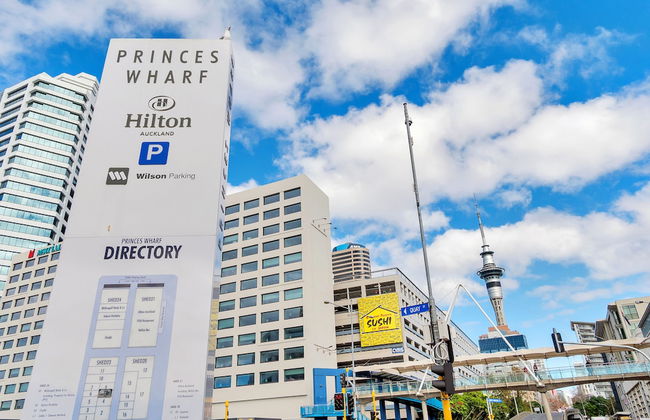
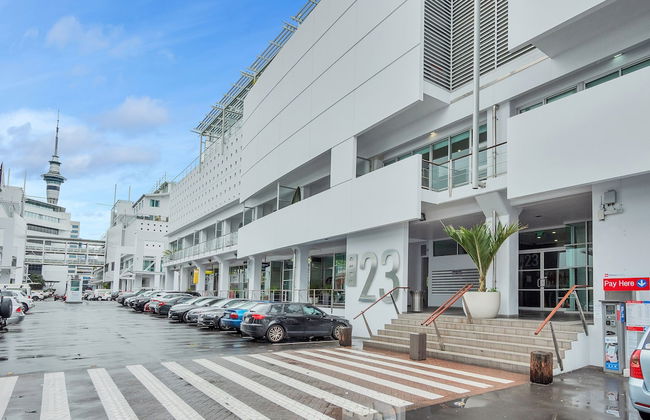
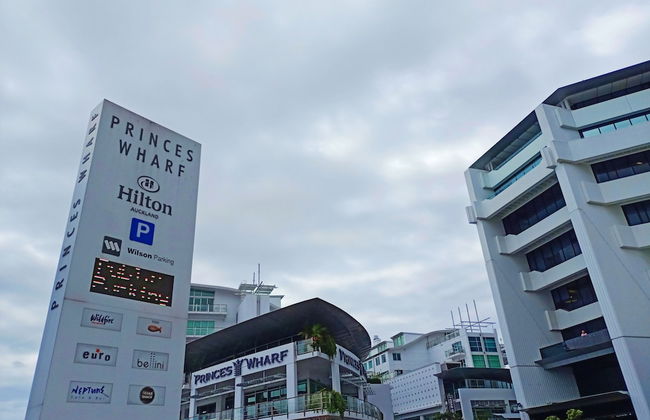
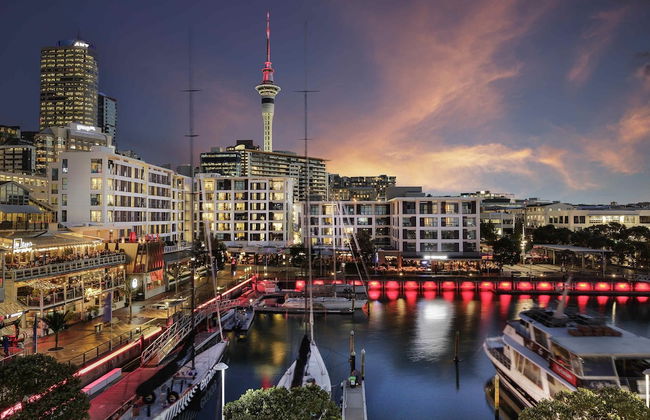
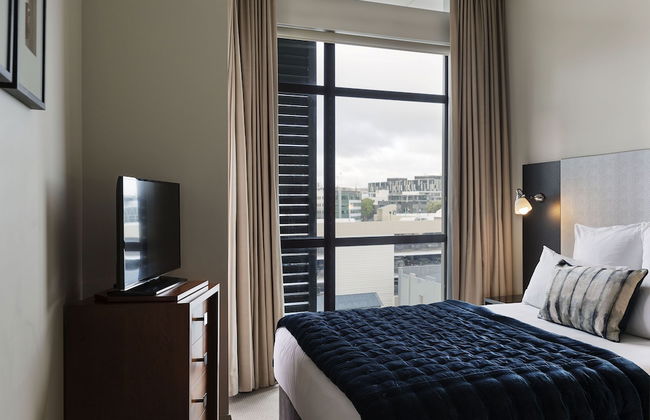
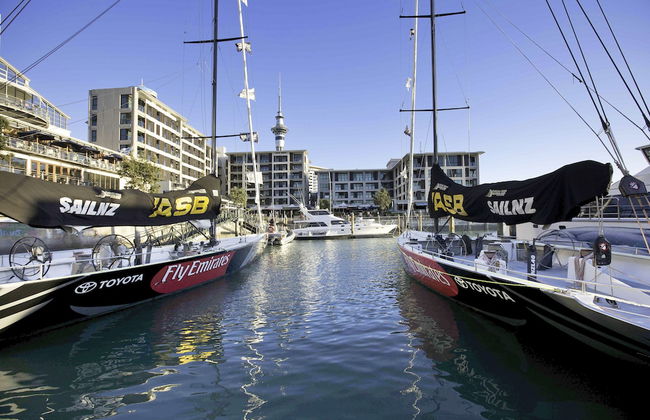
Princes Wharf Boutique Apartment
Auckland - Auckland Central - 820 m from the center
- 72 M2
- 3 people
- Air conditioning
- Heating
- Parking
- Elevator
- Balcony
- Tv
- Washing machine
- Barbecue
- Bath linen
- Bed linen


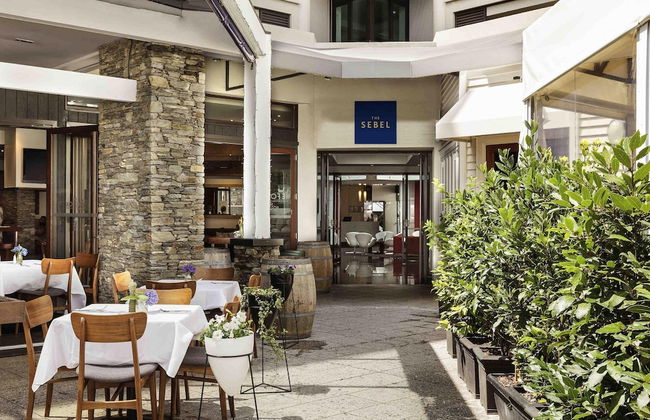


The Sebel Auckland Viaduct Harbour
Auckland - Auckland Central - 460 m from the center
- 3 people
- Air conditioning
- Heating
- Parking
- Elevator
- Tv
- Washing machine
- Bath linen
- Bed linen


Quest on Queen
Auckland - Auckland Central - 280 m from the center
- 32 M2
- 3 people
- Air conditioning
- Heating
- Parking
- Elevator
- Balcony
- Tv
- Washing machine
- Bath linen
- Bed linen


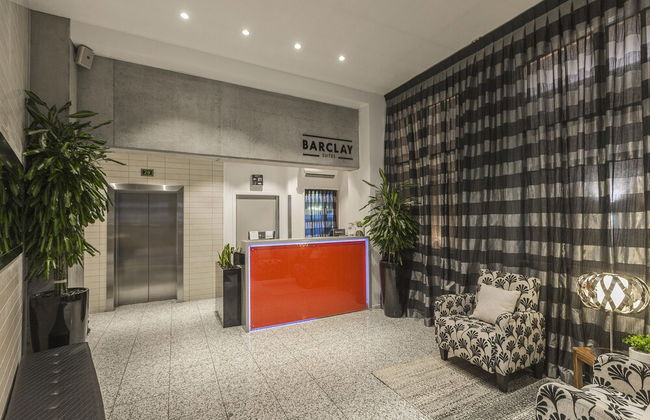


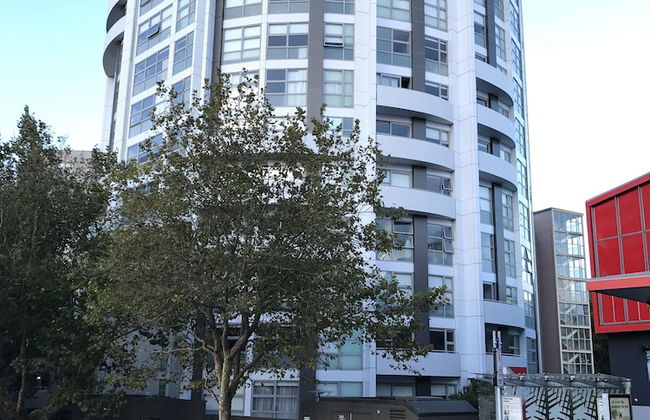
Barclay Suites
Auckland - Auckland Central - In the center
- 70 M2
- 5 people
- Air conditioning
- Heating
- Parking
- Elevator
- Balcony
- Tv
- Washing machine
- Bath linen
- Bed linen


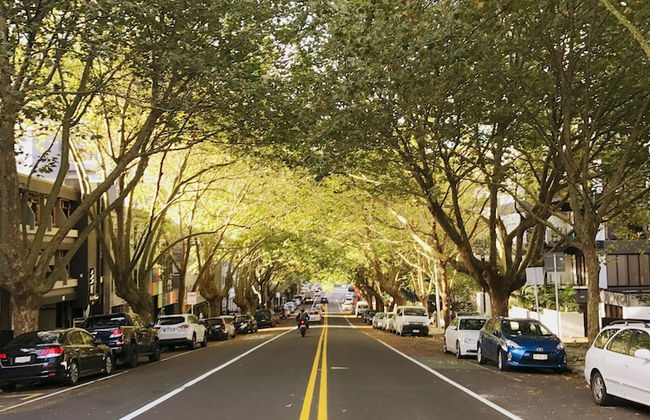

Leafy Street Apartment Central Auckland
Auckland - Auckland Central - In the center
- 40 M2
- 3 people
- Swimming pool
- Tv
- Washing machine
- Bath linen
- Bed linen

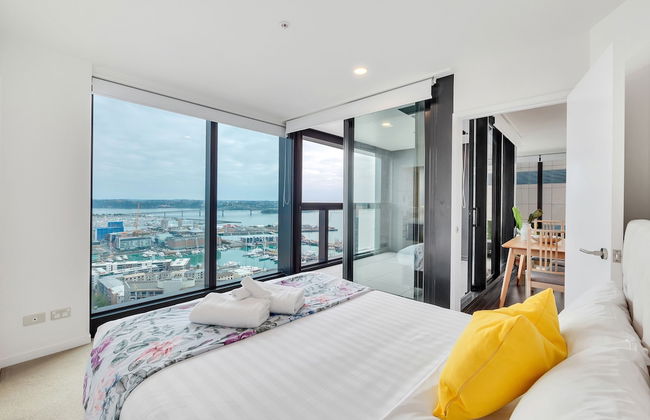


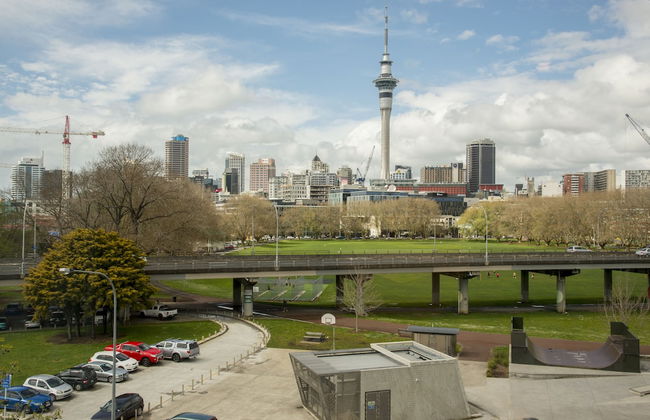
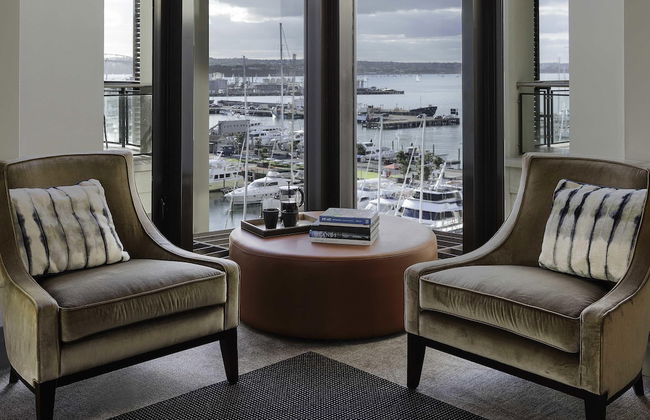
Amazing Harbour, Skytower & Rangitoto Views
Auckland - Auckland Central - 210 m from the center
- 73 M2
- 4 people
- Air conditioning
- Heating
- Elevator
- Tv
- Washing machine
- Bath linen


Perfect Location, Viaduct Harbour CBD
Auckland - Auckland Central - 880 m from the center
- 2 people
- Terrace
- Elevator
- Tv
- Washing machine
- Bath linen
- Bed linen


The Parc Apartments by Urban Rest
Auckland - Auckland Central - 450 m from the center
- 4 people
- Terrace
- Parking
- Garden